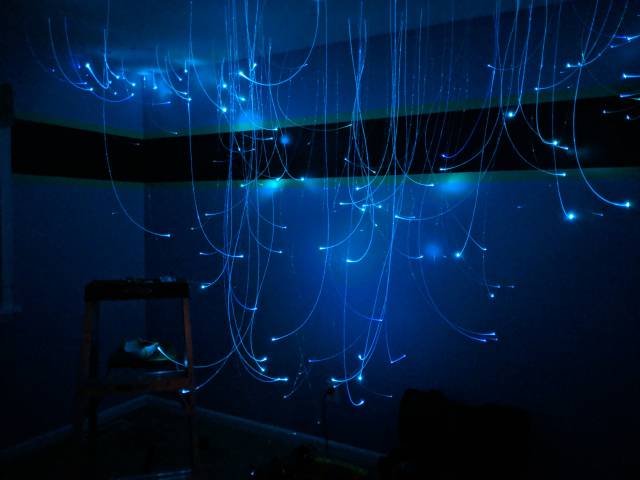
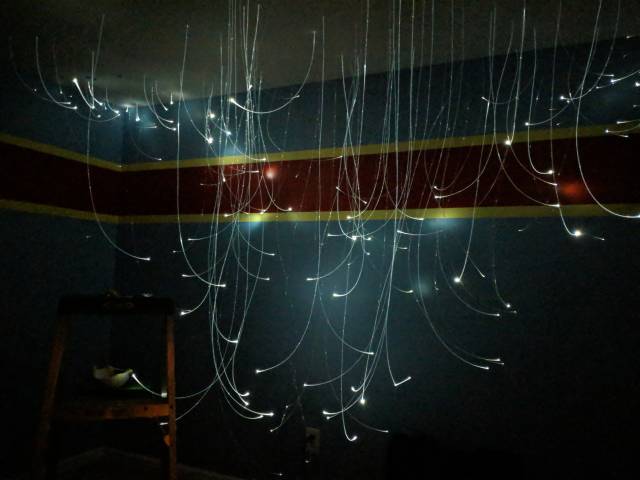
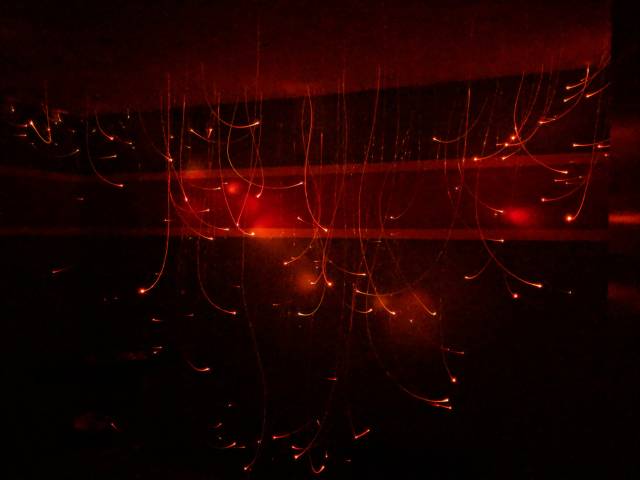
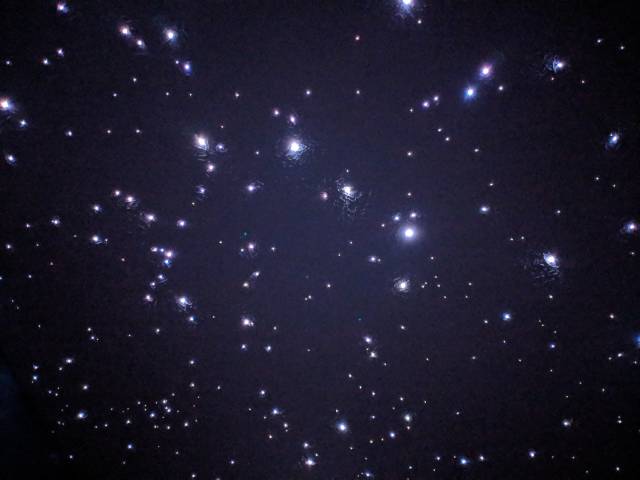
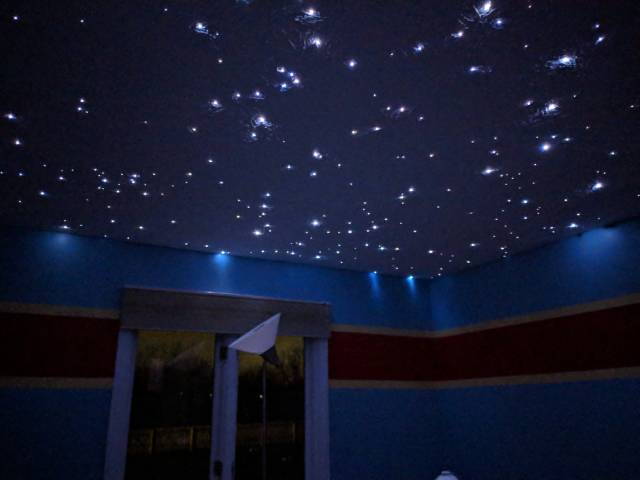
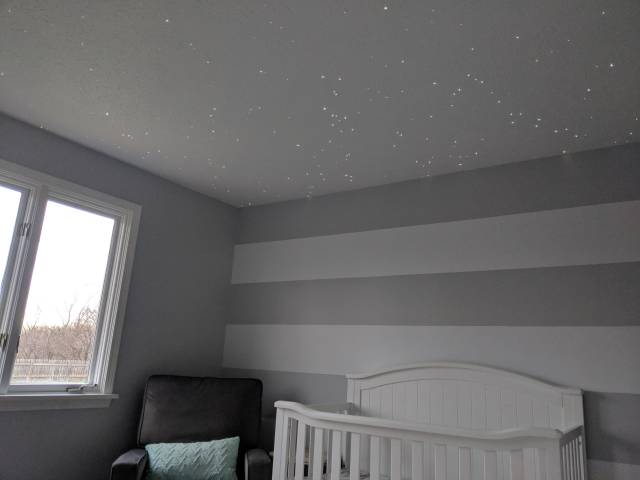
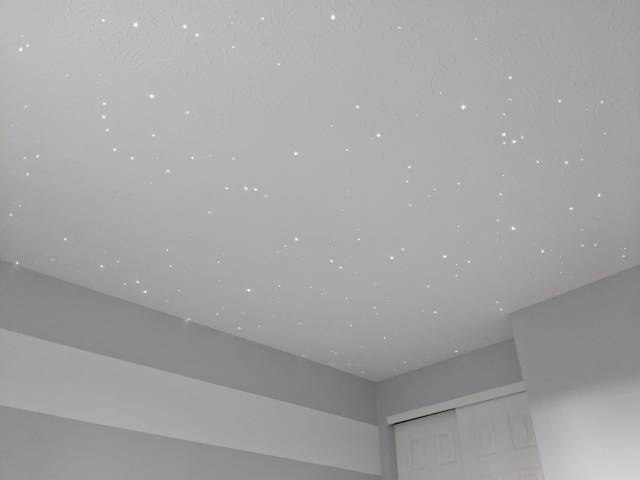
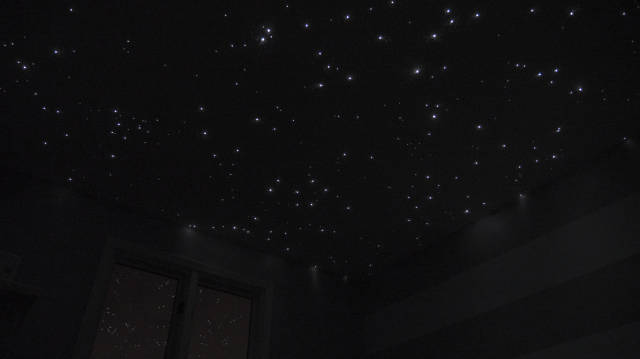
After seeing a thread on Reddit's r/DIY subreddit with a similar idea, future parents Andy and Lisa decided to make a fiber-optic star ceiling in their daughter's nursery. The thing is – it has a precise star map based on their child's due date.
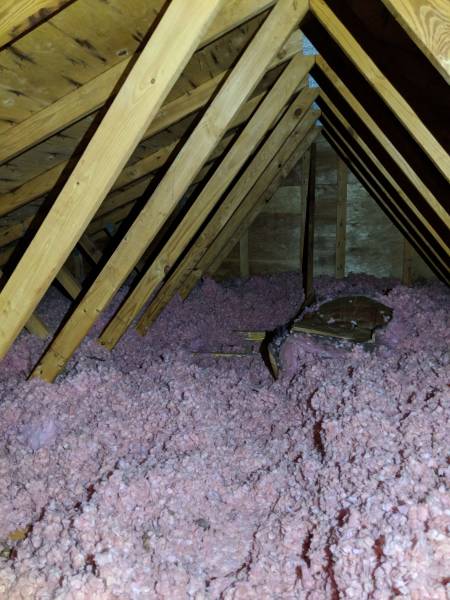
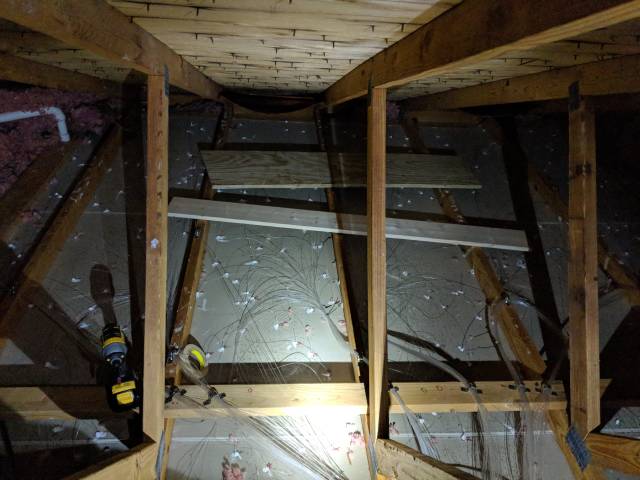
This is what I started with. First step was to move aside all the fluffly insulation, and peel back the rolled insulation. This wasn't all that difficult but I'm a little over 6' tall so it was a tight squeeze everywhere up here. To get to the corners I laid down plywood planks to lay on. Thankfully the weather was cool outside for this entire project so I wasn't baking in the attic. I wore a thick hoodie (with the hood always up to protect my head from the nails coming through the roof. Saved me some pain {and tetanus!} a couple of times) and jeans along with gloves to minimize skin contact with the insulation. Also wore a mask, which was a must. I've worked in the attic a few other times just running some cat6 cables without a mask and I always end up coughing for the next hour.
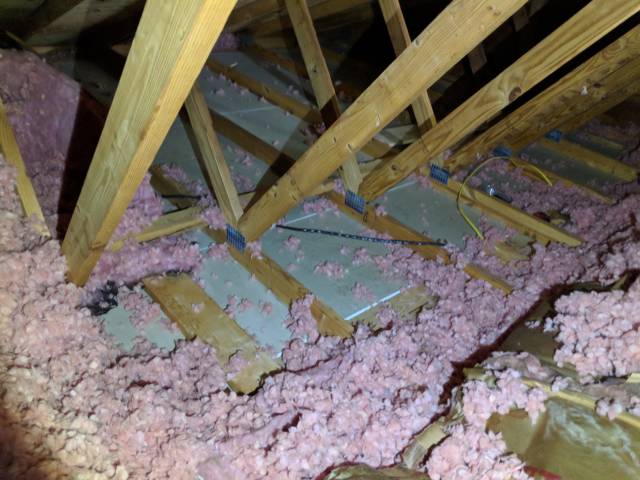
Starting to reveal my canvas. I rolled the insulation back as neatly as possible with the idea that I could just roll it back after I was done. Didn't really work out in the end but it was easy enough to do. The yellow wire is the new outlet I ran into the closet.
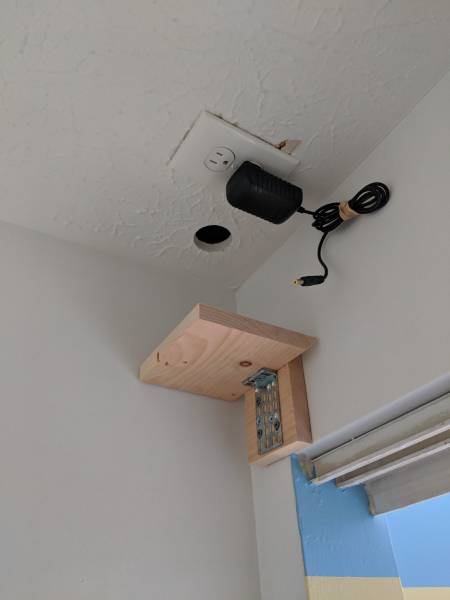
I had an electrician friend help me run the new outlet through the attic and into the closet where the light box would be. We tied this into the closest outlet in the bedroom. We had to cut a hole in the drywall in the room in order to fish down the Romex wire, but the room was going to be repainted anyway so no big deal. I whipped up this little shelf for the light box to sit on, and cut a hole in the ceiling to line up with the fiber bunch that would be going up there. Figured I would paint the shelf when I did the room; never did.
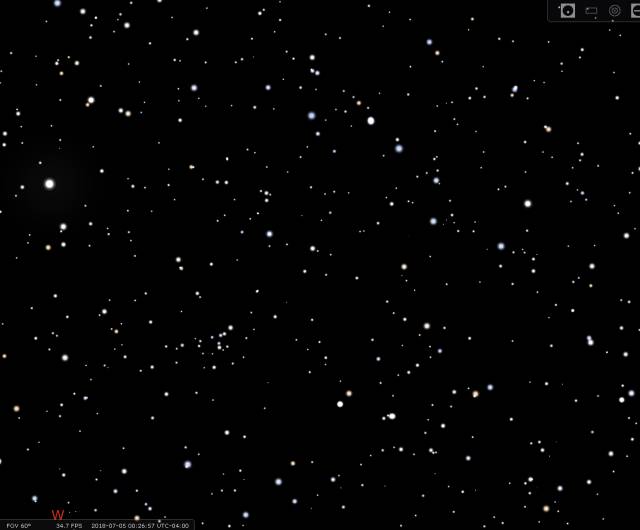
I used a program called Stellarium (free download) to map out what the night sky would look like on July 5th, 2018, which is my daughter's due date. The window in the Nursery faces North-West, so I used that as my direction in Stellarium. Theoretically on a perfectly clear night in early July, this would be a pretty accurate view of the sky over my backyard (note the Big Dipper in the upper middle right; my favorite part). I adjusted the magnitude (brightness of a star) filter in Stellarium to bring out some of the more dim stars until I got to around 430 in the frame. This picture is slightly exaggerated because I increased the scale of the stars so that they would be easier to trace in Photoshop to create my template. That's why some of the dots are so big.
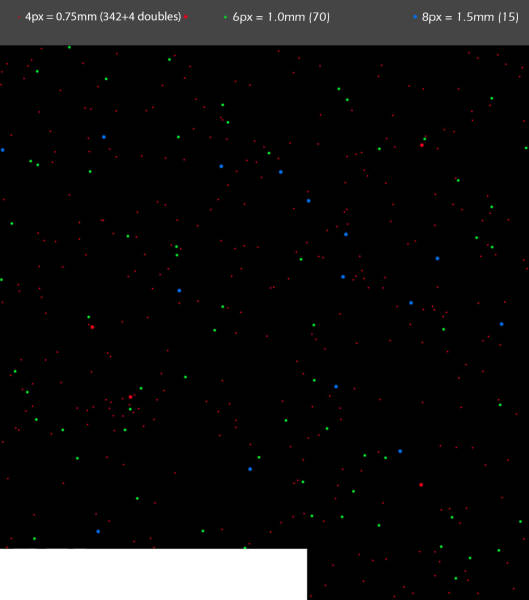
This is my template. I color coded the stars based on the size of the fiber strand. The kit I bought came with three sizes of fiber - 0.75mm, 1.0mm, and 1.5mm. I knew I wanted to use the biggest strands for the Big Dipper (easier to see now in blue), and then I just chose a few of the brightest stars (biggest dots) from Stellarium for the rest of them, then worked my way down in size. I would have a couple of the smaller strands left over so I doubled a few up in some spots.
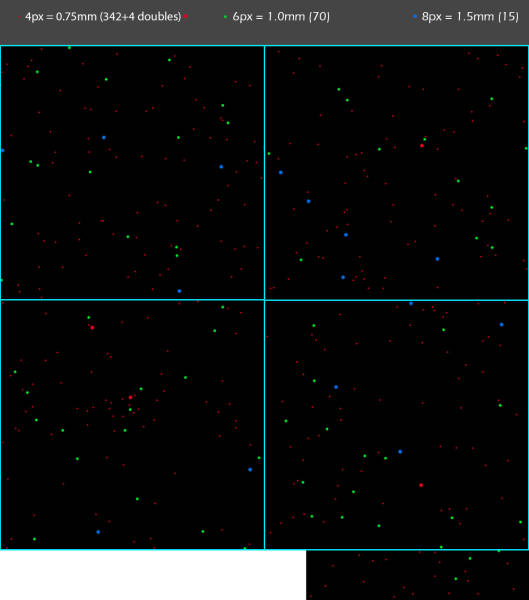
My plan was to project the template onto the ceiling, so I added this grid to help me align things. This is a scale drawing of the room, so the white space is actually the hallway outside the room, and the bottom right part is leading into the closet. It was tough to line up the closet part and I was getting tired at that point so I ended up just winging it and plotted the dots in that little section free-hand as best I could based on the drawing.
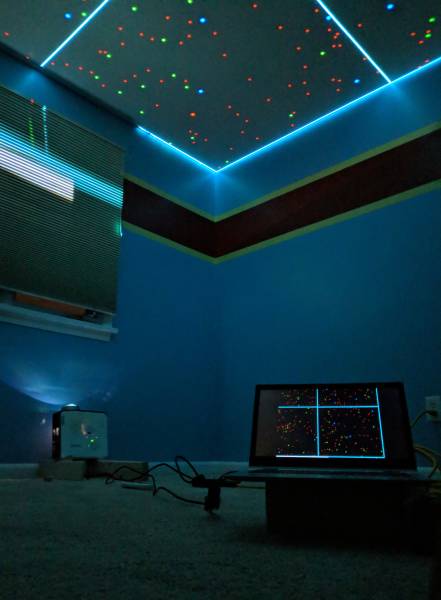
I borrowed this short-throw projector from work and hooked it up to my laptop and it worked out great. Took awhile to line up perfectly, especially because I was too lazy to use anything other than flimsy 2x4's on carpet to hold the projector up. To get everything lined up, I marked the center of the ceiling with tape, then moved the projector until the center of my grid crossed the center of the room, and then fine tuned it until it was straight along the edges. The projector image didn't cover the whole ceiling at once, so I did it in quadrants. For each section I went around with red, green, and blue sharpies and dotted the ceiling.
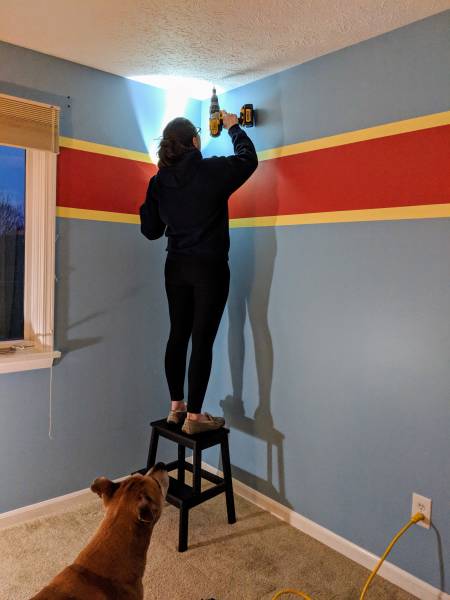
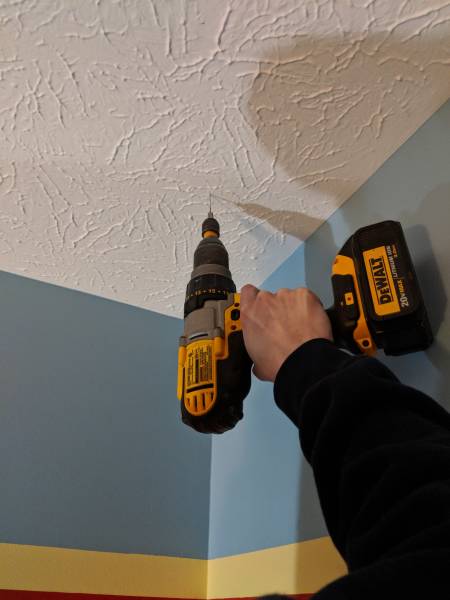
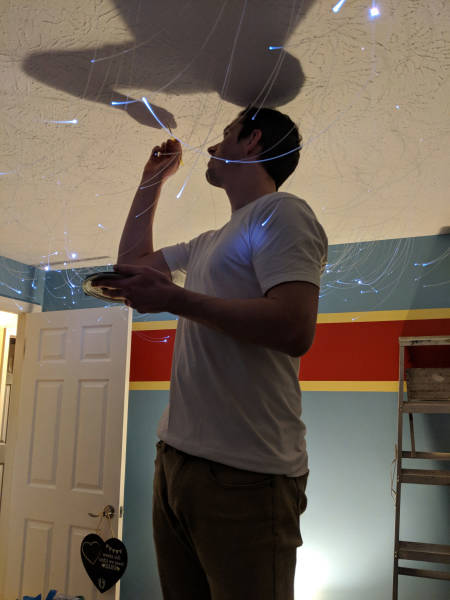
With the dog's supervision I put my pregnant wife to work with the drill while I went in the attic to mark the holes she was drilling.
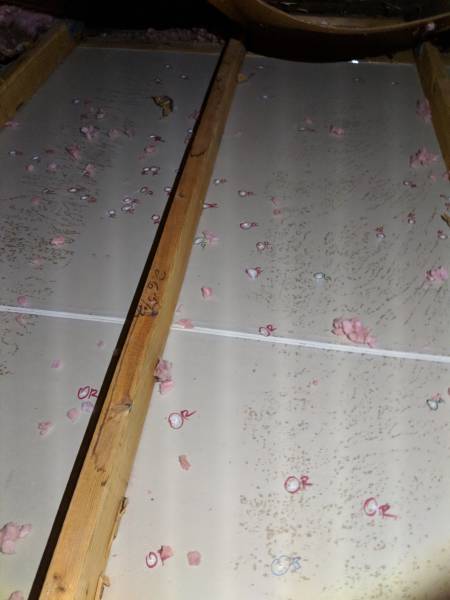
You can see a few red dots on the ceiling that marked where she would be drilling. Overall we did somewhere around 430 holes, and there were only a few that I didn't use. The strands are 13' long, but they didn't quite reach one far corner of the room from the closet. Not a big deal in the end.
When the wife made a hole, she'd yell what color it was and I'd circle it. I then used the studs as row separators, and I counted how many of each color were in each row. I originally did the counting just to keep track of everything, but I ended up using those numbers to organize the strands later. There were 6 rows total. If we encountered a dot on the ceiling that was in a stud, I just had her move it over an inch one way or the other.
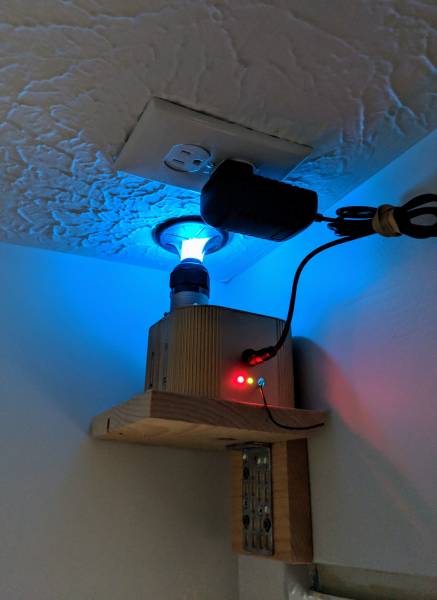
This is the remote-controlled LED light box with the bunch of fibers installed. I bought a flexible grommet from Staples to cover the hole in the ceiling. Also patched up the area around the new outlet.
First time I lit them up. I had already separated the three sizes of strands and taped them together, thinking that would be enough to get me organized in the attic. I thought I could then just pick out what size I needed based on what color hole I was putting it through and be done in no time. Not even close. I was up in the attic for all of 5 minutes before I realized this was going to be way more of a pain in the ass than I thought.
The 13' strands of plastic get snagged on everything, but they get especially tangled up on each other. Trying to pull a single strand out of the whole spool was literally impossible and created the the biggest tangly mess, so trying to work all that out in the attic almost made me want to quit this entire project. I took the fiber bunch downstairs and separated everything by row based on the numbers I got earlier from counting the holes.
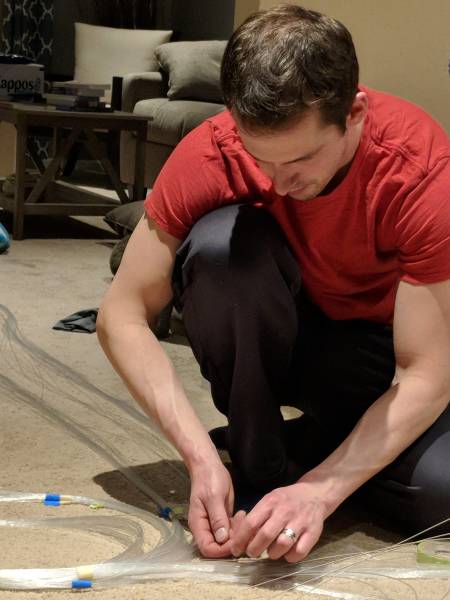
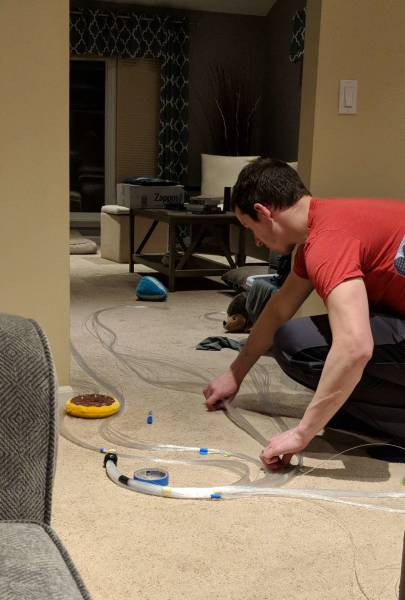
Laying everything out, using dog toys to separate rows. It was tough to get everything straight because the strands just wanted to curl up from being stored and shipped in a coil.
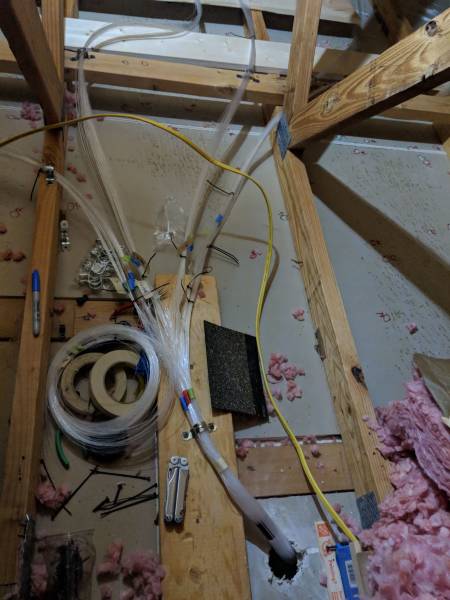
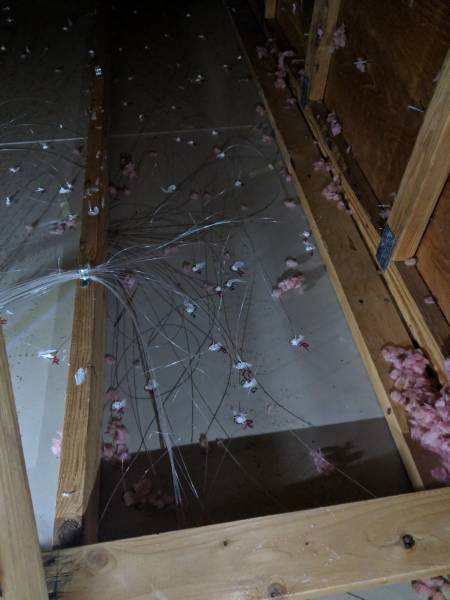
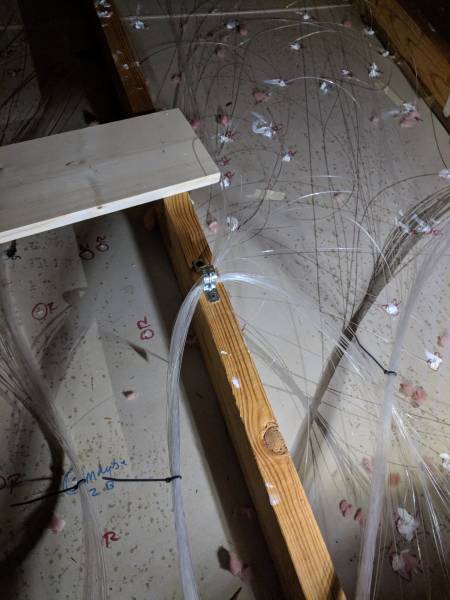
Went back into the attic after a few hours with all the rows now separated. I used metal brackets to help keep everything in place and in their own rows because I swear to god if a plastic strand even touched another one, they would get tangled together. Coiled up on the left are the extras that I didn't use but served as a back-up for any broken ones (only had to use one).
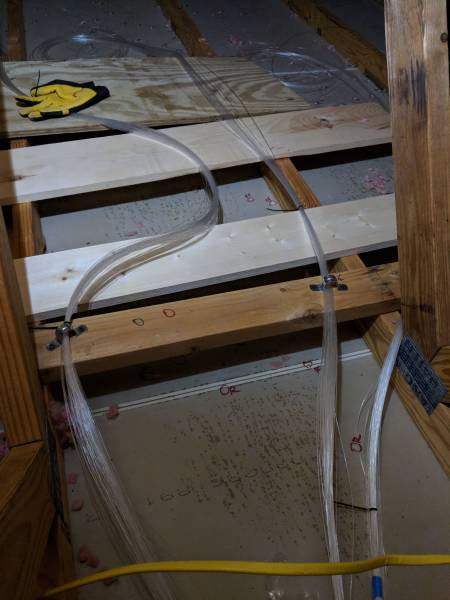
Laying out the rows.
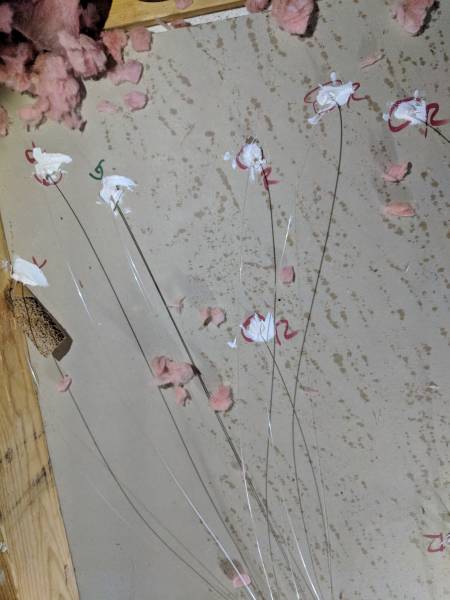
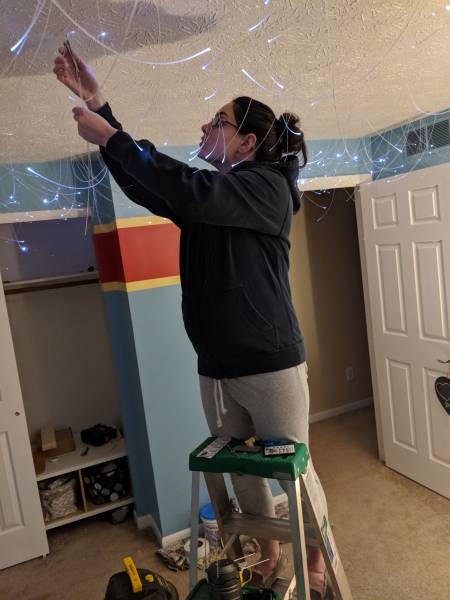
It looks like a mess but I really don't think you can get more organized than this with this kind of project. After I put the strands through the holes, I went back and put a spot of caulk on it and squeezed each one with my fingers to sandwich the strand and adhere it to the drywall. I did all the caulking after all the rows and been ran.
Going through and doing the caulking, being careful to lay my wood planks down so as not to crush any strands. Truth be told, it was actually harder to break the strands than I thought. They are very flexible and don't snap - they'll just bend and kink but still be usable. Even so, I didn't want any kinks.
Close up of my caulk job.
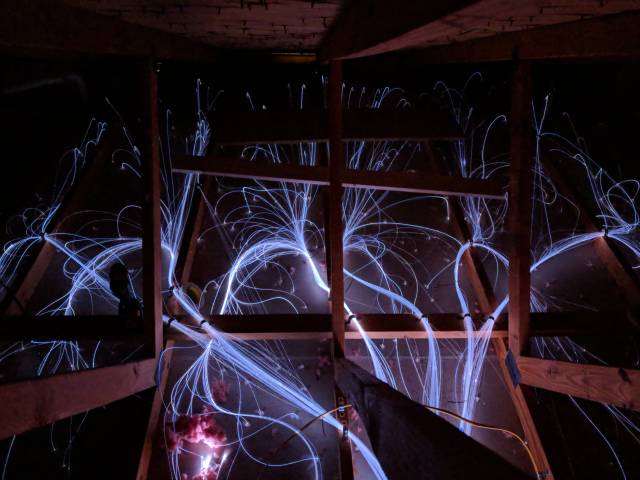
This is the spaghetti mess after running all the fiber.
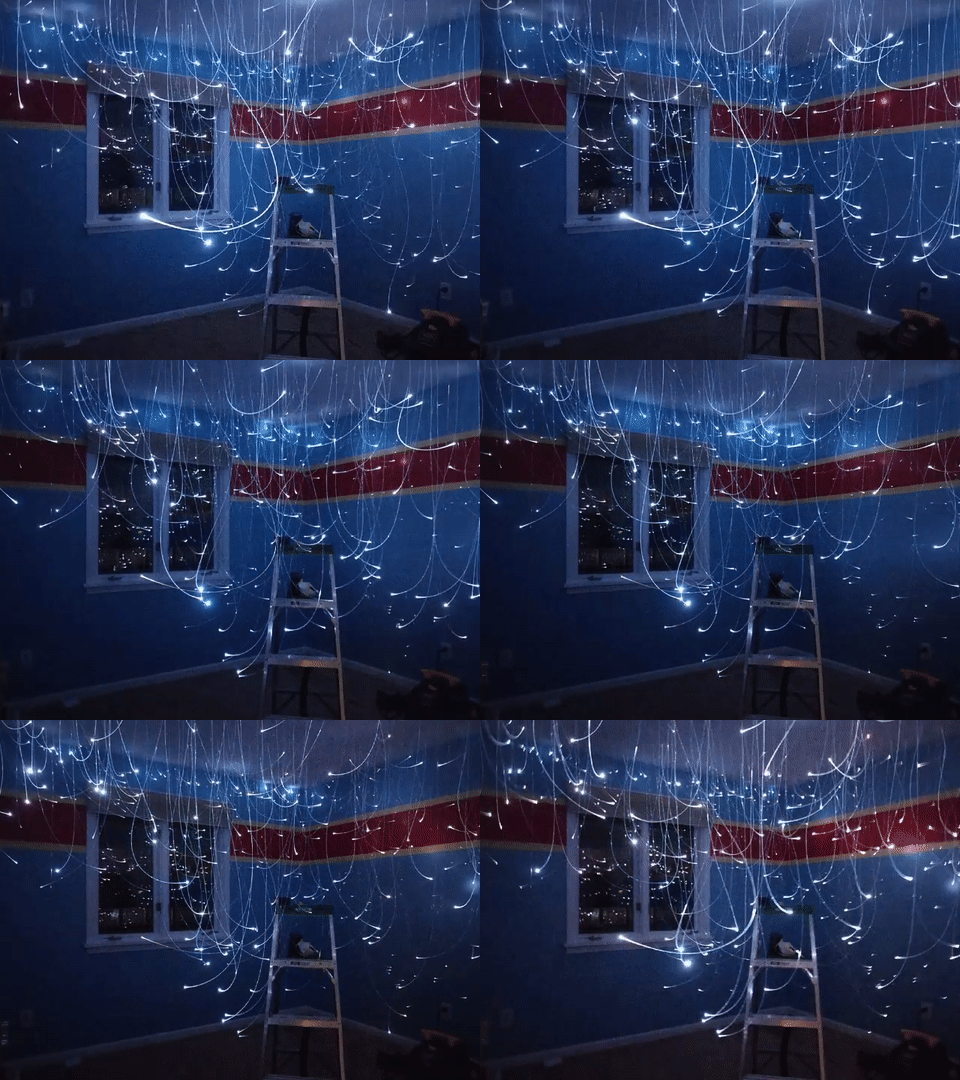
Really cool when lit up.
This is actually only half the strands, I took this picture after a full night's work in the attic. Took two nights to get all the strands done, and then another night to do the caulking, then another night to put back all the insulation and clean up in the attic.
DOOM theme.
All. Done. In total I probably spent close to 20 hours in the attic. My knees were destroyed, my back hurt, and I'll never do this kind of project ever again. It was 100% worth it though.
My favorite picture from the project. Really cool view that no one will ever see again because it's all covered back up in insulation.
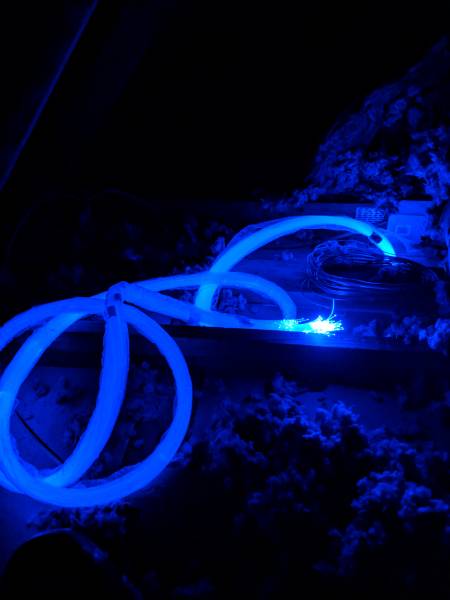
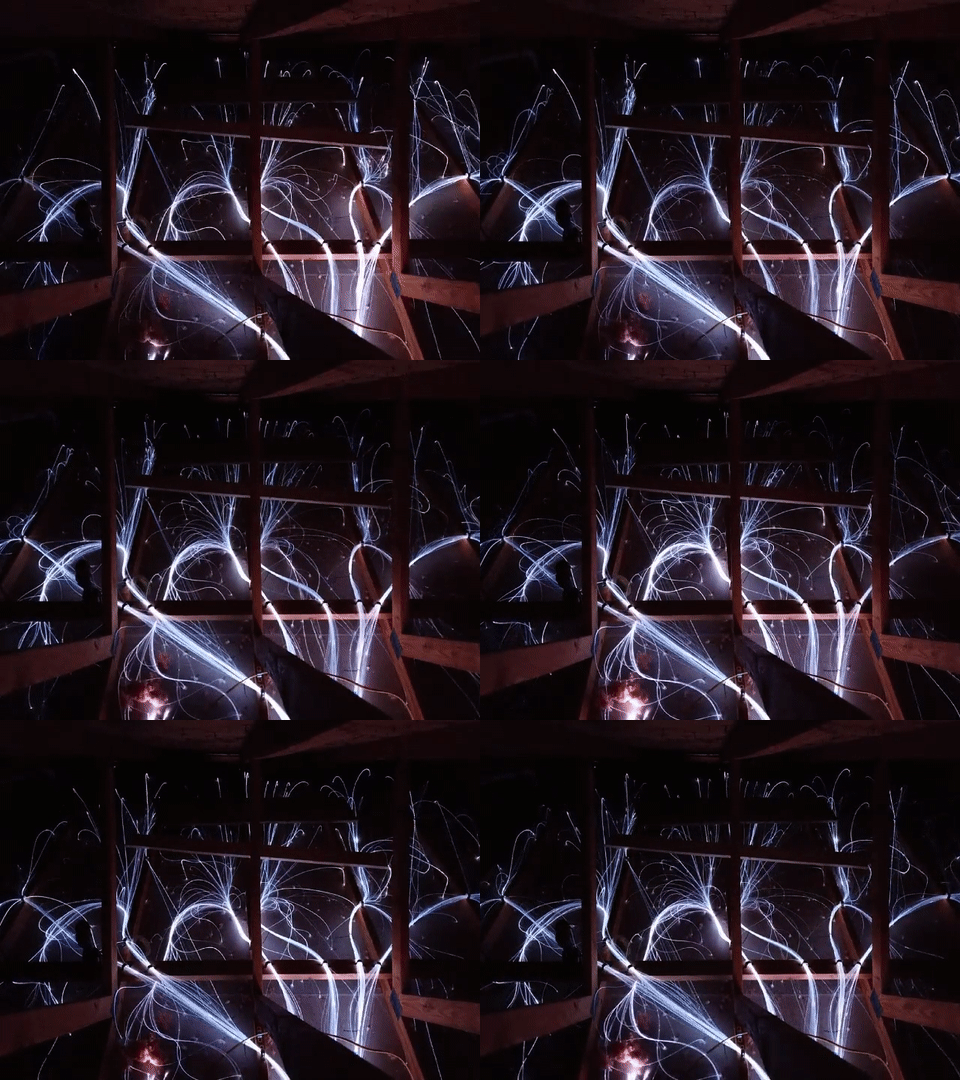
The light box has a spinning wheel inside that creates a twinkle effect. Also really cool from the attic.
Twinkling spaghetti.
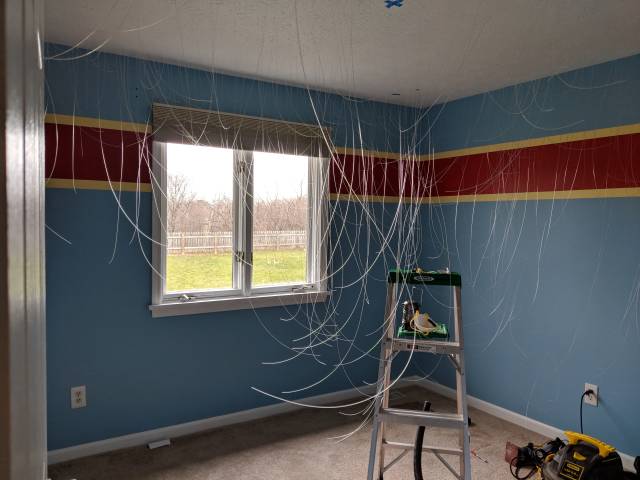
All the strands before being trimmed.
Before cutting the strands, I went around put a bit of ceiling paint around each one. I had to do this for two reasons - to cover up some of the sharpie spots, and because my wife was a little heavy-handed with the drill and punched it into the ceiling with almost every hole. This was no big deal, just time consuming, but it helped immensely that the ceiling was already textured because it was easy to blend it in.
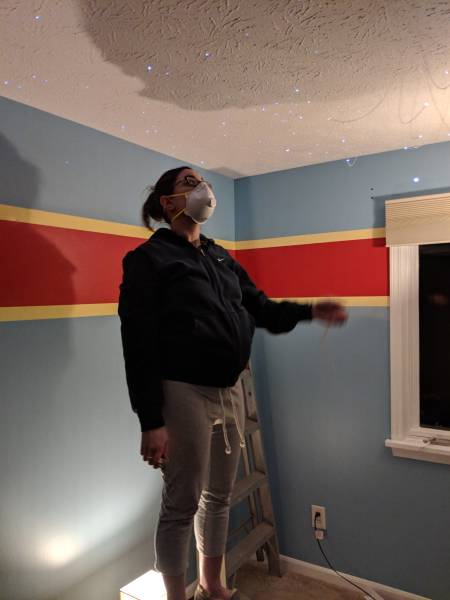
The wife helped with the cutting. We used toenail clippers for a flush cut; worked perfect.
Pregnant lady taking extra precautions because of dust and paint.
All done. You can see the Big Dipper in this picture. Honestly because of the twinkling effect, it's hard to make out the Big Dipper when you're just staring up which bums me out a bit but the ceiling really does look incredible.
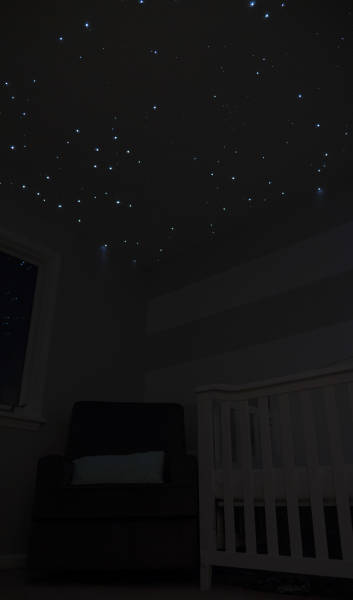
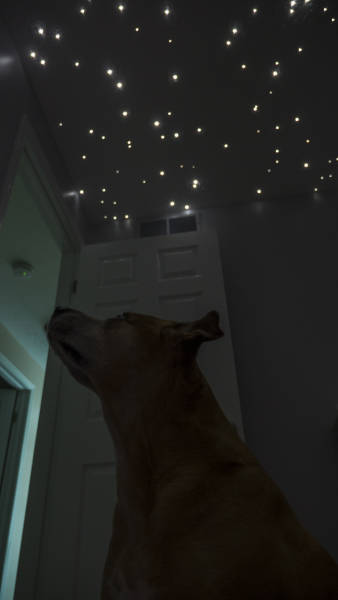
The stars create enough light to use as a night-light.
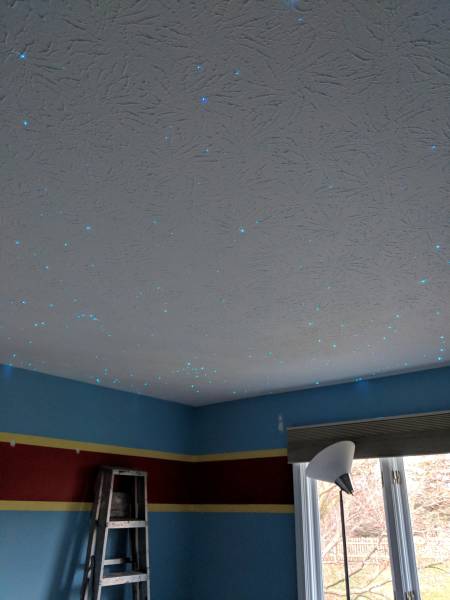
This is a shot in the day-time. When the star light is off, you can't even tell there's anything in the ceiling; it looks completely normal.
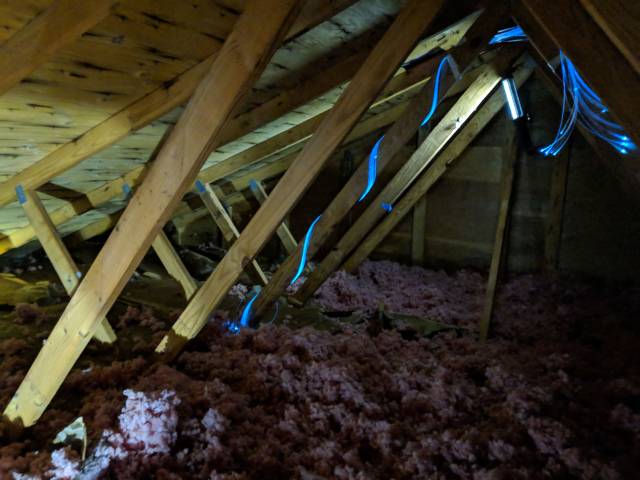
Finally 100% done with the project. Put all the insulation back but in reverse order. I couldn't lay the rolls back down because of the strands, so I put the fluffy down first and then the rolls on top. Because I didn't want to deal with laying on boards again and working around the strands, I just sat in the middle of the attic and threw insulation bunch by bunch into the corners, and then just tossed it by armfuls to fill it all in. I also wrapped the extra fiber strands around one of the roof braces as an attic nightlight.
View from the attic entrance.
The room is now painted, the furniture is in, and I'm still blown away with how well it all came out. Pictures cannot do it justice - no matter how hard I try to get a good photo, it is always 10x better in person.
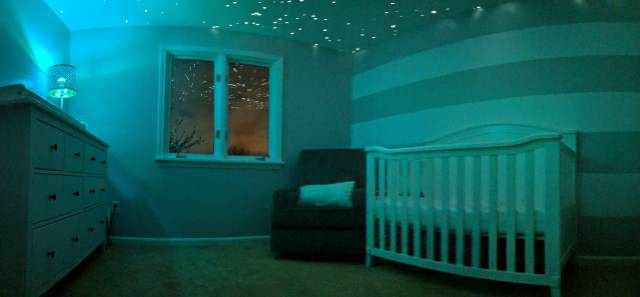
Pano of the room.
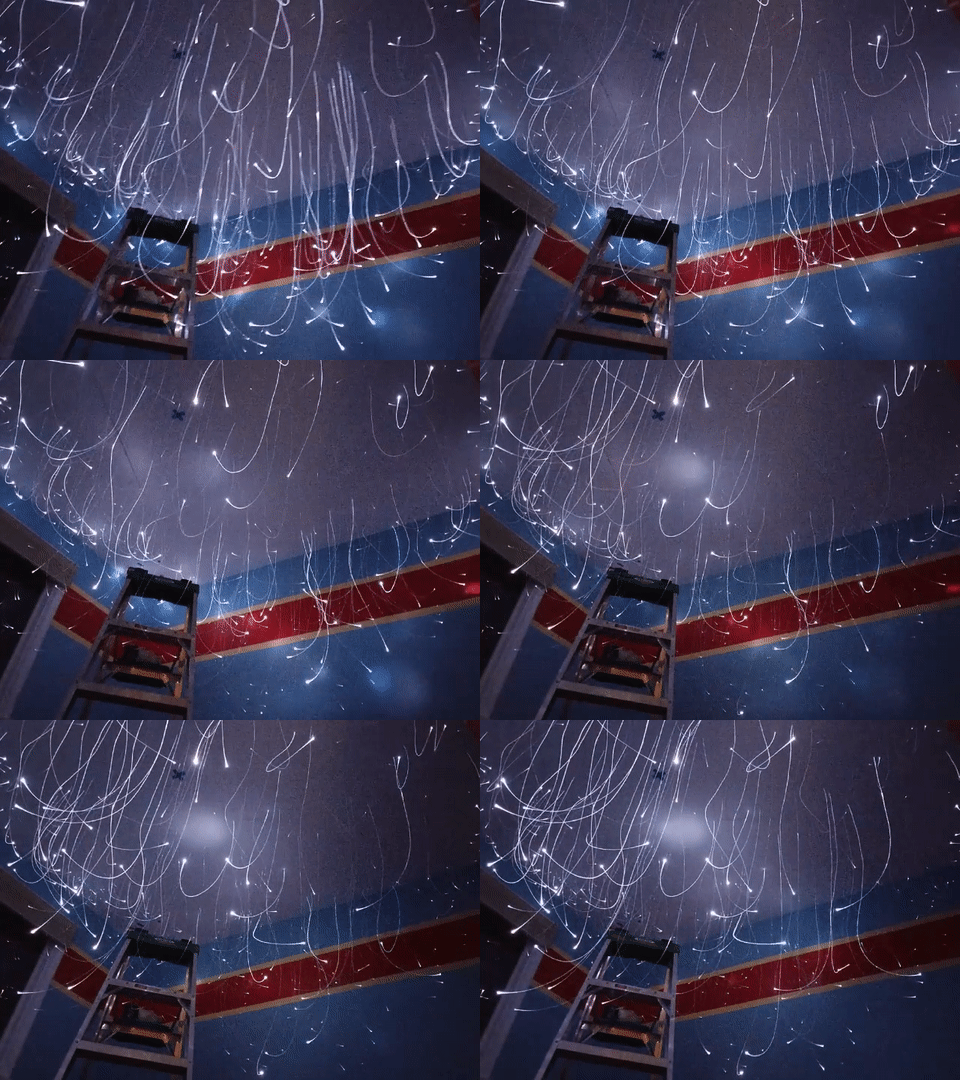
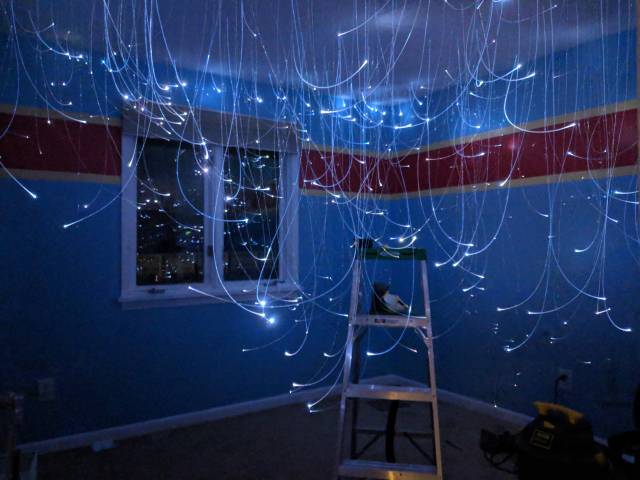
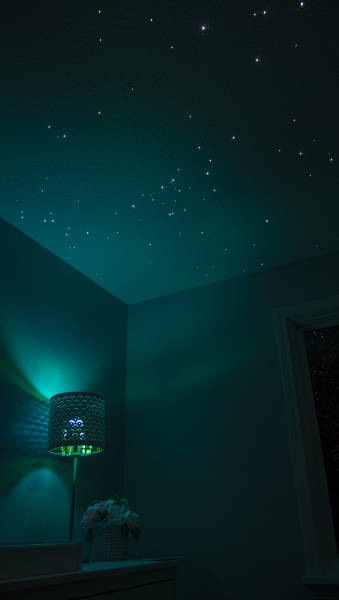
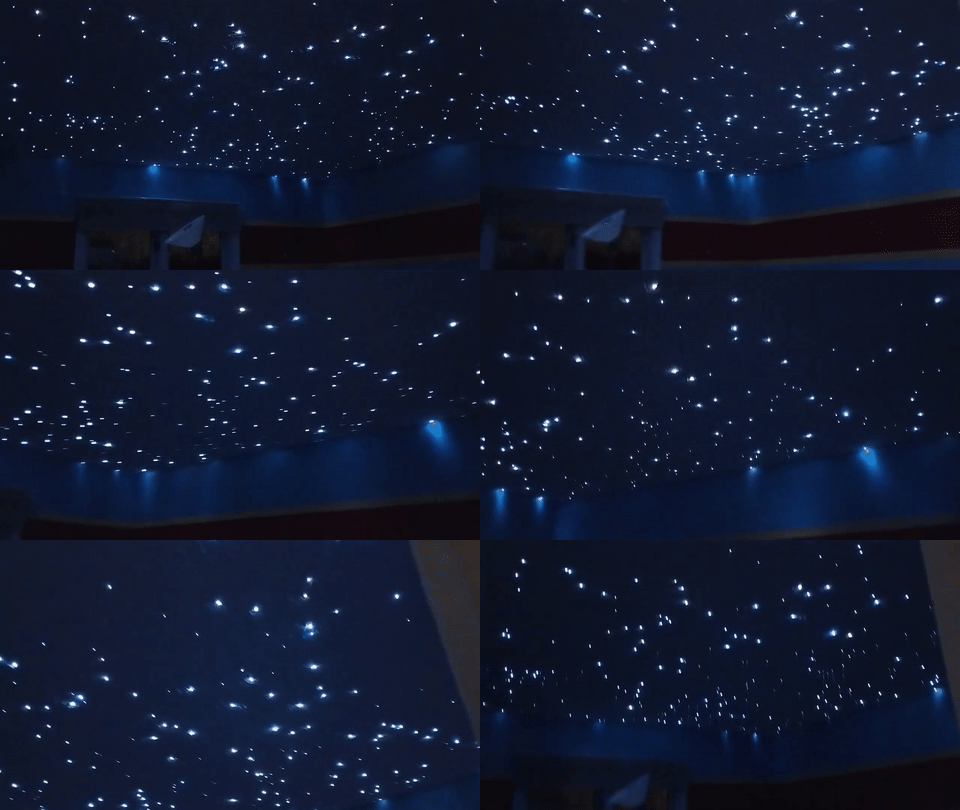
I use a Hue bulb in the lamp for a bit of an Aurora Borealis feel. This is also a great picture that represents how they actually look because it was taken with my DSLR... They're nice, small, glowing spots, not radiating light bulbs like in the video below and in most of the pictures taken with my Pixel 2.
I took this video laying on the floor looking straight up.
The stars are still clearly visible in the daytime, but are more subtle.
Here's hoping that my newborn daughter will like them. Worst case scenario, I take over this room as my office :)

