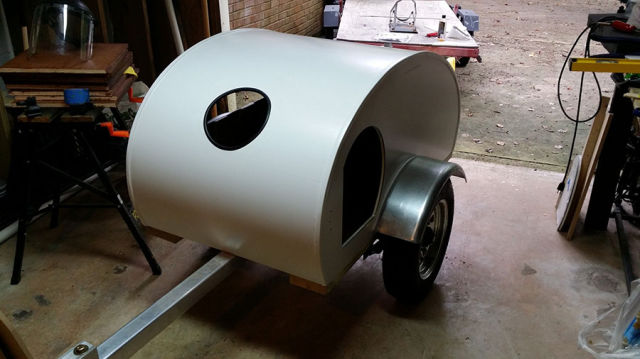
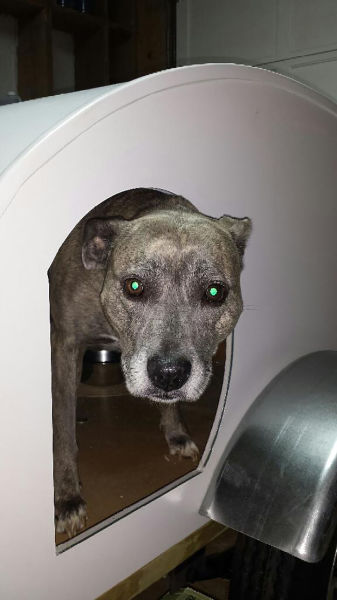
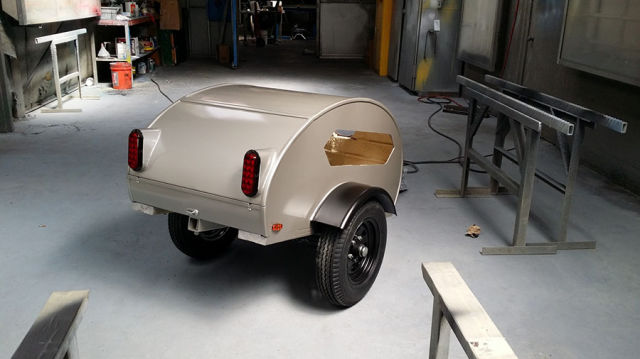
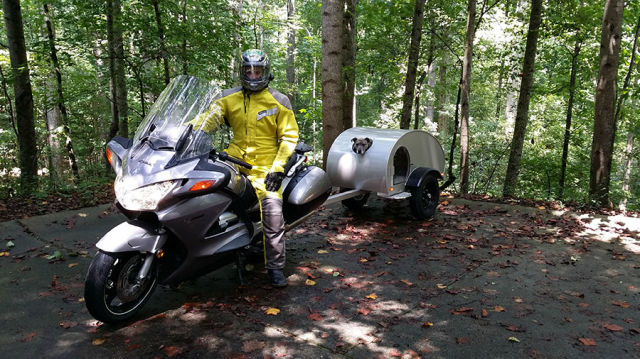
This dog’s owner made a special trailer that attaches to his motorcycle so that he could take his dog for a ride in comfort and style.
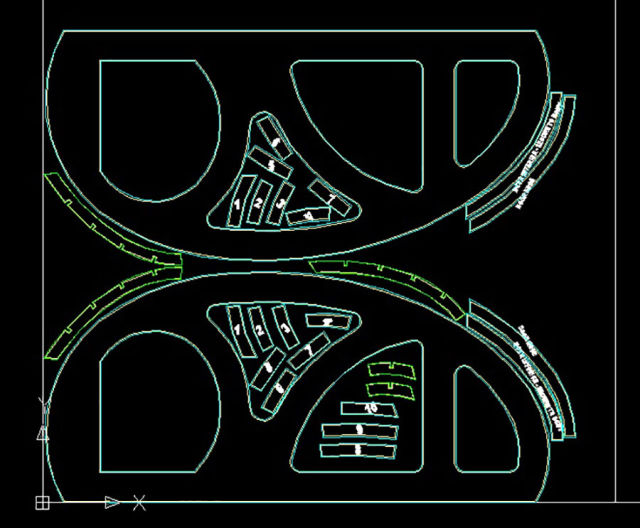
It all begins with cad
This is what I cut with a cnc router, the two large pieces are the left and right sides of the trailer and all the little numbered pieces fit between the small rectangular traditionally cut ribs. These numbered parts attach to the side wall to properly space the horizontal ribs and then the parts you see "U" shaped cutouts on make a middle spar. The "U" cutout was also done on the horizontal parts so they all fit together like puzzle pieces. A little bit of glue, stapling, and screwing, and you get to the next photo in just a couple hours. It's the most fulfilling part of the project because things come together so quickly, but wow is it such a small portion of the whole project.
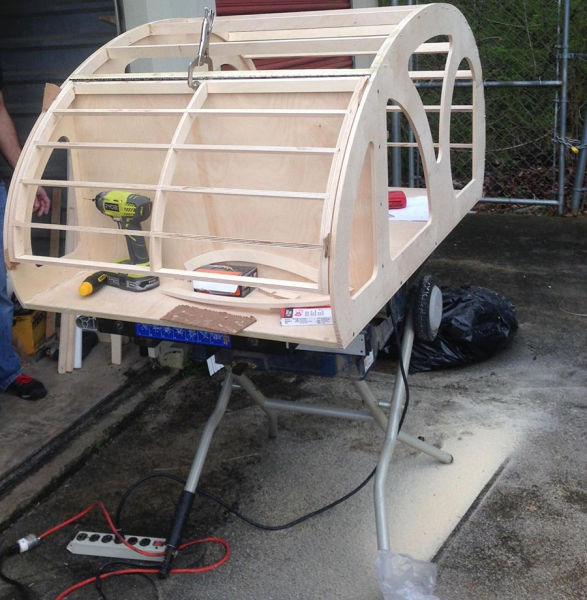
The Skeleton
All parts were cut from 1/2" birch plywood. It almost feels like cheating since everything just fits together (if it was designed properly).
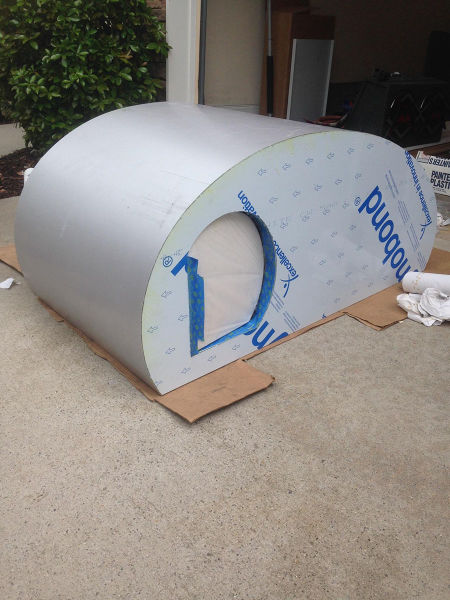
Sides are made of Aluminum composite material on top of the 1/2" birch. This material is fairly light and fairly strong, and machines well. Top skin of 0.040 aluminum was added over wood for waterproofing. PVC corner trim was added later.
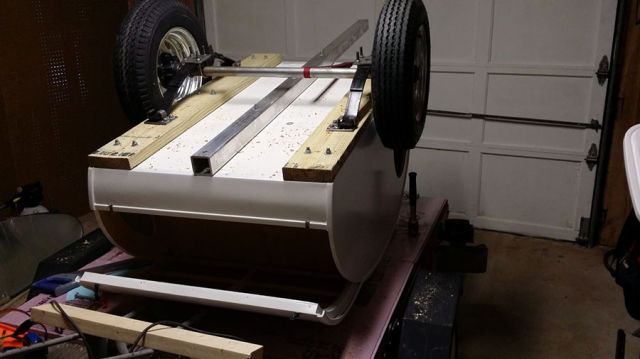
Now to make it a trailer.
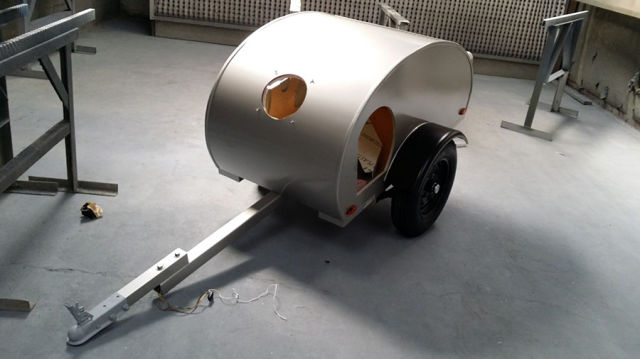
Installing the wheels/axle, tongue, etc. Just through bolted everything to the 3/4" bottom plywood with galvanized hardware (PT wood). I used a 2x6 to attach all the axle and spring hardware and I used 2.5" heavy wall aluminum tube for the tongue. I later ran my wires inside that tube.
Window Shopping
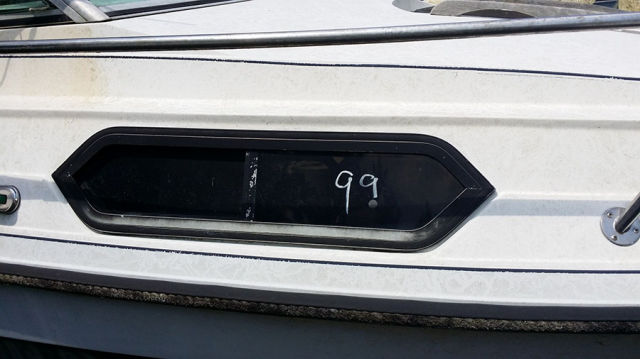
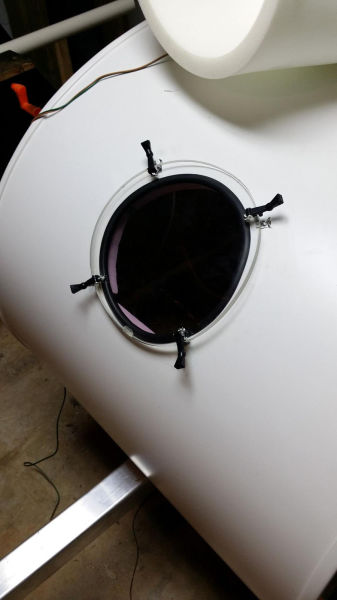
I knew I wanted a window, but I couldn't figure out how I was going to waterproof it. Somehow I decided boats would be a good start, but the ones for sale new were too expensive, so I found this one at Lanier Marine Liquidators. I figured this could keep water out as well as anything. This was a neat place, basically a boat junkyard. I found a few other possible windows, but this one slides open, has a screen and was the right size. It's from an Ebbtide boat.
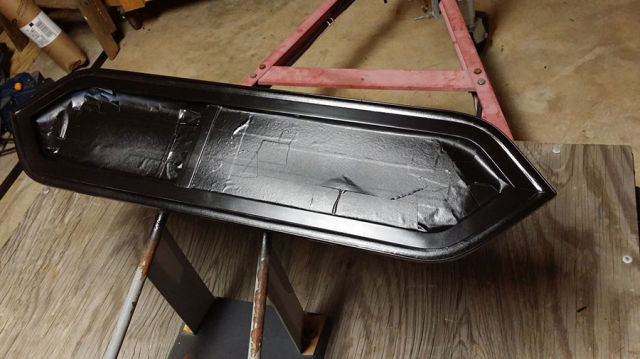
Up close it was pretty rough, but the price was right and with some sanding and paint, it looks good. This is just a picture of it masked and painted.
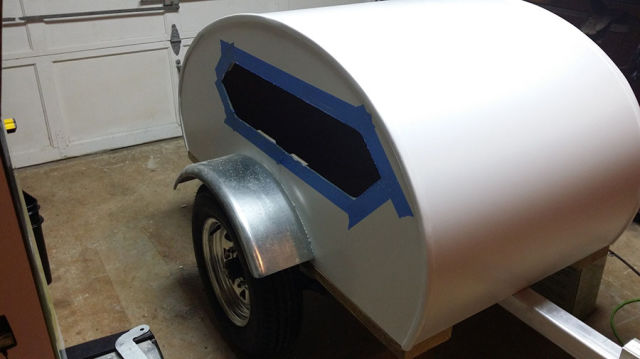
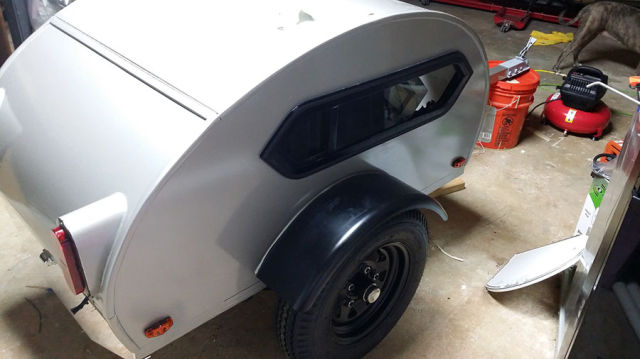
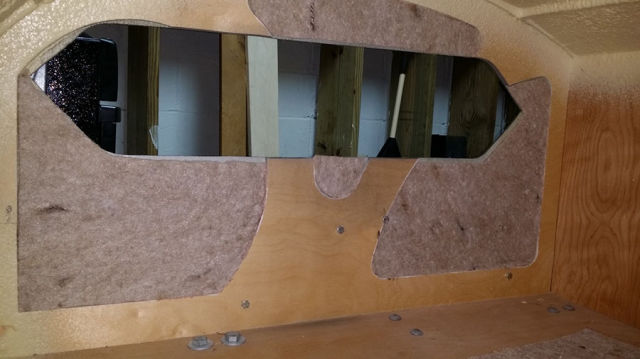
Cut hole for the boat window. Just traced around it and used a jig saw, nothing too tricky here.
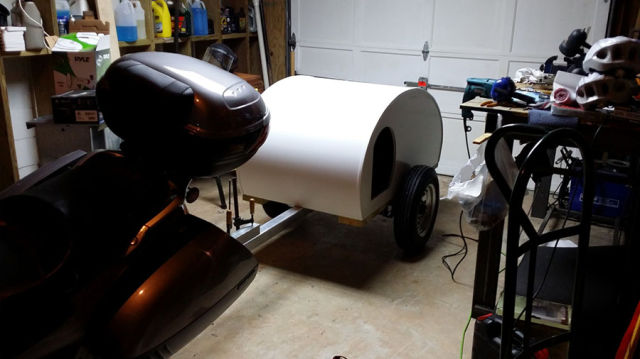
First fitment to motorcycle. You can see the clamps at the left. I was playing with the tongue length here. I settled on very long. I read somewhere that the length from the center of the axle should be about 2-3 times the axle width. I don't know if that's right, but it works and is pretty balanced at this length also. The trailer is 30" wide x 4' long, and with the tongue, it's close to 8' long. The finished trailer weighs about 225 pounds by the way.
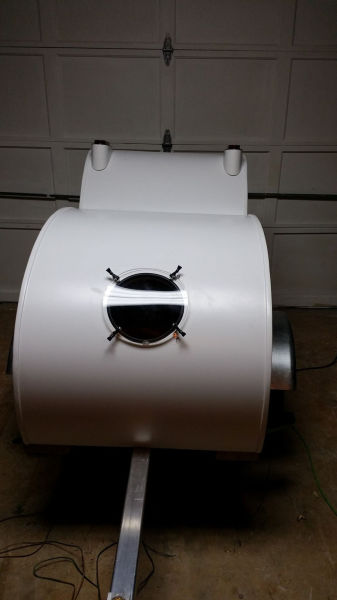
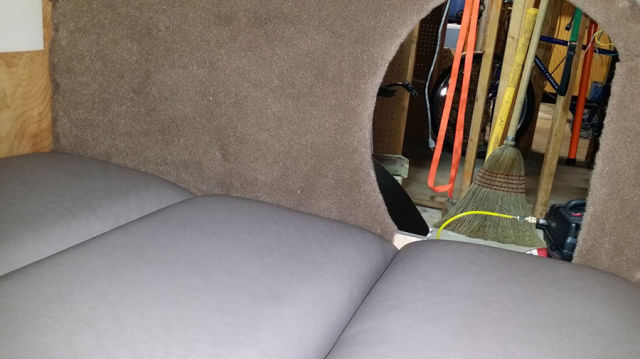
This picture is just after cutting the port hole for Maggie to have her head out of. I spent a fair amount of time agonizing over exactly how high to make this circle. I measured her sitting and standing and eventually used a piece of thin metal that was cut to a perfect circle on the cnc router as a template to make my circle on the curved surface. So I bent the thin metal around the shape of the trailer and traced it. Then used a jig saw to cut the circle.
You know as soon as it's stable the dog's testing it out.
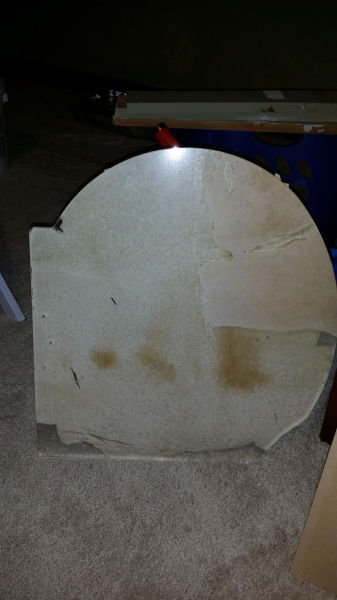
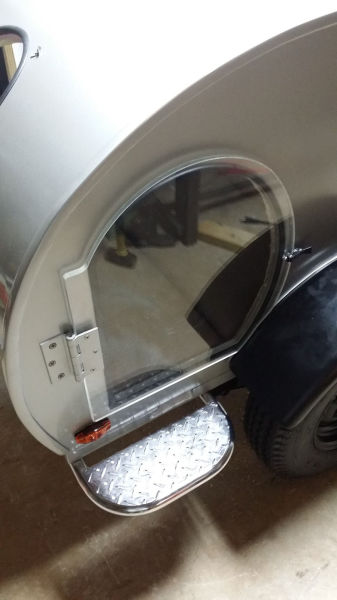
Lexan door, cut on cnc router to match opening plus some space on the left for the hinge. Lot's of goof off and work to get this old paper removed.
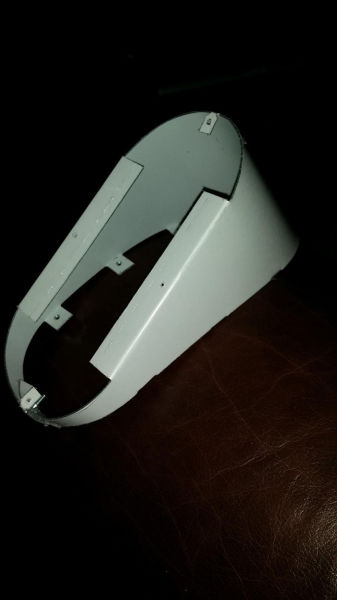
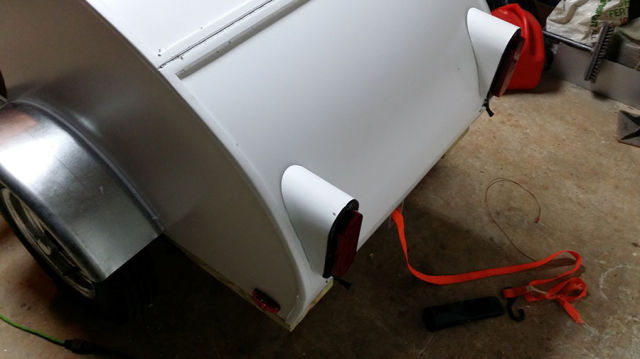
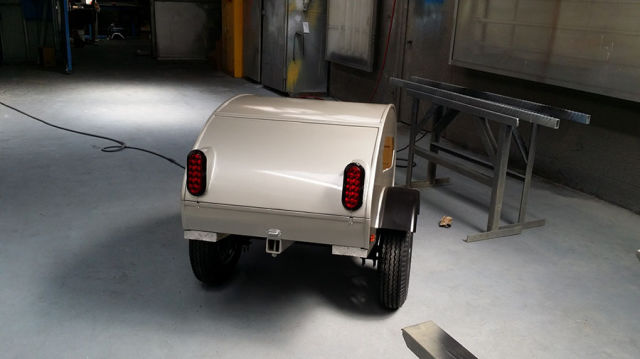
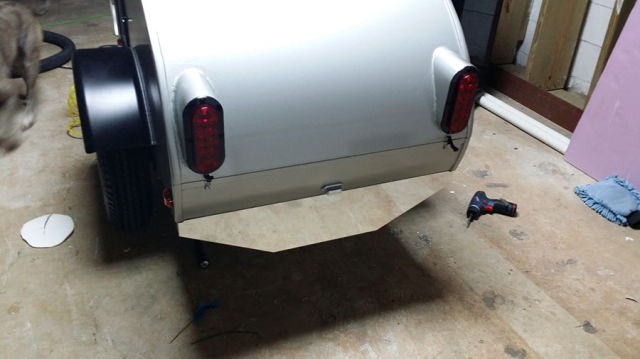
CNC cut tail light housing with attachment tabs should match the shape of the trailer. I formed this by hand basically. It's 0.03" aluminum, so I could tweak it until it fit right. I had predrilled holes on the cnc machine to match the lights so that helped a bit. I attached the light, then kept pressing until the metal matched the light. Drawing this took some time. None of this was modeled in 3d. So brute force was used to make this flat pattern.
Before bondo and painting you can see my tail light holders fit well, but not perfectly. Currently this is the one thing I'm not really thrilled about. The bondo job I did wasn't that great. You can't tell unless you look closely at the finished product, but it does bother me. Maybe eventually I'll refinish it or I've thought bout caulking over the corner with an accent color.
Lexan port hole rain cover. Lexan was cut on the cnc router, then bending this in the oven was a pain and it still doesn't fit perfectly. But then it probably will never get used, so it's fine. I made a jig of MDF and 040 aluminum to the trailer shape. I set the lexan on the jig and baked the whole thing for a long time (2+ hours), slowly increasing the temp every 10-20 minutes. At about 280 degrees F the lexan finally turned to a rubber like material and started to bend. I would pull it out and overbend it, then set it back on the form, but it would always tend to lift off the form and return to its original shape. I eventually hand bent it a little past the form and pulled it out and let it cool holding it with oven mitts. After only a minute it couldn't be adjusted and I decided enough was enough.
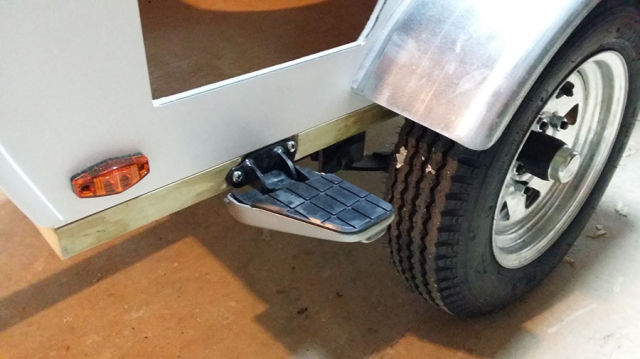
I noticed Maggie kept hunting with her back leg for a step, so I thought this would do the trick. It's from a Honda Pacific Coast (PC800) motorcycle. Good theory and matched the motorcycle theme, but in practice she would just jump clear into the trailer with this in her way. I spent a lot of time chiseling into the 2x6 so this would be level and flush. All a wasted effort, but it was a good thought.
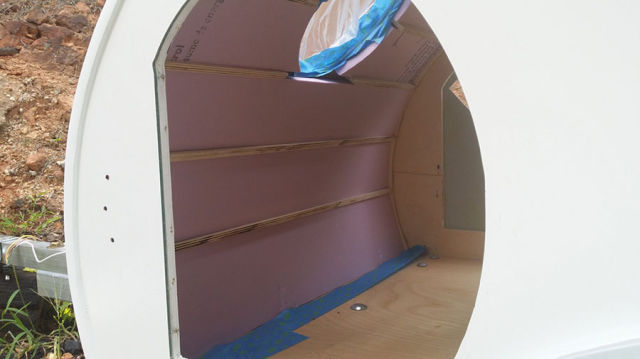
I installed rigid foam between the ribs before spraying on a liquid foam. This was mostly just to fill the voids so the spray foam would be more uniform. These are not attached in any way, just squeezed between the wooden ribs.
Freshly painted. Here is the only place you'll see the spray foam inside.
Rear bumper made of (you guessed it) aluminum composite material. Mirror finish. The plate should fit between the sloped lines. Attached with VHB Tape and silicone and will be screwed but I want to make sure the plate will hide the screws before I do it.
Finished lexan door and new step which is large enough for Maggie to use rather than jump over.
Finished shot of the window. It is bolted through the trailer wall and has silicone all around for sealing. Any water that hits the glass drips out the bottom. It should work well. I water tested it with a garden hose before installation and none got through.
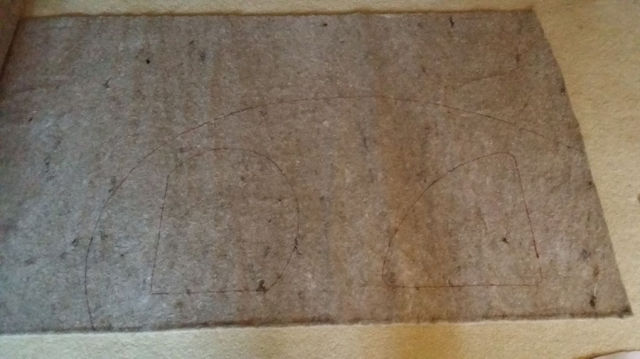
I printed a paper template that matched my original cnc cut files. I used it to mark my upholstry for rough fitting. Then I would put the pieces inside the trailer and remark/trim until they fit where I wanted.
I first installed this carpet padding between the supports, then I installed a second layer over everything. This is attached with spray adhesive.
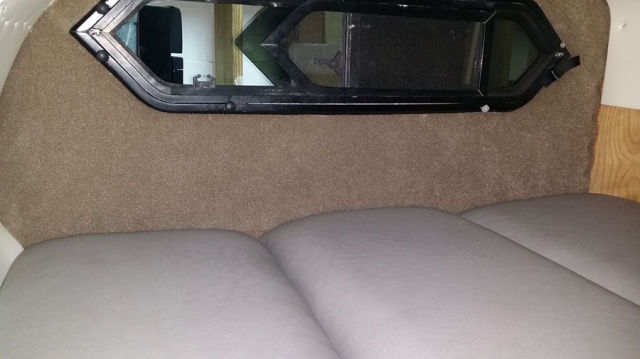
Nearly finished interior. I used 2" foam and vinyl over 3/8" plywood to make these 3 cushions. I don't have any progress photos, but basically I just cut the plywood to size, cut a rectangle of foam the same size, and stretched the fabric over and stapled it from the bottom. I have to go around the fabric and remove staples, tighten, loosen until I got the shape consistent, but it's just tedious work. The pads had to be small enough to fit through the door if I ever wanted to take them out to clean etc. so that is why there are 3 of them like this. I used automotive carpet on the walls. Same as the foam, just cut to shape and spray adhesive to attach. I also stapled around the perimeter fo the carpet
Nearly finished interior. I just need some sort of head liner possibly.

