Base fiberglass
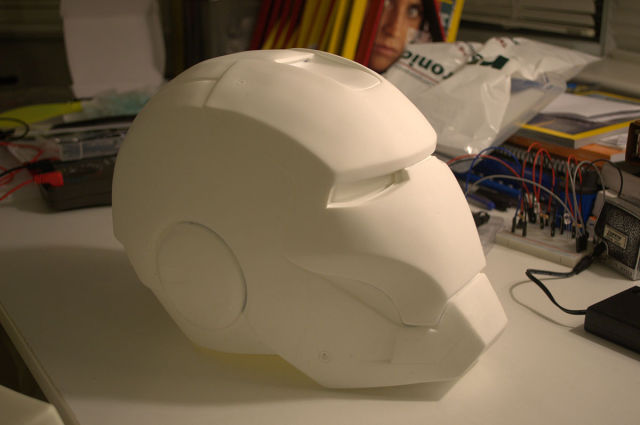
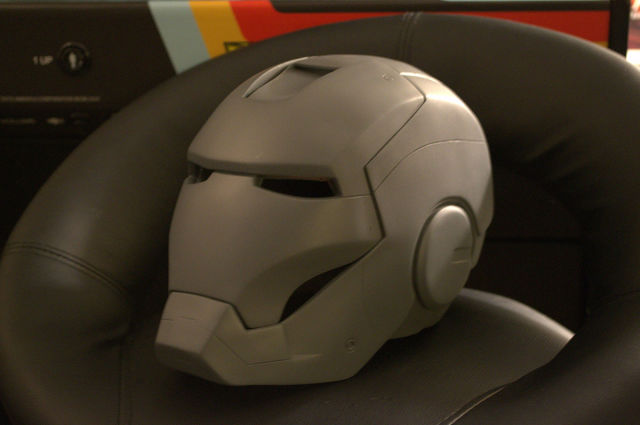
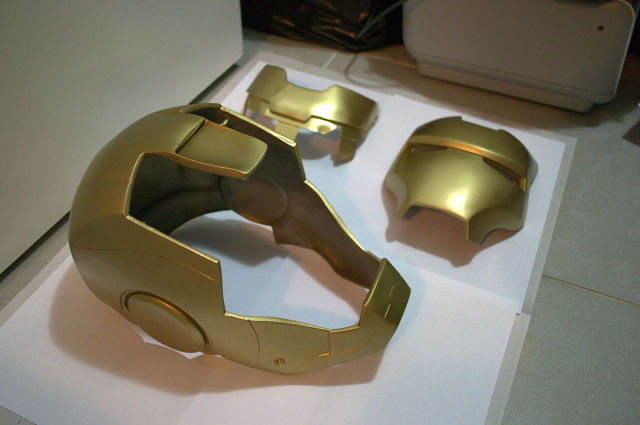
This was the starting point. A one piece fiberglass base. I would have to cut it into 3 pieces with a Dremel tool using the thin cutoff wheel and a hacksaw blade for the corners.
Other side
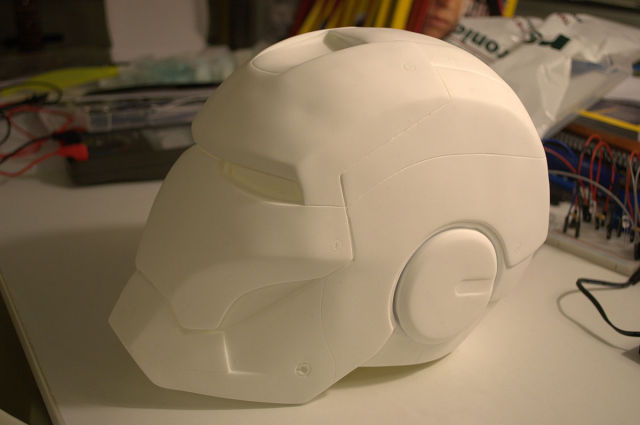
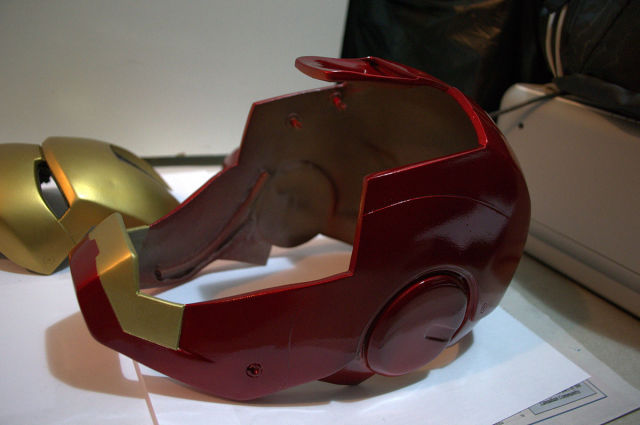
The other side. This was a really nice mold but you can see some of the wavyness in the faceplate. You can see the faceplate line I had to follow much better on this side. The slushcast fiberglass was very thick in places and was very nerve wracking to cut out.
Cut appart
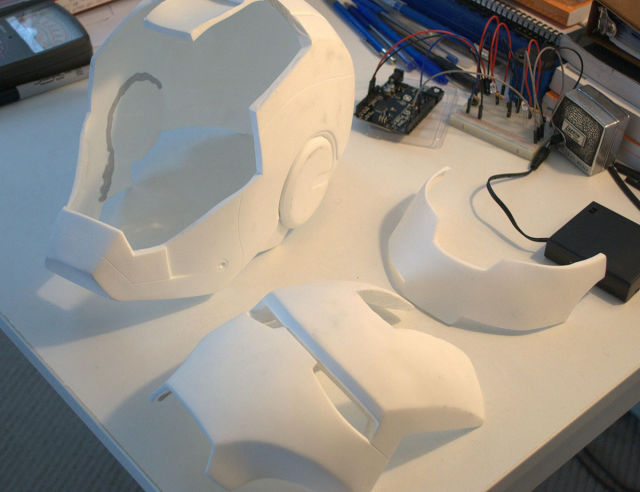
All cut apart but with no cleanup of the inside. You can see how thick it was in places and I had to do quite a bit to make it the same size all around. I started with the dremel sanding drum and then moved onto hand sanding once it was thin enough.
Faceplate off
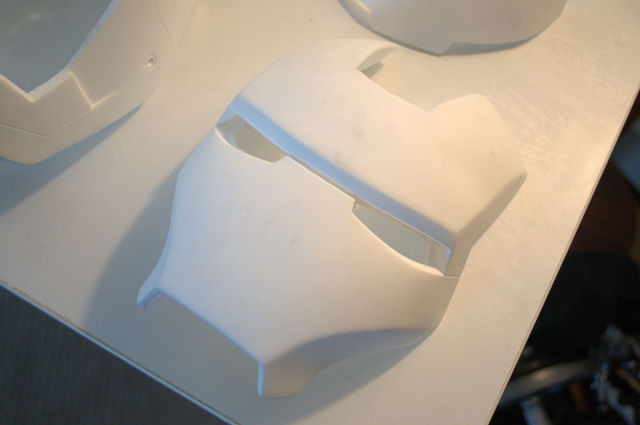
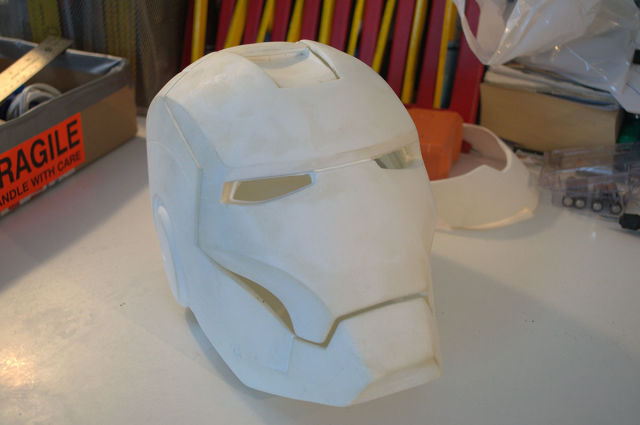
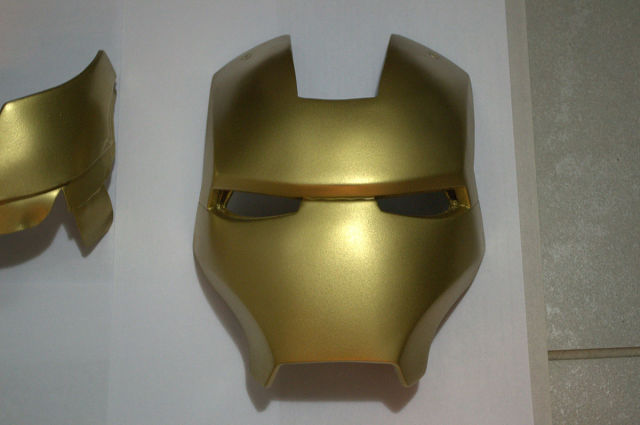
The eyes were a real challenge but I found the best technique was to use the smallest drillbit I had and not a dremel cutting tool. The drill bit cut just as wall but was way smaller and much easier to control.
Faceplate open hinges
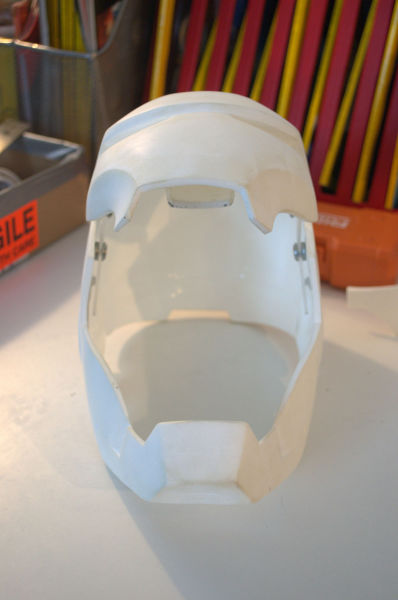
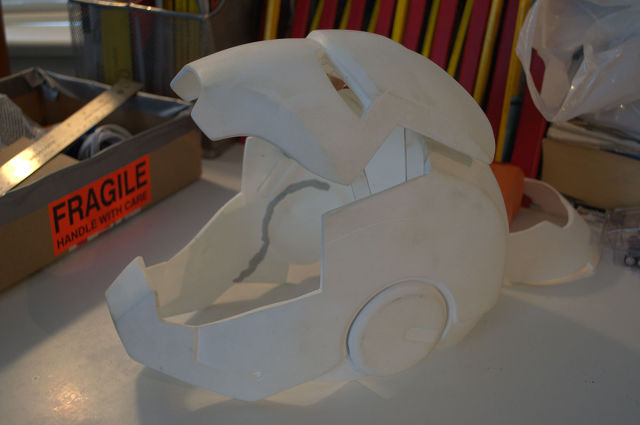
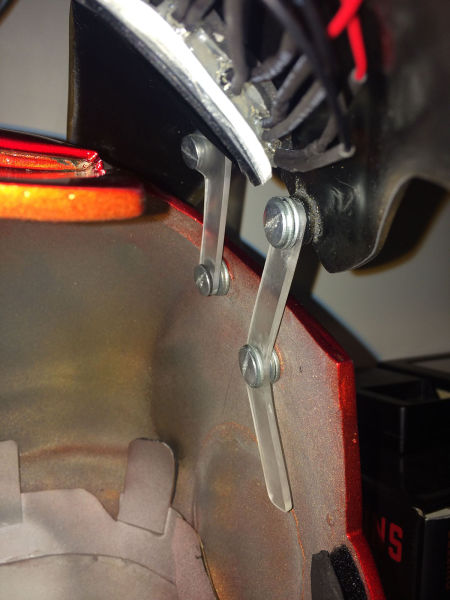
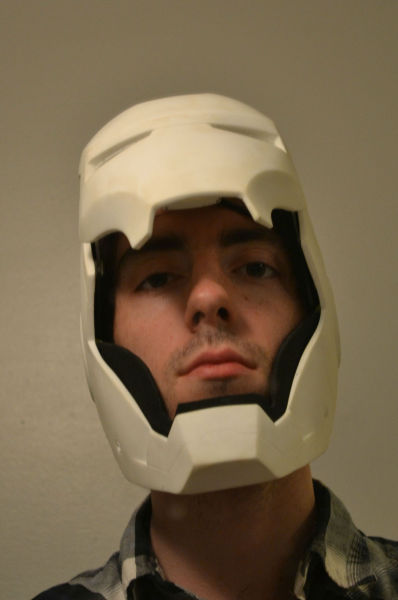
With the hinges test fit. I had to prototype about 4 sets out of cardboard before I cut the plexiglass ones. This was a lot of trial and error to make it look good open and closed and in between. In the movies they just fake it opening with CG. You can see the Chicago screw anchors on either side.
Faceplate open hinges side
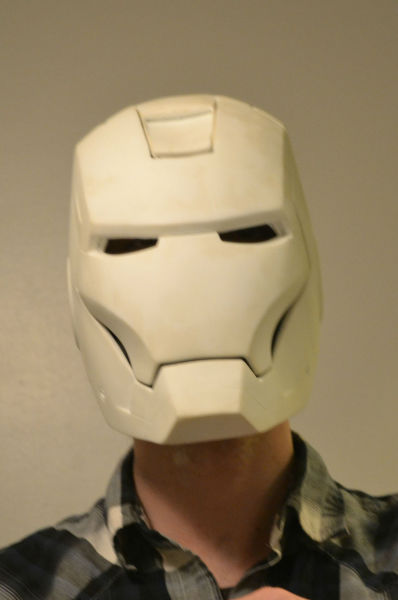
And in the closed position it provides quite a tight fit.
Faceplate open hinges front
Closed from the front.
Hinges closed
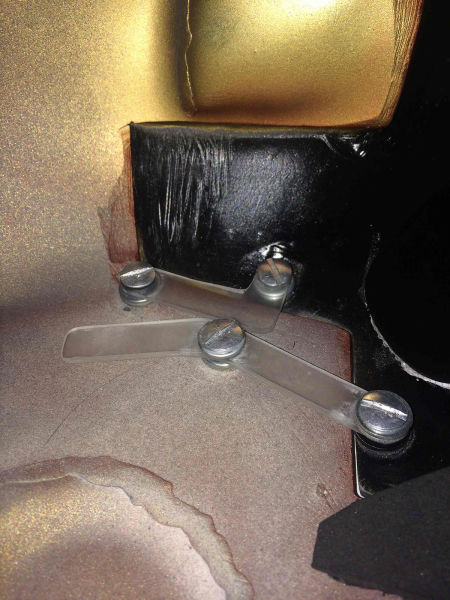
I had a request for more info on the hinges so I've added these in. The hinges are two pieces of Lexan cut to an L shape and a I shape. The exact dimensions of each depend on how you want the mask to open and clearance.
Hinges open
Dark eyes
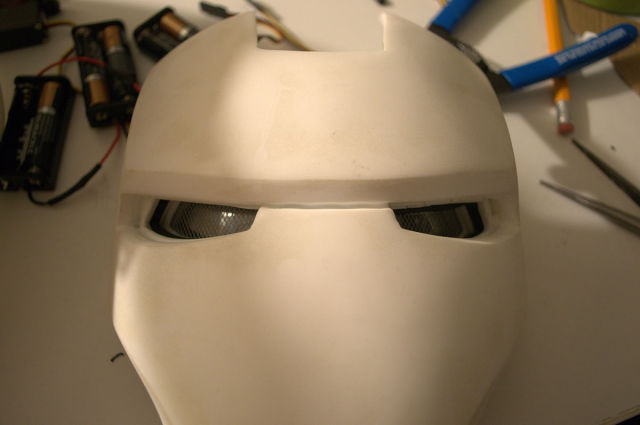
First test fit of the eyes from above. The mesh is visible up close but I quite like the look of it all.
Lit eyes
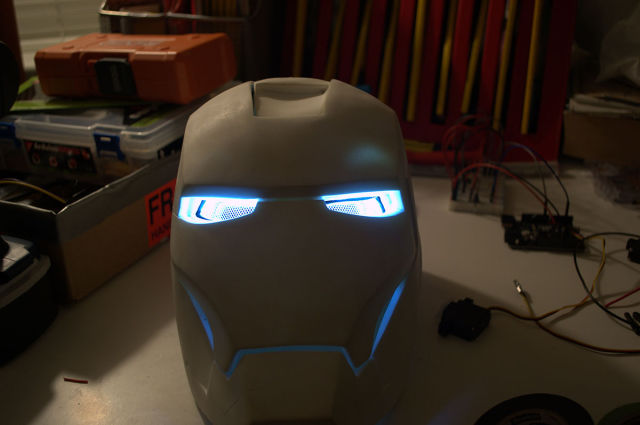
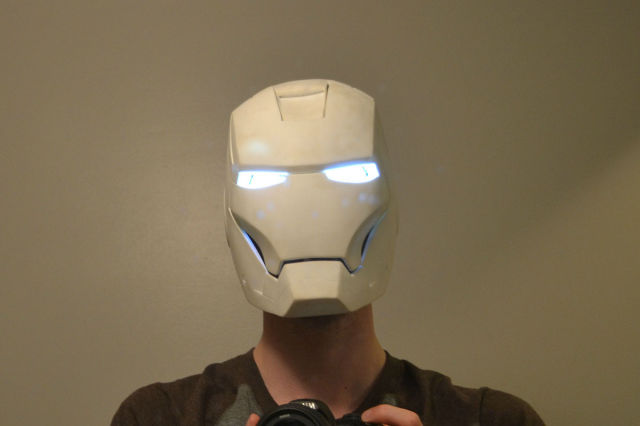
First LED test. You can see how well the mesh catches the light. It ended up looking kind of looking like honeycombs.
Wearing it side
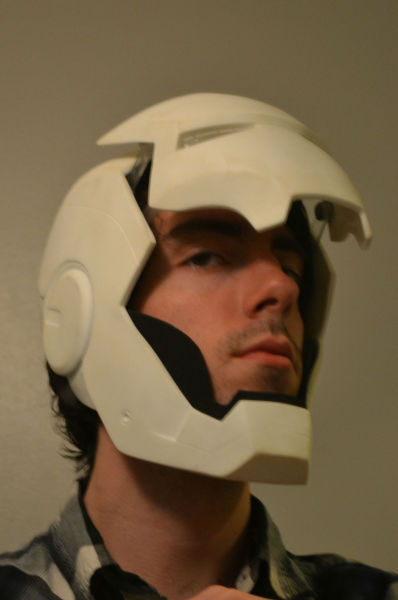
Faceplate test with helmet on, The eyeline isn't great but works well enough for the look.
Wearing it front
From the front. I have to tilt my head back a bit to see straight ahead.
Wearing it closed
Eyes on
Testing out the eyes on my head. It's hard to see in dim lighting but in the daytime it's fine. Any other time and it's faceplate up for walking around.
Primed
This is the time jump where I didn't work on it for about 6 months. First coat of primer after lots of sanding.
Base coat
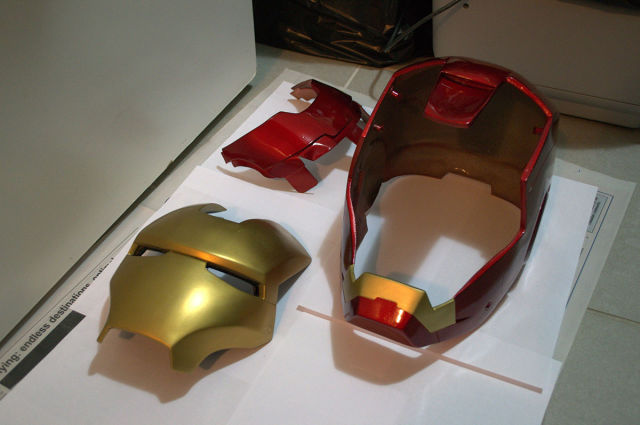
The base coat of just a gold paint. Looks rather good actually. The faceplate will be covered in rub and buff which is a wax like metallic paint.
Faceplate gold
The face plate up close.
After curing for a day
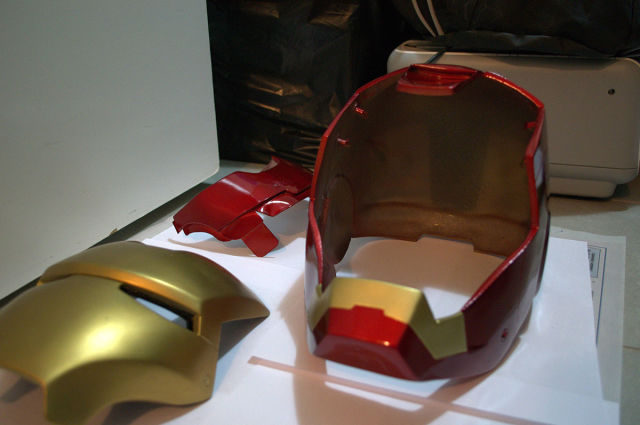
With the painting all done. I had to get it all set in a day as the red paint requited a recoat within 1 hr or after 5 days and I wasn't waiting that long.
Closer
Closer up.
Final paint pre weathering
Nice and super shiny! The last step that is visible in the photos at the top was to use some simple acrylic paint and weather the surface. Filling any cracks with paint that looks like mud on the surface. Very subtle. I wasn't going for battle damaged.
Faceplate open
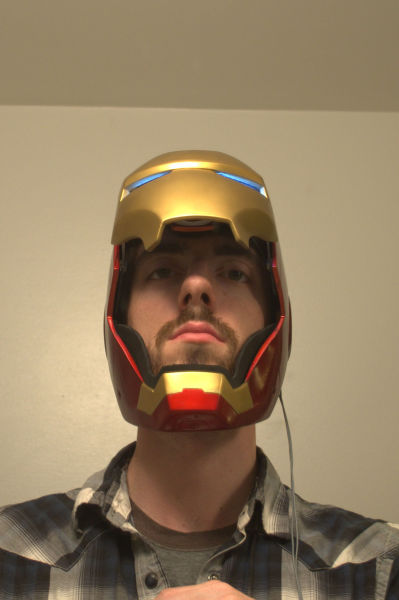
From the front on, nice and snug, with the eye light wires hanging out for now.
Faceplate open side
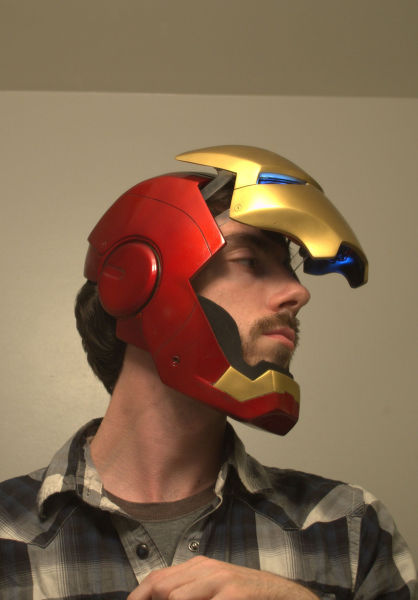
Me actually wearing the thing, it's a tight fit so I have the back plate off in theses photos.
Faceplate closed
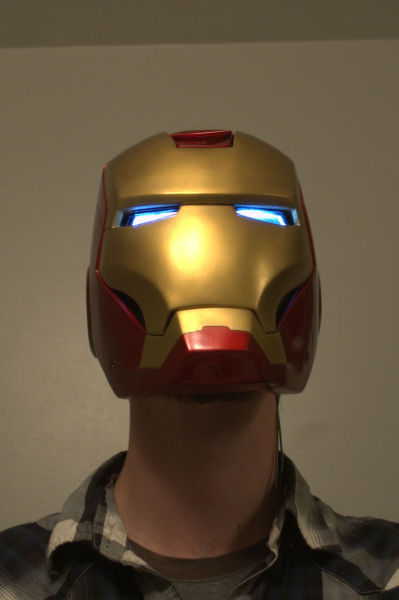
Closed up, hard to take a photo of myself...
From 3/4
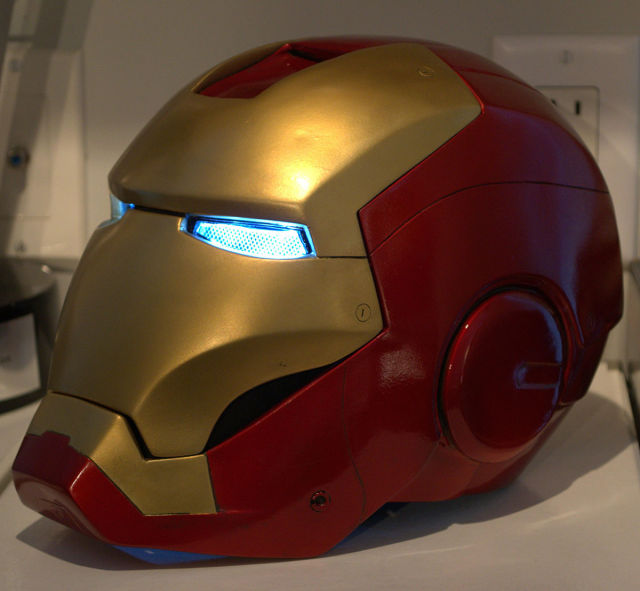
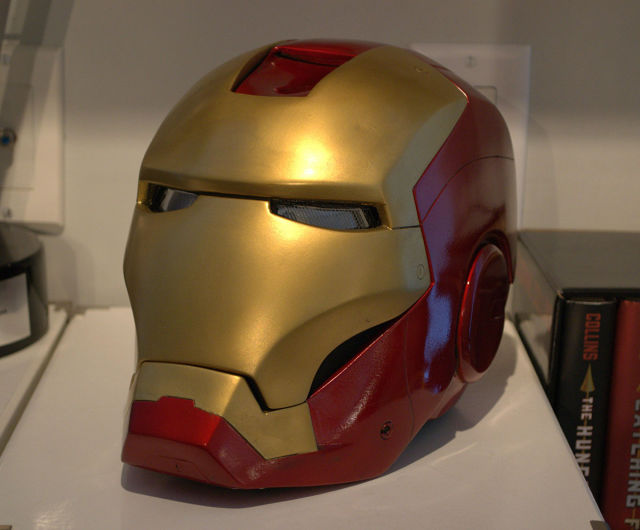
The finished product first and foremost. I started with a blank fibercast pull I bought off Ebay for WAY less than I would have been able to make on my own. It's not really from scratch but in this case I'm ok with cheating as I really didn't want to have to start with building the Pepakura model and then fiberglass and Bondo it...
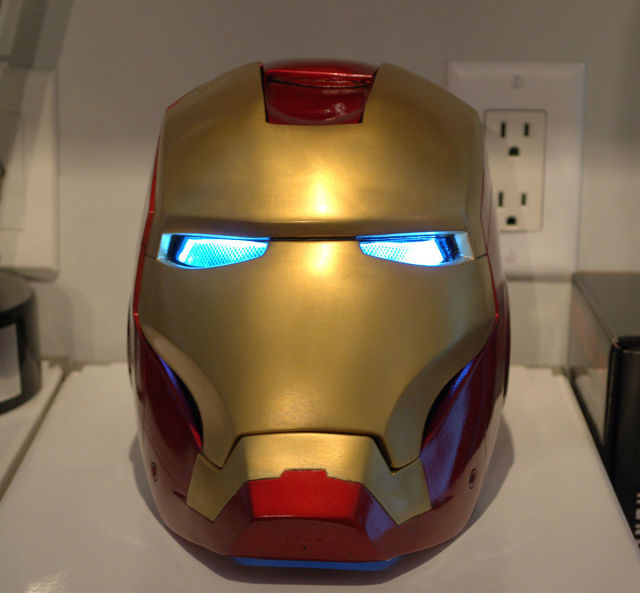
From the front
This paint was a 3 step process. Two coats of gold base, 2 coats of Duplicolor Metalcast Red which is a translucent paint so it needs a chrome or metal base, and then four coats of Crystal clear coat. This is called the Kryder Blue technique used on some R2D2 models, just with gold and red instead of purple and yellow. It gives a very deep rich red.
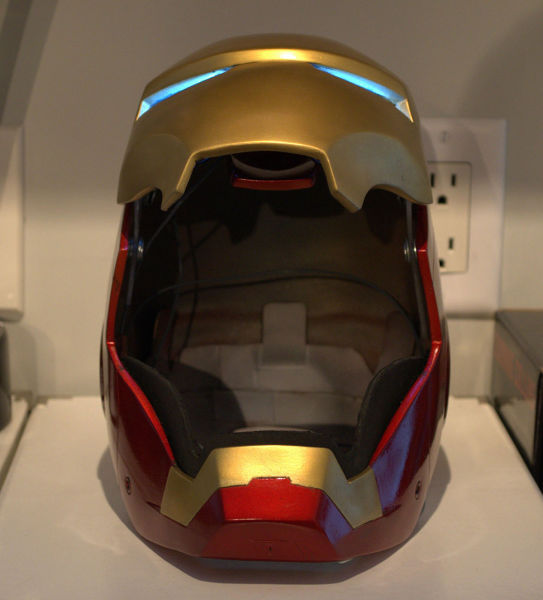
Faceplate open
With the faceplate open. I haven't got the servos or batteries installed within the helmet yet but all the cosmetic points are finished. The inside edge is 1/8 inch foam from a craft store in two layers and attached with velcro for easy removal.
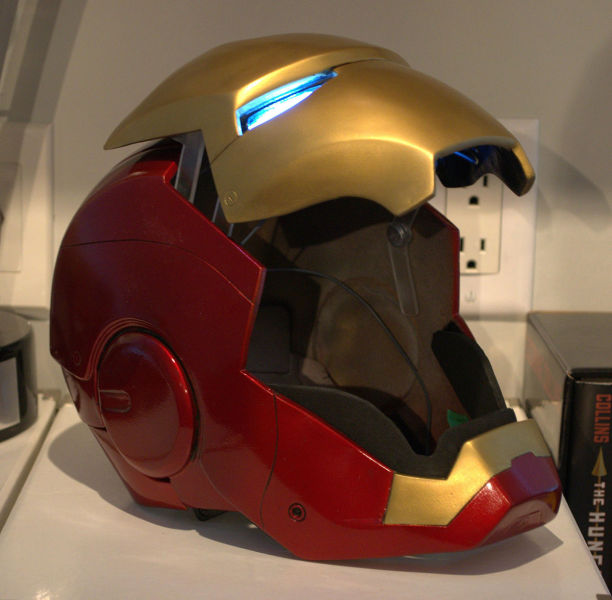
3/4 open
The hinges are made out of thin plexiglass and are based off a design I saw someone else use online. There are many different ways to rig the hinge and this is the one I found looked the best.
3/4 back
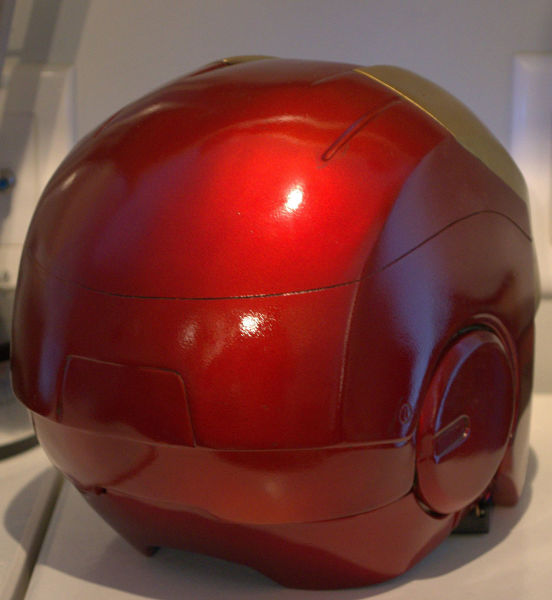
From the back. Lots of work to make it look smooth for the paint. The back was fairly wavy on the pull I got and so I had to do quite a bit of smoothing along the way.
No eyes

