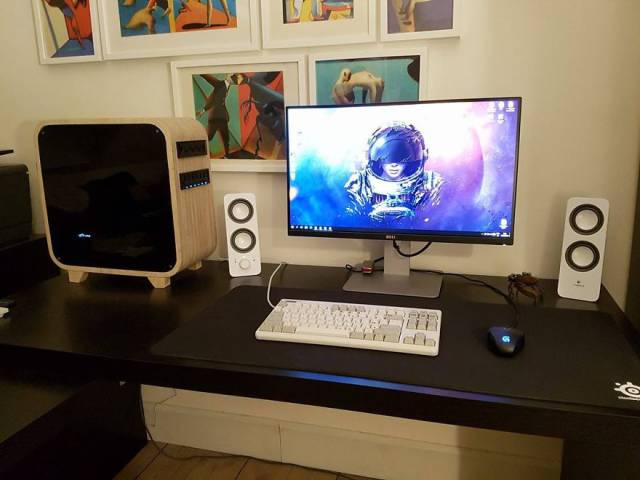
A student made this great wooden case for his computer using only basic tools like a chisel and files. In this tutorial he explains how he did it and assures that anyone can do what he did as he didn't have any experience in woodworking or computers.
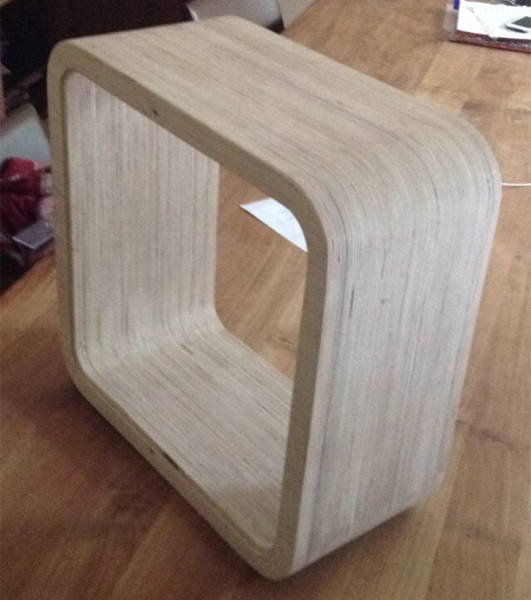
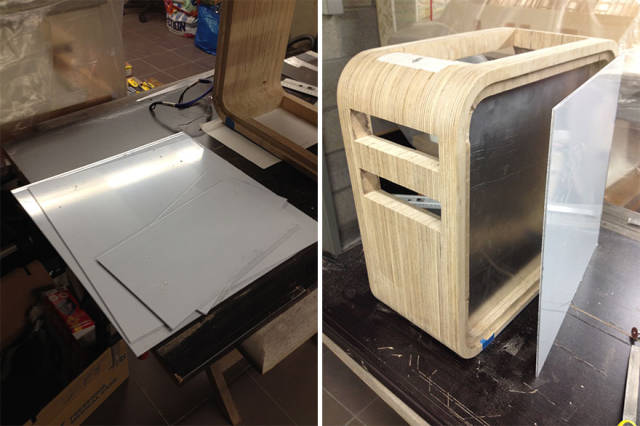
"The beginning of the project. I worked for a few weeks in a local carpentry. I asked if they could make me a custom frame (420mmx420mm). A few weeks later this got dropped off at my home"
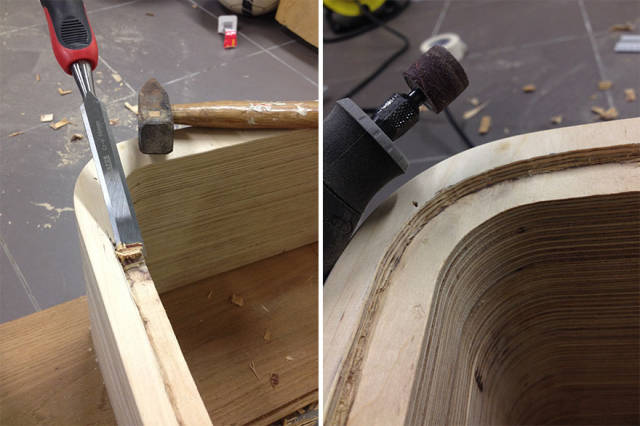
"I removed the edge for the side panels. I used a chisel and hammer to remove 5mm deep and 15mm high pieces of unneeded wood and smoothed the edges with a dremel"
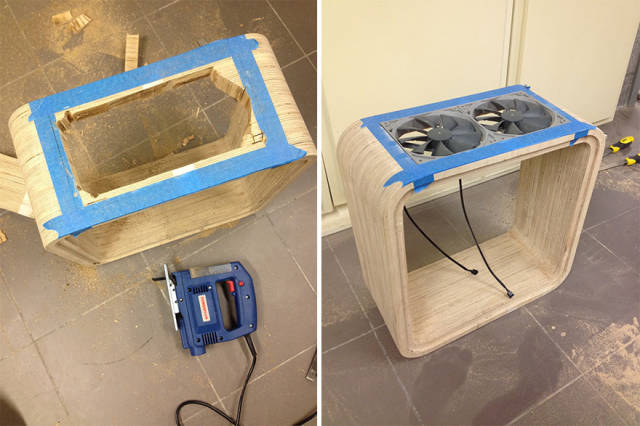
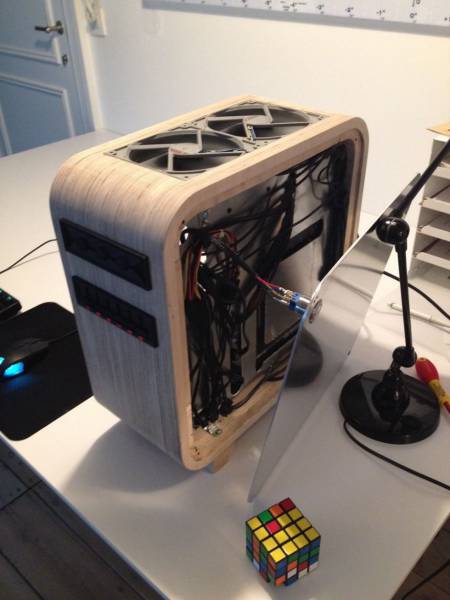
"I installed the fans. These fans are held in place by friction only. I used a metalfile to file off a fraction of wood everytime until the fans fitted snugly. Same method was used for fans on the bottom"
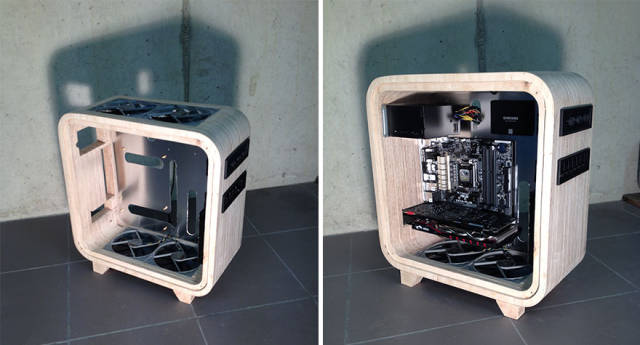
"I went with 2x140mm fans on the top and 2x140mm fans on the bottom this way the hot air can follow it’s natural pathway: straight up. I used a cheap jigsaw to roughly cut out the holes for the fans and shaped some more with a wood file."
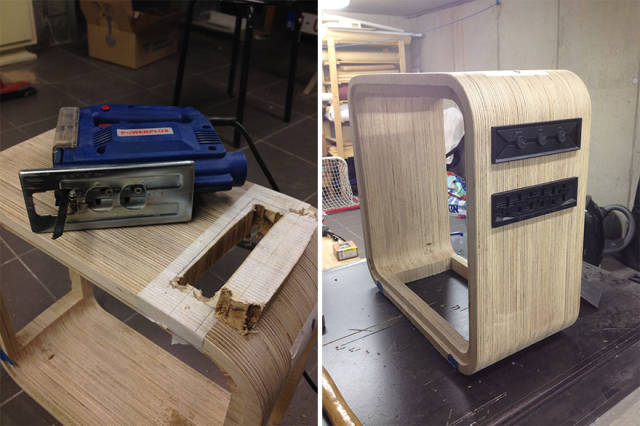
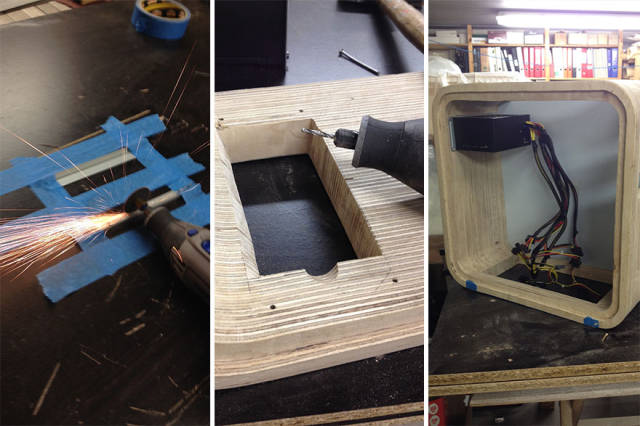
"Installing the controllers wasn’t easy. The bays were too big so I cut them off with my dremel and sanded the cuts with 200 grit sandpaper. RGB LED controller and fancontroller were fitted into the body"
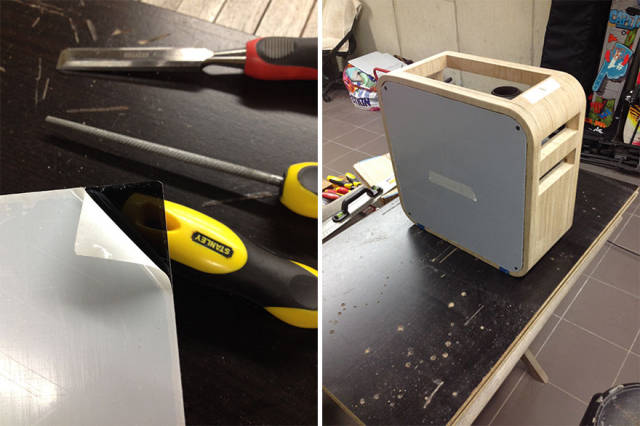
"I bought the aluminium sheets at a local metalshop. I used a metal file to file the edges until they fitted perfectly into the frame. The outer wall was also filed to shape"
"Next step was to install the power-supply. The PSU I used was a small form factor power-supply"
"So it came with a metal adapter to make it fit into cases with a normal PSU hole. I trimmed it down and drilled some extra holes so I could use this to attach the PSU to the back of the case"
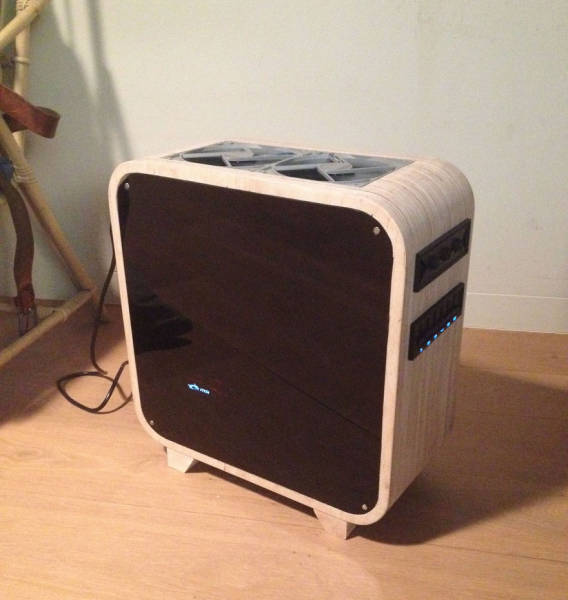
"I ordered this 390x390x5mm black plexiglas online and again, as I did with the aluminium outerwall, I filed the edges to fit the case"
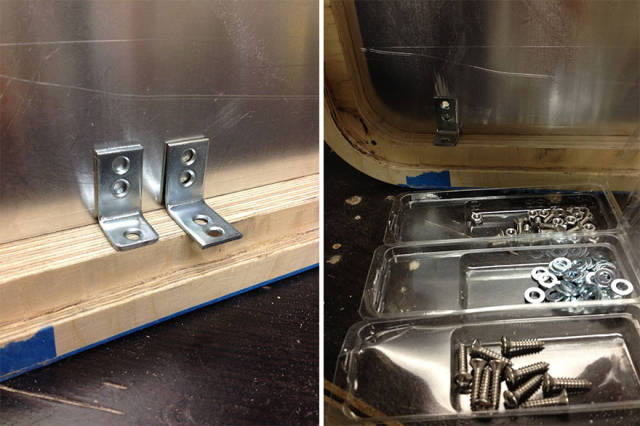
"Then I attached the fake wall to the case. The L irons I used were a bit too large so I used a simple metalsaw to shorten them. Then I attached the fake wall to the case using small bolts, screws and washers"
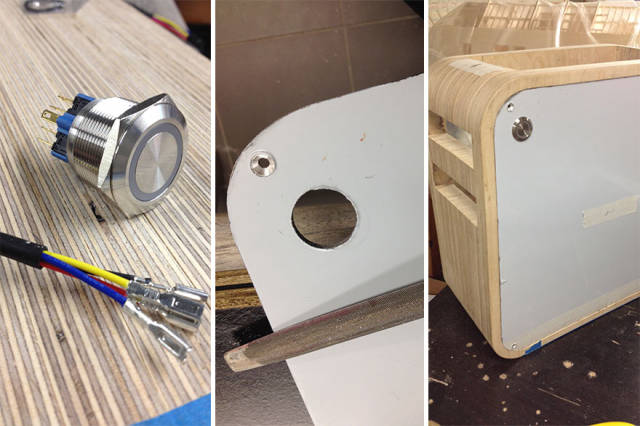
"I had to installing the ON/OFF switch. I bought this online from a german shop, called a “Vandal switch”. I drilled a hole in the wall and used the metalfile to make it the right size"
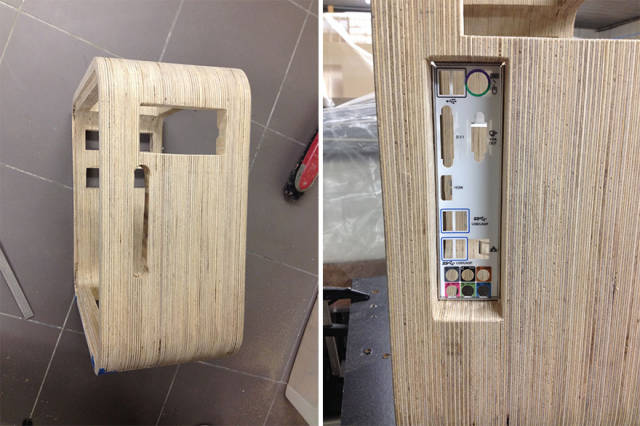
"I installed the i/o panel. The i/o panel is held in place just by fitting snugly"
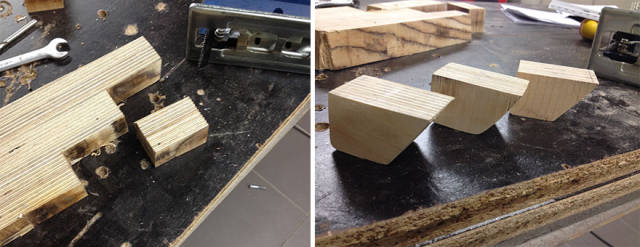
"I initially intended to make the stands out of aluminium but decided to go with wood scarps anyways because it gives the case a better coherence"
"The final assembly"
"Illustration of the fake wall that hides all the cables from view and makes sure the pc is tidy on the inside"
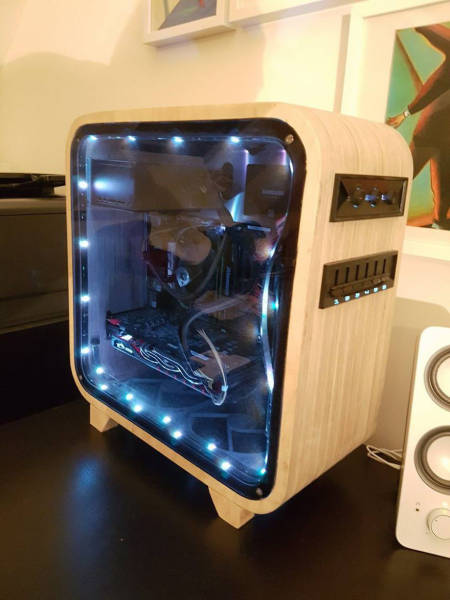
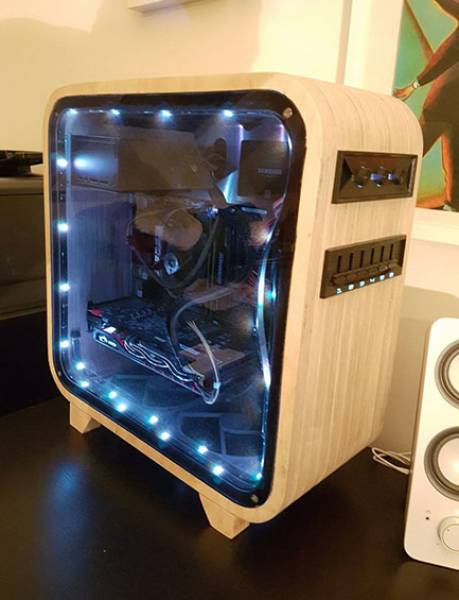
"I have also installed LEDs but I never turn these on because I don’t like the look of it. Only use of them is to show the inside of the case"
"First time turning the wooden pc on"

