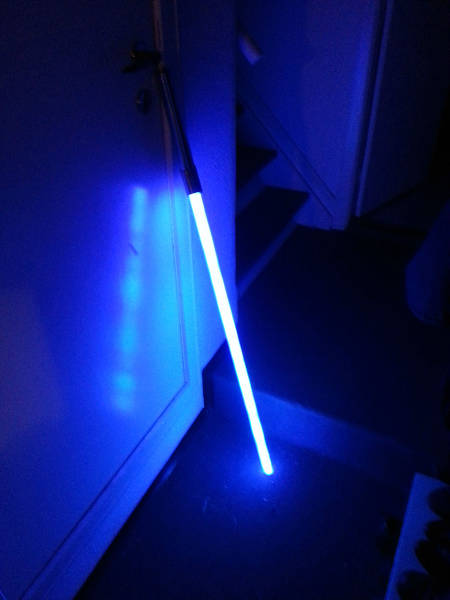
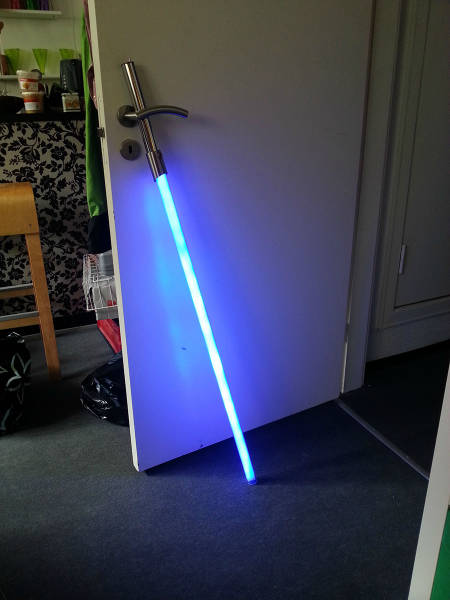
With the right materials and this step-by-step guide, you won’t have a problem to make your own lightsaber that’ll be strong enough to fight with.
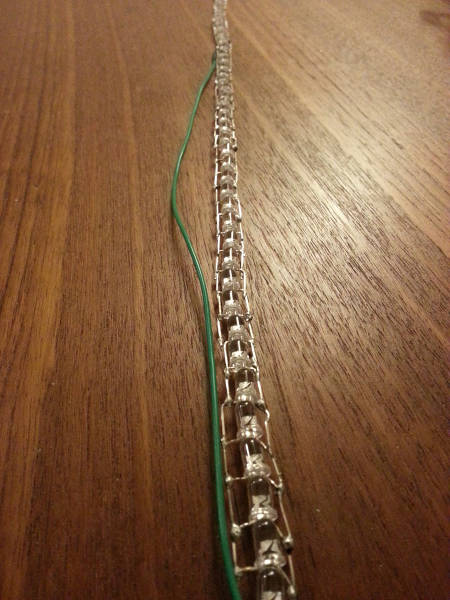
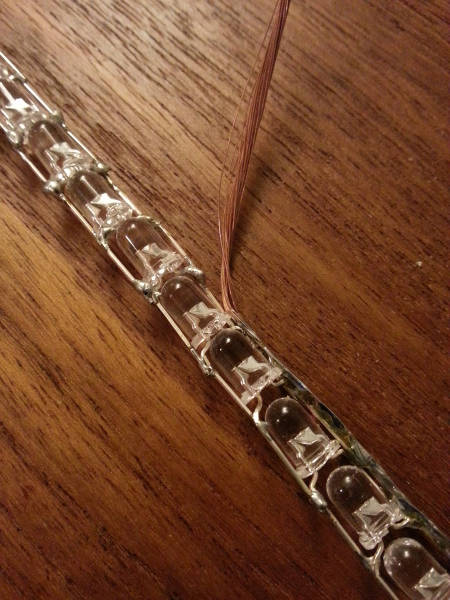
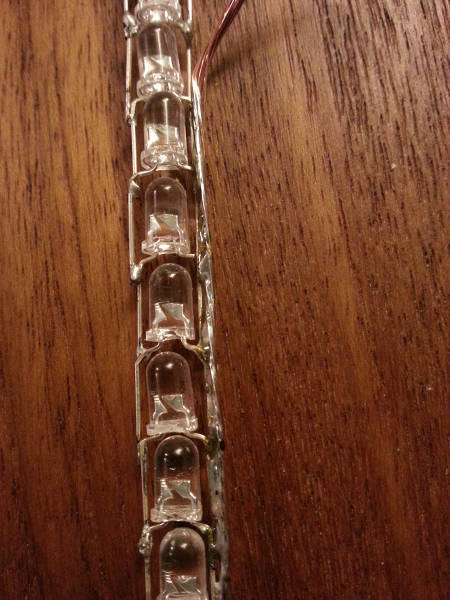
110 LEDs
The solder broke after I tried fighting the wall. I'll just make it tougher, like so. FUCK It broke again. I guess I should solder BOTH sides. . . . 45 min after: SUCCESS! SUCK IT WALL!
Details v2.0
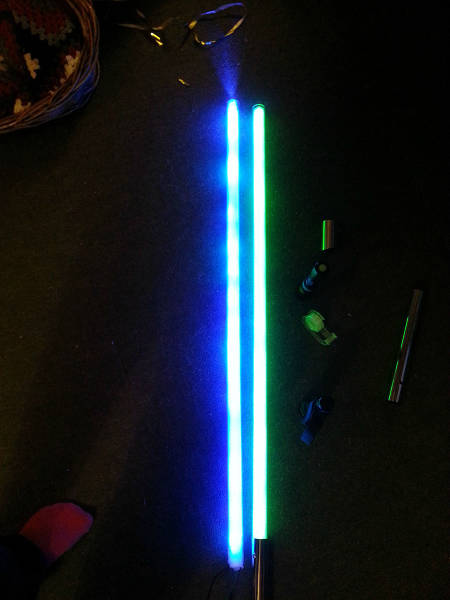
So, to make this run off four 3,6V batteries, I needed to make some changes. The batteries are in series, supplying 14,4V in total. If the LEDs where solded and switch on as it looks now, they would fry as their working voltage is at 3,2V Therefore, the one 110 pieces long 'strip' was split into four, each consisting of 26 LEDs.
I'll try and illustrate:
14,4V Supply wired to #1 LEDs positive side
Supply+ to +LED
-LED+
-LED+ (26 pieces)
-LED+
-LED+
wire #1LEDs negative side to #2 LEDs positive side
+LED-
+LED- (26 pieces)
+LED-
+LED-
wire #2 LEDs negative side to #3 LEDs positive side
-LED+
-LED+ (26 pieces)
-LED+
-LED+
wire #3 LEDs negative side to #4 LEDs positive side.
Add a second wire to #4 LEDs negative side, and take it to the supply.
+LED-
+LED- (26 pieces)
+LED-
+LED-
Energy storage
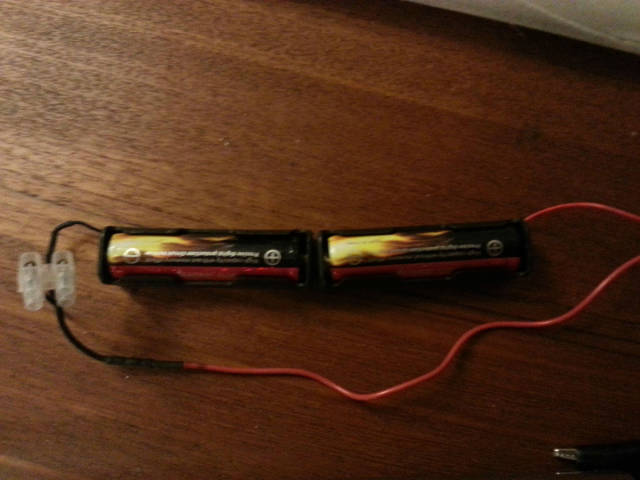
I used two 4,2-3,6V LithiumIon batteries (In series for 8,4 - 7,2V) , I suggest using these instead: //dx.com/p/18650-rechargeable-lithium-lifepo4-battery-1350mah-5105 *NOT They are 3,6-3,2V, so they fit better with the Diodes 3,4 - 3.2
EDIT: Gone from using 2 to using 4. The holsters can no longer fit inside the tube, so I used another type of batteries called CR123A
//dx.com/p/ultrafire-3-6v-880mah-lc-16340-protected-cr123a-battery-2-pack-3273
This makes the setup= -3.6V-3.6V-3.6V-3.6V- (14.4V total)
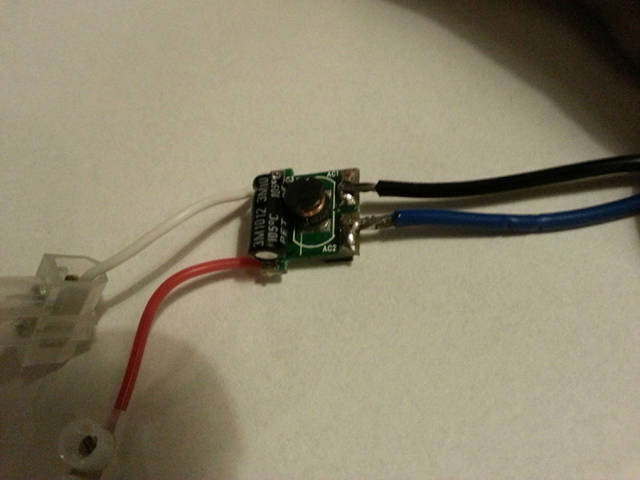
Driver
The Diodes each have a drain of 20mA, and with four batteries and four strips of diodes, each strip will receive 350mA. each strip have ~26 diodes, so each will receive about 14mA. This ensures the system will not suffer a terminal meltdown. sadly, it won't fix the "Blazing LED death" problem I warned about earlier. This will be fixed in future updates.
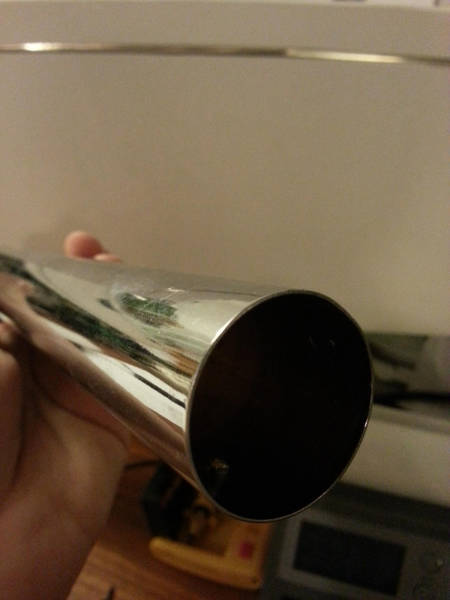
Chrome steel cylinder
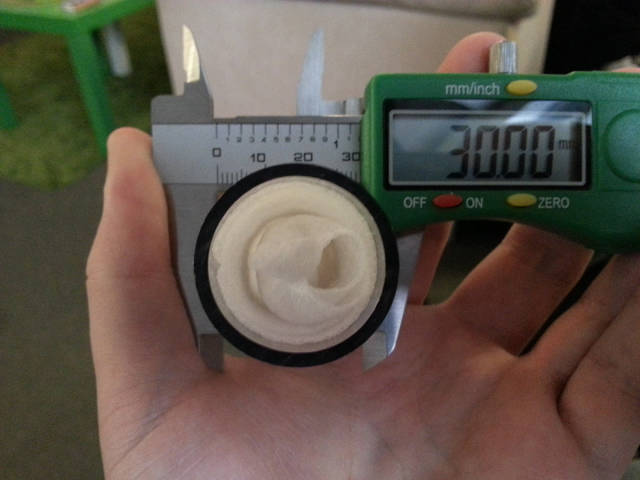
It's 30mm inside diameter, and it had to be long enough for the batteries AND the edge. 250mm Long. Its originally used for a bathroom sink, I got it in a shop which sells such things.
The Blade
it's 30mm, and 2.5mm thick. This sucker can take a beating! Material is Polykarbonat, for ductility. (//www.cdplast.dk/ Danish site, I had to go there in person) It's 1000mm long, or 1 meter for non-engineers. (3 feet and a quarter, for americans)
The white stuff you see is some sort of wrap the store used for shipping their items. it resembles foam-wrap, that is unfortunately the best description I can give of it. EDIT: A kind Redditor, jaywil85051, sent a link to what it is: //www.starboxes.com/foam-wrap-11612.html?gclid=CInjz-2Cv7oCFQ2g4AodLB8AMQ
When fighting strangers, the foam also functions as a shock absorber.
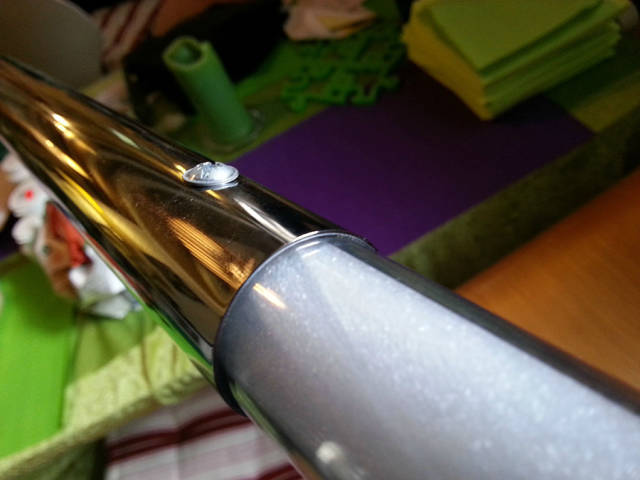
The Marriage
I used tape on the tube to make it a better fit, though the amount I used to fill the gab was small, the effect was great (it stopped wobbling)
Then drilled two holes 30mm down across from each other. I used a nail to puncture the hard steel surface, then used one of these to finish the job: //dx.com/p/electroplated-diamond-grinding-rod-set-30-pcs-239638
I connected the two sides with some spare parts I got from an Ikea furniture, but bolts and screws should work as a fine substitute.
3D Printing
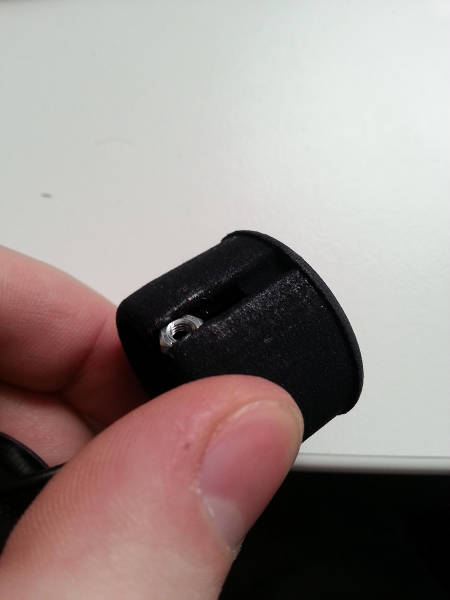
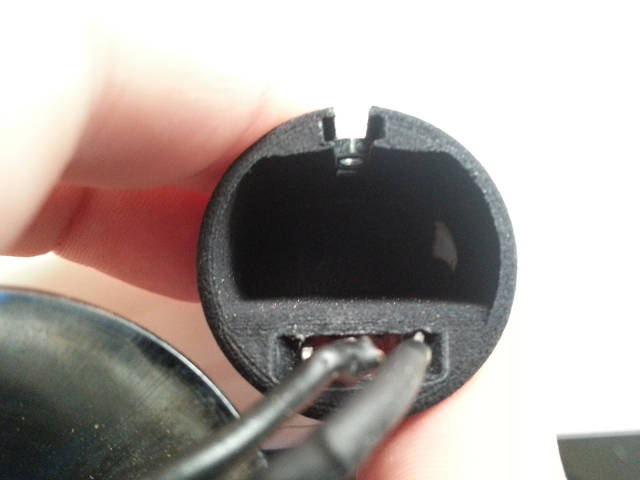
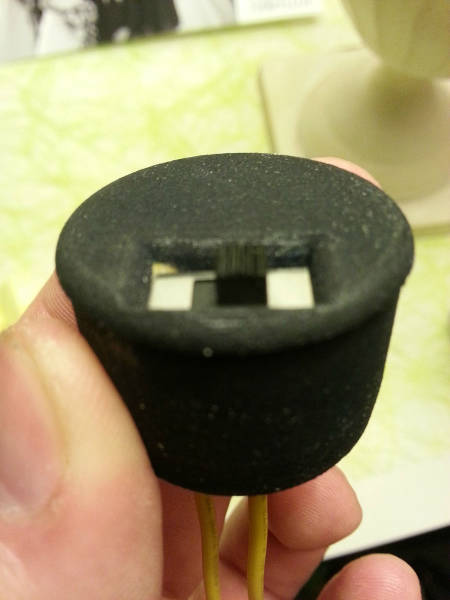
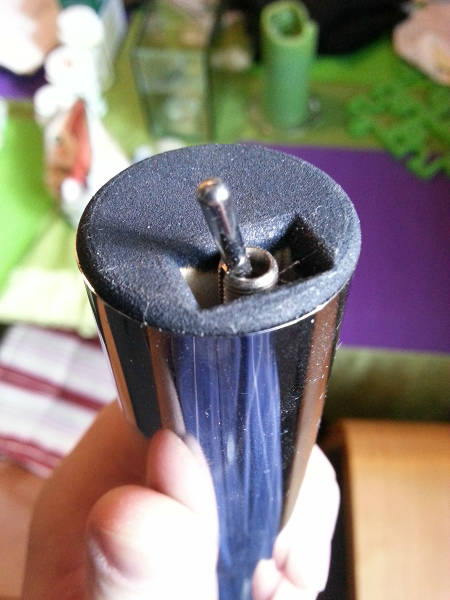
This is the button, which holds the switch.
Trying to save Materials
The nut is for securing the button
The Switch
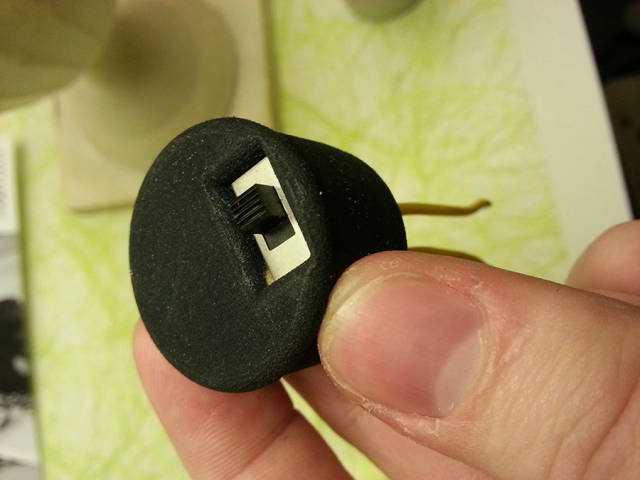
The switch is held in place by friction.
You guuuuys
You gave me the Idea, its about 20% cooler now! Thanks!
Perfect fit
Those smooth edges! (Old Switch, disregard)
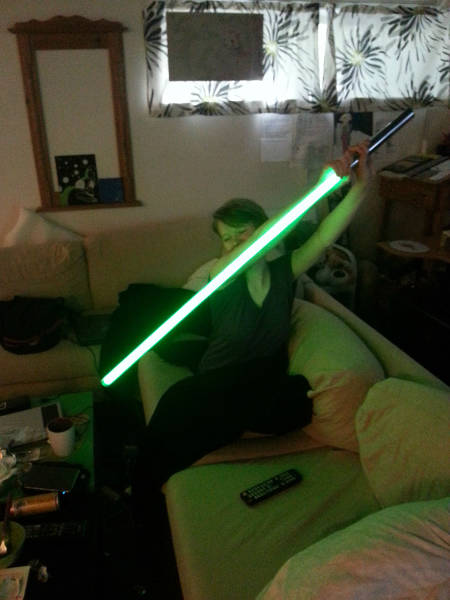
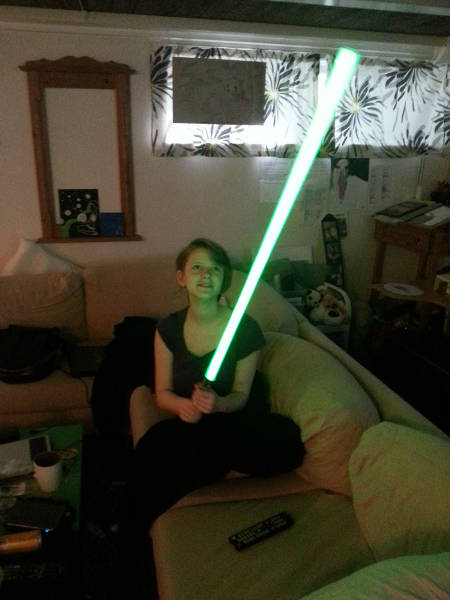
All done!

