Project 1: Building a basement to be proud of…
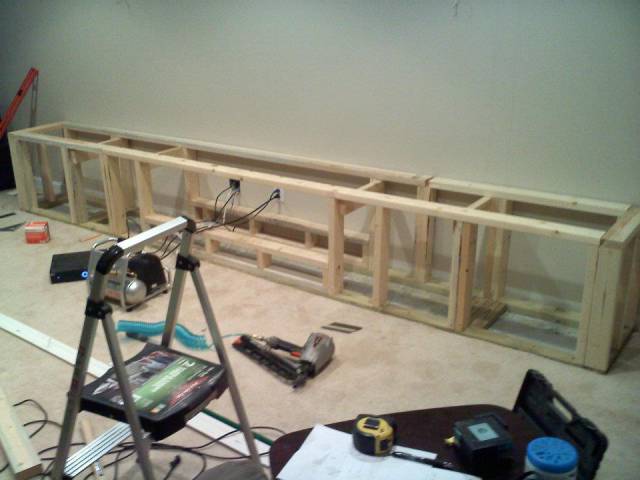
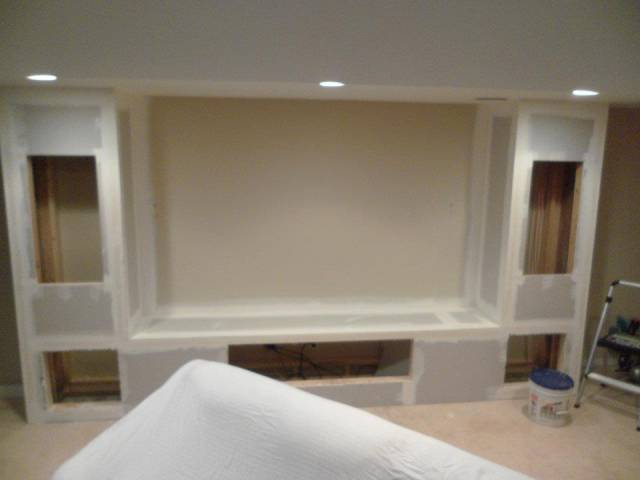
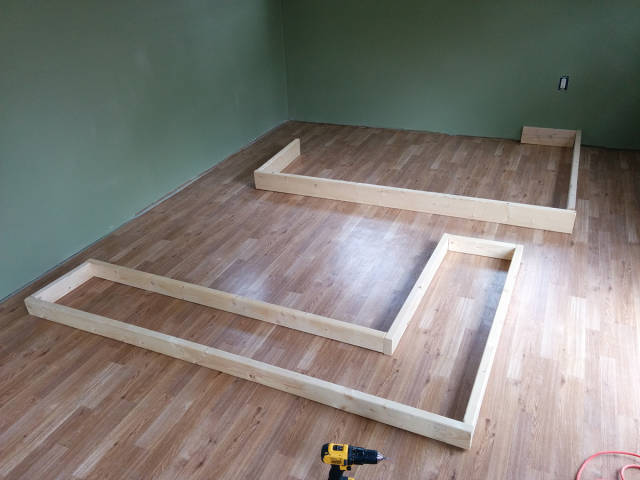
"Day 1 of framing complete. I was trying to wrap this up as quickly as possible because my wife did not enjoy me having the basement tore up as much as I did."
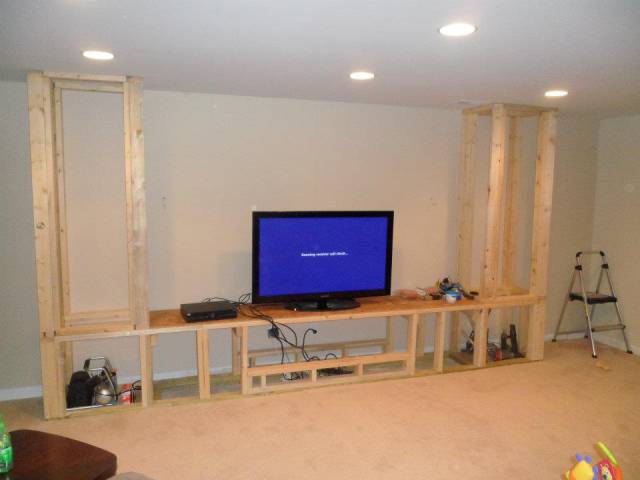
"I had to put the television back in place in time to catch the Walking Dead. For size references, the TV here is a 55"."
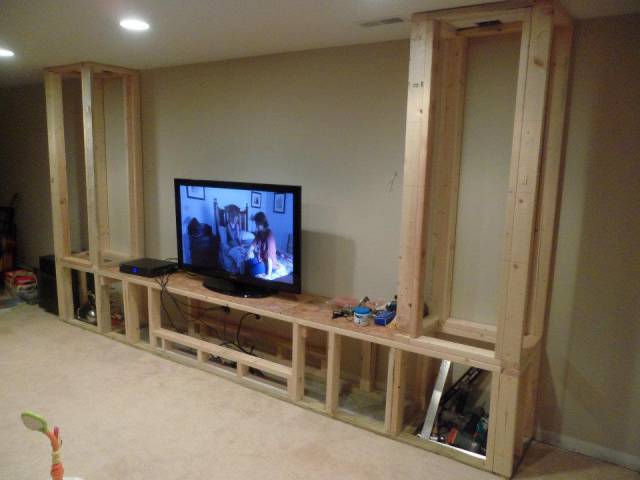
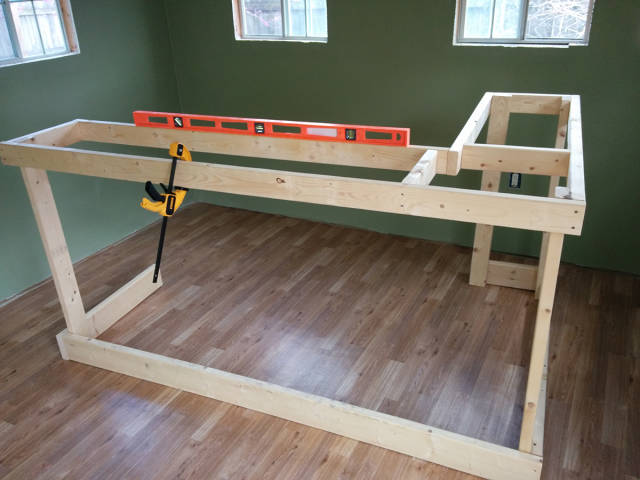
"Day 2 of framing. I didn't get as far as I wanted to because my daughter wanted to help. I think I was distracted a few times and had to correct a few things."
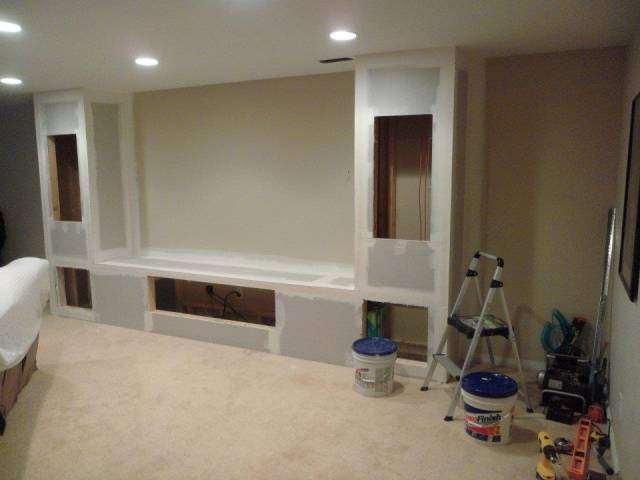
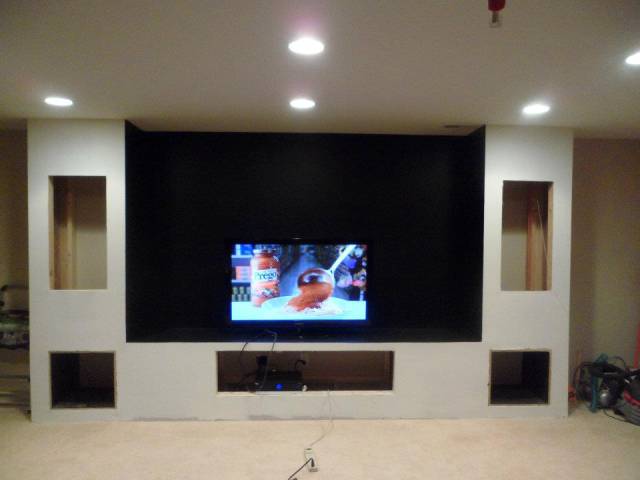
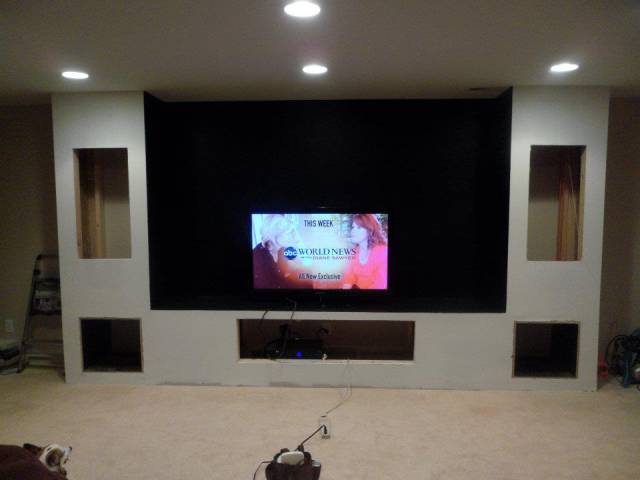
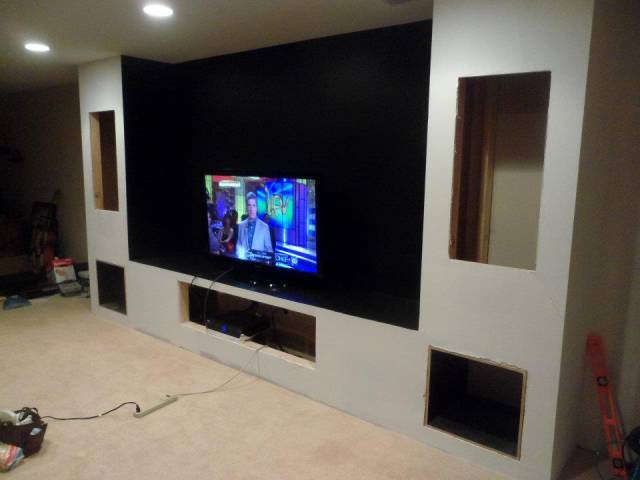
"Everything is sanded, and I placed 2 coats of black paint on where the screen is going to be installed at."
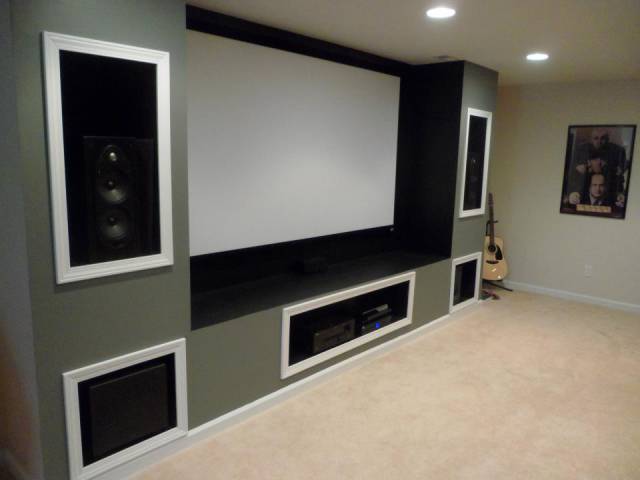
"Sub-woofer build-ins are boxed in now in the lower left and right hand corners"
"We were going to place DVD's in the towers on both sides, but I am starting to decide against this idea... It reminds me too much my parent's displaying all of their VHS tapes in the 90's. I now will have to decide what to put here."
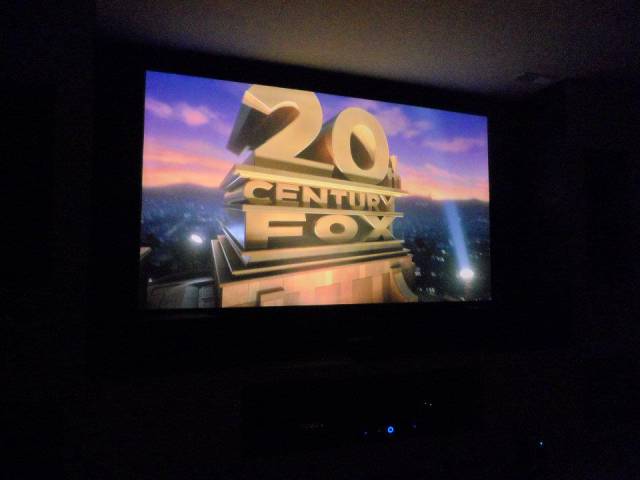
"Screen put together and hung up on the wall! We agreed not to place the DVD's in the towers.. Guess this means I can go out and purchase some bookshelf speakers."
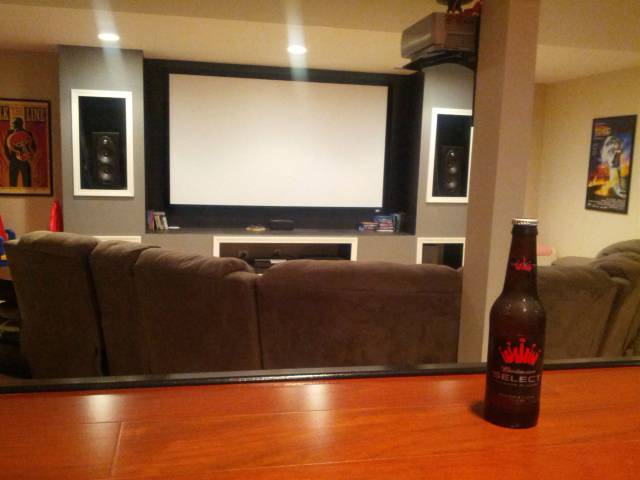
"Everything trimmed out, and all the speakers are in place."
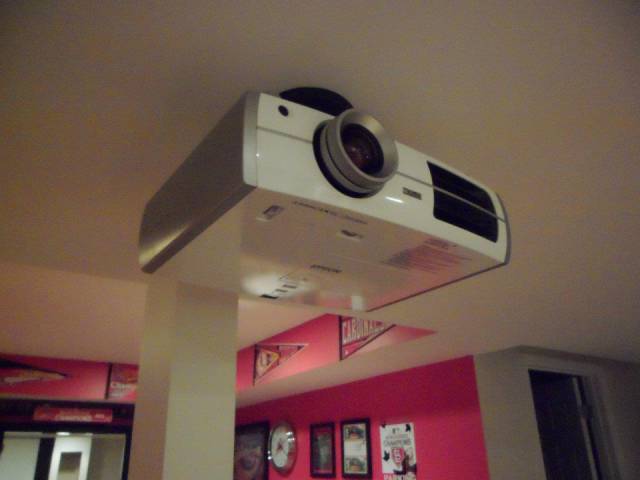
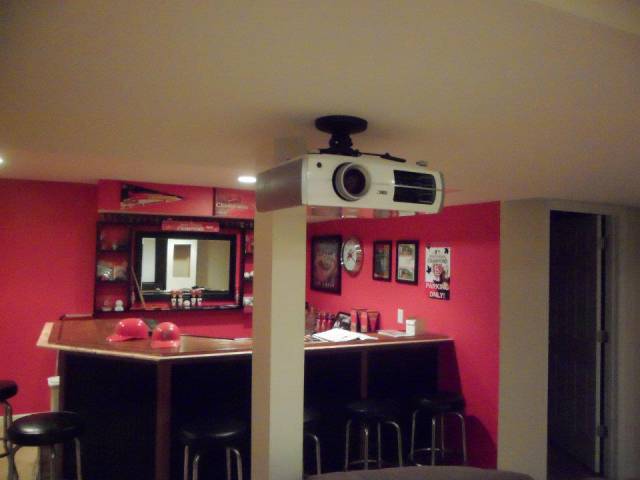
"The projector is hung. I had to cut a few holes in the ceiling and soffit to run the wires earlier during the install. That was the worst part about this. A little patchwork fixed it right up though."
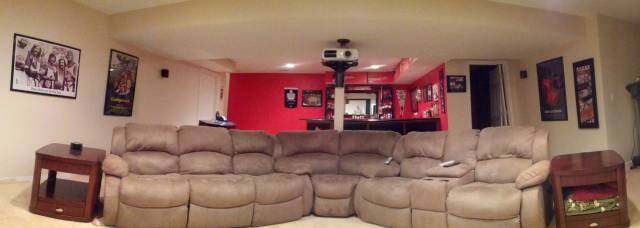
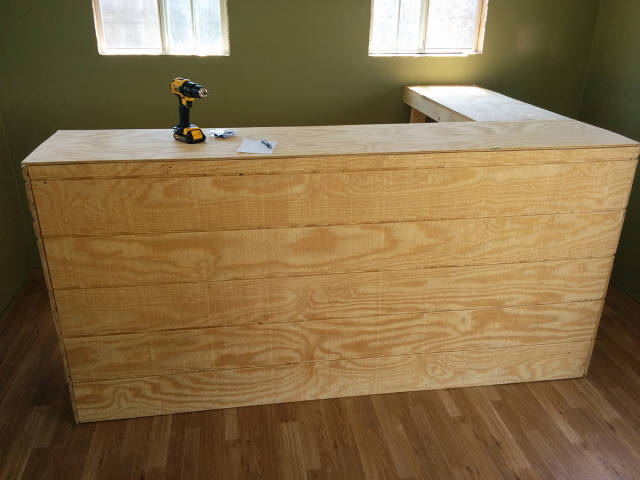
"(Yes, this is the unfinished bar in the back ground). I need to still install the arm-rail and put the flooring in.,"
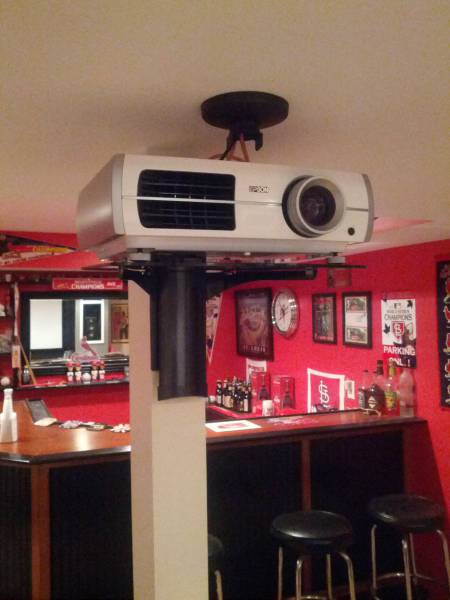
"**Updated photo of the new mount on the post. With the previous mount, the projector shook whenever anyone walked around upstairs.**"
"I don't care for (2) different sub-woofers, so this will be fixed shortly."
Project 2: From storage shed to stylish saloon
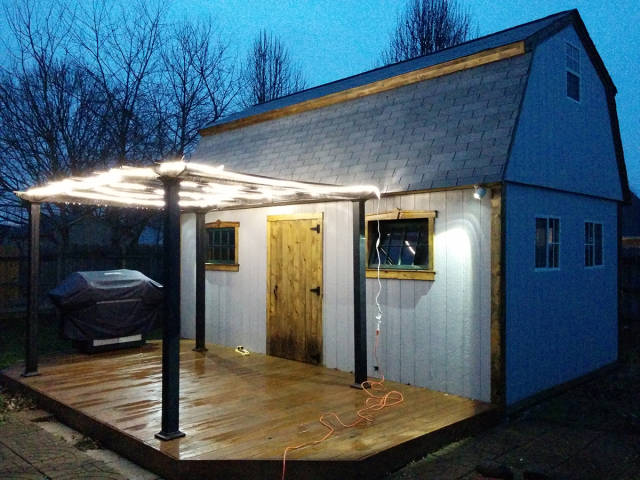
"The previous owner set up this 19 1/2 foot by 11 1/2 foot pre-fab shed in place of an above ground pool that was in the back yard. No power was ran to it, or anything done beyond just the finished shell. I added the 2 motion detecting security lights on the corners, as well as the LED rope lights on the trestle to give me light to cook with and give the backyard a festive feel. Pardon the extension cord, this was prior to me running electricity to the barn. The external lights were eventually wired to a switch inside."
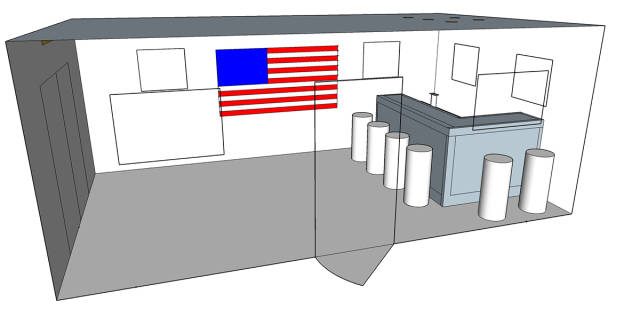
"Just something I threw together to get a base idea of what the Tavern would look like onto paper, rather than just my head. Lots of little things here will still need to be tweaked, but this was good enough for me to start."
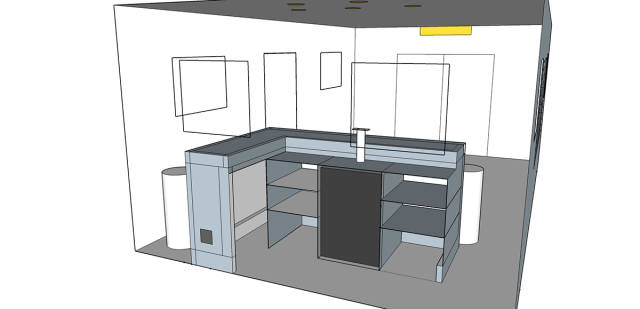
"Same Sketch-Up file, just showing the backside of the bar. The Kegerator is really the centerpiece for the entire project. The open space to the left of the shelves will likely be left open for extra storage, or the possibility to put another small fridge there."
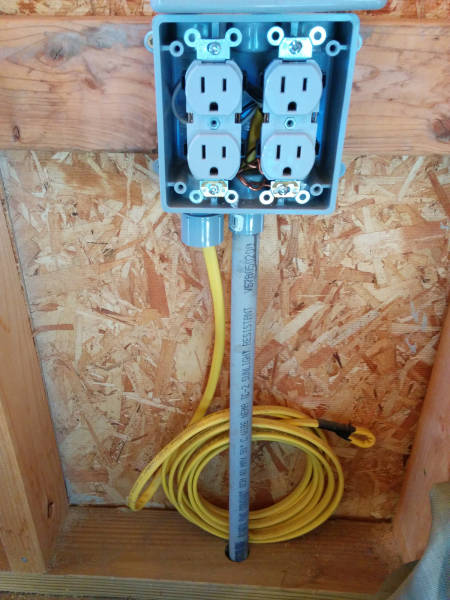
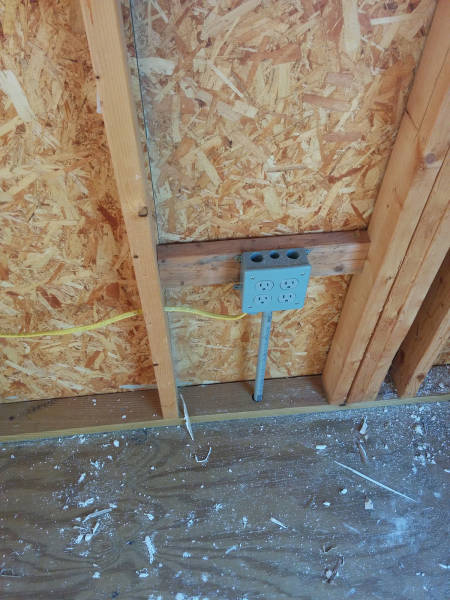
"I repurposed the breaker in the house the previous owner had set up for the pump that went to his above ground pool. Some quick math and help from the friendly folks in /r/DIY showed that it would be more than enough to power everything I was looking at for this project. From the main line in, I junctioned off several other outlets as well as the interior lighting and an outlet in the attic of the barn to turn on/off the rope lighting on the exterior above the patio."
"A look at the switches which control the interior and exterior lighting, as well as the beginning of bringing all the drywall sheets in."
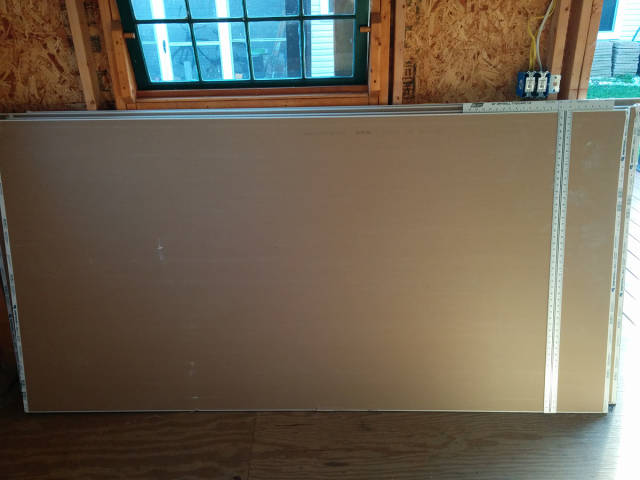
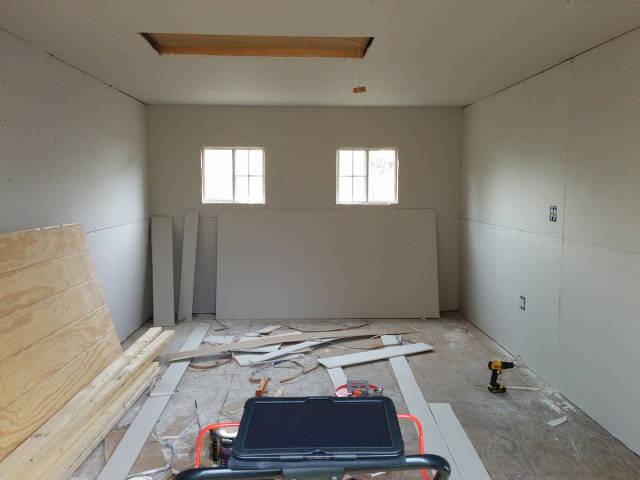
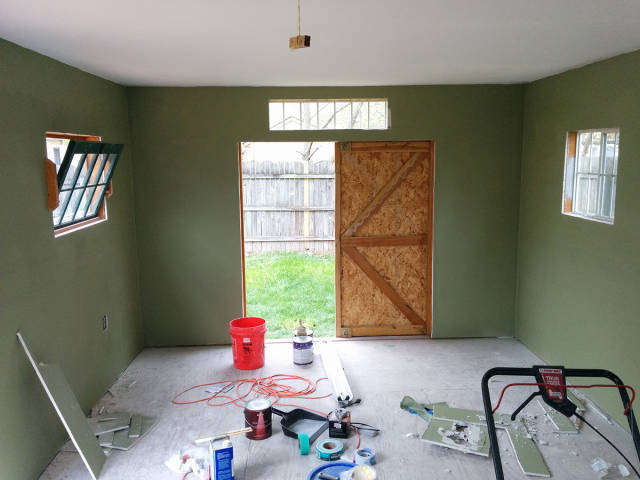
"Probably the biggest help for this entire project was the drywall lift that I rented from Home Depot. It still took myself and another friend to get the 12' sheets of drywall (seen on the left side of the picture) positioned correctly and screwed into the rafters."
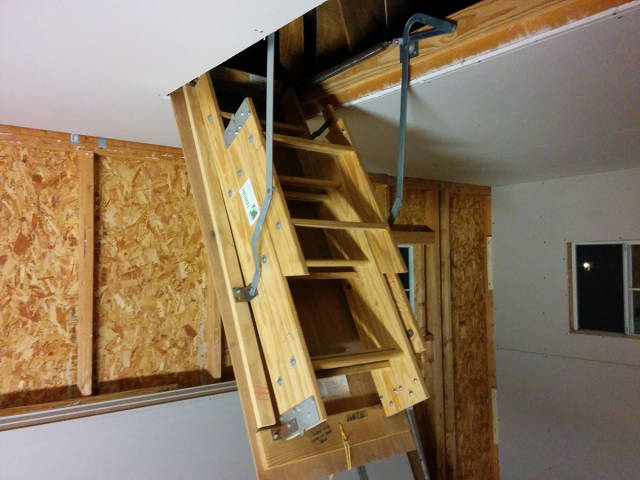
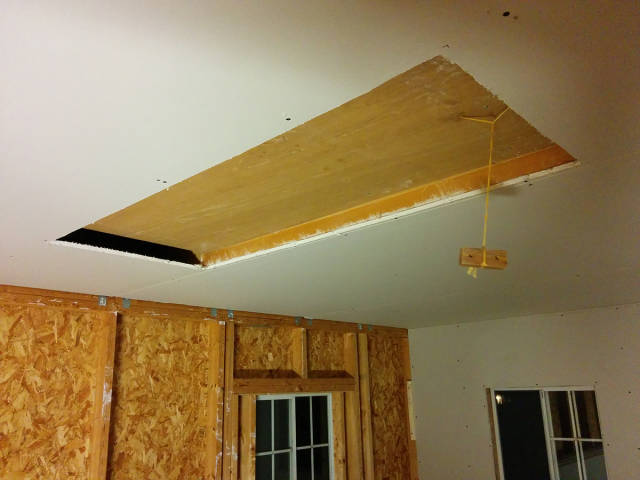
"And here is the ceiling drywall hung, as well as the first wall. I cut out the attic access as well as the two windows on that side of the barn to keep a good crossflow of air through, and so I could easily store and move things from the space above the (future) bar area."
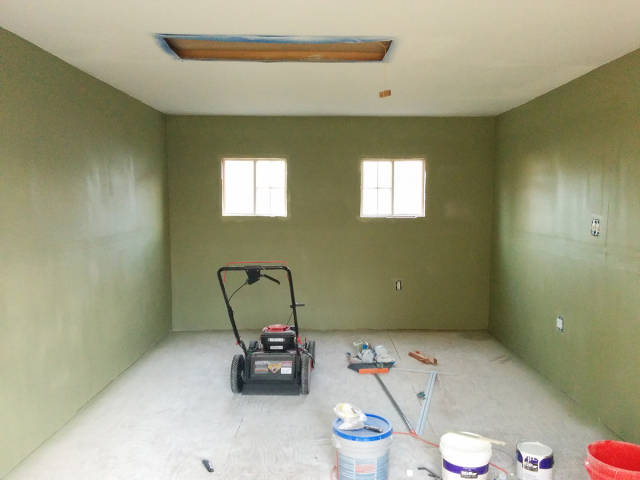
"It was about this point in time I realized I didn't know where my drywall saw was. Took me a solid 20 minutes of walking around until I realized I was using the window sills to set things on while I was working. This is the hole I made with my hammer so I could retrieve said drywall saw."
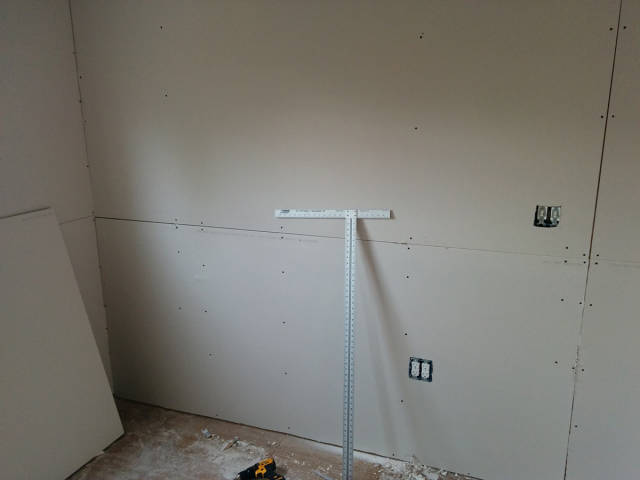
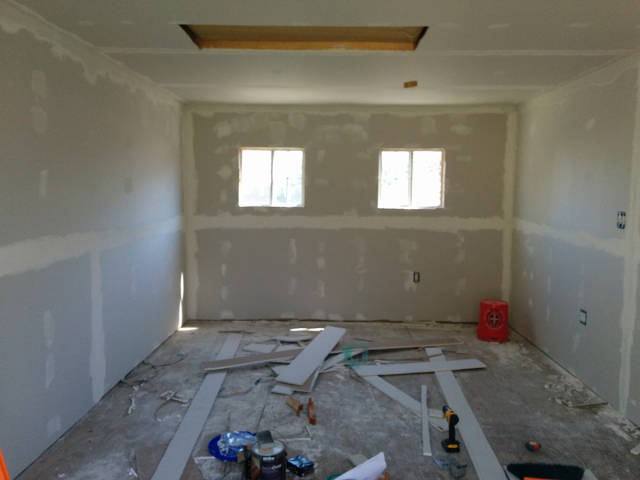
"Taping, mudding, and sanding... A look at the wall where the bar will be."
"Sorry I didn't take more pictures during the painting process. I used a buddy's paint sprayer to expedite the process. Took about 4 hours to do the ceiling and walls, and then another few hours for the second coats after letting the paint dry overnight."
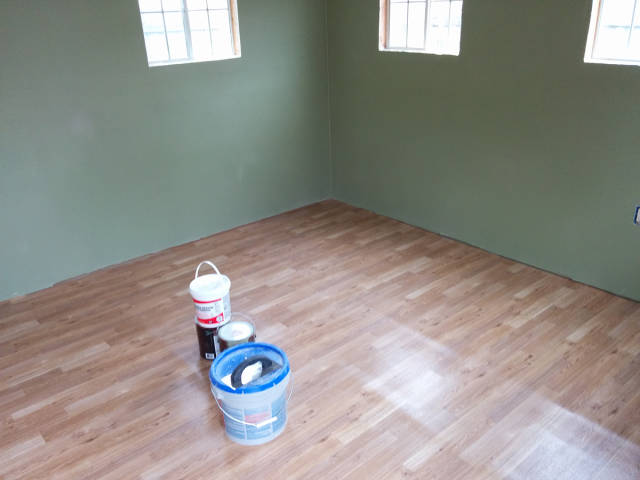
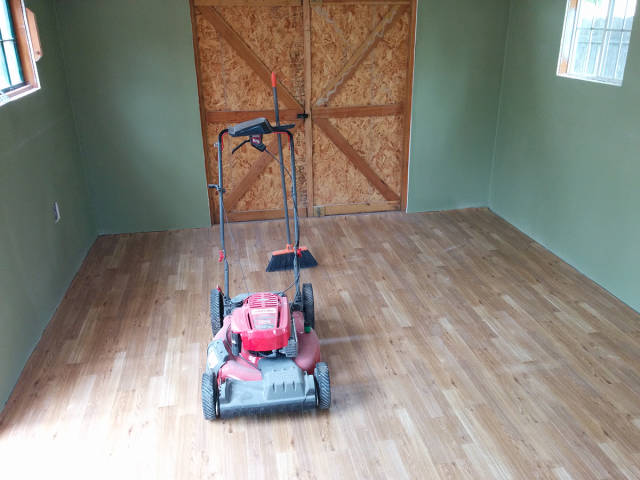
"Vinyl floors laid. Rather than going all out, I opted for the cheap solution and bought a 20' x 12' vinyl sheet of this light wood plank pattern. Overall it cost me approx $220 for the vinyl and glue, and I think it came out great."
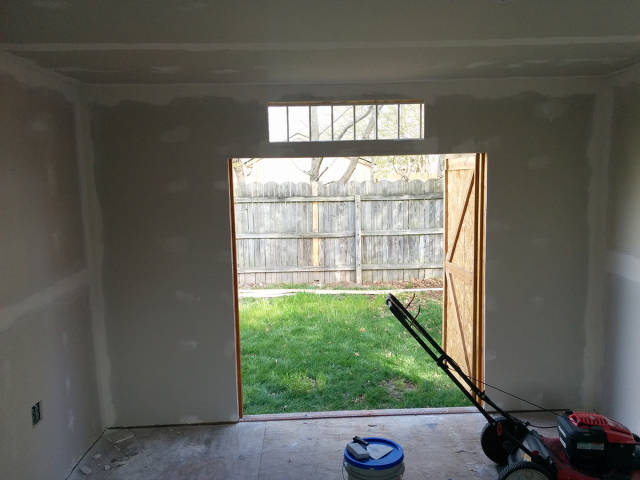
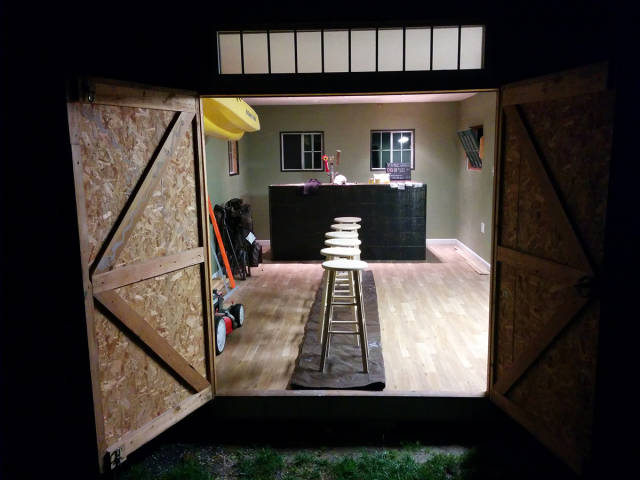
"My happy lawn mower - present in several of these pictures because I'm still using the barn to store stuff so it's out of the rain."
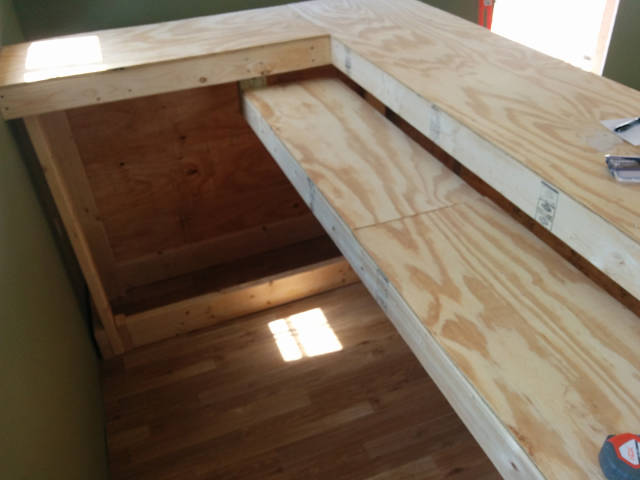
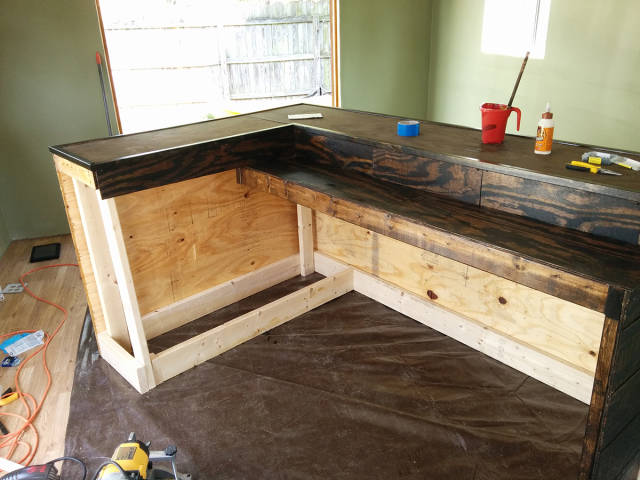
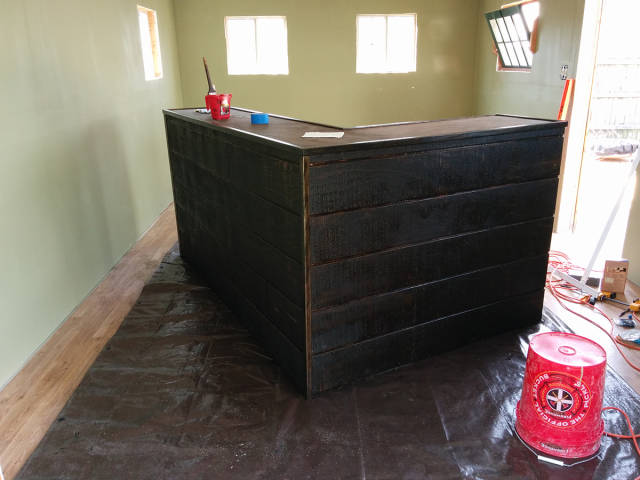
"90% framed. I added some additional structural support to the lower counter top after taking this picture to provide a more secure anchor point for the wood."
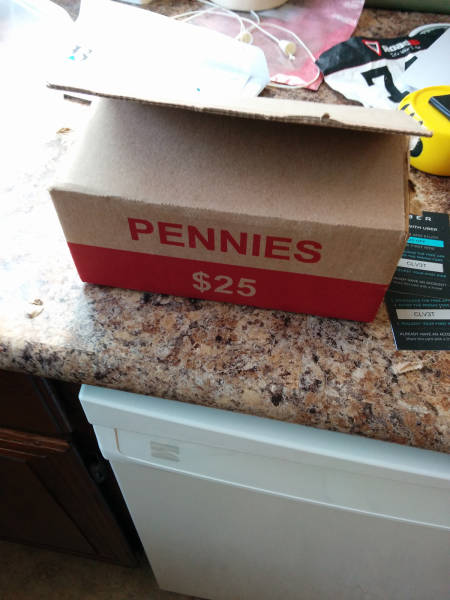
"$30 worth of pennies from the bank."
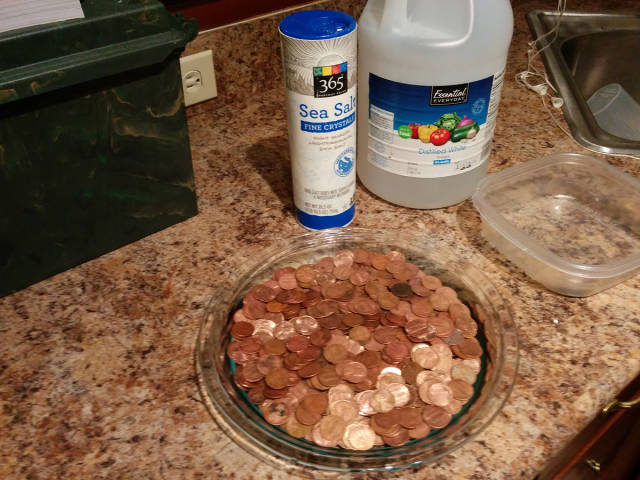
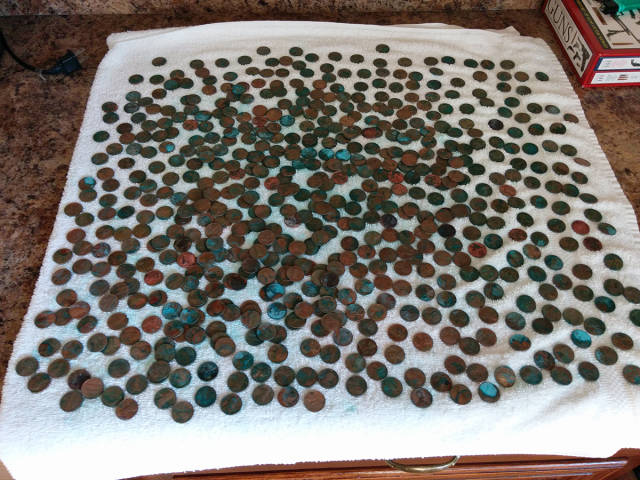
"The slow process of sorting $55 worth of pennies into different finishes. A fun note I found out is that in 1982, the US Mint changed the penny from a 90+ % copper makeup to a mostly zink makeup with a copper jacket. I read that the older pennies are easier to oxidize due to this, so that's why I have the non-shiny pennies divided into 2 different containers."
"By covering the pennies in a solution of white vinegar and salt, the acidity eats away any gunk leaving them very shiny. After a few minutes in the solution, a quick dry and spot polish with some baking soda on remaining gunk and you get a shiny penny!"
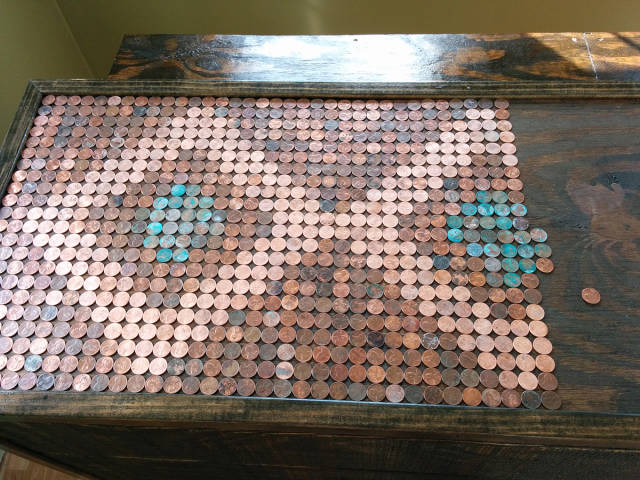
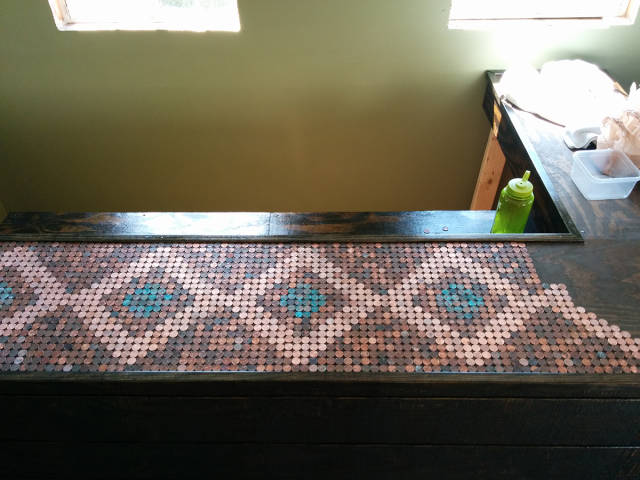
"A look of the very painful process of putting them all down. A nod to my OCD friends, EVERY penny is heads up. I had a couple of friends come over and between the three of us and a 6 pack of beer, we made sure I hadn't missed any."
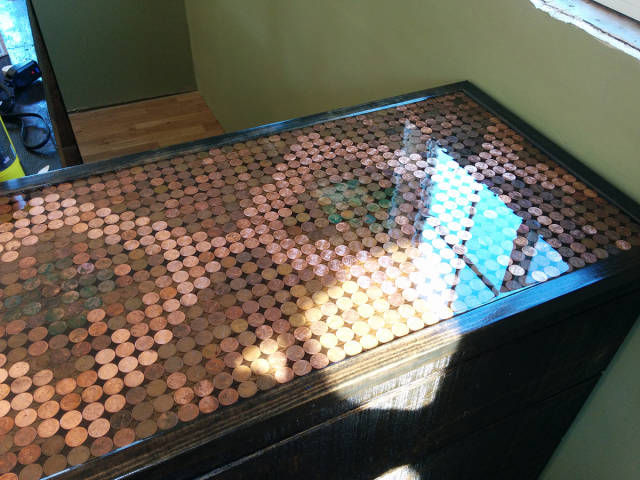
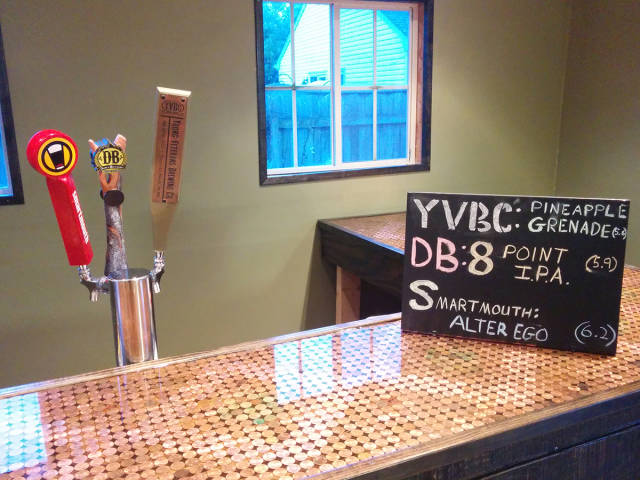
"A close up of the pennies. Most of the online "how-to's" said to paint the wood under the pennies black. I am glad I chose to leave it with just the stain. It created a really cool effect of still being able to see the beautiful wood grain when looking straight down, but seeing a copper bar top when looking at an angle."
"The first quart of resin applied. You can see my torch I bought on the corner of the bar. Incredibly helpful to get any stubborn bubbles to rise to the surface, as well as help even out the resin."
"The kegerator (A KC7000SSTRIP from Edgestar) finally arrived and I shoehorned it under the bar. Getting the tower in was a little messy, however I was planning on building a collar for it anyways so I didn't mind the small chips in the wood too much."
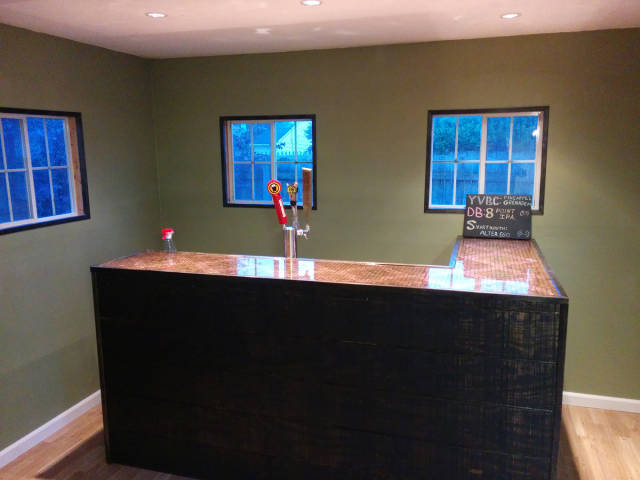
"The finished bar! I went ahead and threw 3 of my favorite regional VA beers on the tap. You can also see some accent trim work I did around the windows by framing some 90deg angle pieces that I had stained the same color as the bar edges."
"A look at the whole thing. Not pictured was the installation of the lights above the bar. I lost my phone the afternoon I was putting them in and didn't get to grab any pictures of it. Pretty easy though as the barn has an accessible attic, so it was as simple as placing the lights and wiring them in series to the 14ga wires I ran to the switch when I first put in the electrical."

