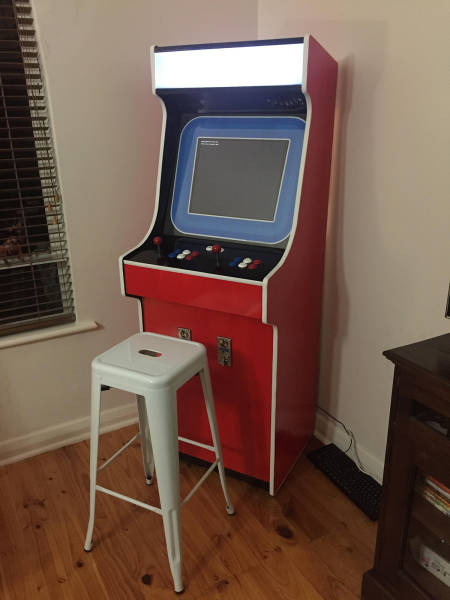
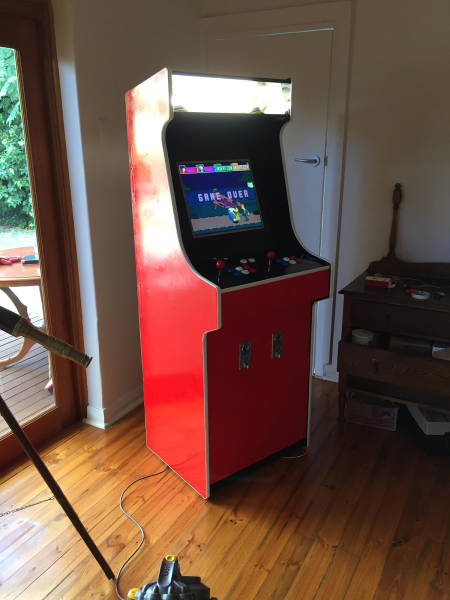
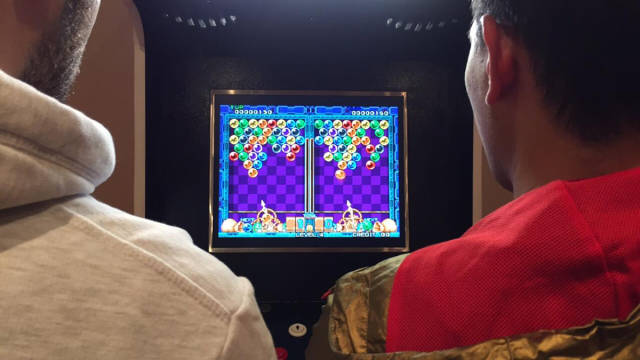
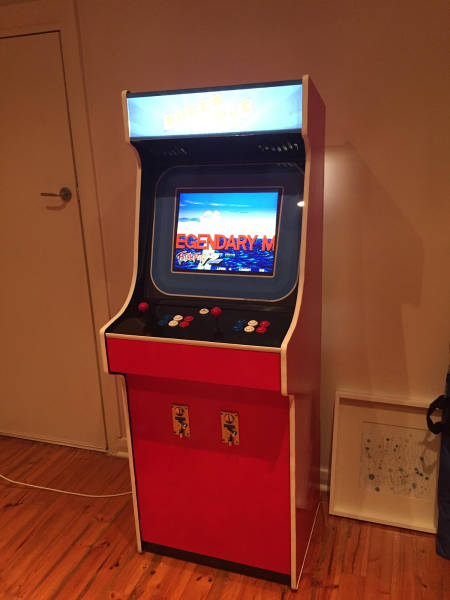
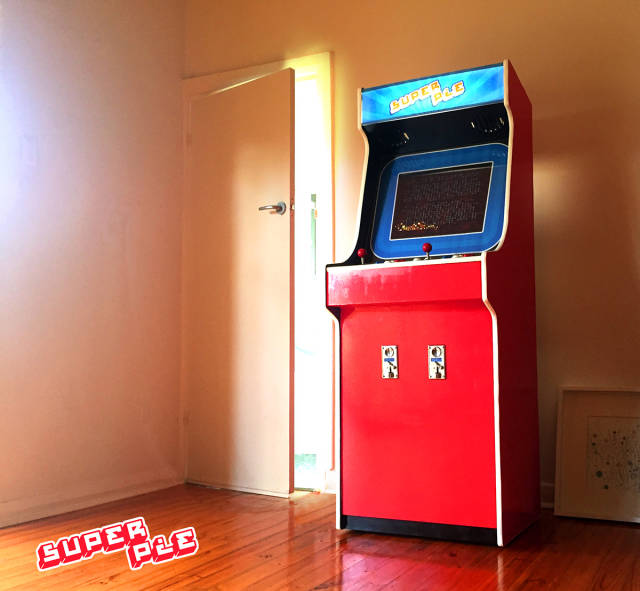
"Bought some replica Tolix stools so I don't have to stand"
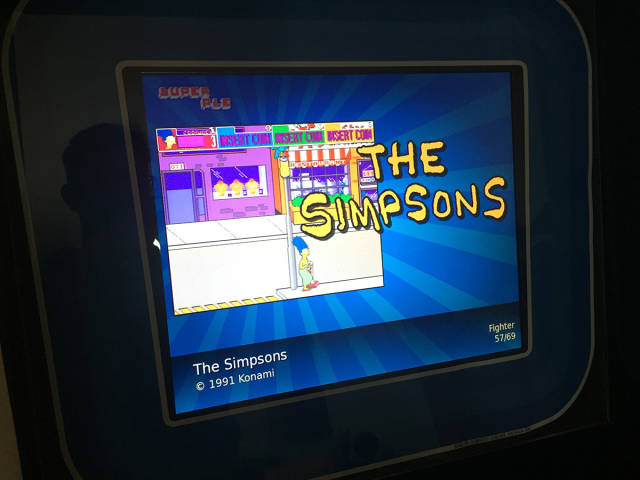
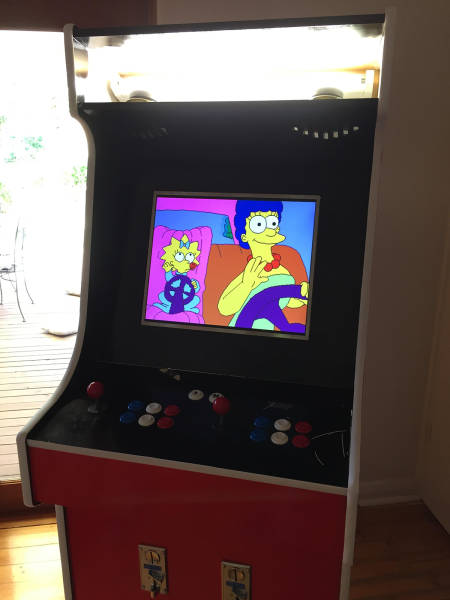
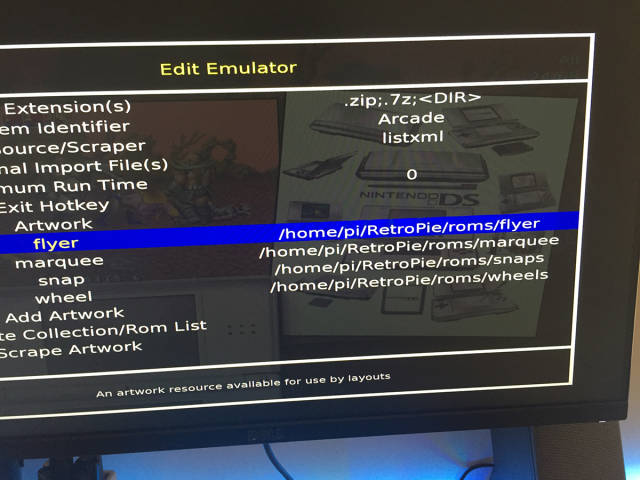
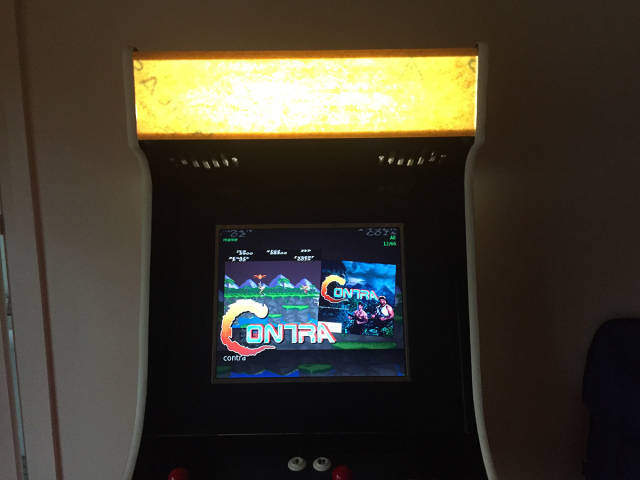
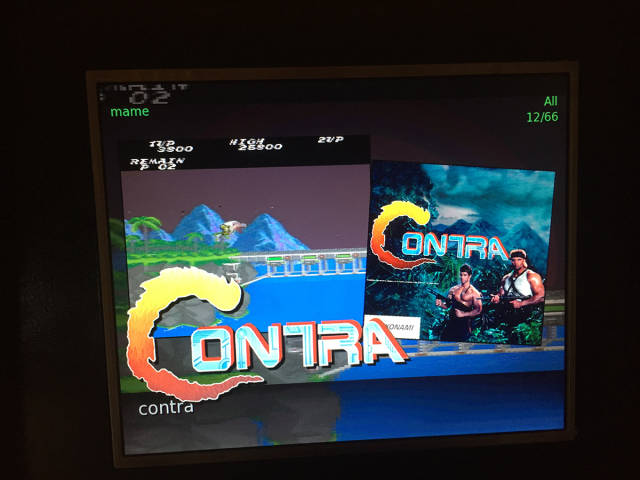
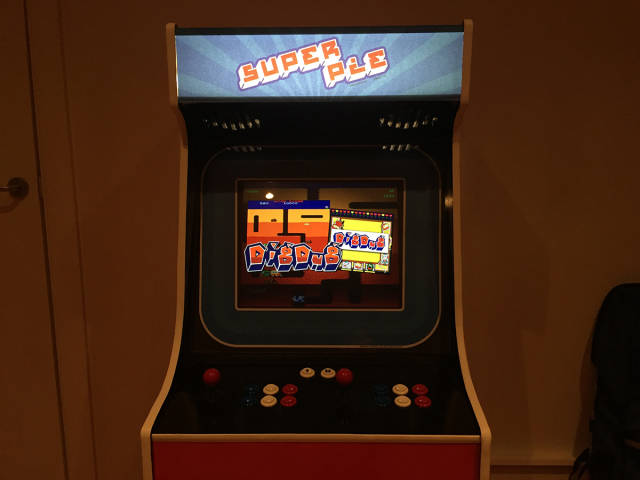
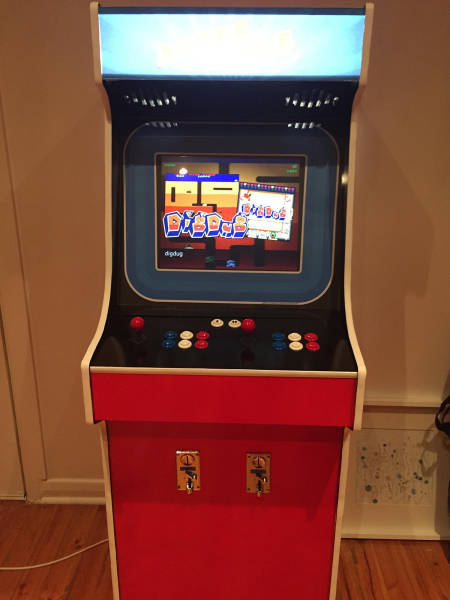
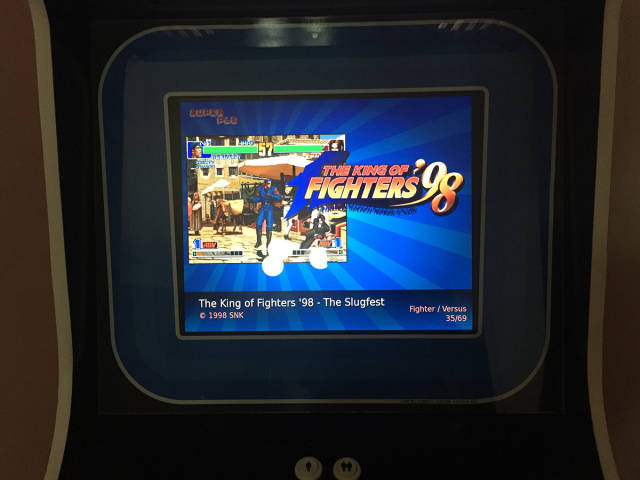
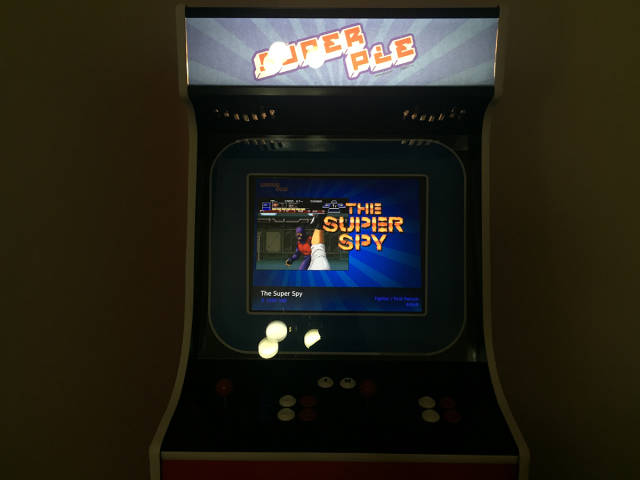
"Changed the layout of the interface with custom graphics. Using Attract mode for RetroPie for the Raspberry Pi"
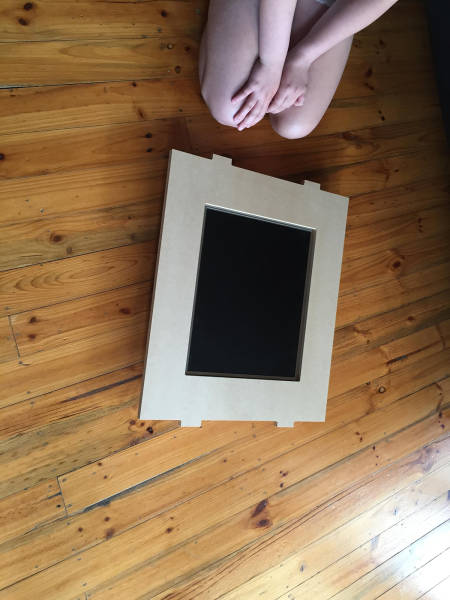
"MDF CNC'd cost around $450 AUD. Where alot of the cost in the build went"
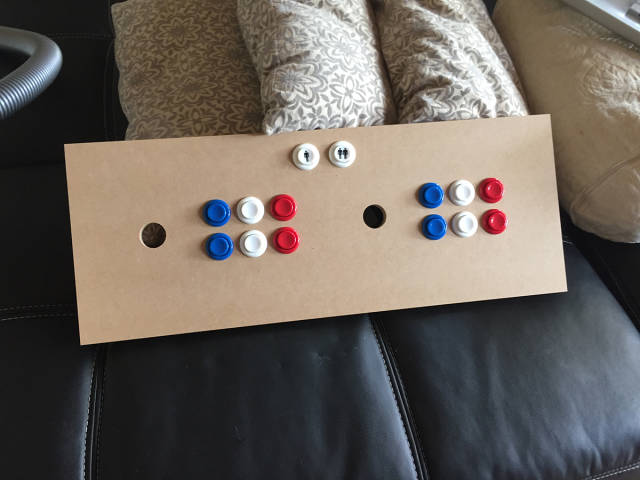
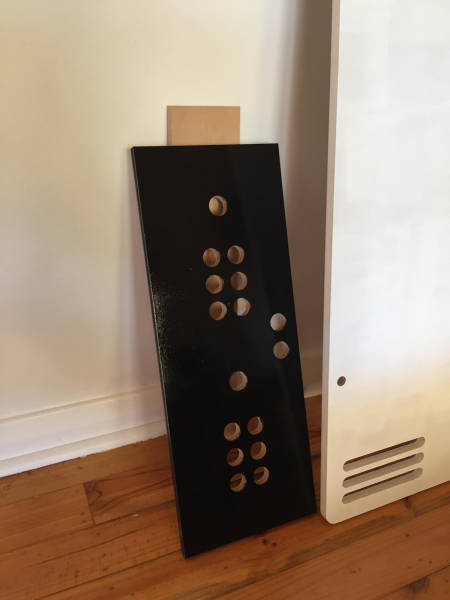
"After having the MDF CNC'd. Checking to see if the buttons fit. Thankfully they fit perfectly"
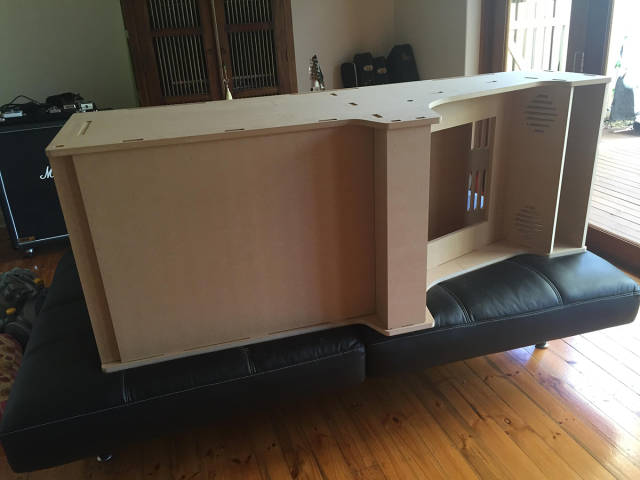
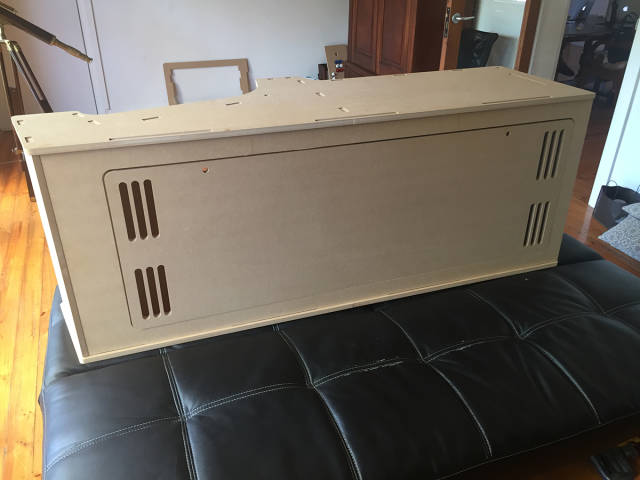
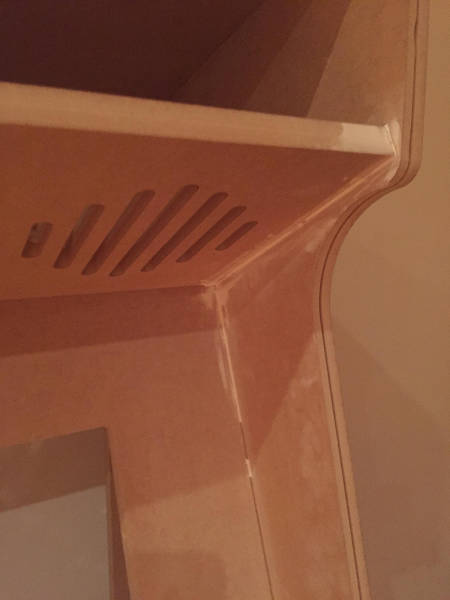
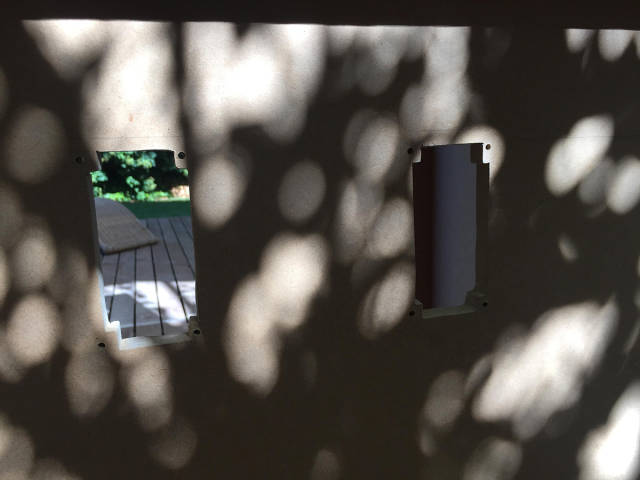
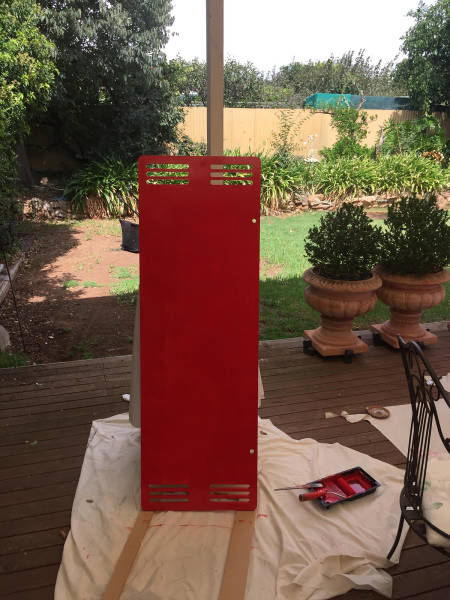
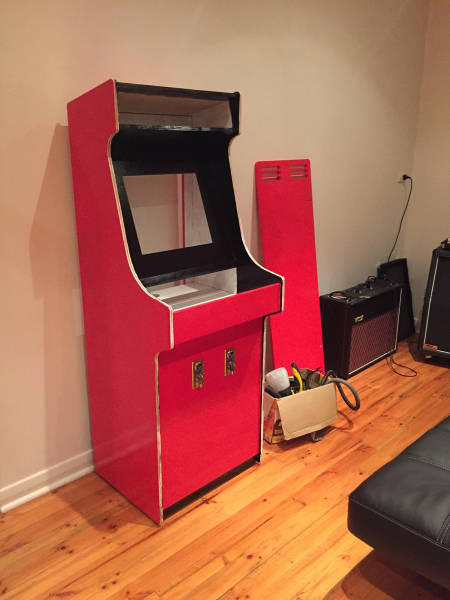
"The cutouts in the door allow for ventilation for the components within the cabinet. Since I'm using a low powered Raspberry Pi unit it probably isnt too necessary but I added them in just in case i decide to retrofit a high performance PC."
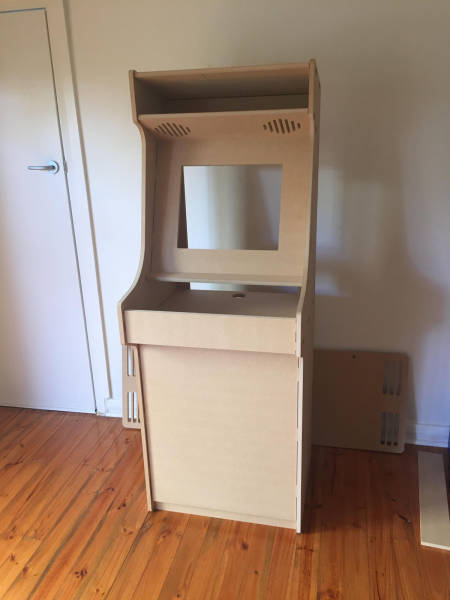
"I left it for around 24 hours for the glue to set. Used PVA glue for general woodworking."
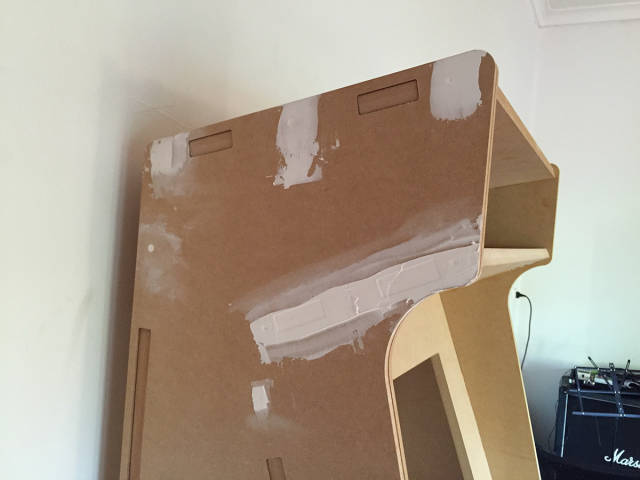
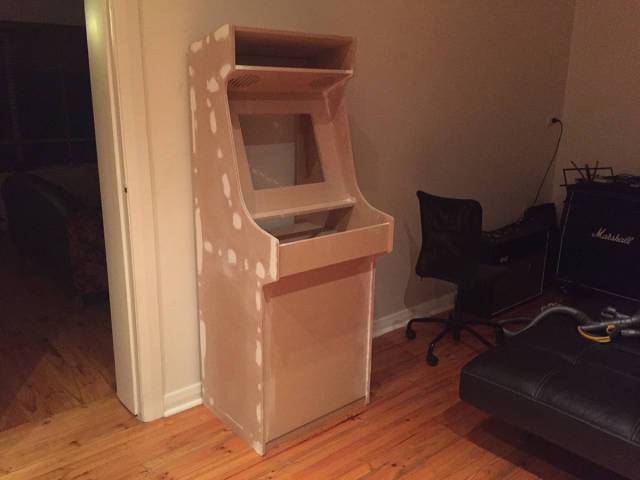
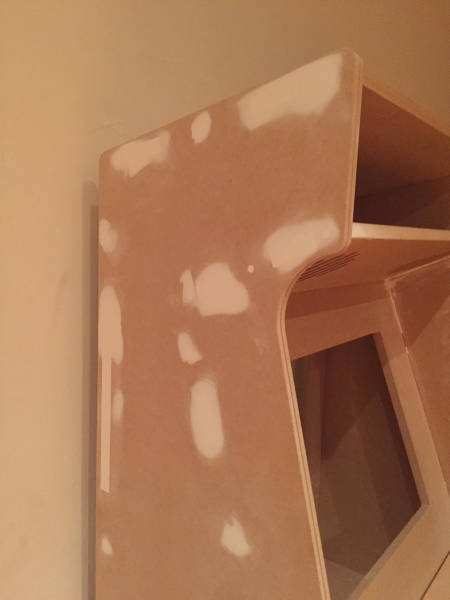
"Used a non-flexible general use putty. This was an extremely labor intensive exercise. If i were to do this project again I would not put do it this way."
"This was cut with a router and a 2.5mm slot cutter router bit i bought online for $8. Most hardware stores sell them for around $50. The quality of mine probably wasnt as good but I dont need to use for other projects"
"Sanded back with 220 grit sandpaper by hand"
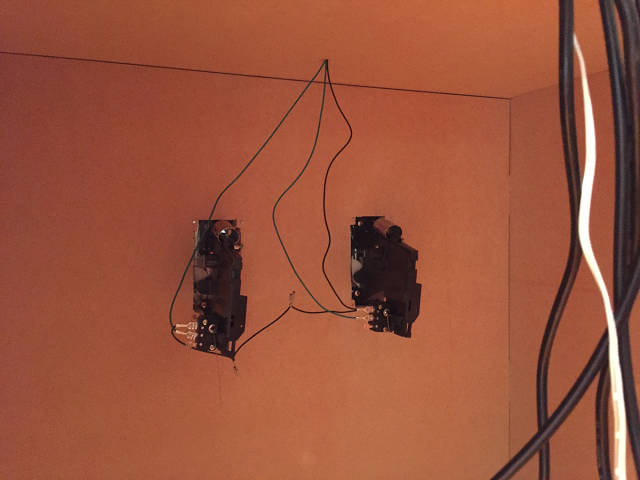
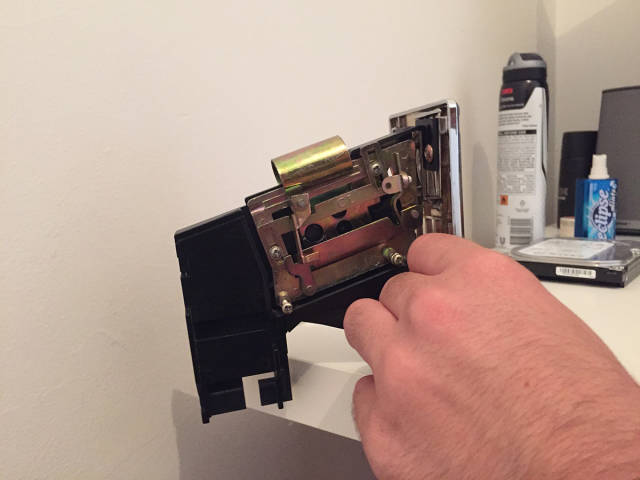
"Didnt anticipate using coin mech's until after the wood was CNC'd. I roughly traced the coin mech to then cutout the hole within the cabinet."
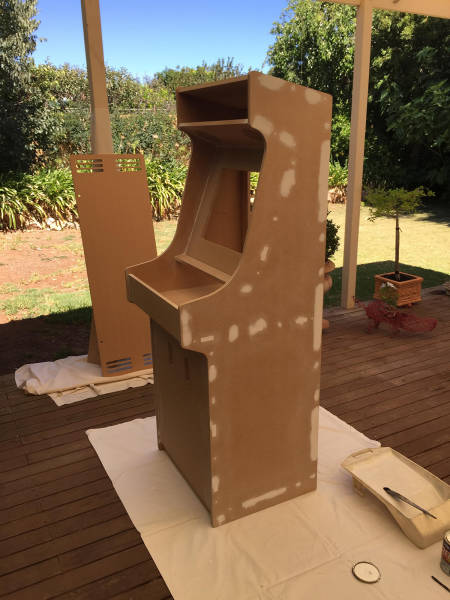
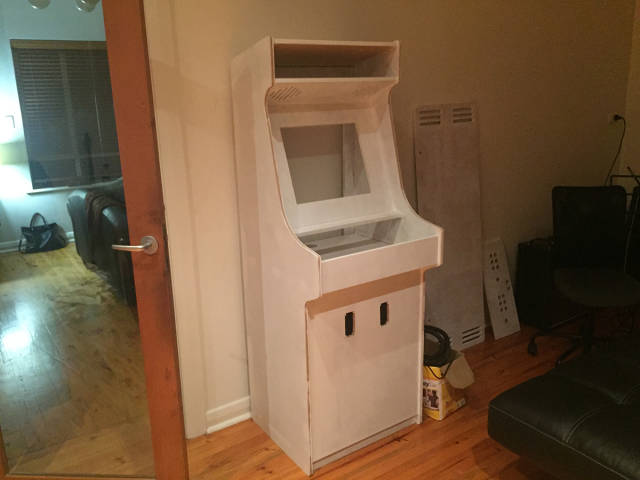
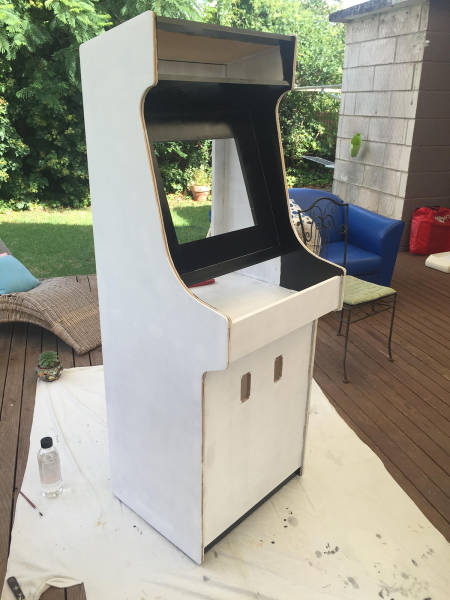
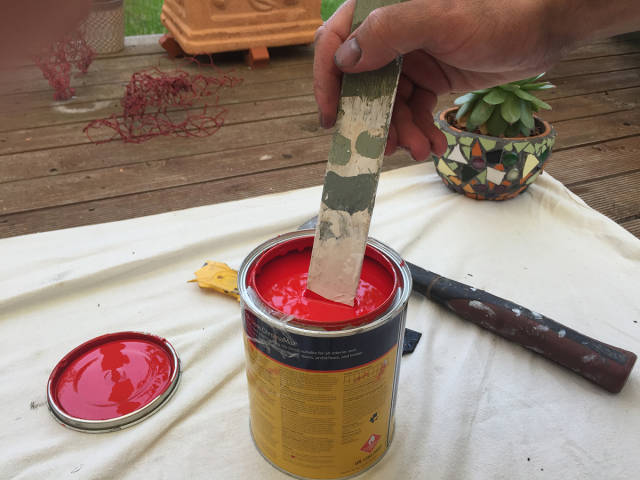
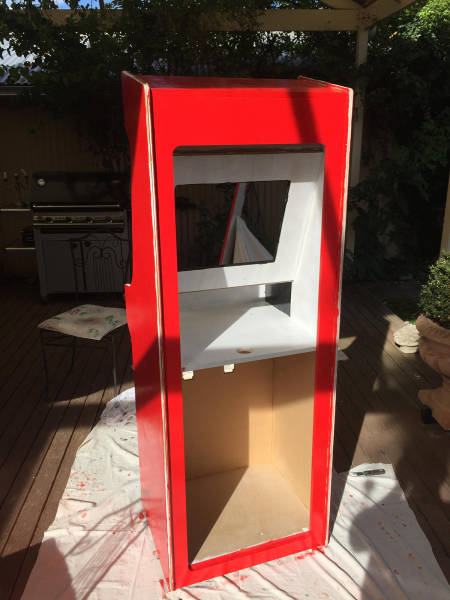
"Applied 2 layers of undercoat/sealer. Went for the minimum since MDF doesn't soak up too much paint"
Applied 2 layers of undercoat/sealer. Went for the minimum since MDF doesn't soak up too much paint
"I didnt end up spraying it so this was a waste of time. The spray gun used way too much paint and would have required way too many coats. This method was not cost effective."
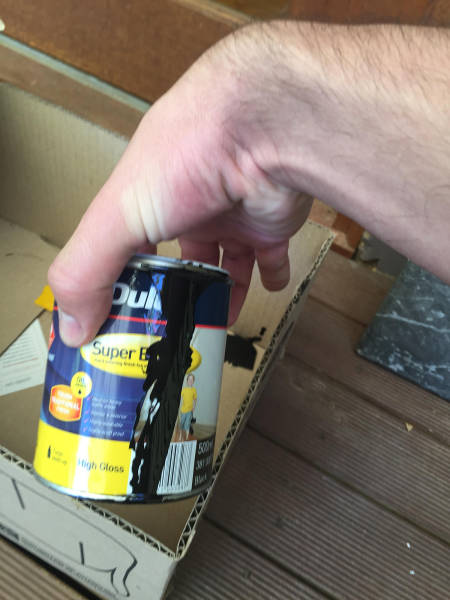
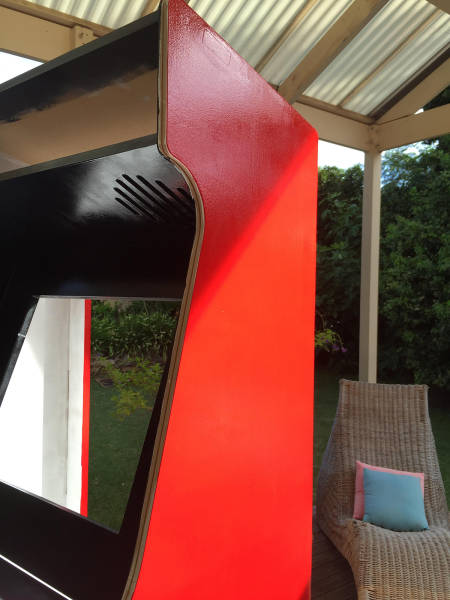
"Only needed a small can of black paint. The black only required 2 layers however I applied 3 just for good measure."
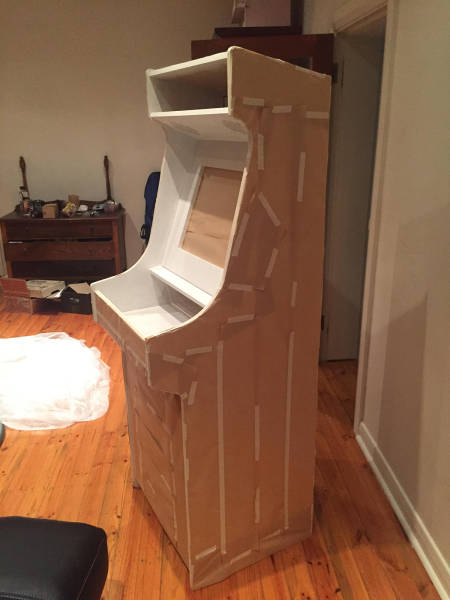
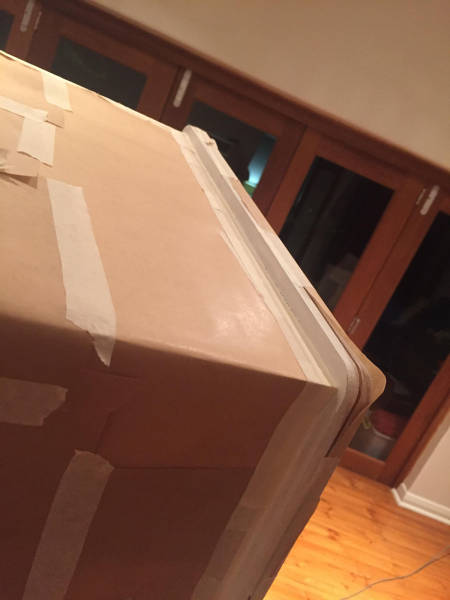
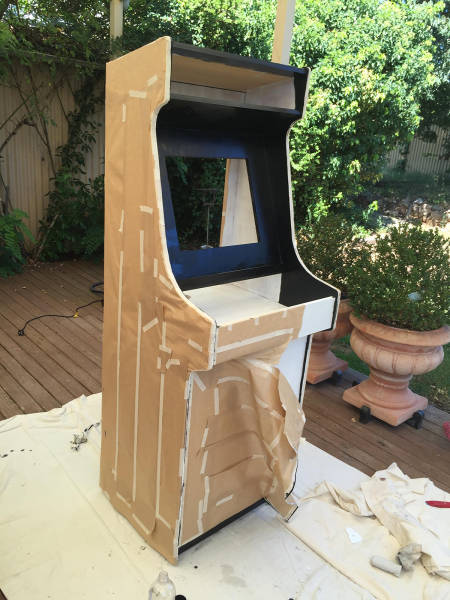
"The masking tape was for general use and did not do a good job of masking out regions i did not want to paint. I should have used painters tape for this but the cost difference between the two types was quite significant."
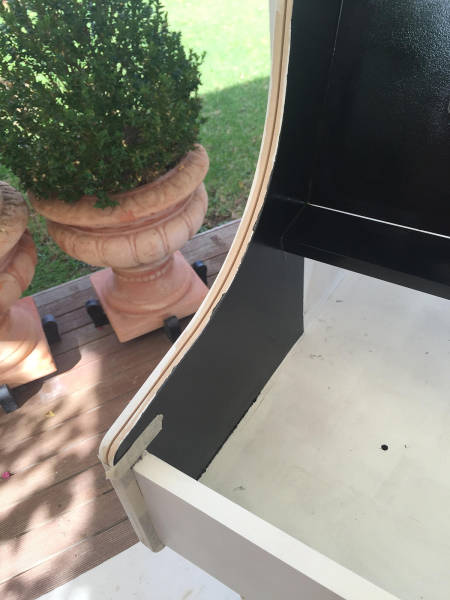
"This would have been easier to paint if I had the cabinet proped up higher. Instead I used a brush to paint the bottom part. The black paint is forgiving since it wont show too many brush strokes. This method of application wouldnt have been so successful were it the red paint."
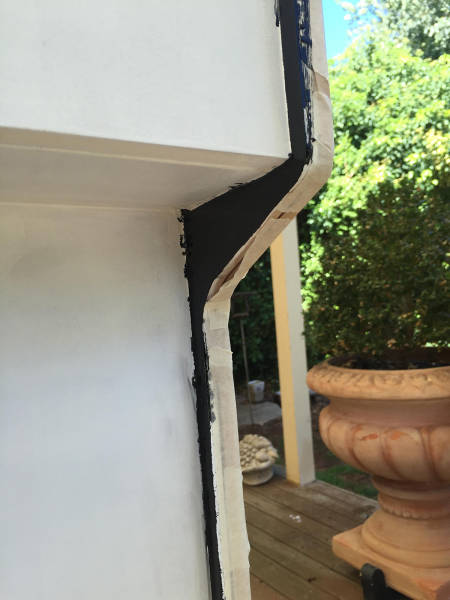
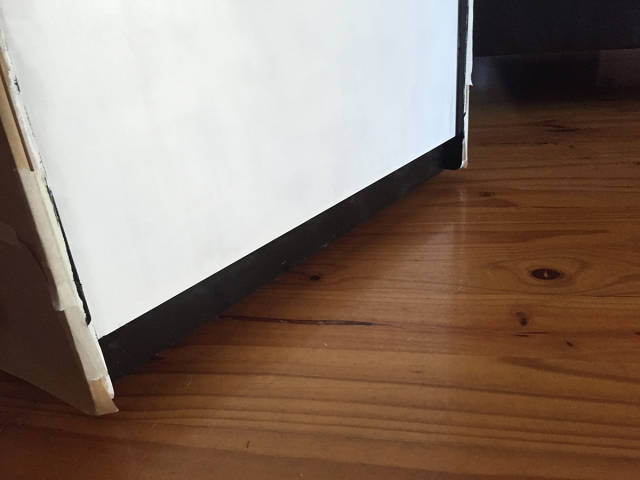
"Probably didnt need to paint that far down. This area will be covered by the control panel."
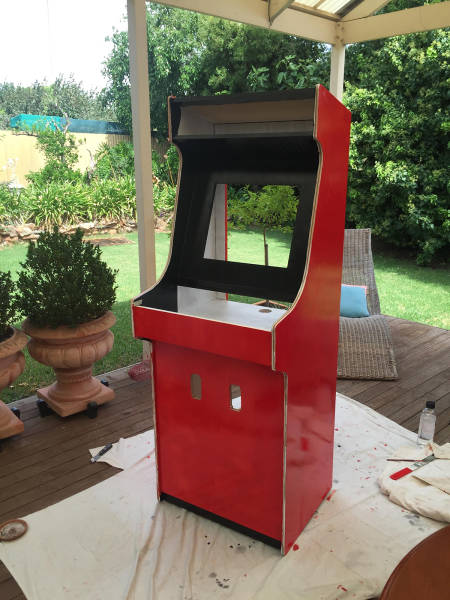
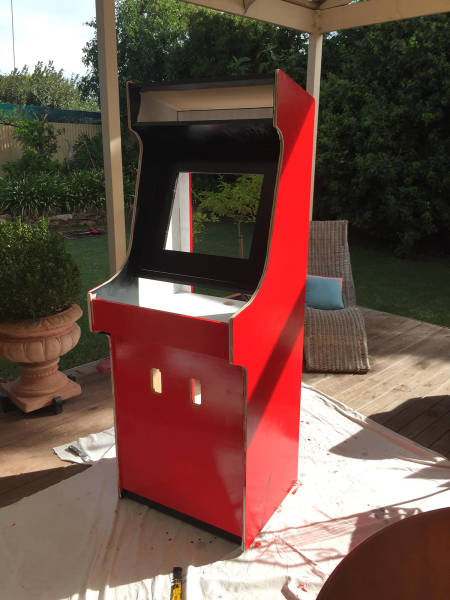
"Under the right light you can see the edges of the slots after applying the paint. To avoid this I could have used a vinyl wrap material. This might also be a cheaper alternative."
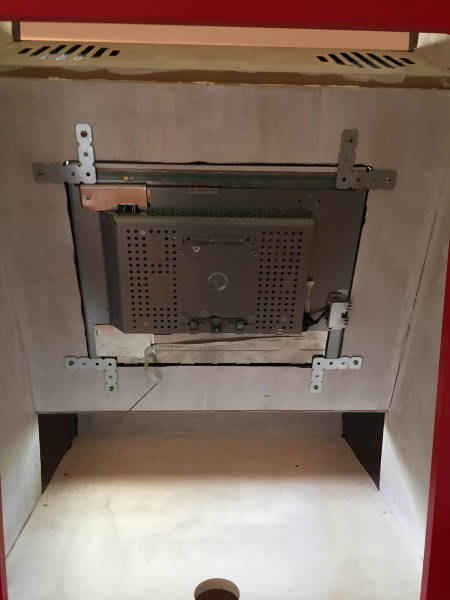
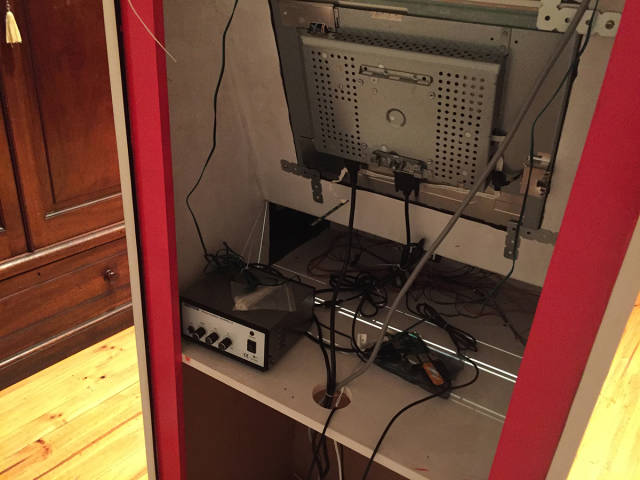
"Used some L shaped angles to fix the monitor in place. Since the monitor fits so tightly into the opening it doesn't require too much support from the brackets."
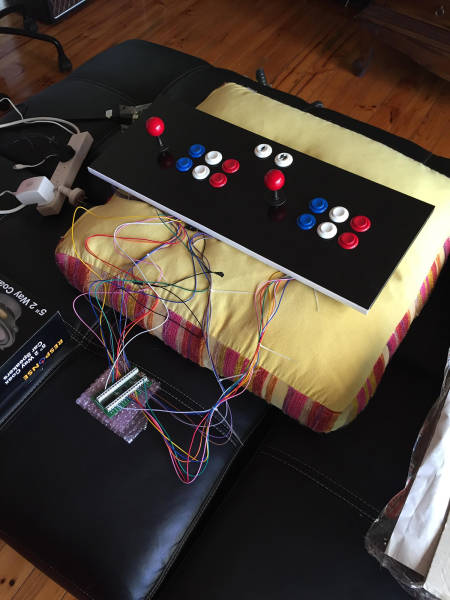
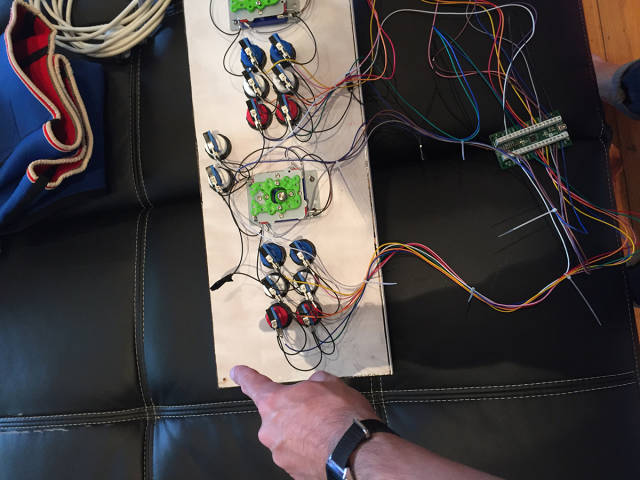
"The iPac keyboard encoder is designed for MAME emulation as the controller slots on the board are assigned to different in-game buttons, eg: Up, Down, Left, Right, Player 1 start, Player 2 start, etc. Once all the wires have been assigned to their correct output the board simply connects to the machine (raspberry pi or PC) via USB. the computer then recognises the inputs as a typically keyboard."
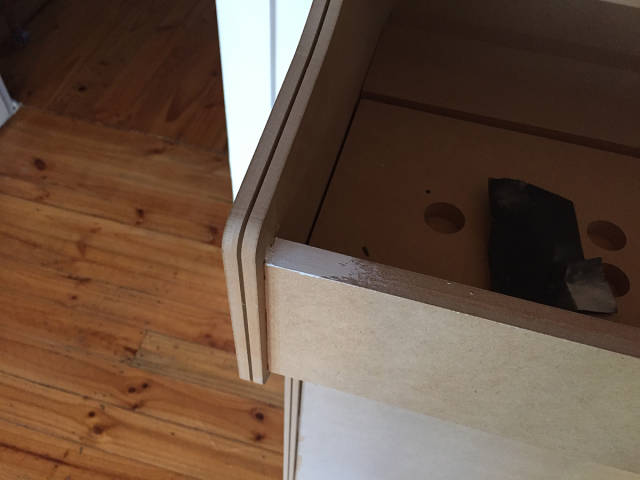
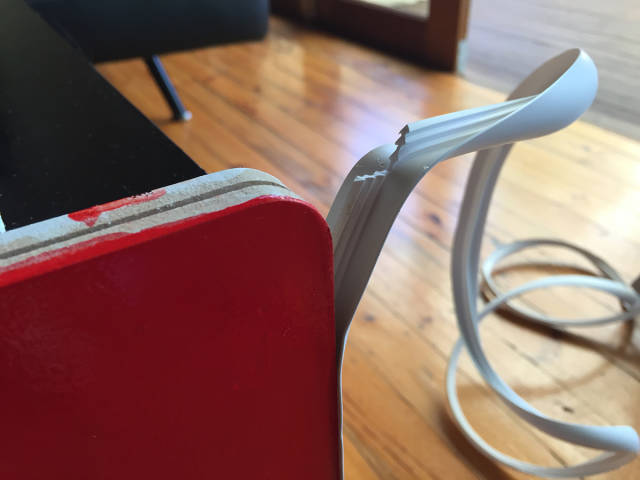
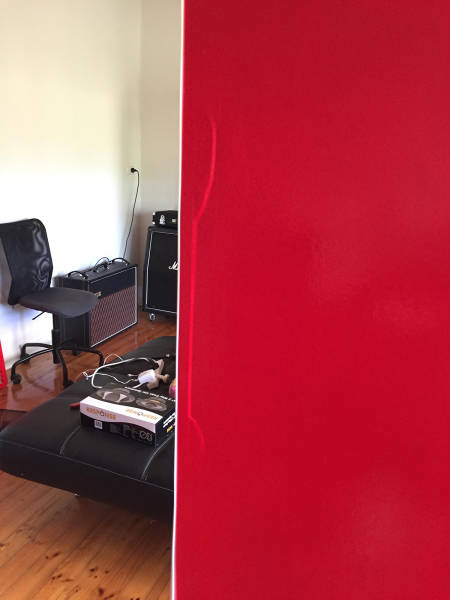
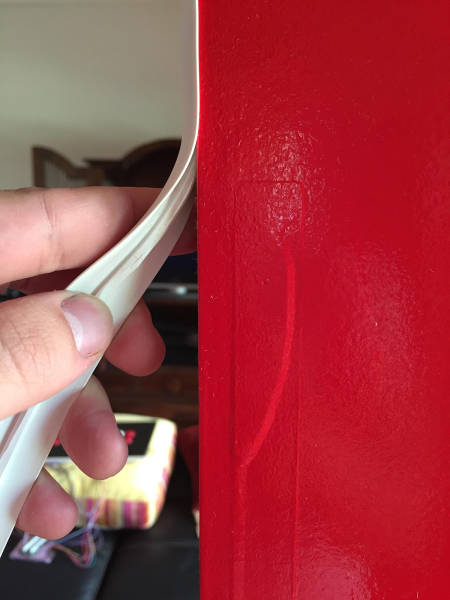
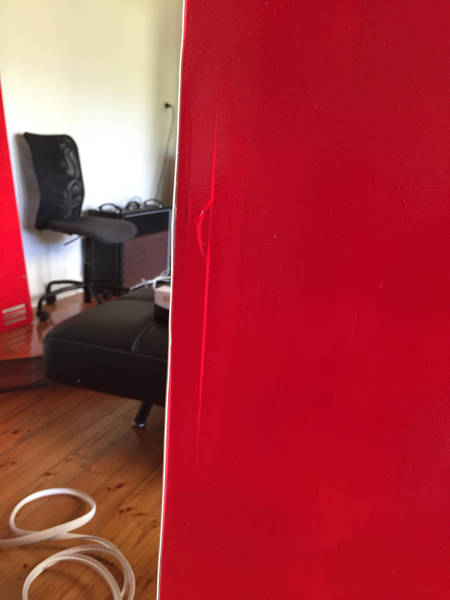
"I used a rubber mallet to hammer in the t-molding. This caused the wood to separate and the paint bubbled."
"Tried to cut the t-mold groove to stop the wood from splitting any further"
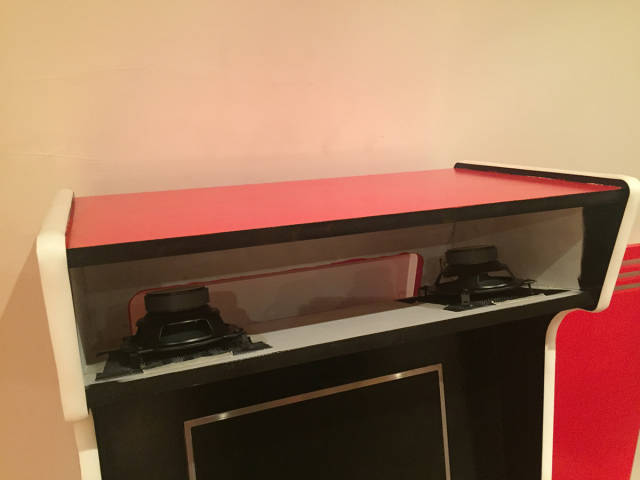
"The speakers are a set of car speakers which i wired to an amp. It was difficult to installed since I hadnt predrilled any holes and since the cabinet was already assembled it was too hard to get a electronic drill into the area. I had to manually do this with a lot of brute force. The speakers sit of a sheet of mesh which then small angles fix the speakers into place."
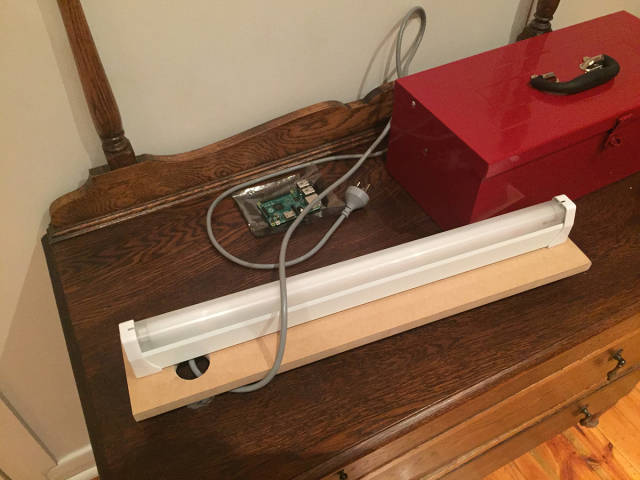
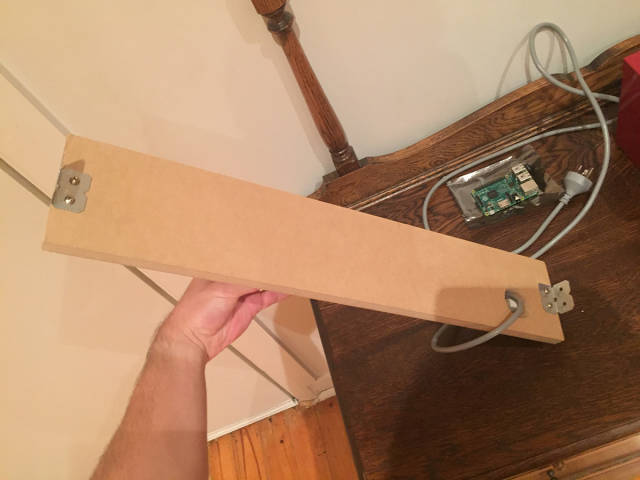
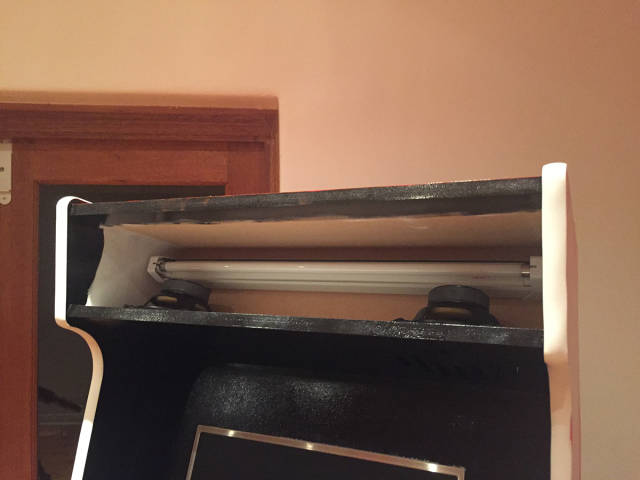
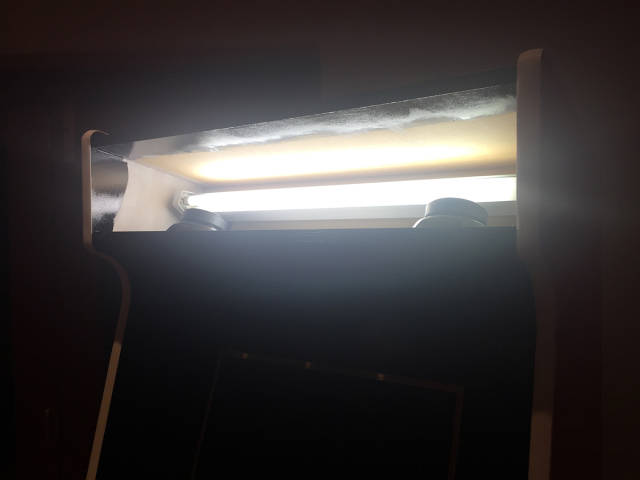
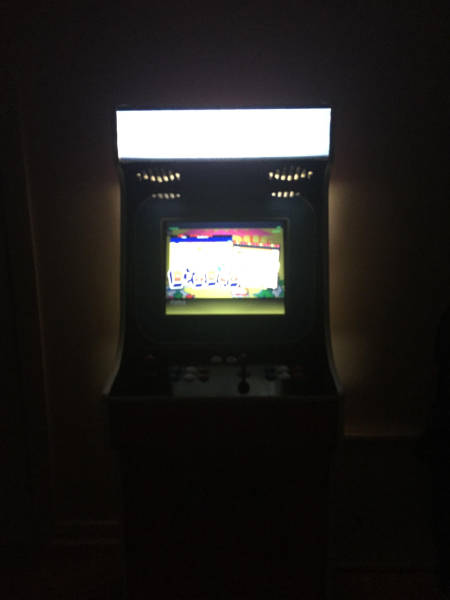
"Just a regular fluroescent light which i was able to get for free from a supplier. It even came with a power plug so i could connect it straight into the powerboard in the back."
"This was my first attempt at running MAME on a raspberry pi. Thankfully very minimal programming was required at this stage."
"All cables were pre-crimped from the online store i bought these from. All i needed to do was daisy chain them all together."
"I think I will eventually swap these out for electronic ones. Having so many issues with these!"
"Used zip ties for cable management. It still looks a little messy"
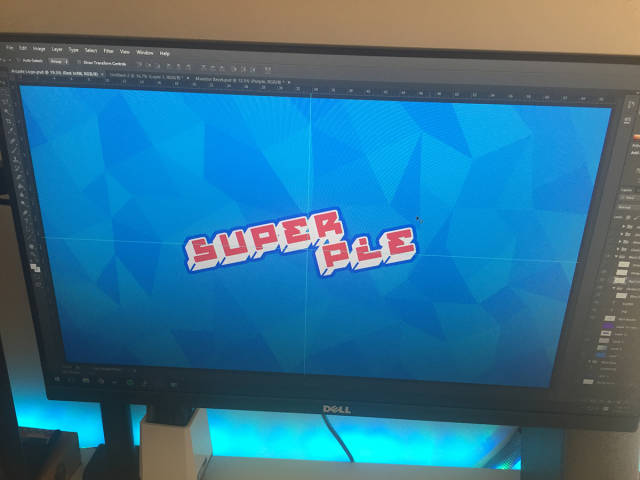
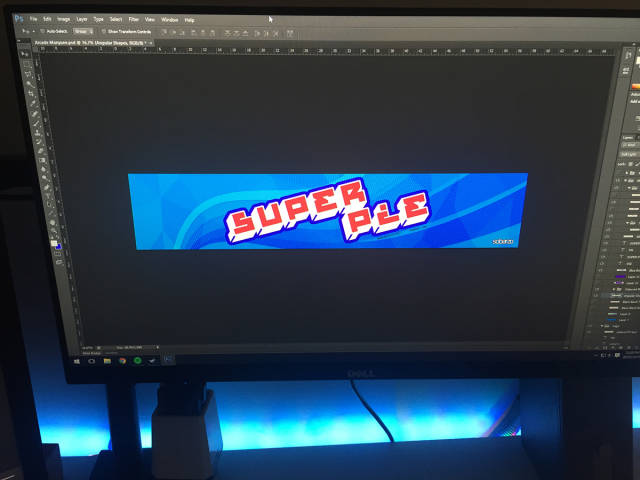
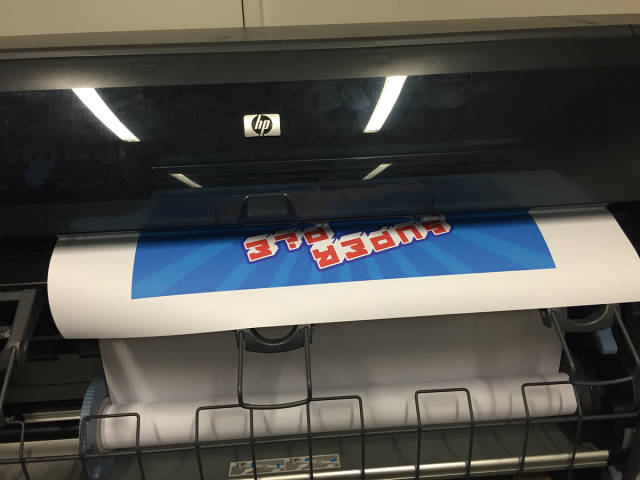
"Designed the graphics by hand then on Photoshop. Already had a colour scheme in mind. Graphics would be better in Illustrator but I dont have access to that software."

