This dad deserves "The Father Of The Year" award for building this bedroom for his son. Check out how Imgur user IScratchUntilIHaveNoSkinLeft transformed this very worn down and torn up room into something awesome.
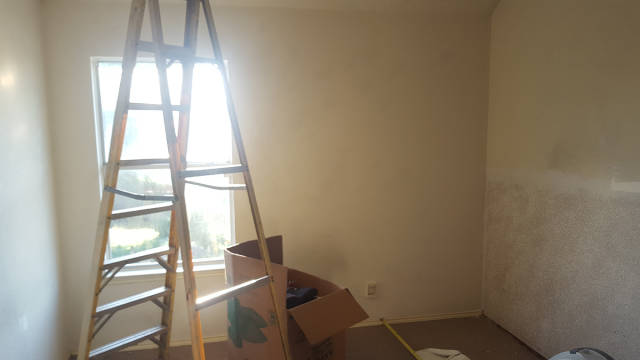
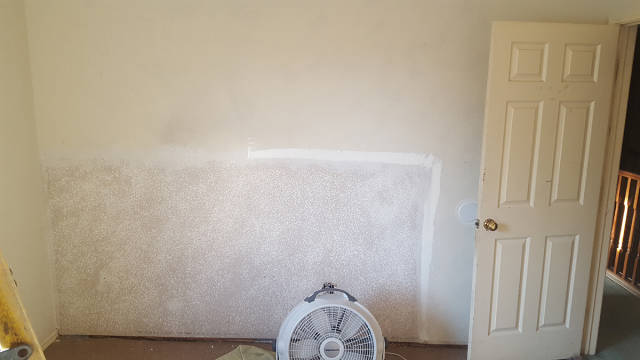
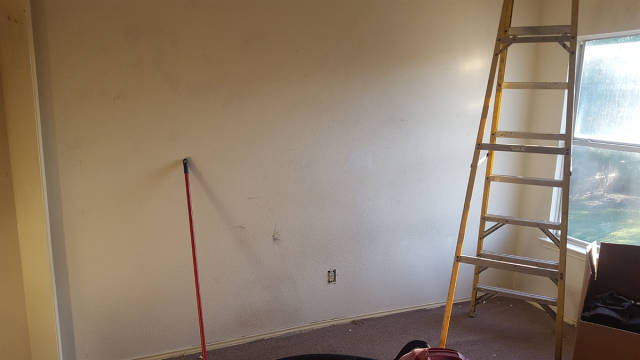
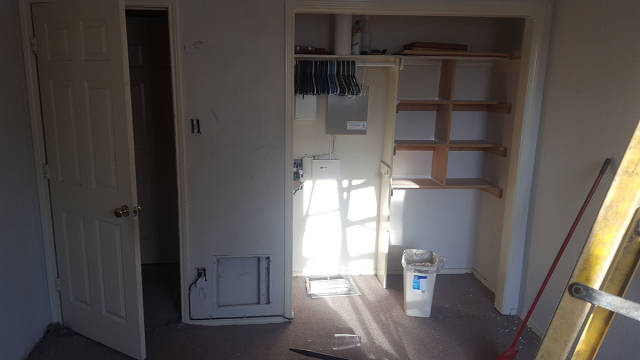
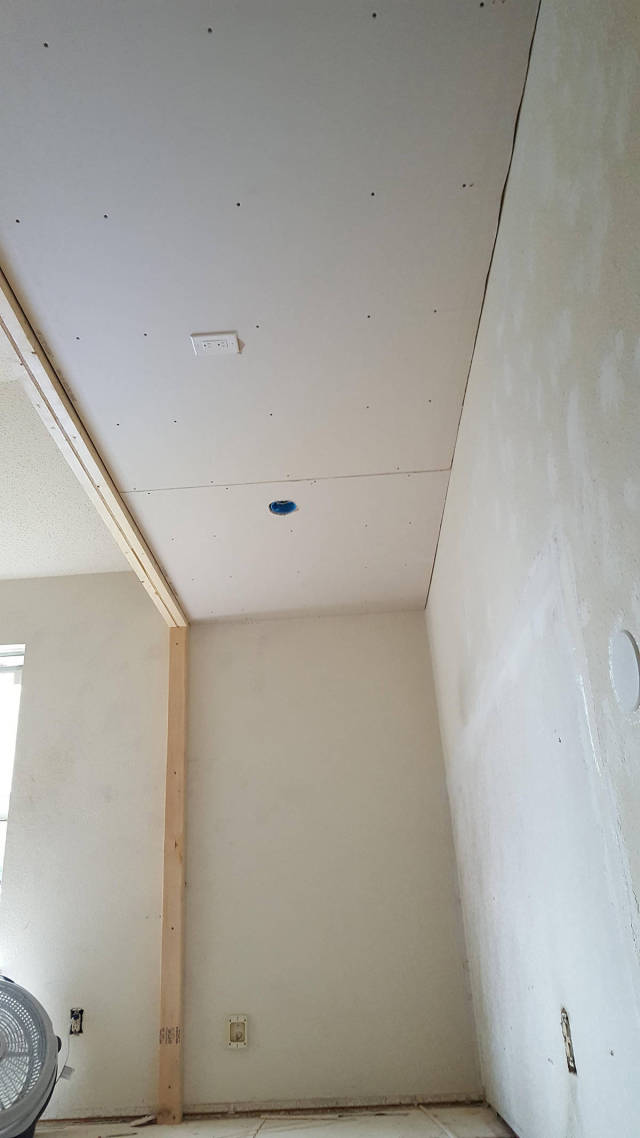
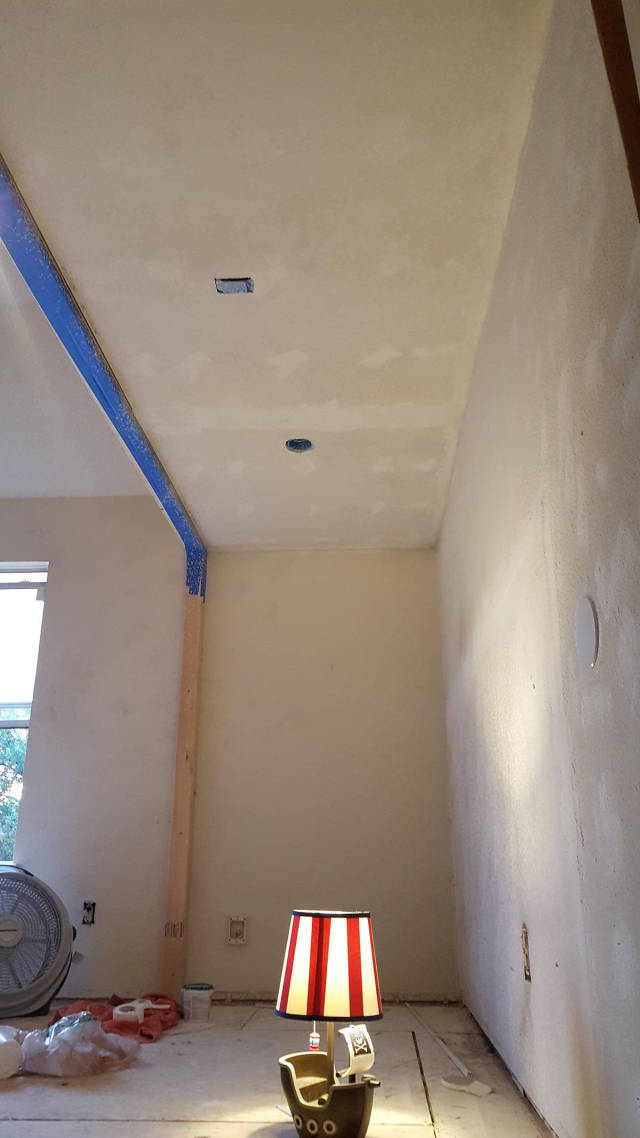
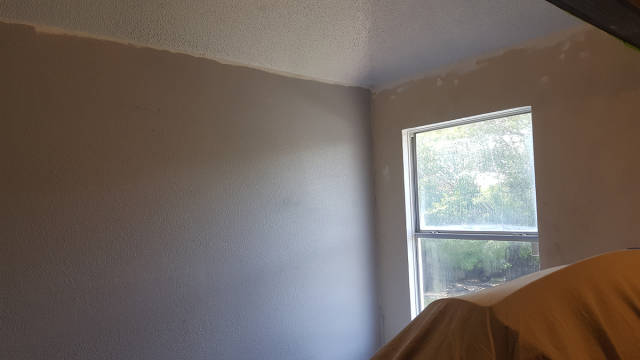
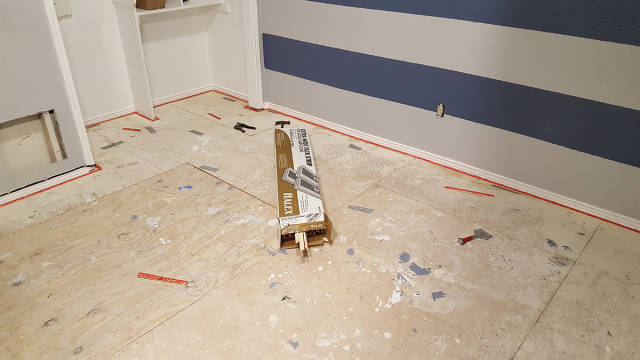
"So, 8 days before sons 4th birthday, my cousin, who had been living with us for close to a year, randomly packed up and moved out (but only took about half his stuff) while the rest of us were at work. This is what was left in his wake."
"It's a relatively small room (10' x 11') and was very worn down and torn up. We were planning to just paint and recarpet the room for my son's birthday but while surfing pinterest for decorating ideas a different idea came to mind: I'm a handy guy, why not give him the room I would have dreamed of as a child?"
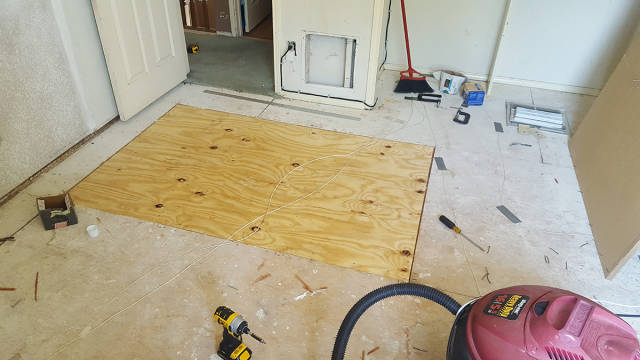
"And so I began. Before I could start on the real cool stuff though, I had to fix this. Apparently when we had a leak in our roof ~15 years ago, the contractors we paid to fix everything replaced this section of floor with MDF instead of OSB, so the first thing I noticed when I walked in the room was that it felt like I was about to fall through the floor. To get the old piece off I put 2" screws in various spots around the edges to pry on since there was no way I was getting a pry bar under an edge. Once I had it up I discovered the big reason, on top of the fact that it was the wrong material, that it was flexing so much. All four edges were completely unsupported, no floor joists within 6" of any of them. So before I put the new sheet down I screwed 2x4 blocks along all the edges to the floor joists and the surrounding subfloor so that all the edges would be firm. I secured the new sheet with liquid nails underneath and 2" deck screws every 12" on top."
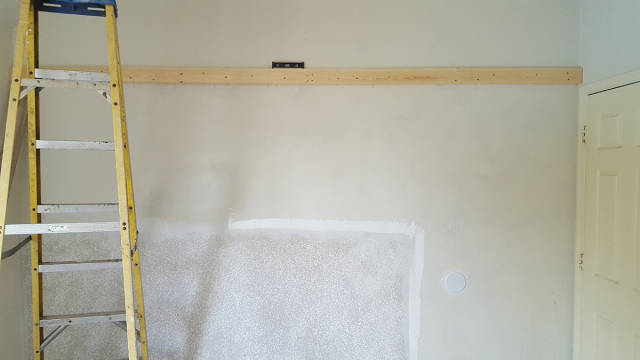
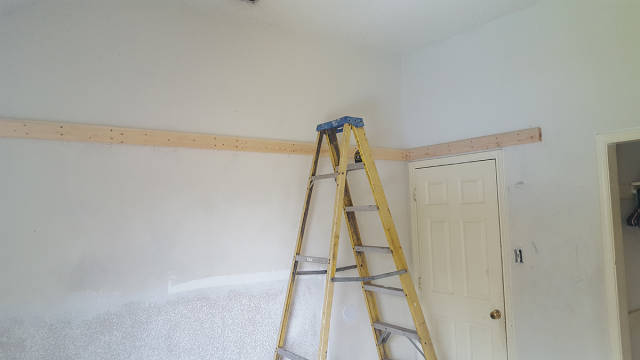
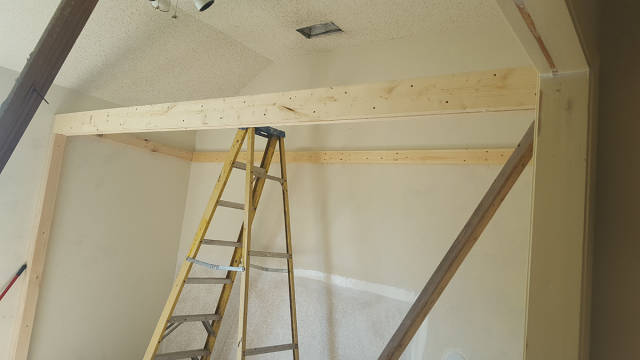
"Then the cool stuff began. Since I did 90% of this by myself I had to get kind of creative. I cut two 2x4's to about 6" longer than the height I wanted this header and then used them at angles against the wall under the header to hold it up while I screwed it. I initially used a brand new stud finder to "find" the studs but as soon as I starting putting screws in I found that thing was batsh*t crazy. It didn't help that the studs in this wall were NOT on any sort of standardized spacing so I ended up going along with a hammer and nail and putting holes every couple inches until I had found all the studs. Once I found them I secured the header to them with two 3.5" deck screws each."
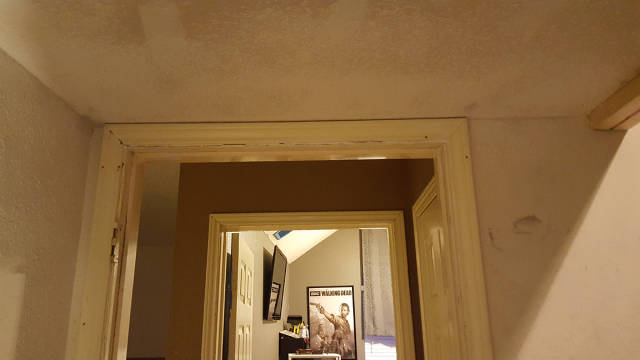
"The shorter header was a bit easier because there's a solid header already in the wall above the door so I didn't have to search out any studs. If I remember correctly I did two 3.5" deck screws every eight or so inches across this one."
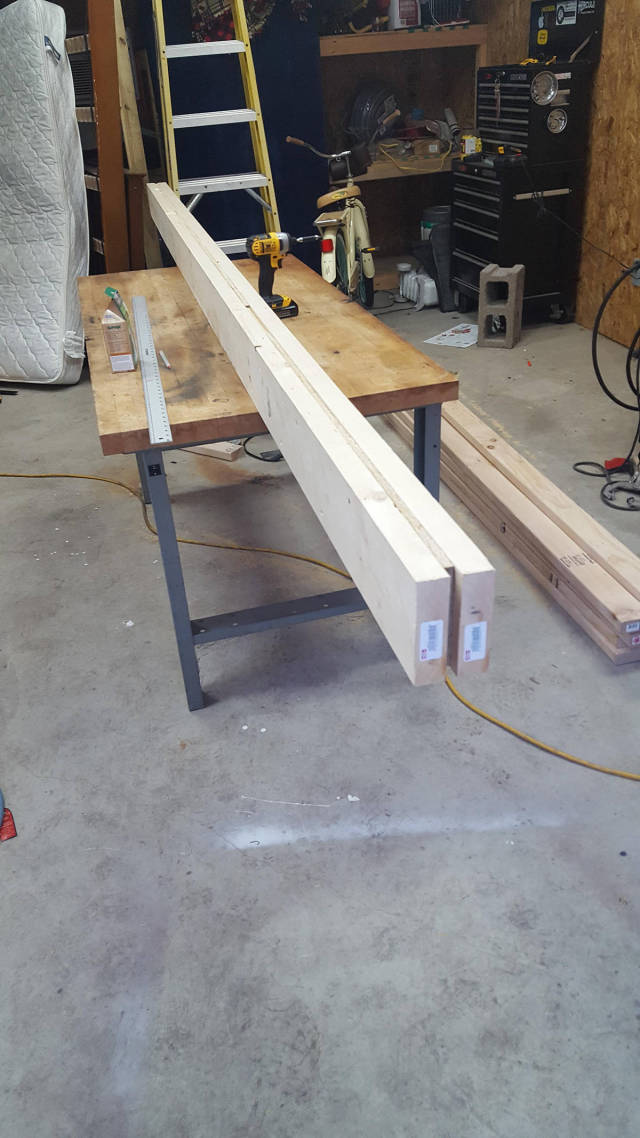
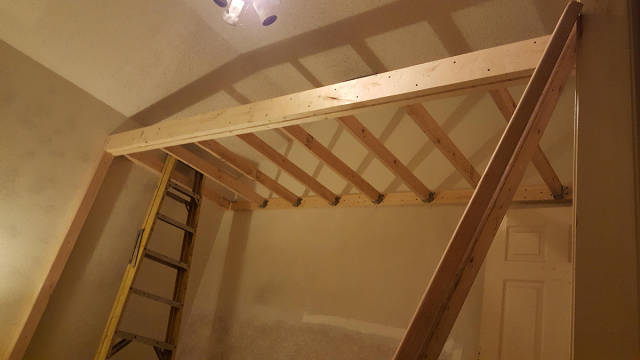
"I did some research on "edge beams" and decided on a double 2x6 beam for my 42" deck width. Since a 2x4 is actually 1.5x3.5 and you want your beam to be the same width as a 2x4, you have to sandwich a piece of 1/2" plywood between the 2x6's to get a width of 3.5. I used liquid nails between them all and then two 3" deck screws every six inches."
"The assembled beam was surprisingly light so I even managed to do this part by myself. There was no stud in the appropriate spot inside the wall on the left side so I had to put a king and jack stud on the outside of the wall, but I was able to tie into an existing stud on the right side. As you can see I implemented the angled 2x4 method to hold it up while I secured it again. I used four 7" long 1/4" lag bolts to attach the beam to the wall header on either side, and then toe nailed it into the jack studs with 3.5" deck screws."
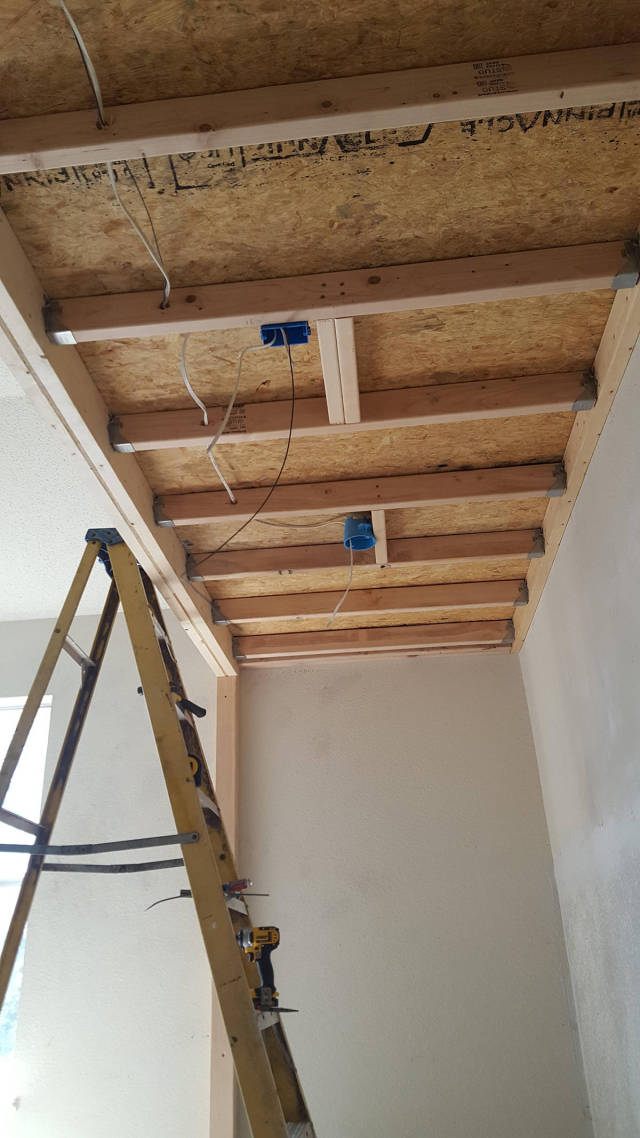
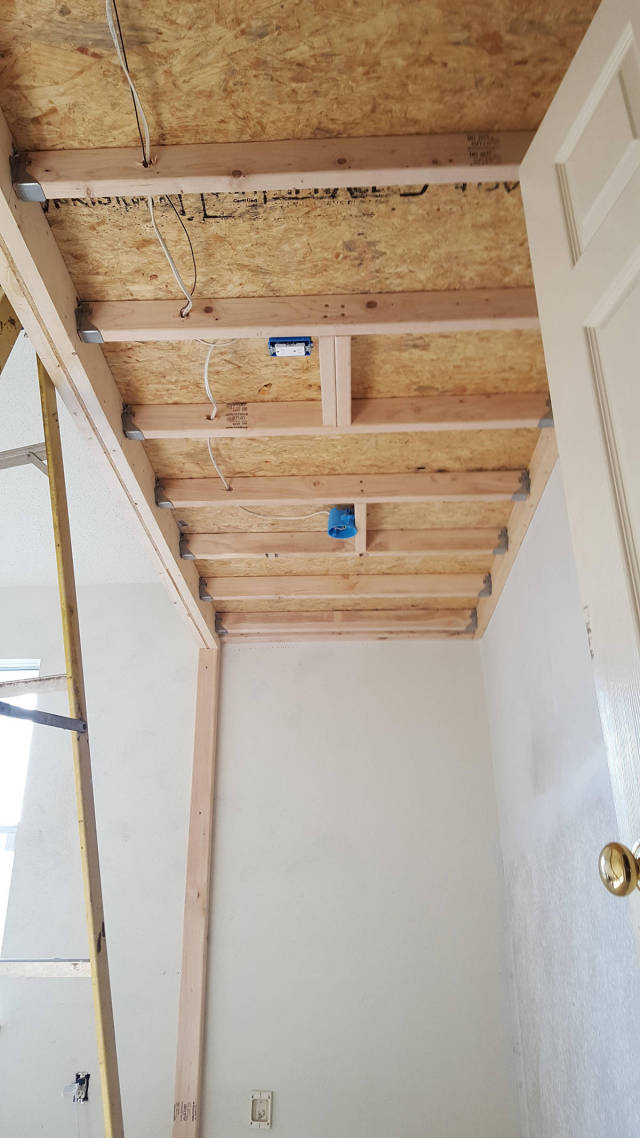
"For maximum strength, I used joist hangers to attach the joists. I wasn't familiar with these and couldn't find much info on the proper technique to install them, but with some creative use of scrap 2x4's and clamps I managed to attach them all correctly without any helping hands. They say to use framing nails to attach them but again, for maximum strength, I used four 1.5" deck screws into each header and two 1.5" deck screws into each joist on each one."
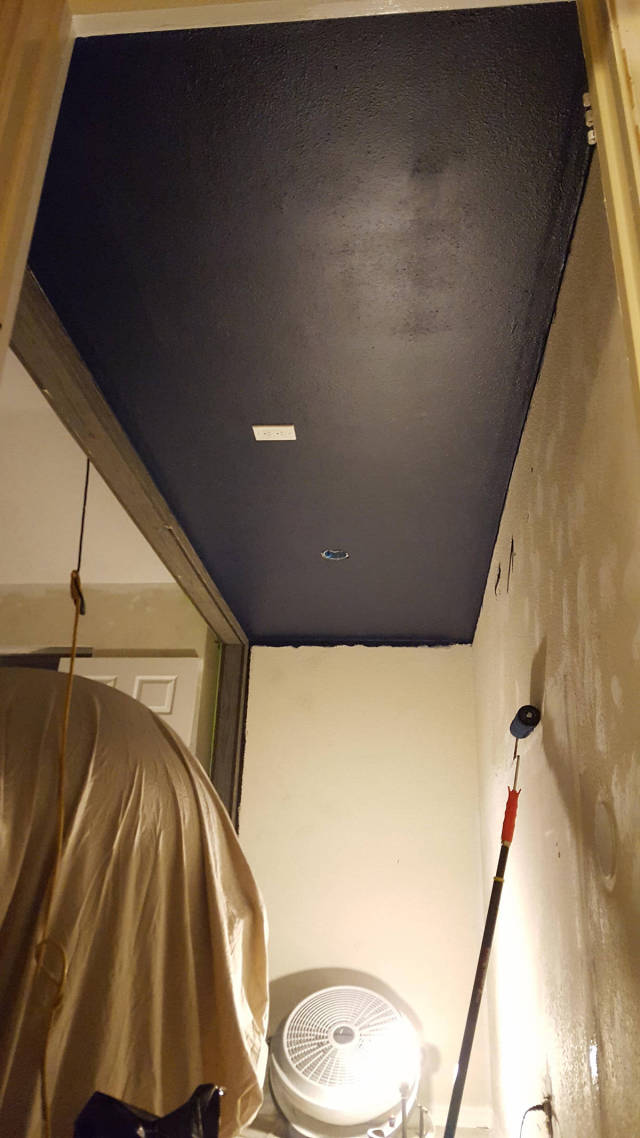
"I'm pretty familiar with electricity and wiring as far as fixtures and outlets go, but I had no idea how to fish wire through the wall to get power from the existing switch box up to this new outlet and fixture. So, I called Dad! He showed my just how easy it was when you have the proper tools (a fish tape). We fed the fish tape through the top of the switch box and a couple seconds later it popped out the hole I had made in the wall above it! Then we just attached the end of the romex spool to the fish tape, pulled the fish tape back out, and there was the end of my romex right there in the switch box! Thanks Dad!"
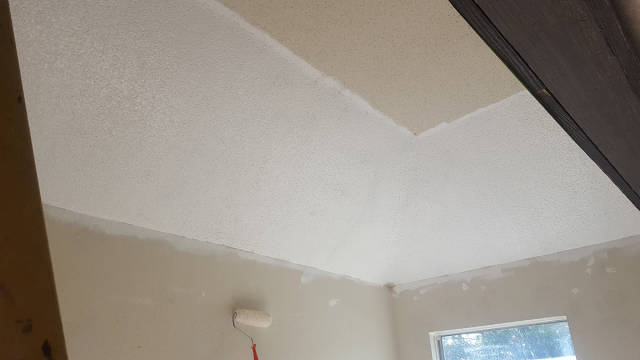
"For the texture I used two cans of "contractor size" orange peel spray cans from home depot. I found out quickly than you really do have to shake these really well but other than that it was really easy and worked really well. You don't even have to knock it down."
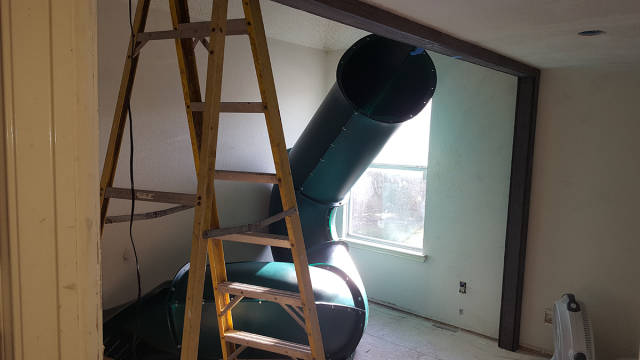
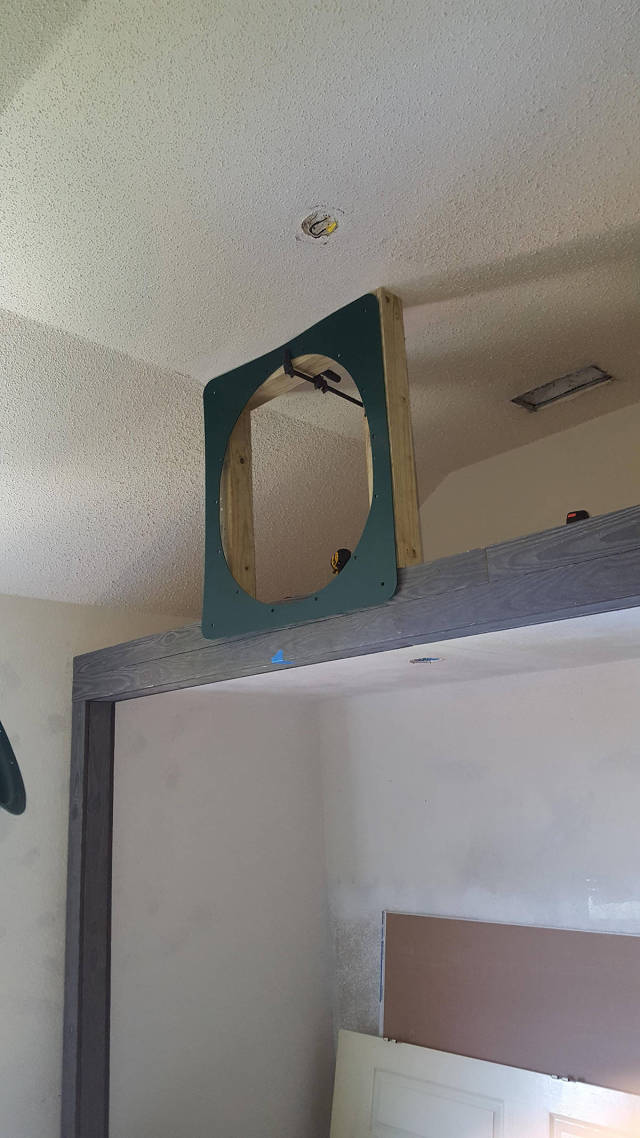
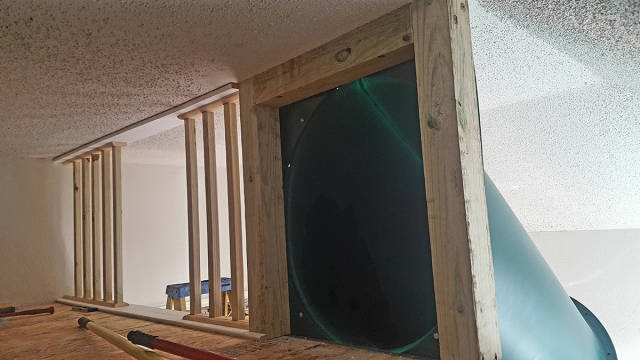
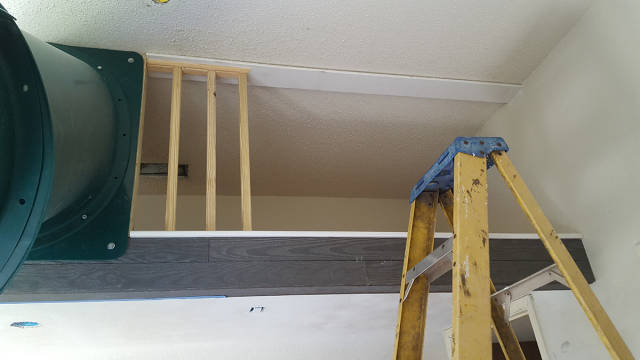
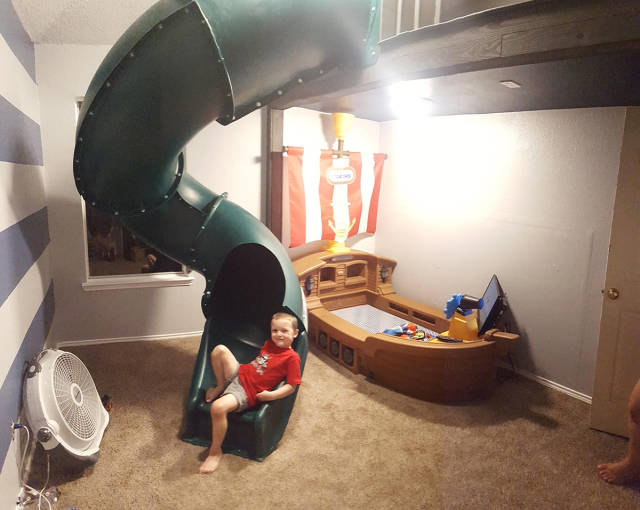
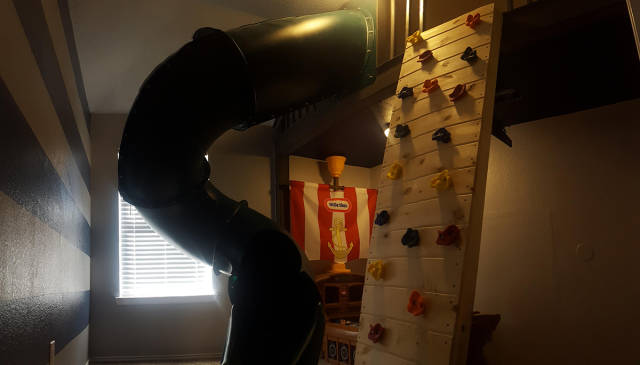
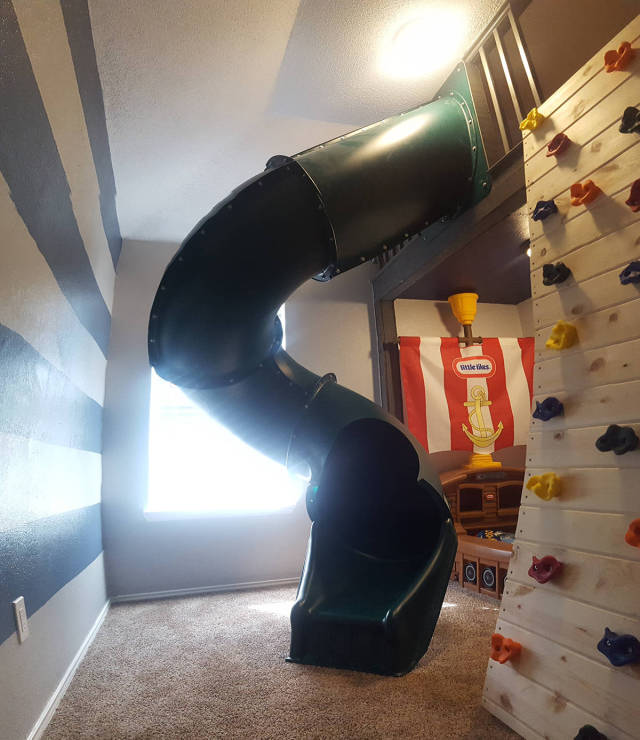
"Ding ding ding!!! It's a 7 foot turbo slide! Assembling it was interesting because only about 5% of the holes lined up without persuasion; the rest took some creative squeezing, prying, and yes, helping hands to get together. The thing was also really massive layed out on the floor like that and I really regretted putting all the bolts in when I was trying to paint around it later."
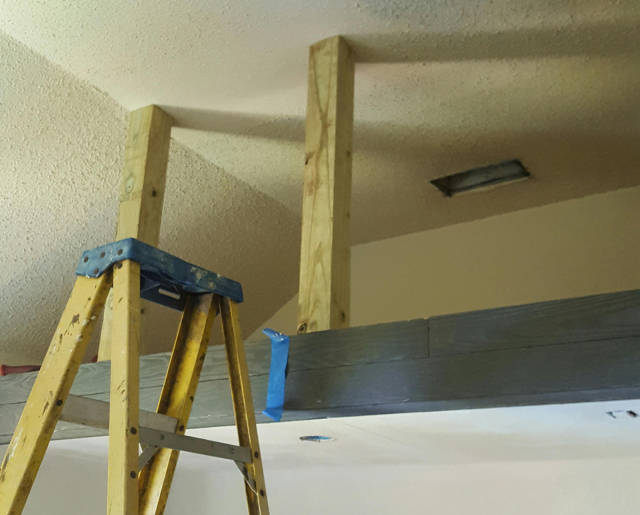
"I used 4x4's as the mounting surface for the slide flange since these would not be covered by anything. The verticals are toe nailed into the beam below with 3.5" deck screws and are attached to the horizontal with 5" lag bolts. I was having trouble finding a joist in the ceiling above to attach to so I drilled a small hole right next to the top 4x4 and stuck flattened out coat hanger through it. Then I went in the attic and located the hanger which had, thankfully, come up right next to a joist. So I went back down below and put two 7" lag bolts straight through the 4x4 and into the ceiling joist above; that thing is solid!"
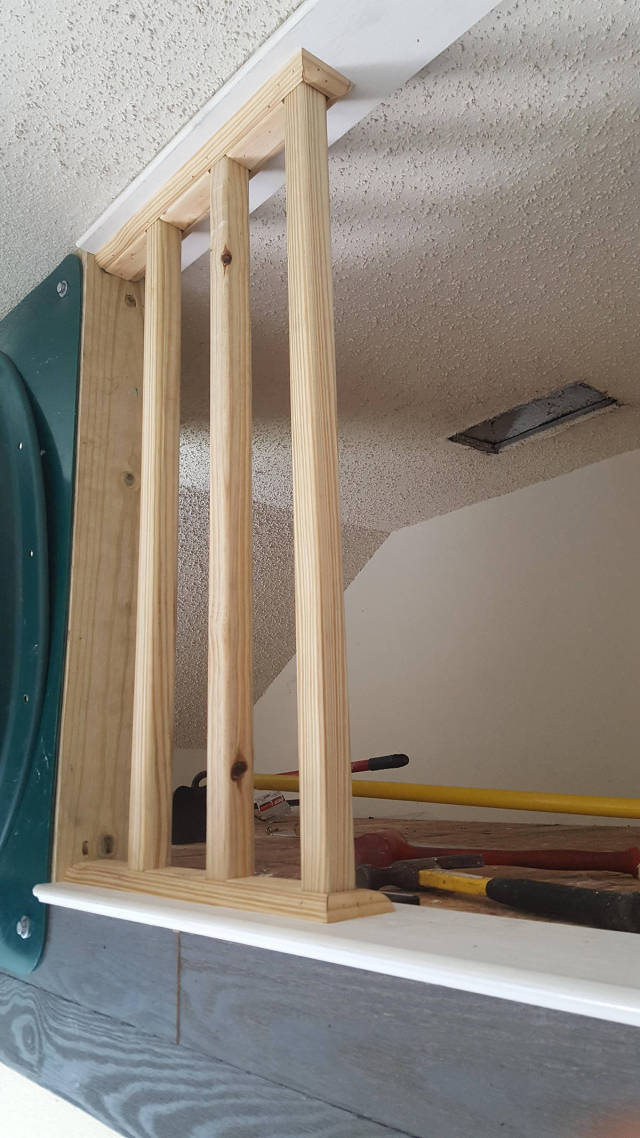
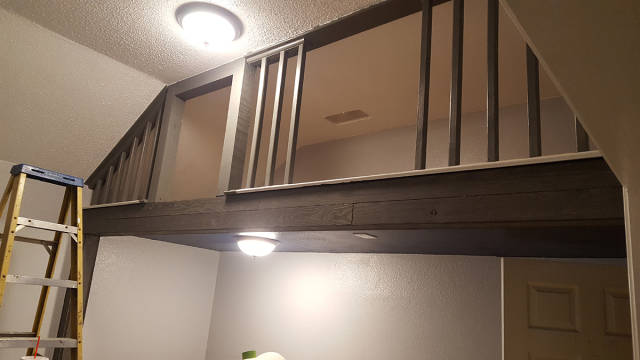
"Next I started on the railing. The hardest part of it was trying to find the right materials. I searched and searched the moulding section on Home Depot's website and couldn't find anything that resembled the moulding on my existing stairs, and I had just about conceded to it being hand made until I decided to check Lowes... Hallelujah! It's called stool moulding and Lowes has lots of it! Since it's only rounded on one side I had to rip them in half on the table saw and them glue the two rounded halfs together to get one normal width piece of moulding that was rounded on both sides. The uprights are just standard 2x2 deck railing spindles and the spacers are 1x2's cut to 4" long. Then I trimmed it with 1" quarter-round. I was very thankful that my dad has a nice compound miter saw when doing all this because I can't imagine the time it would take with a hand saw and miter box!"
"I used the same 2" brad nails to attach all of these pieces but with no regular spacing. I made sure to toe nail each spindle at least four times but everything else was kind of "that looks good"."
"And paint! You don't realize just how "off" white a room is until you start painting it "pure" white! I was really wishing I had sprung for the power roller about now but I had heard bad things. We used Behr Premium and got really good coverage but I still went ahead with two coats on everything just for good measure."
"For the railing, we took a piece of the stained wood to the store with us and tried to match the color as best as possible. Amazingly we got great coverage and didn't need a second coat at all but we ended up doing three anyway just because we knew they would be seeing a lot of traffic and we didn't want the paint to ever come off. This was also all done with various size brushes and has lots of visible brush strokes:("
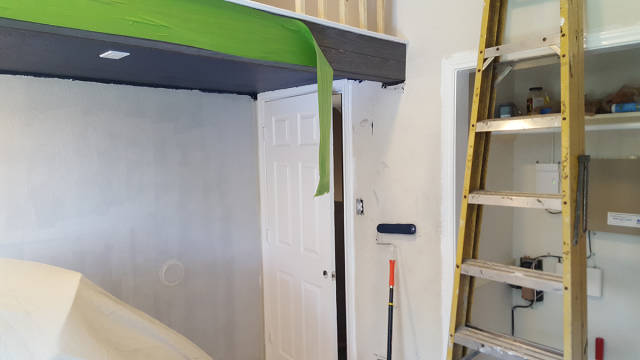
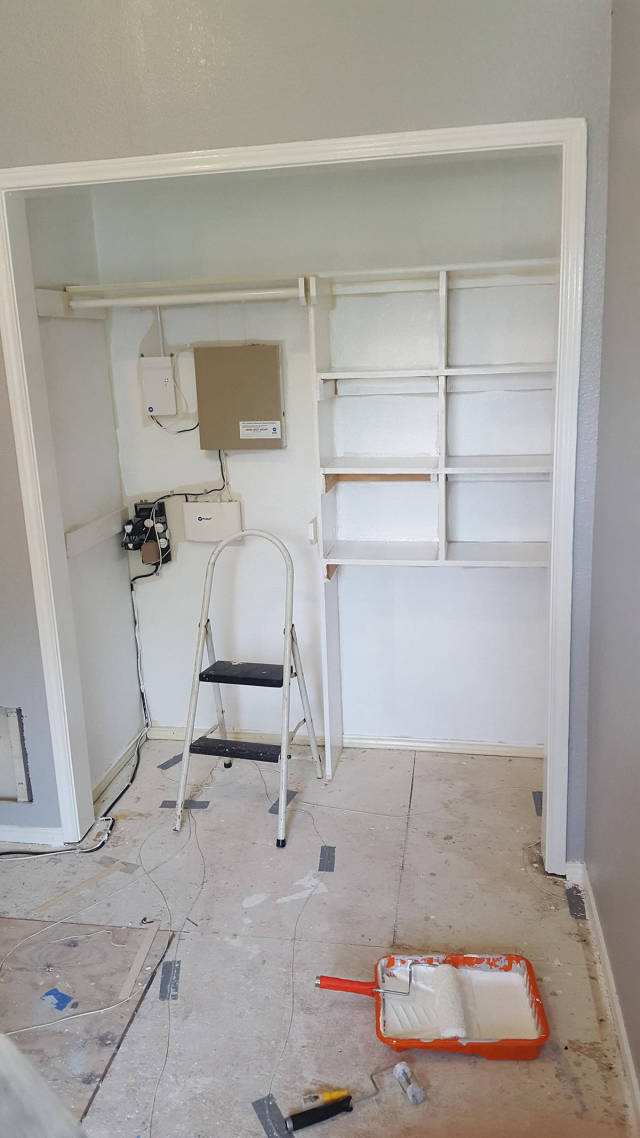
"I had a really panicked moment when doing the closet. As you can see, I had to paint around all of the alarm equipment with a small brush and I got a run on one of the wires which ran right in to the power port on the box. Luckily it still works but I would definitely recommended powering off any electrical equipment you may be painting around! I also made the mistake in the closet of using caulk that had previously been opened (ugh). It said paintable on the tube but something happened as it aged and it was NOT paintable. I scraped off most of it and caulked back over it and thankfully it looks okay. I have previously made the mistake of not sanding shelves before painting them and the paint just comes right off, so make sure to sand your shelves!"
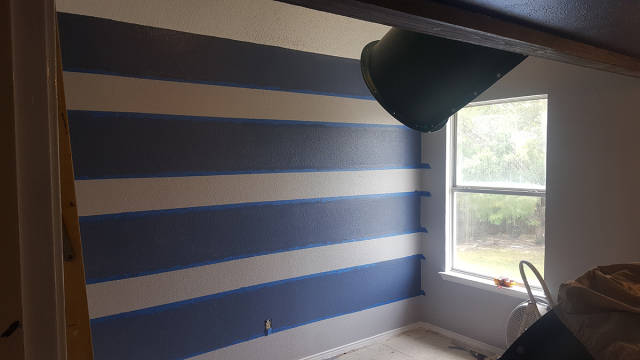
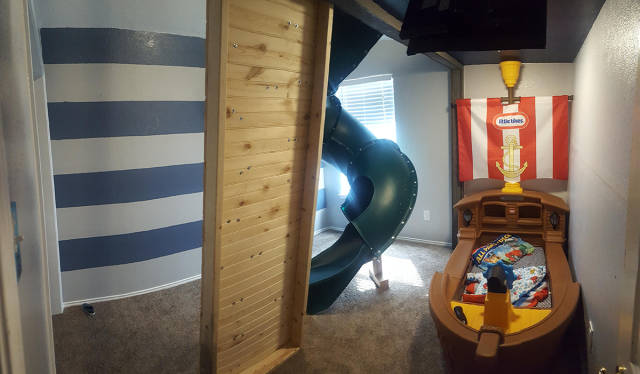
"Stripes! Every nautical theme room has to have stripes! As I mentioned we had tried various methods for doing edges around the room and were having a tough time so I did some research before tackling this. We found a tutorial online that said if you painted the edges of your tape with a foam brush, let it dry, and then painted in your stripes with a roller you wouldn't get runs."
"The previous carpet was in here with no tack strips, glue, or any retaining device of any nature. I've never done carpet before but I know this wasn't right. The tack strips were super easy to install; you can cut them with tin snips and they have nails already started in them so you just give each on a few whacks and you're done!"
"Move in day! It wasn't done yet, but with carpet and paint done it was hard to keep him out any longer."
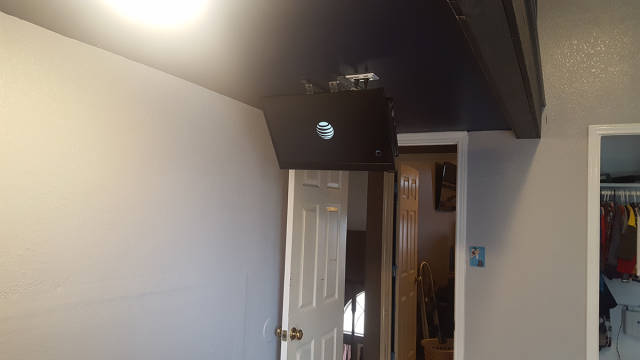
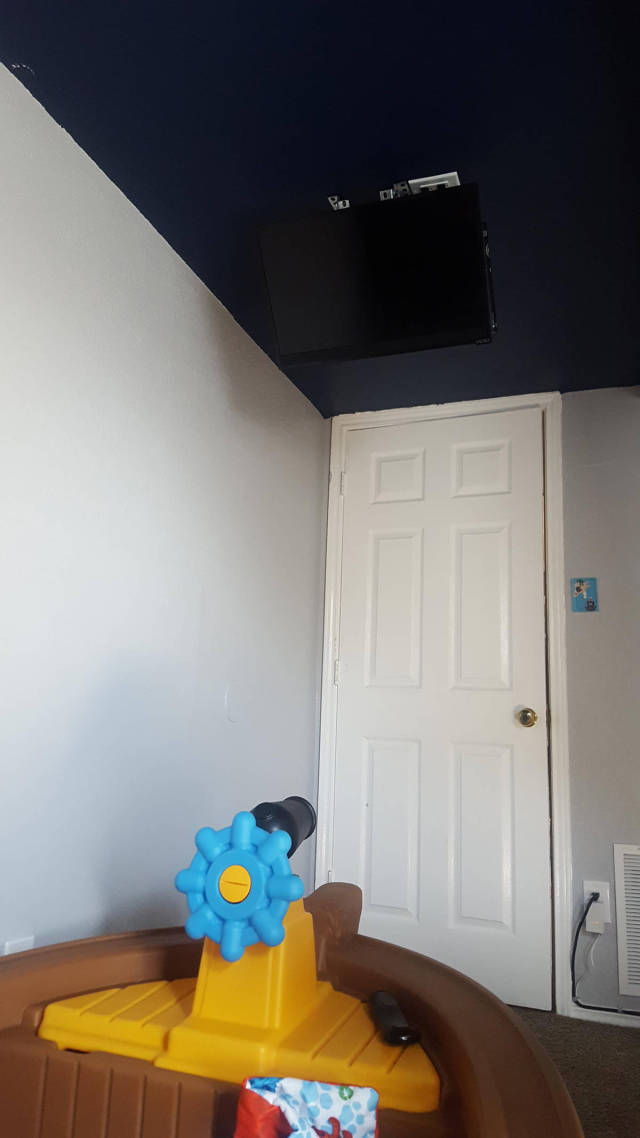
"A little creative engineering later and he had a TV mounted to his ceiling at the perfect angle. I picked up some slotted angle and flat bar from home depot to do it. I attached two pieces of angle to the mounting holes on the back of the TV, then attached two pieces of angle to the end of those with 3/8" bolts. After attaching those to the ceiling with 1/4" toggle bolts I had a swinging TV. To set the angle I used the flat bar to connect the bottom of the angles on the TV to the other end of the angles on the ceiling. After I tightened everything up it was more solid than any store bought mount I've used."
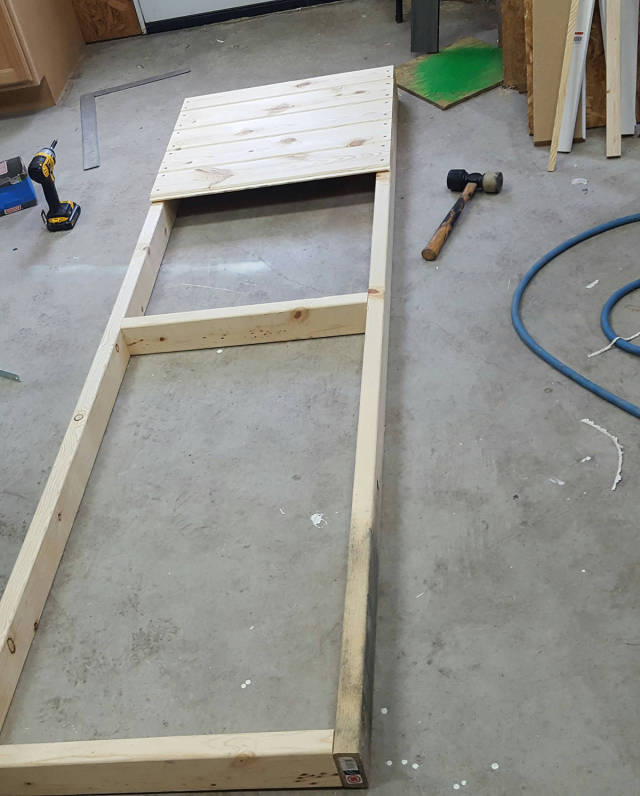
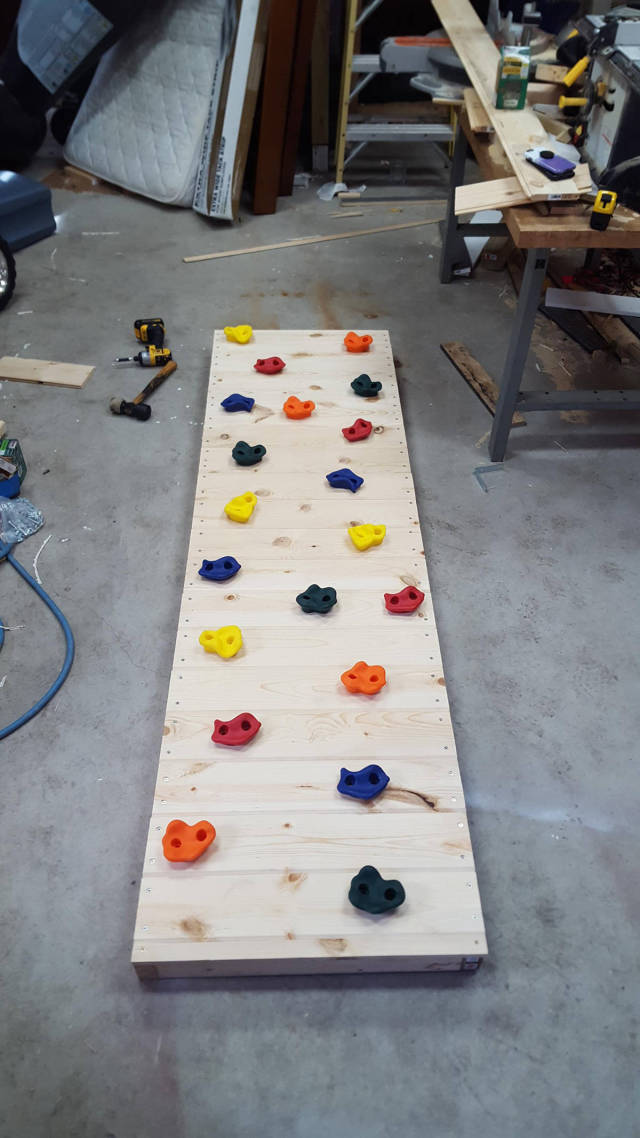
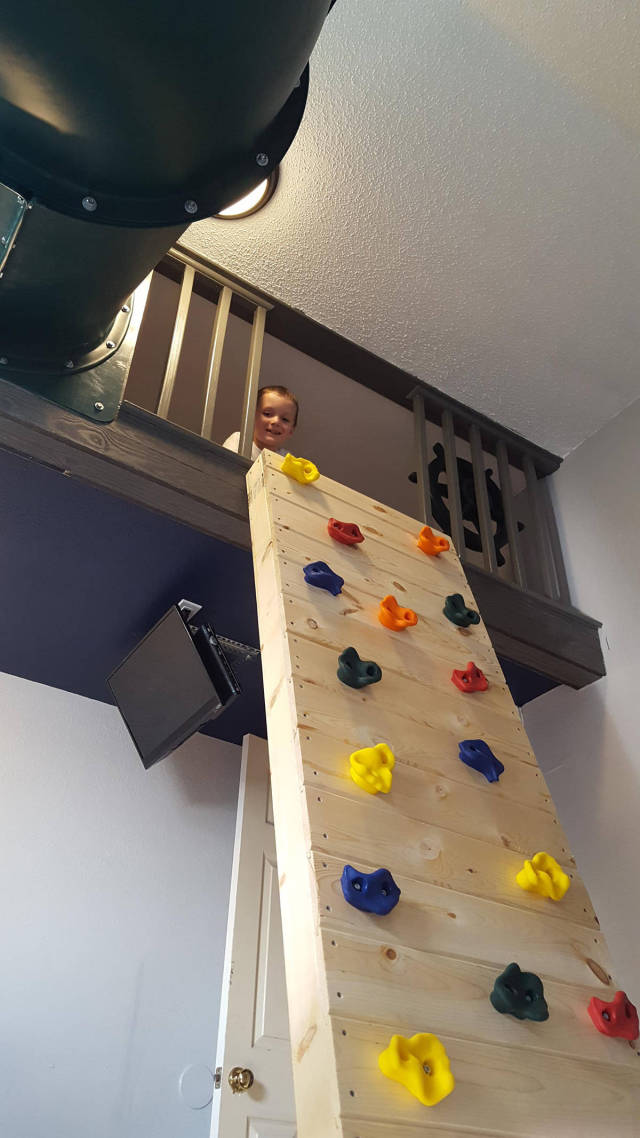
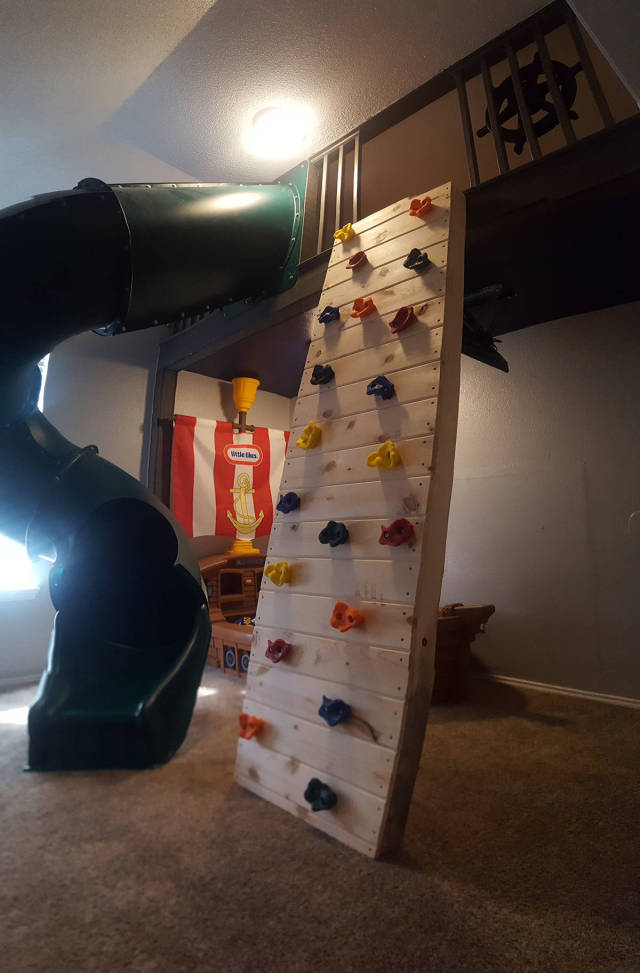
"For the climbing wall I put 1x6 tongue and groove pine over a 2x4 frame. I attached each of the slats with four 3" deck screws, but the tongue and grooves also means that the boards above and below it help to hold it on."
"I dumped the bag of rocks out onto the surface and started moving them around until they looked good. The instructions said that it was best to have them 12-18" apart so I tried to put one at least every 12" with a few extras in between since it's for a 4 year old. They came with 3/8" T-nuts and socket head cap screws so I marked the position of all the holes, drilled them out, installed the T-nuts, and then screwed the rocks on."
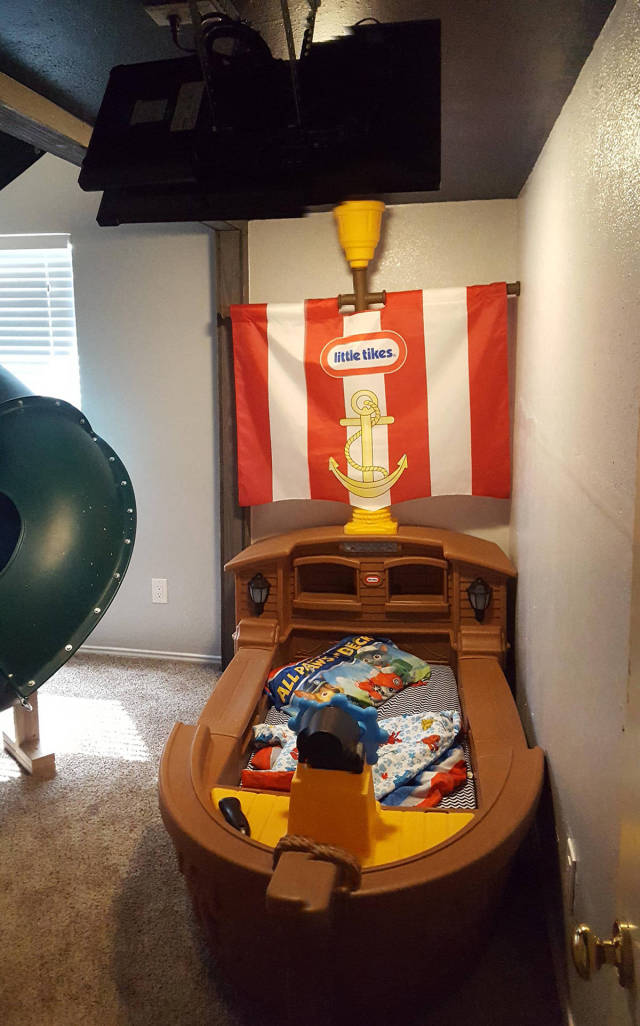
"The rest of the are panorama's I took to try and get the feel of the whole room. Right now Imgur is making them look kind of funky on my computer but hopefully they will look normal to you!"

