Turning a formal living room into a home office.
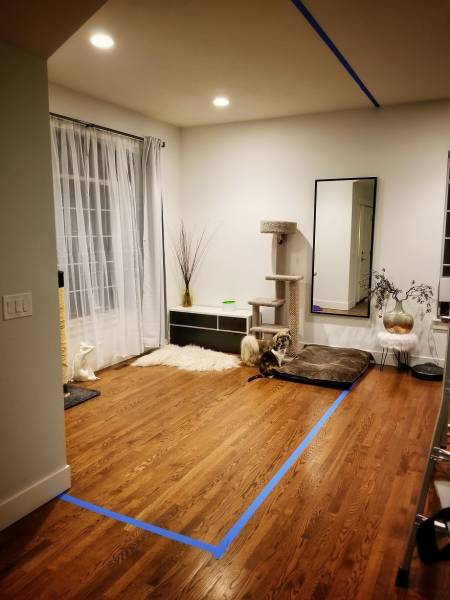
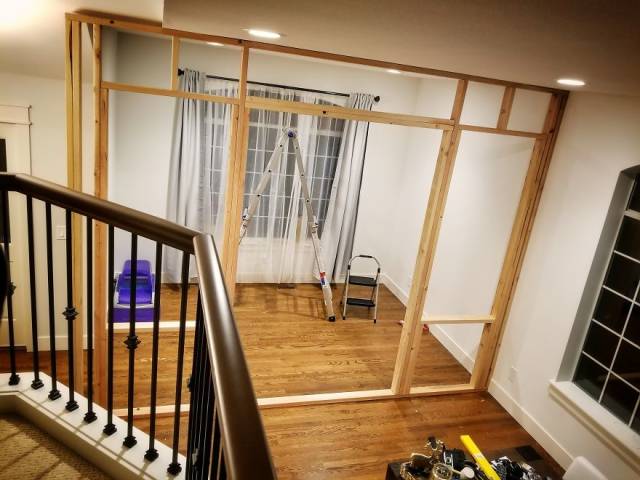
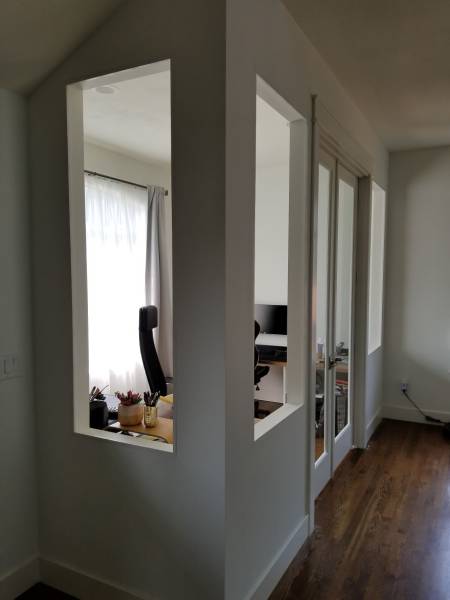
I used blue painters tape to mark off the space to get a sense of the size. The ceilings are 9.5 feet, but notice the slope in the front (that turned out to be an interesting challenge)
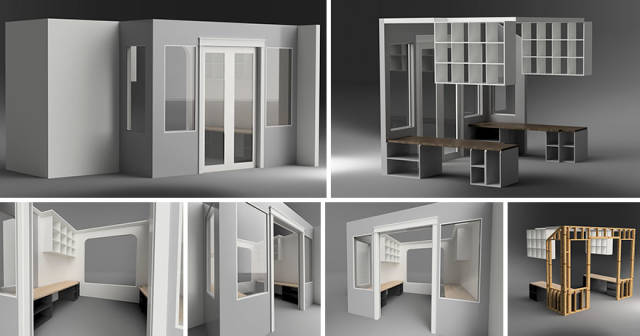
Since I’ve never done anything like this before, I took my time to model out everything in Autodesk Fusion 360. This was incredibly useful, as I knew all measurements beforehand
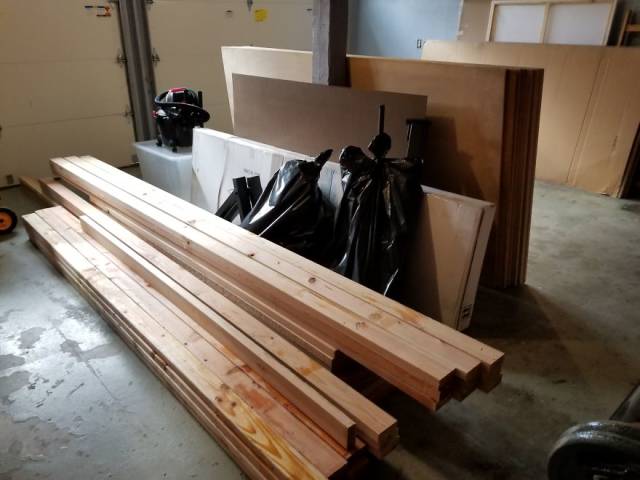
I bought 2×4 lumber at a local lumberyard in 8, 10, and 14 foot sizes. I also purchased the plywood I needed for the desks and upper cabinets (the latter which I still have to build)
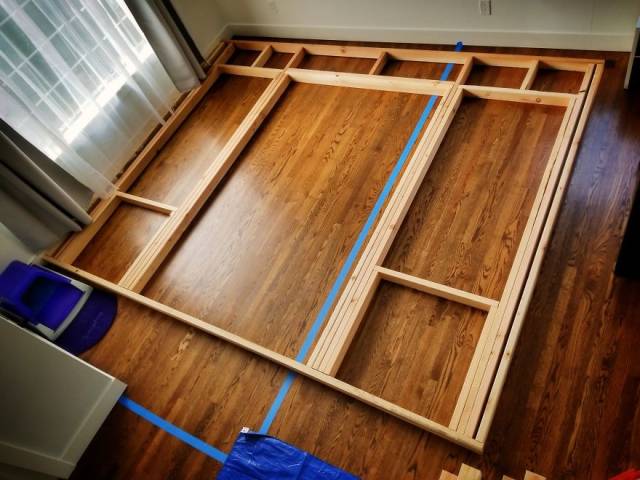
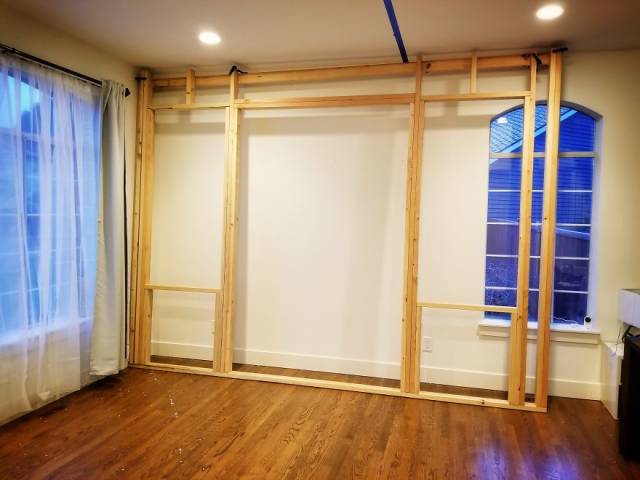
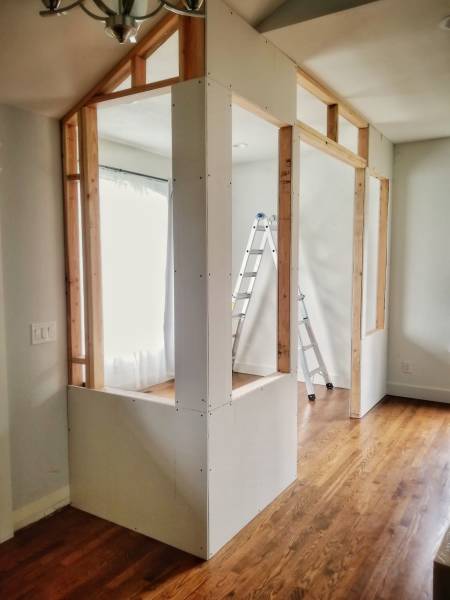
After cutting everything on my new miter saw, I laid out the large wall on the floor before facing my fears and use a framing nailer to fasten it all
This is where math comes in. Thanks to the Pythagorean theorem, I couldn’t get the wall upright after framing. So I took off the top plate and clamped it off to the side and hoisted the wall up
Getting the wall in place was quite a chore, and my friendly neighbor helped me out. Took a lot of brute force, but we got it in place eventually and then squared it up
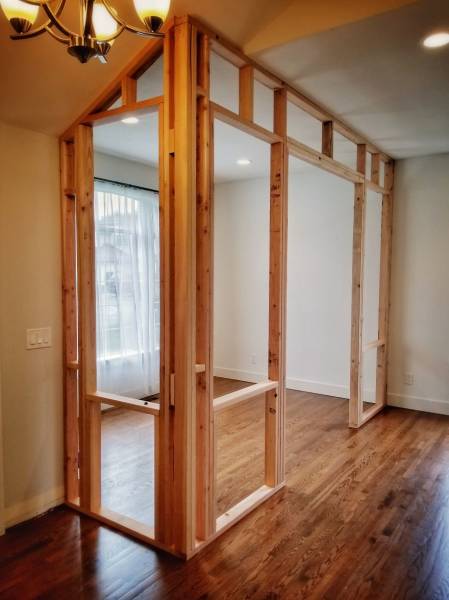
The smaller wall was much more manageable in size, but the sloped ceiling took a lot of measurements and trial/error to get perfect
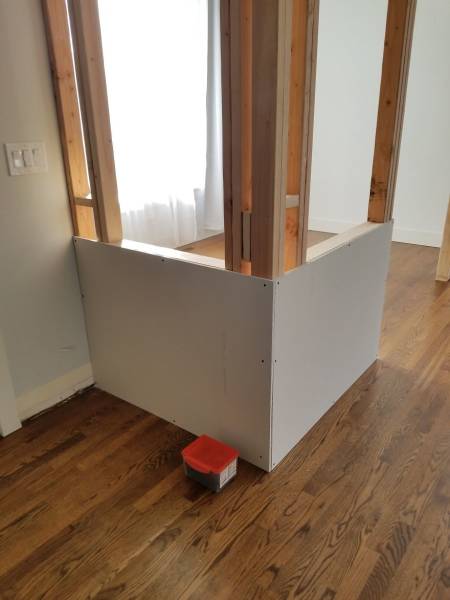
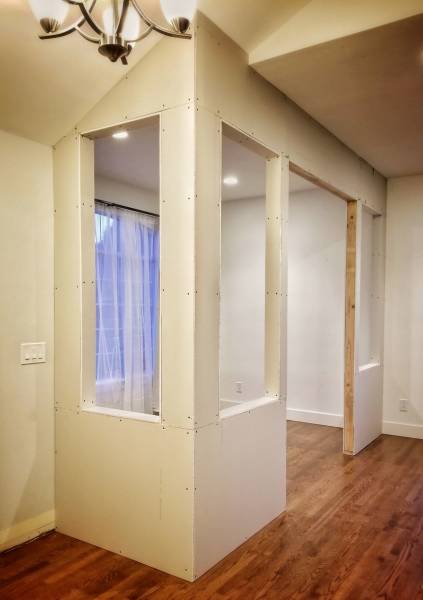
After the framing, I bought 8 sheets of drywall at a local lumber yard (of which I only needed 5) and cut it up before screwing it in place
Drywall was another first for me, so I probably cut it into smaller pieces than I should have
After recutting the top piece at the sloped ceiling to go the full height, everything looked very clean…
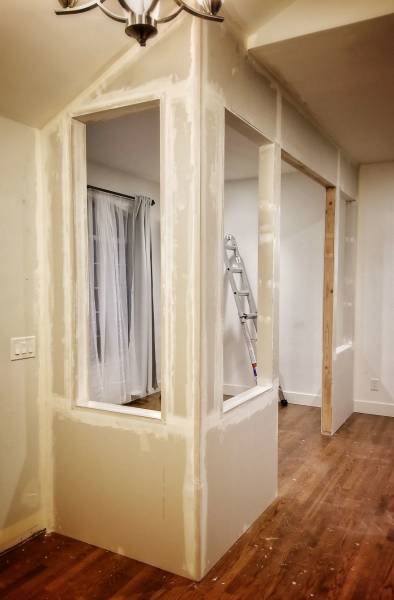
…But then the drywall mudding began and everything turned into a huge mess again. A friend helped out with the taping and first layer, which is probably why it looks decent in the end
Drywall was definitely my least favorite part of this project. A lot of sanding and layering on the mud made a huge mess. Lesson learned for next time: cover the floor first
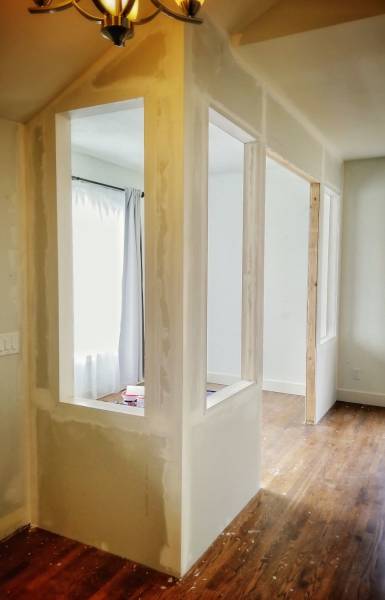
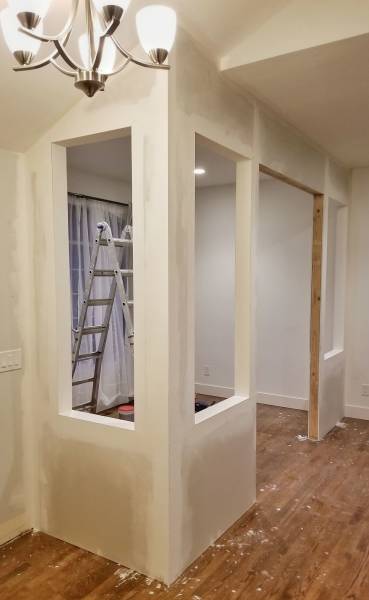
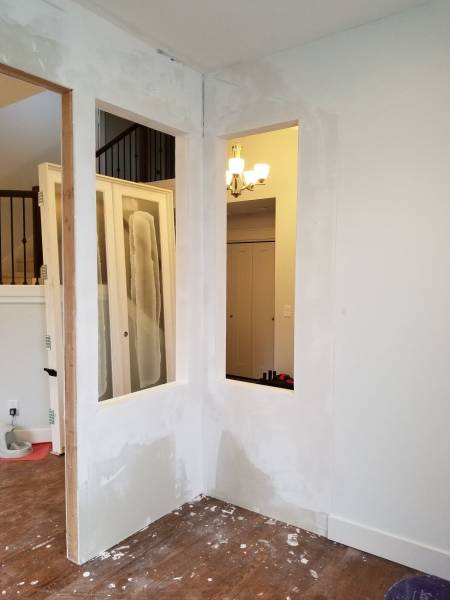
This is after a few days and 4 layers. Everything was smooth and square
The little wall was a bit more of a challenge to mud completely smooth, as the existing wall wasn’t 100% square to the exterior wall. I had to compensate with more mud. Next up, the door in the background!
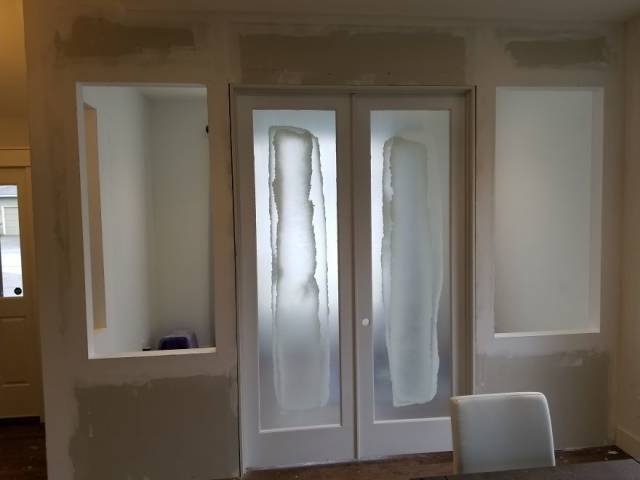
Installing the door was quite easy, except for pushing it in place. We went with 8 foot high french doors, which are super heavy
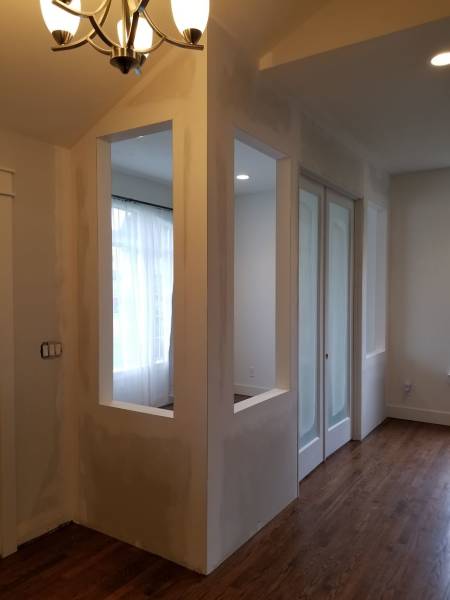
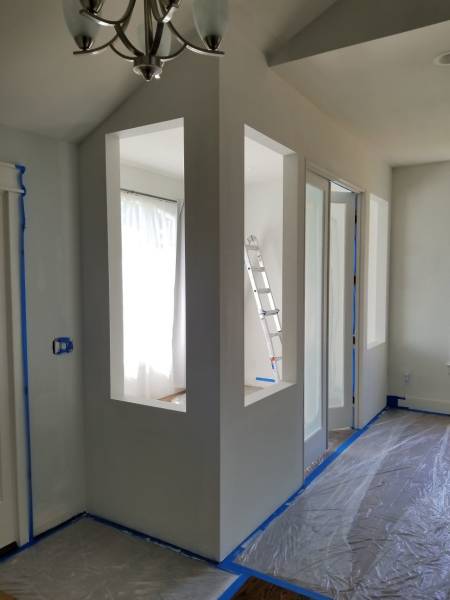
The drywall cleaned up nicely with just some warm water and rags. Starting to look more and more like a room!
Before painting, I actually took the time to lay down plastic drop cloth. This is after the coat of primer
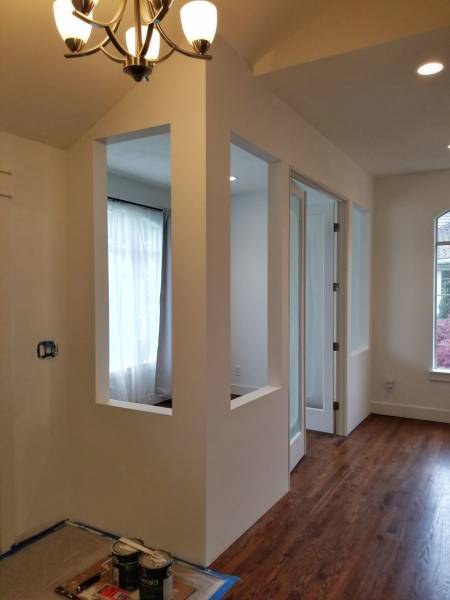
Two coats of white paint later, everything was neat again. It turns out we didn’t have any of the existing ceiling paint, so I improvised with something that was close enough
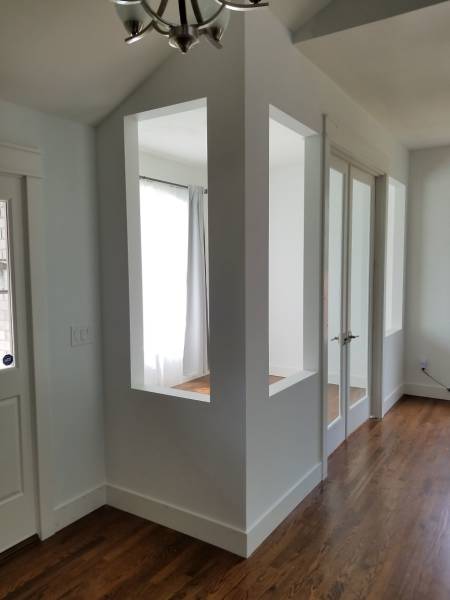
I looked at the existing trim and figured it was simple to recreate. A quick trip to the hardware store and some standard MDF trim later, I got everything to match
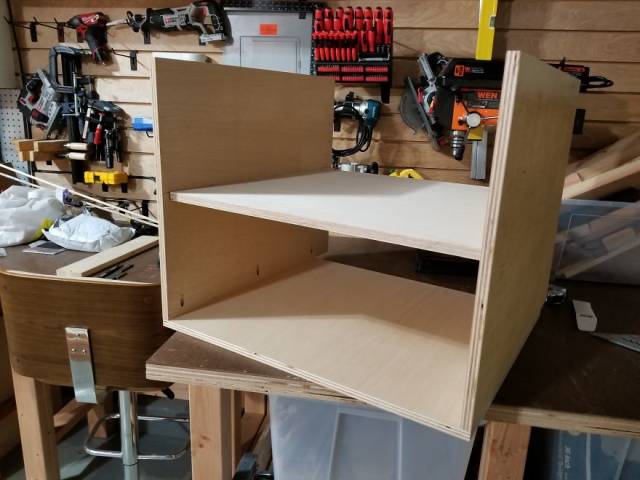
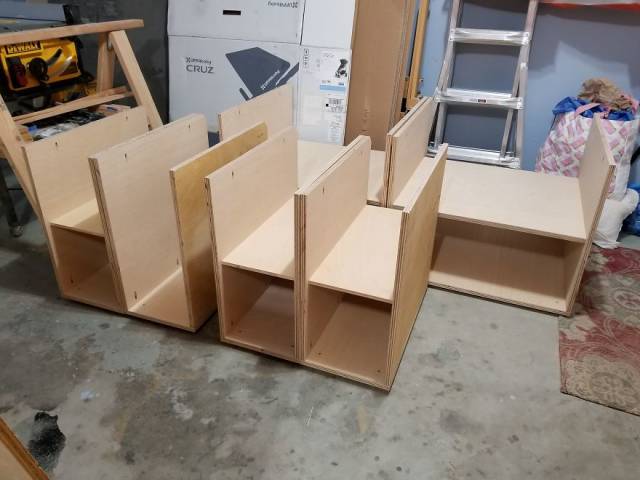
Now that the wall is done, on to the desks. As per the design, I made 3 cabinets underneath each desk out of 3/4 inch plywood
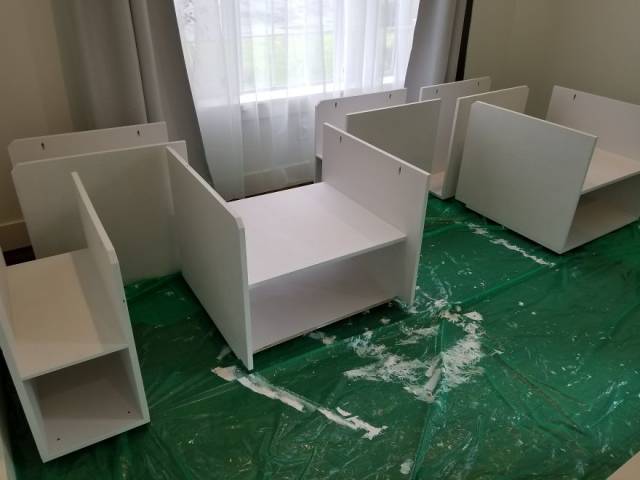
Here you can see all 6 cabinets. The one without the middle shelf is the cabinet for my full tower PC
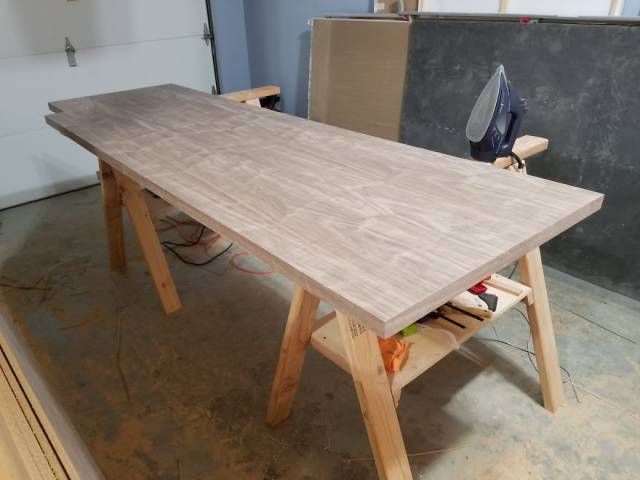
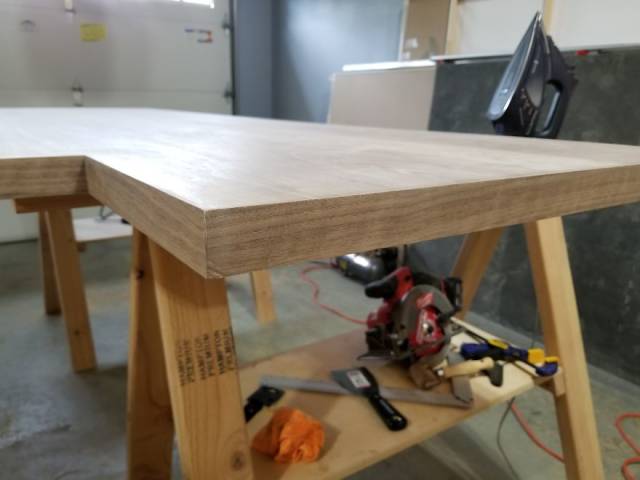
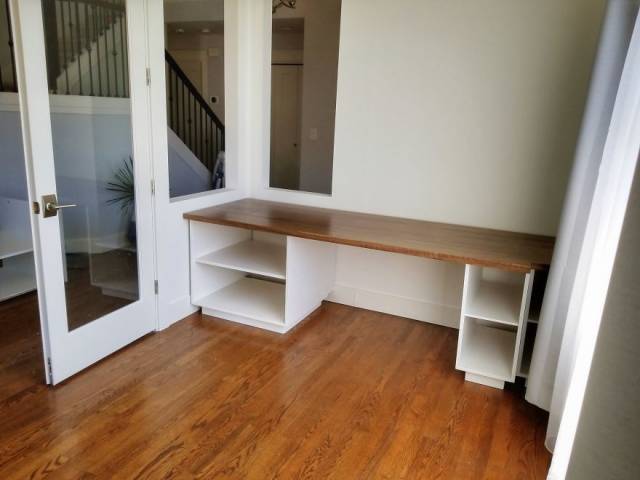
For the top, I laminated a 3/4 inch sheet of walnut plywood to a cheaper one to create a 1-1/2 inch sturdy desk top
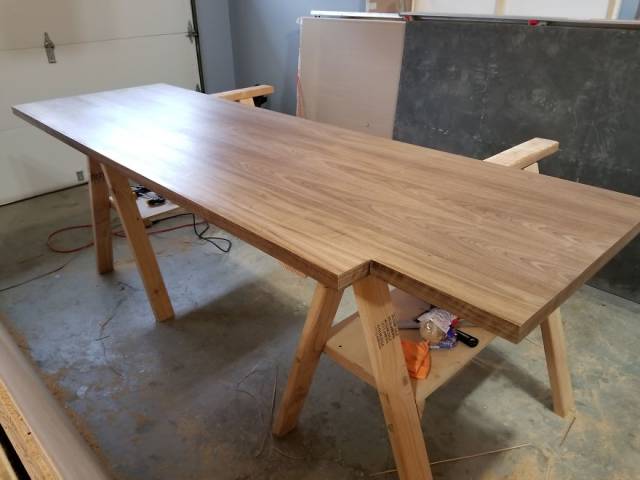
I applied iron-on walnut edge banding to hide the plywood edges. The notches in each top are so the curtains can hang down without bending around the desk top
I applied 4 coats of satin polyurethane to the tops (1 coat on the bottom) with some light sanding in between each coat for a super smooth and durable finish
I primed and painted the cabinets white. I used an enamel paint, which was self-leveling. The end result is a very smooth and hard surface, but it took about a week to fully cure
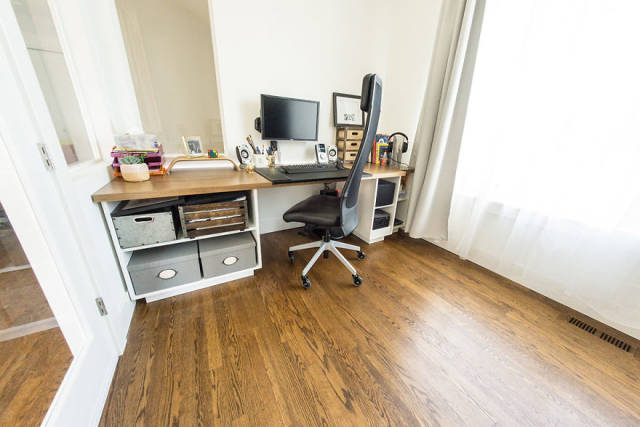
Here is my wife’s desk installed. I retro-fitted some toe-kicks underneath to raise her desk a bit, as the initial height was too low for her
At this point we started moving everything down. One problem remained: not being able to close off the space
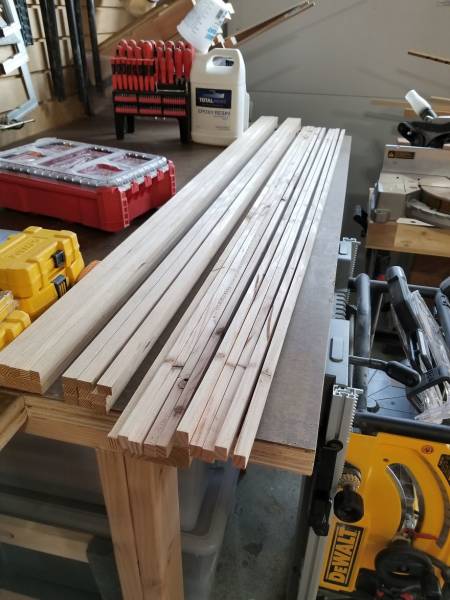
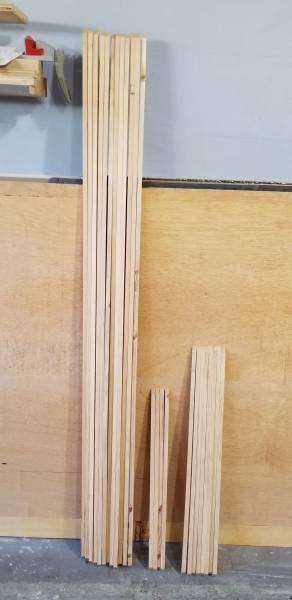
I cut some 3/4 by 1/2 inch strips from left over 2x4s to become the window trim. Here you see the difference between big-box 2×4 (right) and the quality 2×4 from the lumber yard
After cutting everything to length and mitering the corners, everything was ready for paint (after more sanding)
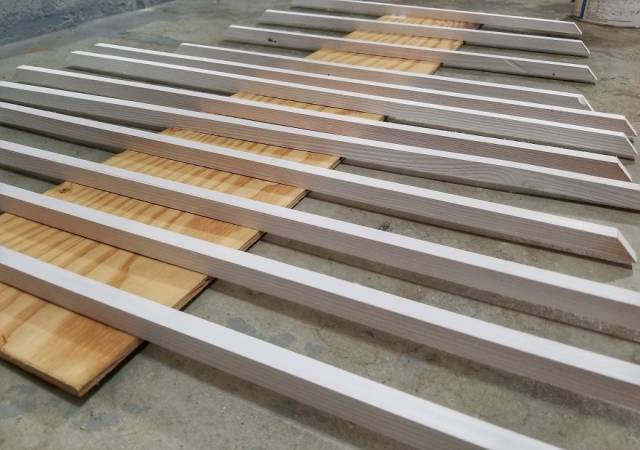
I bought an HVLP sprayer, as I had more things to spray for the nursery in the end. This saved a lot of time and got a very smooth coat on everything. Here you see the primer on the framing strips
I glued and nailed in the strips on 3 sides and then cut the 4th strip to exact length to fit in snugly
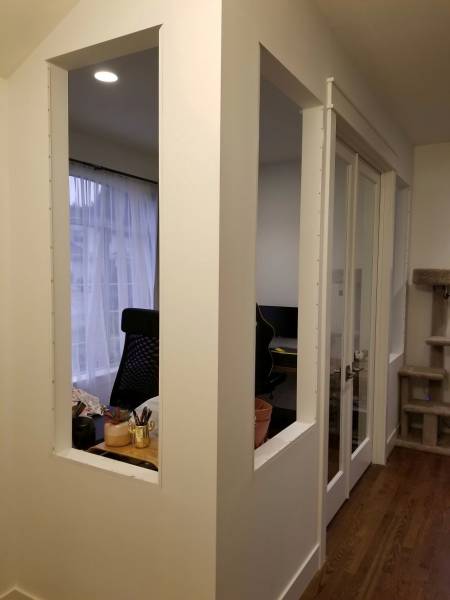
Here you see the 4th strip installed, and nail holes filled with wood putty
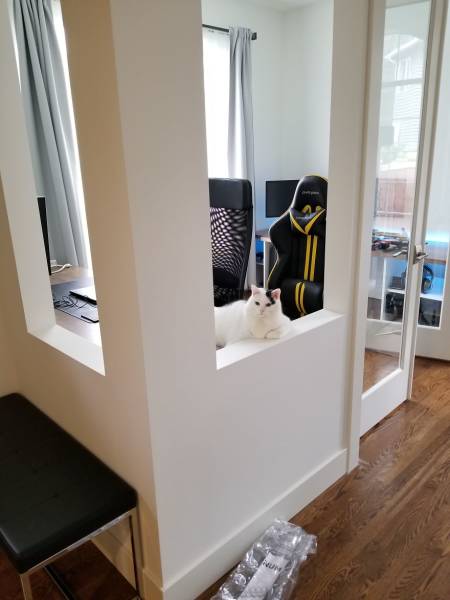
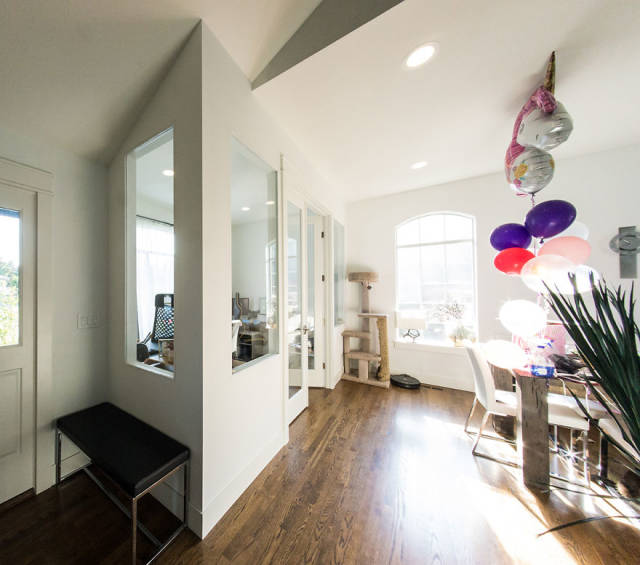
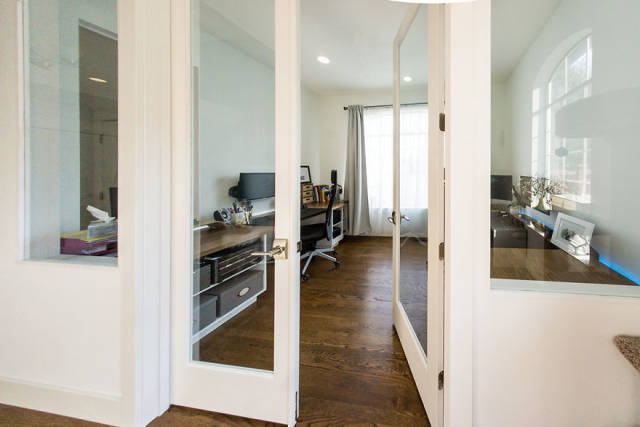
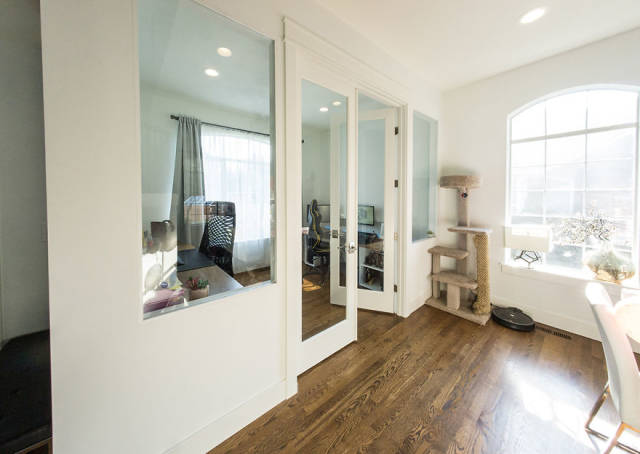
And after the 1/4 inch glass panes were in, this project was a wrap! My wife just had her baby shower and I’m excited about finishing this before the baby arrives
There’s a lot of light from the big window in the home office and all the interior windows and french doors really let that light through to the dining space
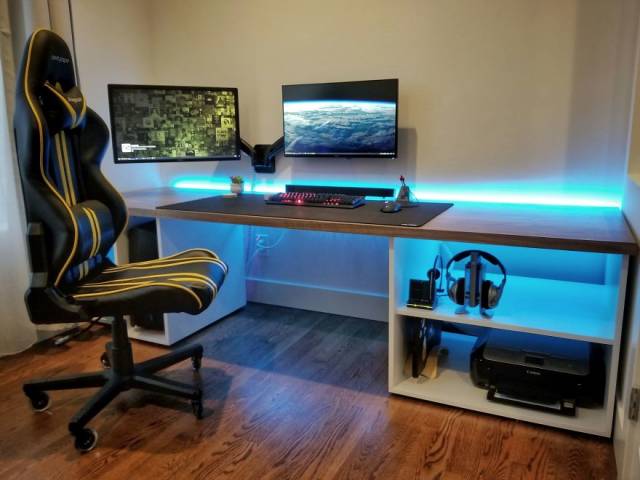
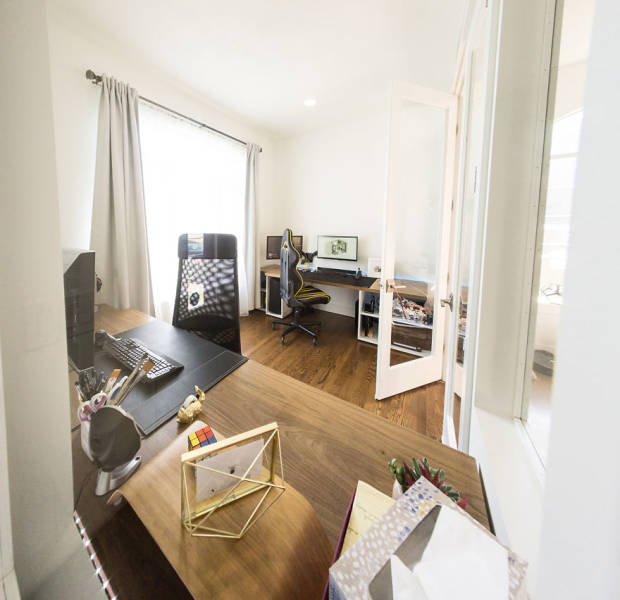
I added RGB LED strips to the back of each desk for some subtle lighting while in the office
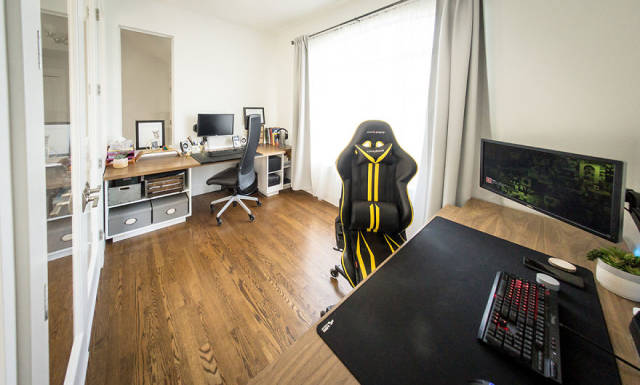
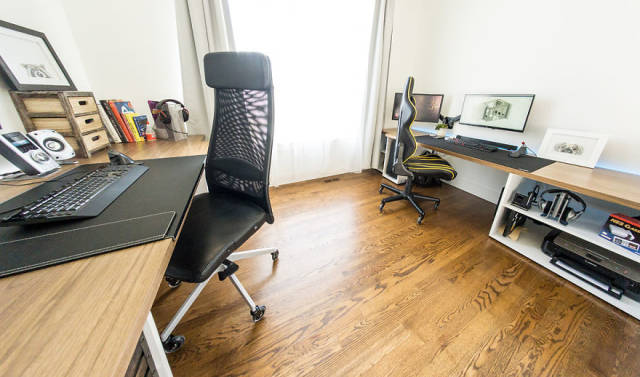
Here’s how it looks
Here you can see my wife’s smaller PC allowing for more storage. I also swapped the chair casters with rollerblade style rubber ones to preserve the floor
While the walls are not insulated, the thick glass and strips underneath the doors isolate the room plenty for our purposes
Ta-da!
Thanks for following along! Feel free to ask questions or leave other comments!

