A couple put a modern twist on a yurt to build their dream home from scratch
“The finished yurt is 730 sq ft with an additional bedroom loft that adds approximately 200 sq ft to the space,” Both told. He reiterated how easy it actually was to construct the yurt from a kit. “The actual yurt was built during a single weekend with a group of friends—most of whom had barely picked up a drill before,” he added. “Nicole and I stumbled through everything from running plumbing and electrical lines, to framing walls with sheetrock and resurfacing our salvaged wood flooring. It was our first time attempting any of it. The yurt acted as our construction laboratory where we could experiment and learn many new skills that we’ll carry into future projects.”
“For the past year, Nicole and I have been building a modern yurt 20 minutes outside of Portland,” Zach explains. However, to anyone discouraged by such a long time, he is quick to clarify. “The actual yurt structure goes up pretty quick,” the man explains in the FAQs of the site. With the base taking roughly 1-3 weeks to the actual construction of the yurt (from a kit) only 2-4 days, it’s not impossible to build such a structure in a month.
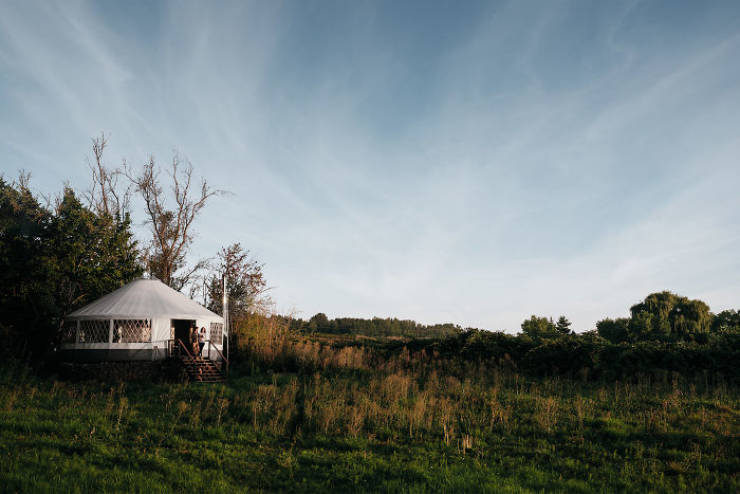
“Our own little oasis about 20 minutes outside of downtown Portland. 30ft in diameter. 730 sq ft w/ an additional 200 sq ft loft. The exterior structure is a kit that we built (most yurts in the US are manufactured by about 10 different “yurt companies”). Interior was completely custom.”
“Day 1 at the site. Attempting to clear as many of the overgrown blackberries as we can”
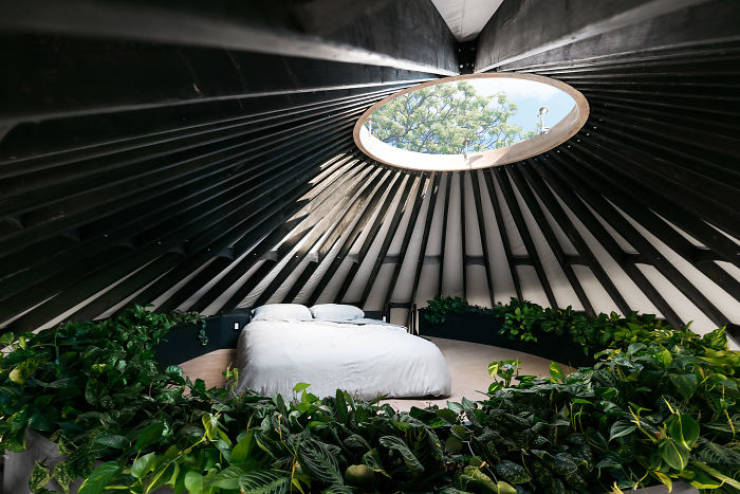
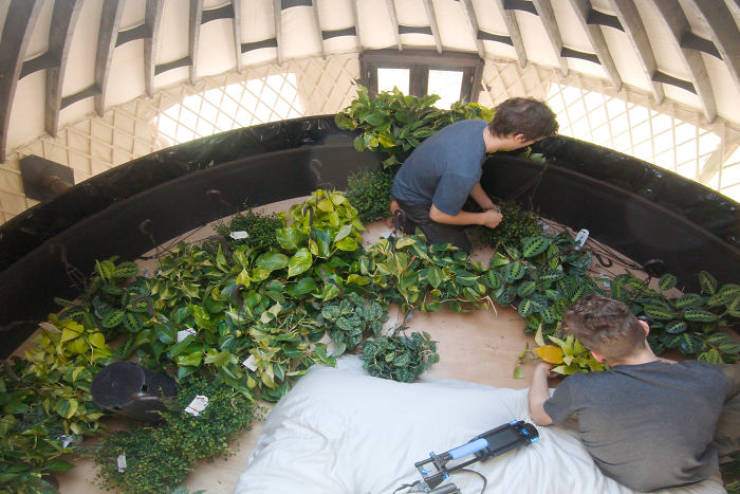
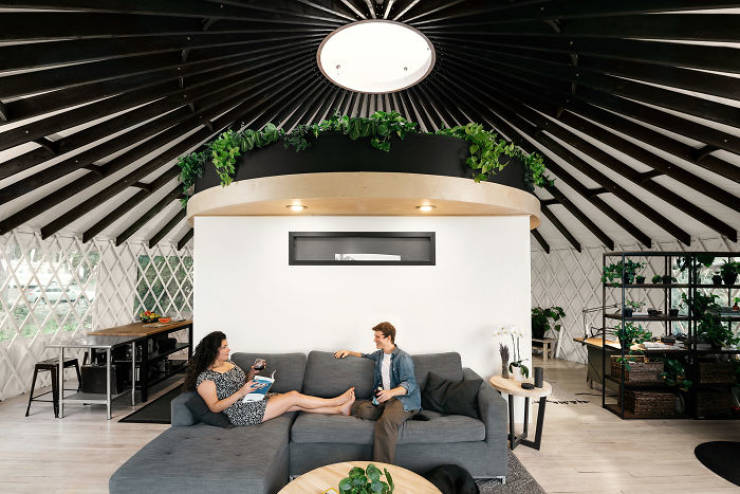
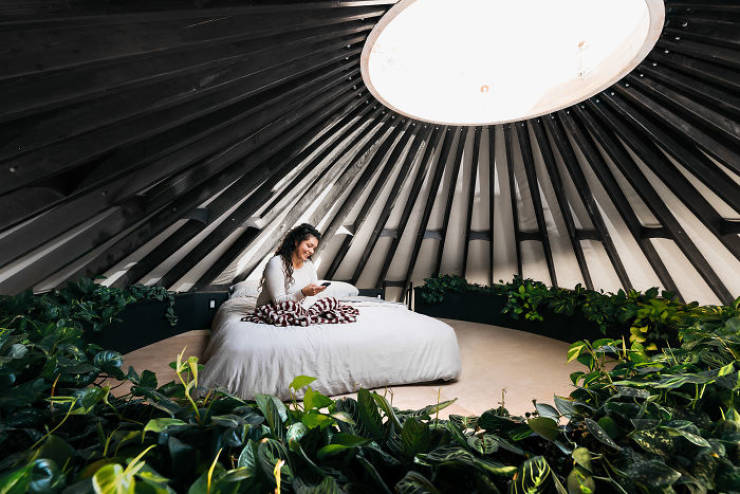
The man also mentions that the project was completely self-funded with the money he saved up from a previous job and cost roughly $65k in total. “The yurt structure came in at $31k [and] the platform base cost $10k,” Both elaborated. The rest of the expenses went to the interior (building supplies, furniture, and appliances). However, the man stresses that it’s always possible to go for cheaper options, they simply wanted to create “a modern yurt which came with modern costs”.The star of their stunning yurt is the bedroom loft that is surrounded by dozens of plants. “Lots of pothos, philodendrons, prayer plants and some curly figs,” he said.
“Once the ground was clear and relatively level, I set up all the string lines to mark out where our footings would go. Went with a Toro Dingo to dig the twelve footing holes. 3ft deep, 18 inches wide. It was so incredibly muddy, I had to use plywood sheets just so the dingo had traction to move. I was out there digging probably until 10 pm that night.The concrete mix pictured is roughly 1/3rd of the total concrete we used. Totaled 128 80lbs bags, mixed on site and poured by hand. My dad took his one week off to help with this monumental stage of the build. Really couldn’t have done it without him!”
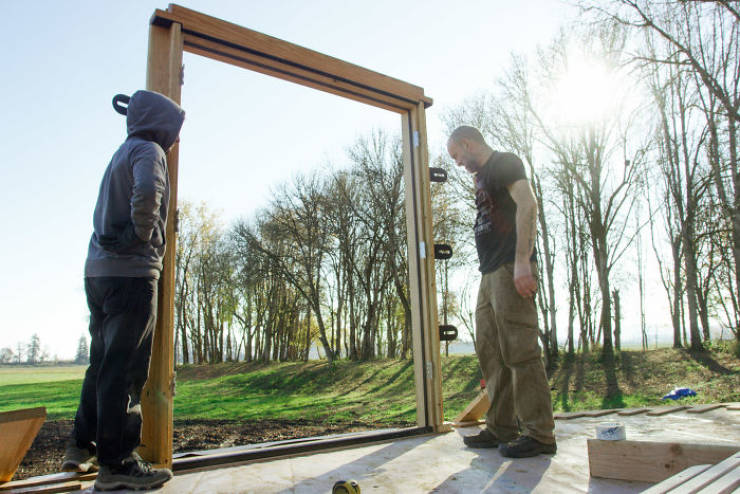
Once the base was done, they picked up the yurt kit from Washington and started with the door
“I can count the number of carpentry projects I’ve undertaken on one hand,” Zach explained on his site. To anyone discouraged by building or carpentry experience needed, the man reassures that what is needed is very minimal. “If you don’t struggle following along with an Ikea manual, a yurt should not be any more technically challenging,” he said. It might need more people than a smaller scale project, but the principle is the same.
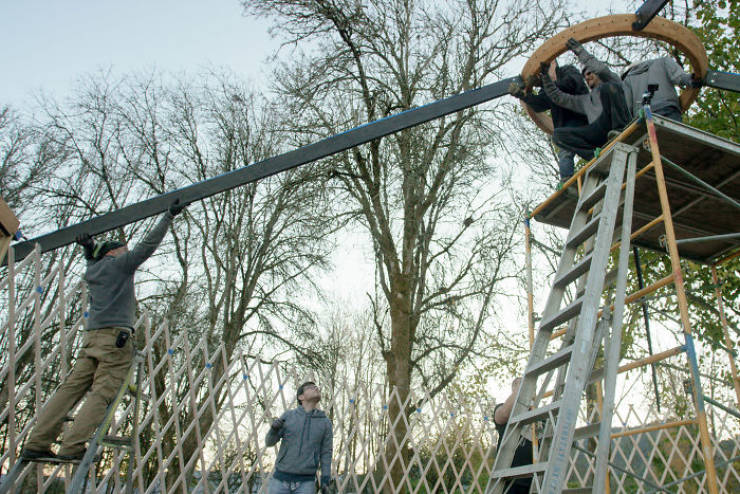
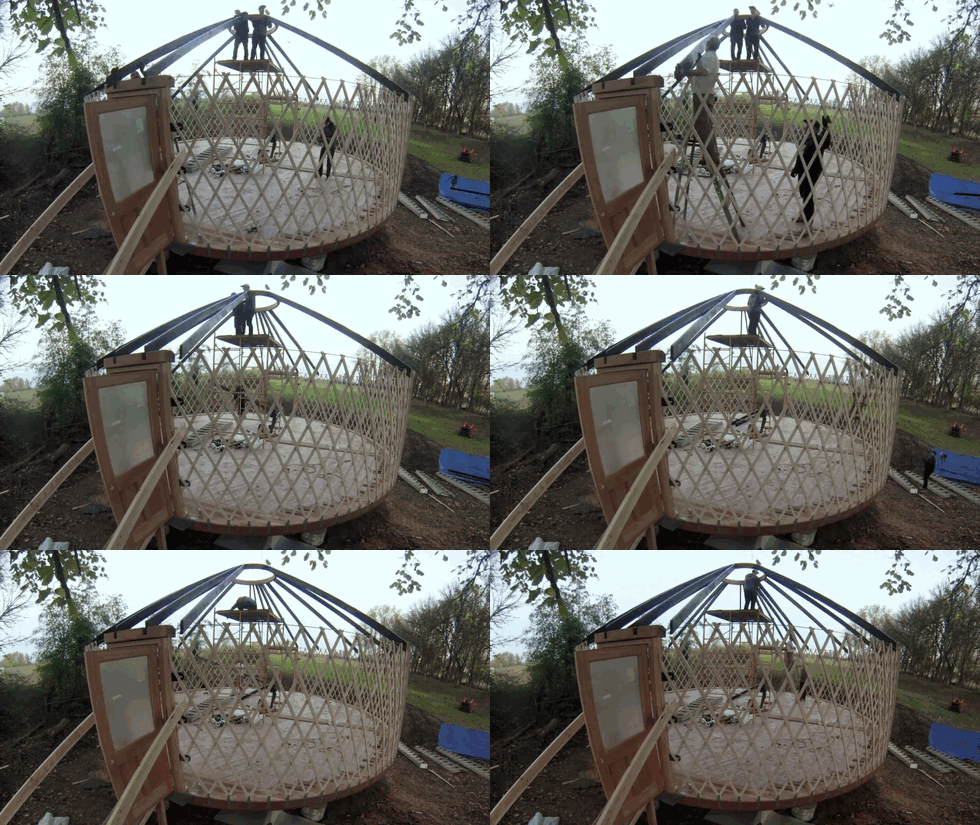
“The lattice comes in a compact form and is stretched out like an accordion along the edge of the platform. Sketchy process putting in the first couple rafters. Up on the scaffolding, two people had to hold the ring up while another person up top slid the rafters into their appropriate holes.”
And if that doesn’t completely win you over or you’re terrified of picking up a hammer and a saw, there are still options for you if a yurt is what you’re craving. “Each yurt manufacturer will most likely have their own preferred installer and will be able to direct to the right person,” the description on the site reads.
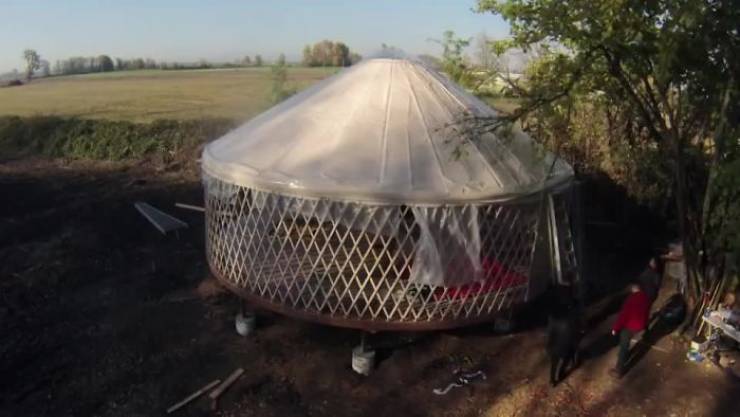
“First layer of the roof is a fabric cover. This is what you see from the inside. The plastic sheeting is temporary so that the cover is not marked by the recently black stained rafters. Next comes the reflective foil insulation. We opted for two layers of this. Easily catches on to the wind on a breezy day! Once in place, this layer was stapled to the tops of the rafters underneath. The final vinyl cover is waterproof and weighs 200+ lbs. Quite the beast to install.”
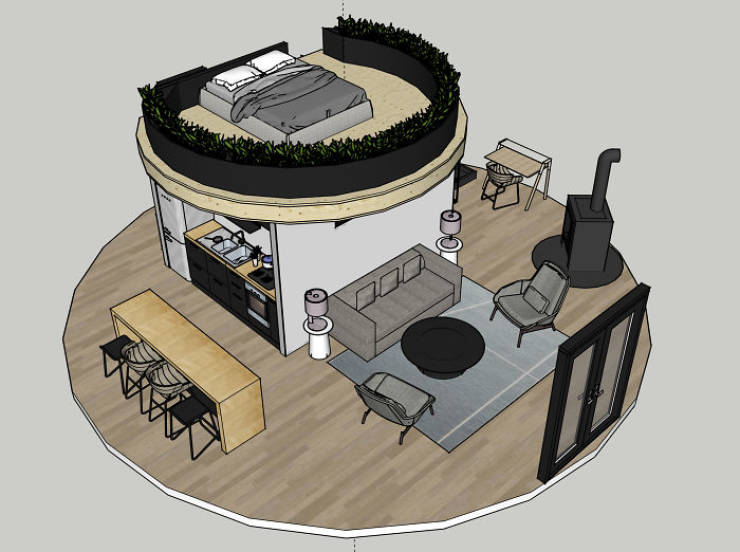
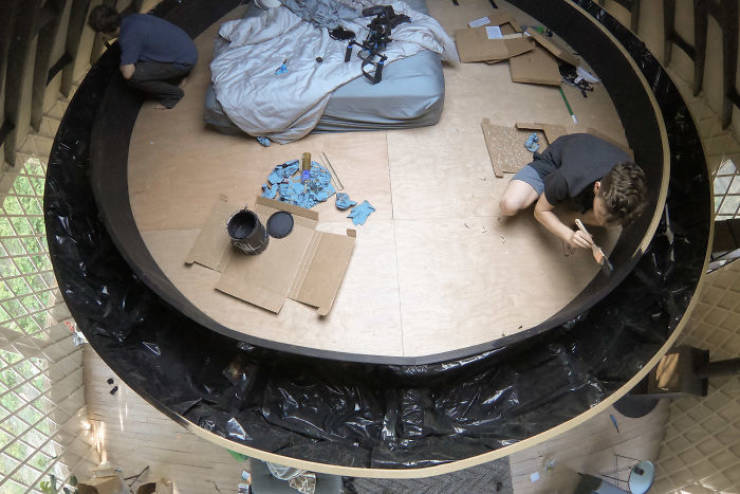
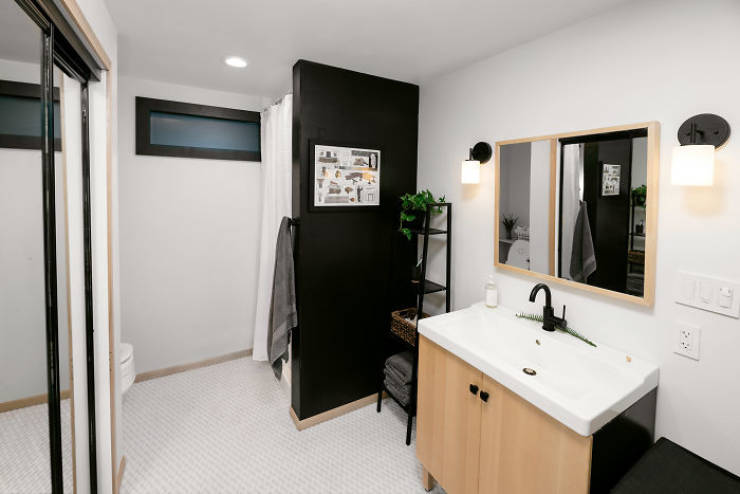
“We wanted to build an interior room with a circular loft inside the yurt. The room would house a bathroom (yay, privacy!) and the loft would become our bedroom. Fully kitted out mockup I made in Sketchup to try to nail down the style. Very modern and clean was what we were going for.”
After installing electricity and plumbing, the couple set out to decorate the interiors
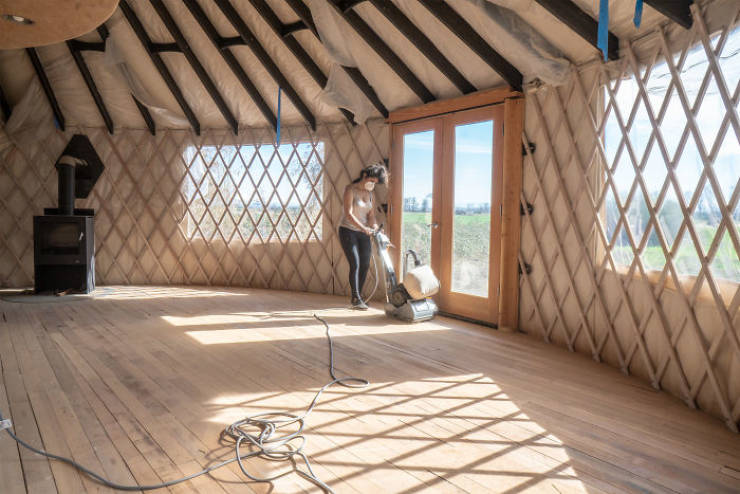
“Nicole doing a beautiful job sanding the finished floor. Using salvaged doug fir flooring probably added weeks to the project. PSA: FINISH FLOORING BEFORE PUTTING UP THE YURT.”
“Building the planter up on the loft with my little brother, Silas.”
“This is more of a “faux” planter because there wouldn’t be any loose dirt inside. All plants would stay in their plastic pots”
And the finished result is truly stunning!
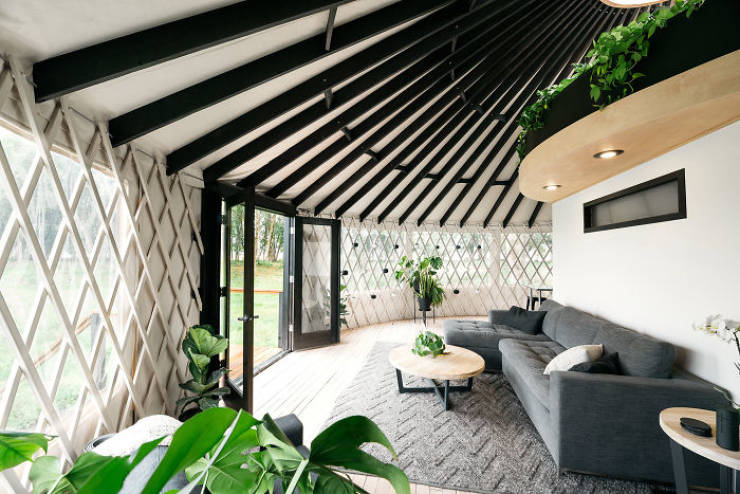
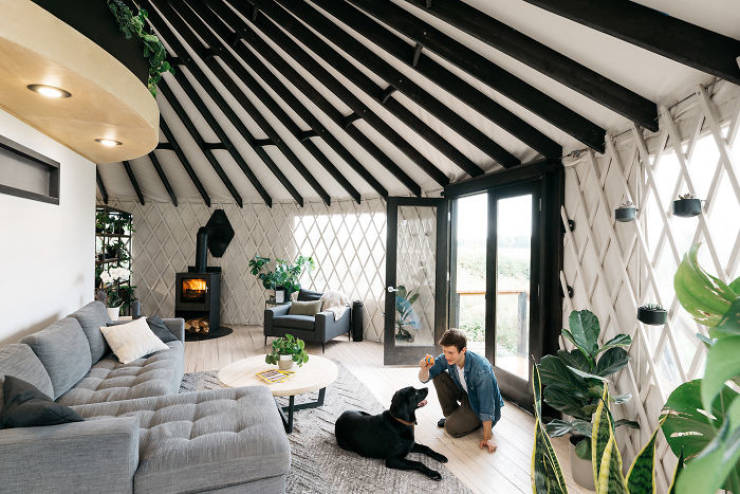
This is how the yurt looks from the inside
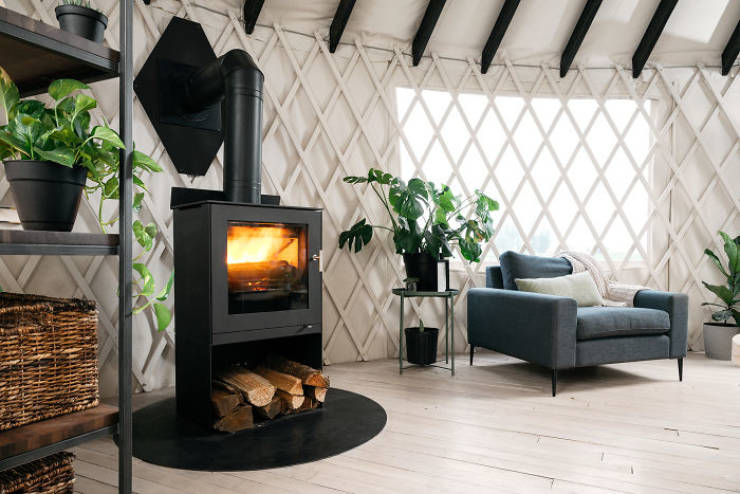
The source of heat and comfort – the wood stove. Zach jokes that they constructed it despite the manual for it being in Danish.
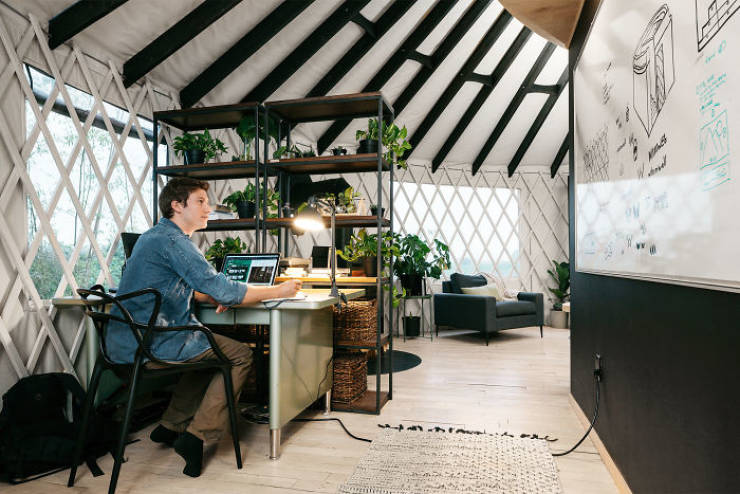
“Office. Here I am very concentrated on some difficult subtraction arithmetic”
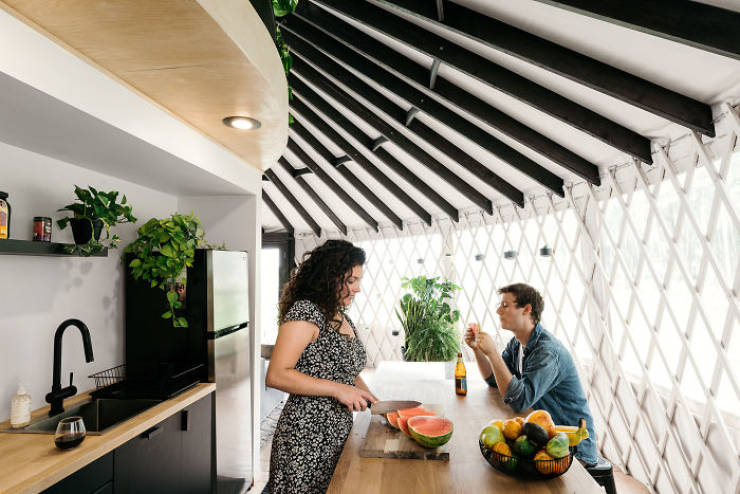
“In the kitchen enjoying watermelon we did not grow”
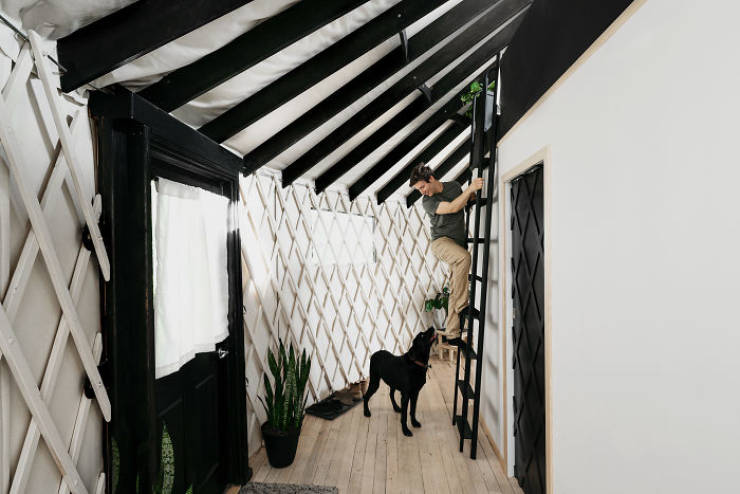
“Here I am ditching Maya in our back entry to go up to the loft…”
“…where Nicole is trolling people on Reddit”
“We’re not the first ones to build a yurt and we certainly won’t be the last. Our intention from the beginning was to create a free online guide for people interested in building their own yurts,” Zach added. ” I’m hoping it will become the first place people visit for information if they’re interested in what it’s like to build and live in a yurt,” the man concluded, referring to his site.

