If you ever wondered how you can create cool photos of waterdrops, this instruction is for you. Now you need a camera, a remote trigger, a wireless remote for your camera, a tray filled with water and, of course, much patience.
Basics
Although there are many ways of shooting water drops, and some are more professional and / or practical, this is how I've done it with my setup.It just requires patience, and it helps to have an external flash, because we'll be doing 1/200 shutter speed and f/13 aperture, and there aren't many natural light sources to accomplish that and still control where your lighting hits.
Materials
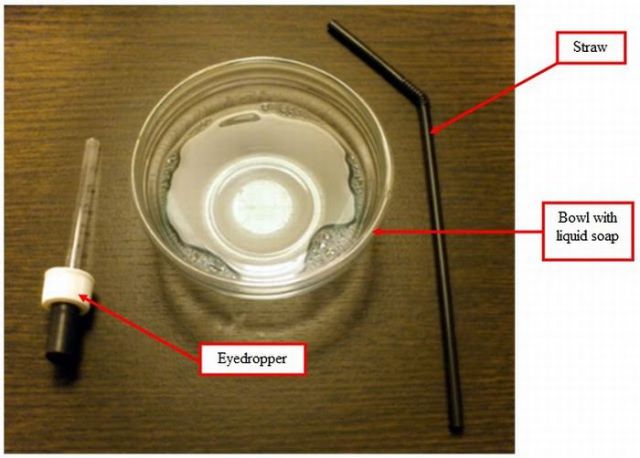
The before mentioned flash and remote trigger; A wired / wireless remote for the camera (almost a must for shooting water drops); As can be seen below, it will set you back around $5.
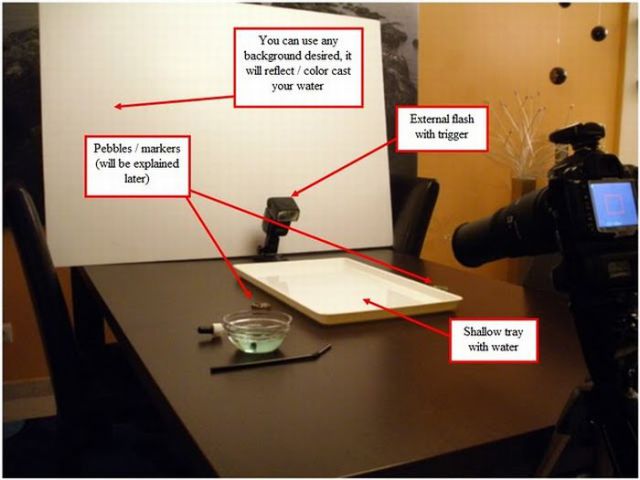
The Setup
The final setup should look something like this:
Placing the Camera
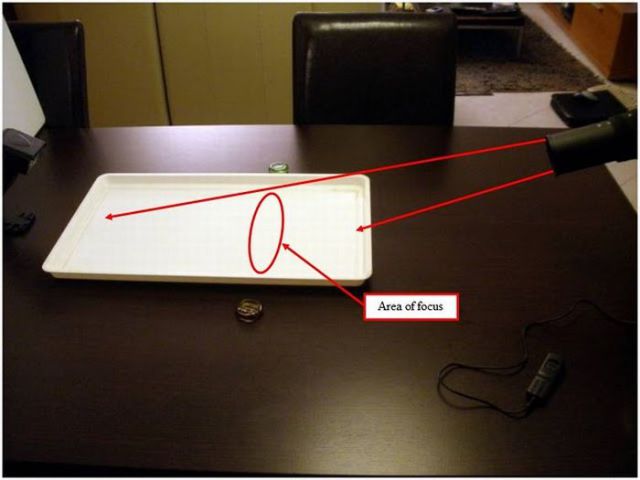
When positioning the camera regarding the tray, you should try to get as low as possible without having the front or back of the tray to appear in the picture. It should not be too low as to see the rim at the back, nor too high as you'll loose depth it the drop / bubble.
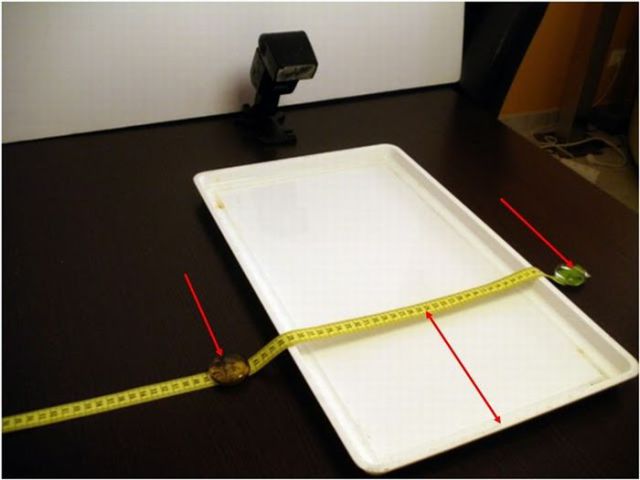
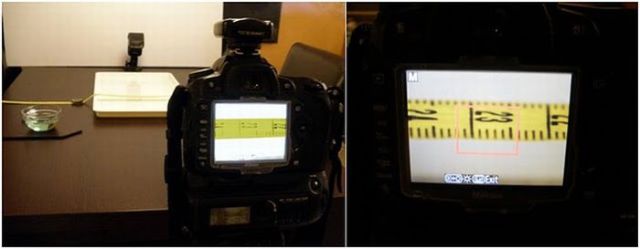
First of all, we have to define a place for where the bubble can be placed. Several techniques can be used; I find that a measuring tape works just fine.
Secure it from both ends so it hovers right above the water. Placing here is also a factor, you should put it one third of the distance from you to the end of the tray. This allows you to get more breathing space in the top of the bubble, where it really adds to the composition of the photo.
These markers will also be used for you to guide the bubble when taking the shot. Even your breathing causes the bubble to shift position ever so slightly, and you'll know that between the markers the area is in focus.
Next, focus on the measuring tape. If you have an option for live view, it helps to zoom in. If not, use the viewfinder in order to have all the measuring tape in focus. Manual focus has to be used.
The Bubble
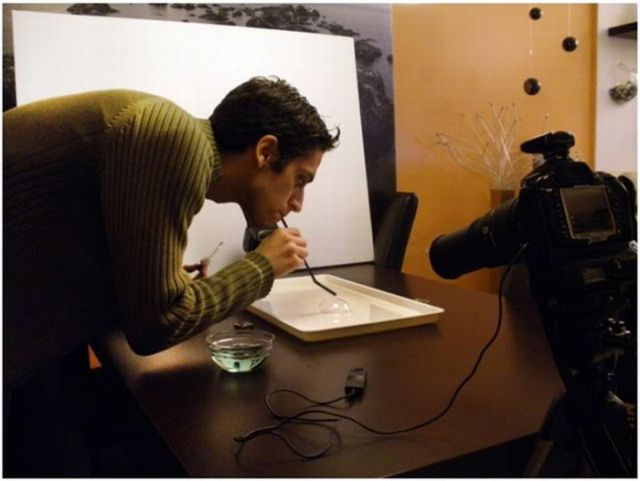
Use the straw and liquid soap to create a bubble. Do some test shots before doing the drops to adjust flash power and zoom factor. Also check for relative size of the bubble inside the frame. If reflections start to become a problem because of the direct flash, try to position it as low as possible; since your camera is on a higher plane, it should not be a concern.
If flare occurs, use a lens hood.
The Drop
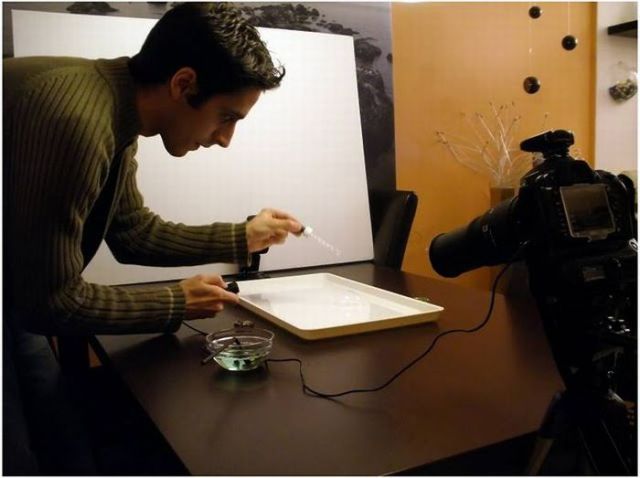
Just use the water in the tray to fuel the eyedropper. Get the remote release in one hand and the eyedropper in the other, and get ready for some long shooting. The first times I've tried this I used up to 400 photos, now I can get very good results with 30 or 40.
Drop some water from about 7" high (or more, depending on your focal range and line of sight), and fire away.Some shots you miss, some shots are ok, and every once in a while, one is excellent. If the bubble bursts very easily, just use more soap to make the bubble thicker (beware this will make the drops less even in the fall, as they will have more trouble getting in).
If the bubble moves a lot, use the side of the eyedropper to gently shift it back to focus position.
The Editing
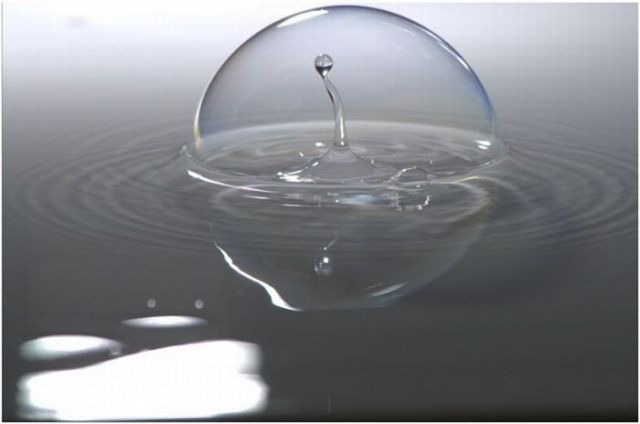
Ok, I used Photoshop CS4 for this, but you should get close (if not better) results from these ideas.The original looked like this after shooting (as I said, ISO 100, f/14 and 1/200. I can't remember the flash power, but I think it was 1/16 or 1/8, and I didn't check for reflections, we live and learn):
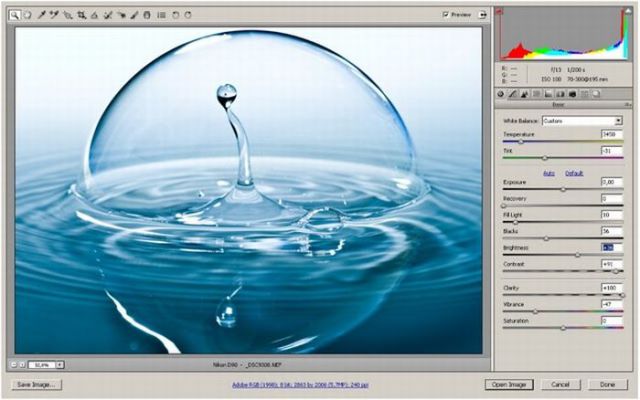
Imported into ACR with roundabout these settings:
And then (all in Topaz) I used Topaz "Smooth Portrait" preset, lowered the saturation, increased adaptive exposure and regions, and added detail.
Smart sharpen to finish with, and resize and save.
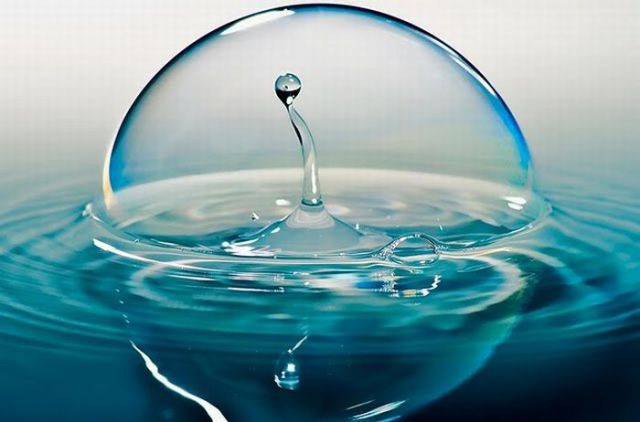
To this:

