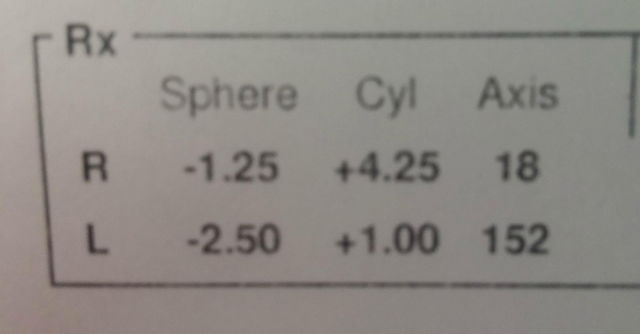
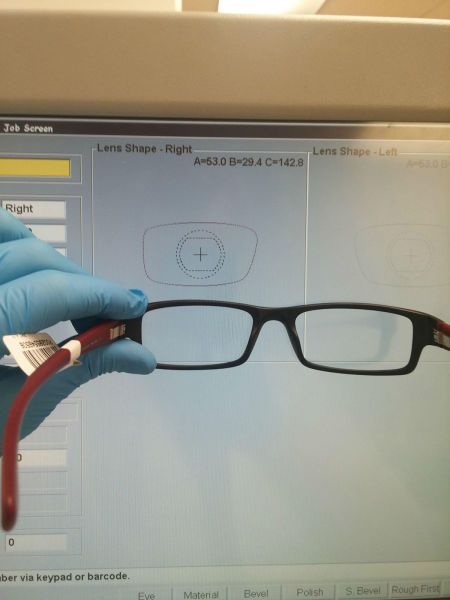
Here we have the RX of the customer I have cut out the personal info for obvious reasons. This patient has a very strong astigmatism especially in their right eye. (In optics OD is right and OS is left) We will want to keep this high RX in mind while manufacturing the lenses.
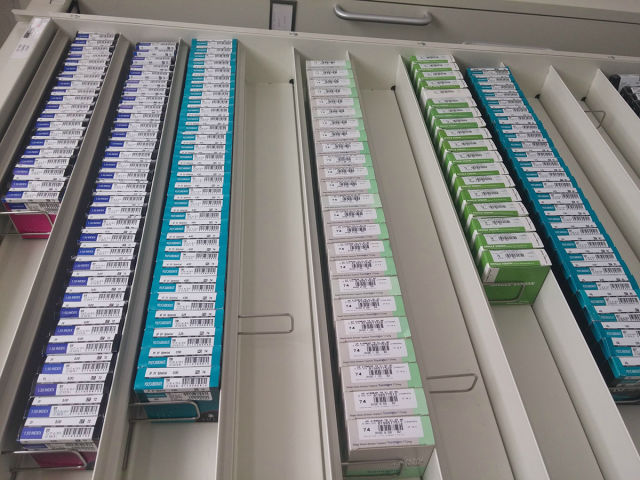
First we need to select which base curve of lenses we are going to use. The patient only needs a distance prescriptionas opposed to a bifocal or progressive.
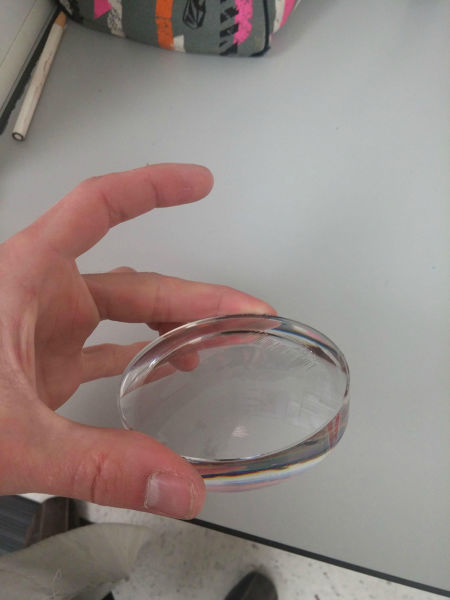
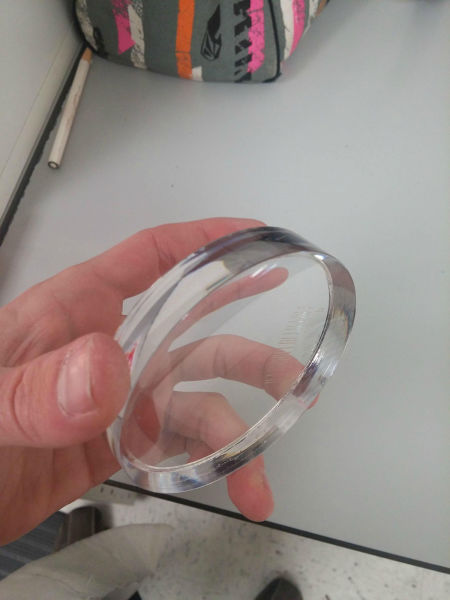
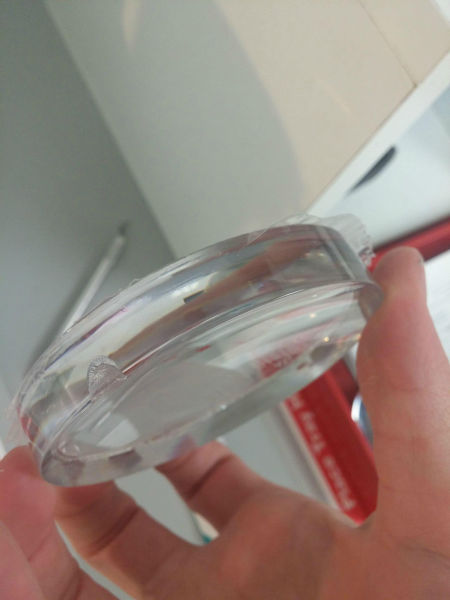
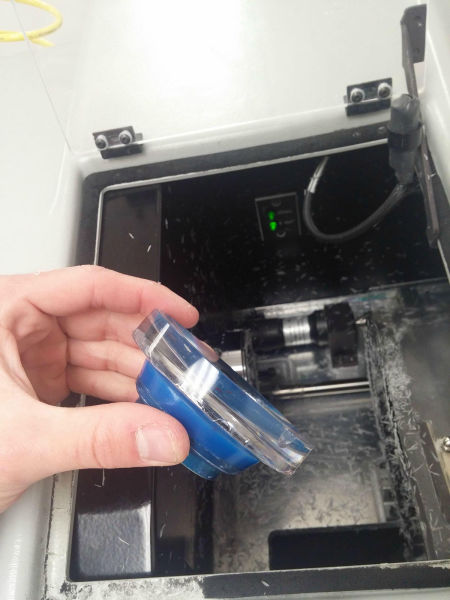
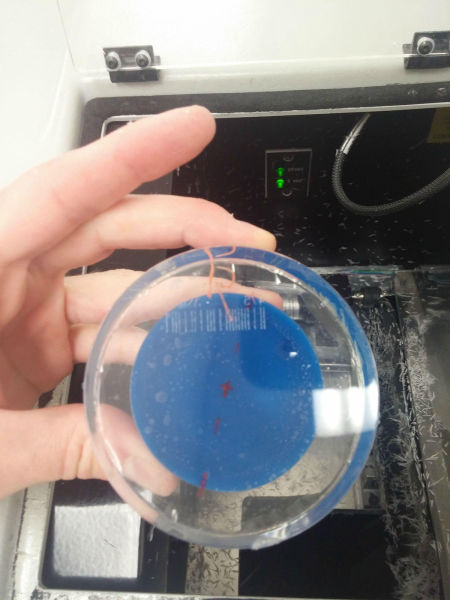
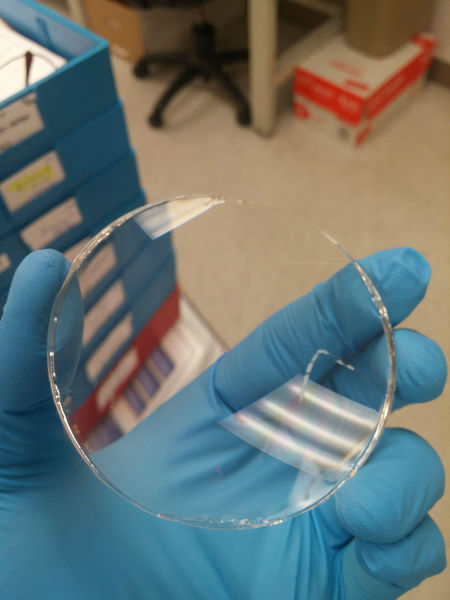
Voilà!!!! The basic lens we start with is a lot like a hockey puck in size.
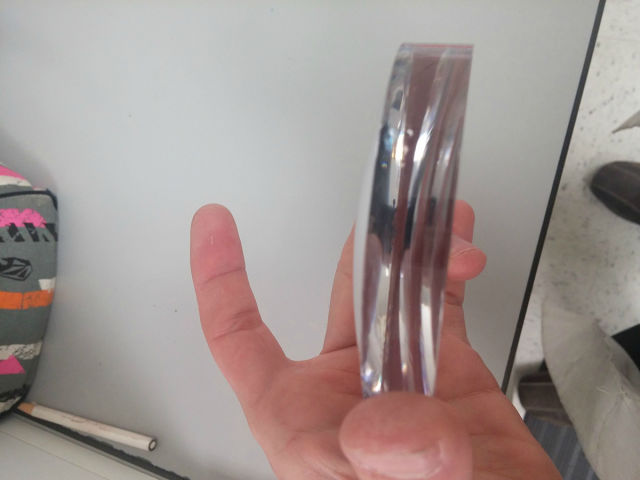
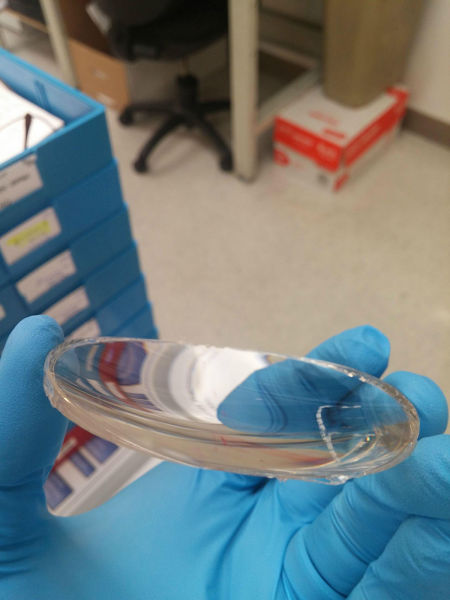
Another view
And yet another.
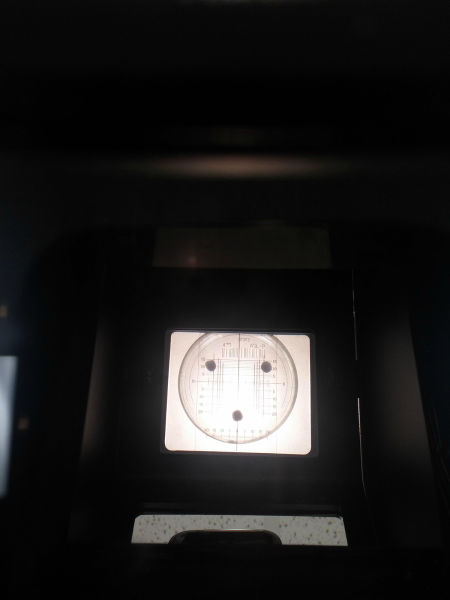
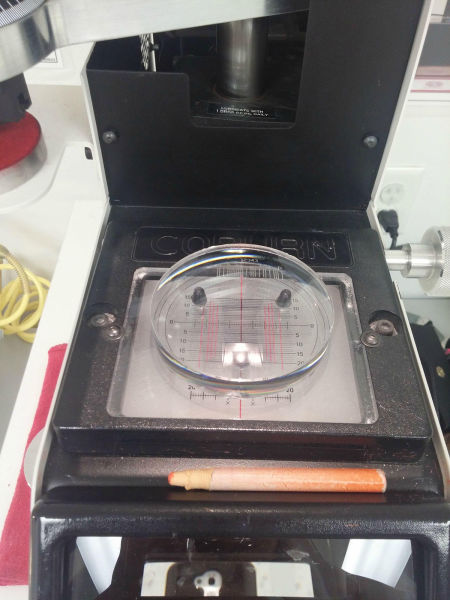
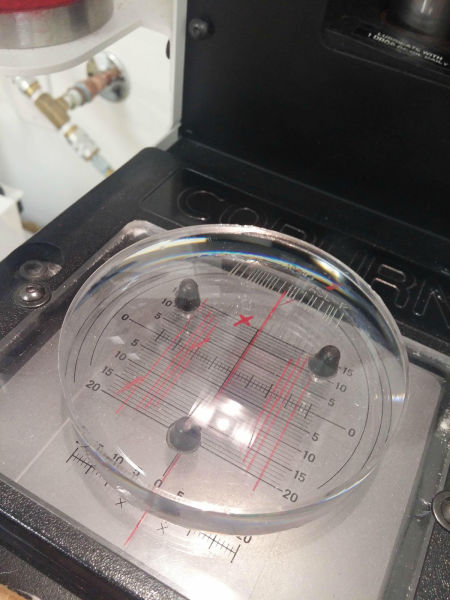
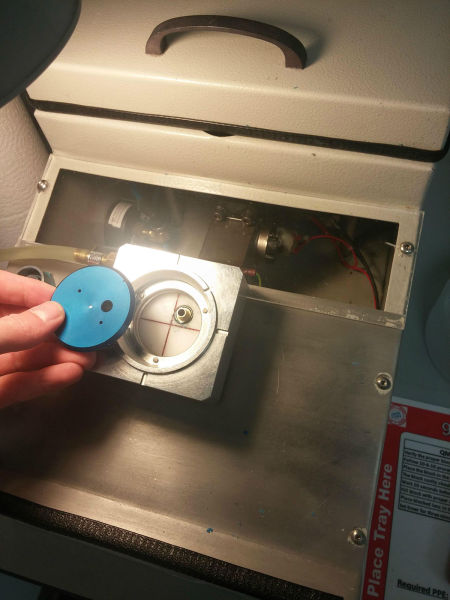
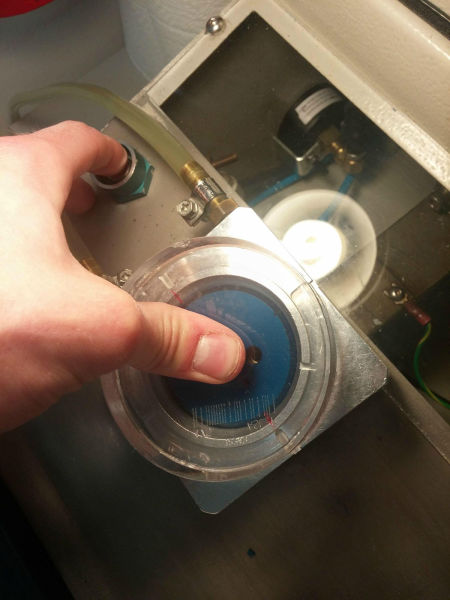
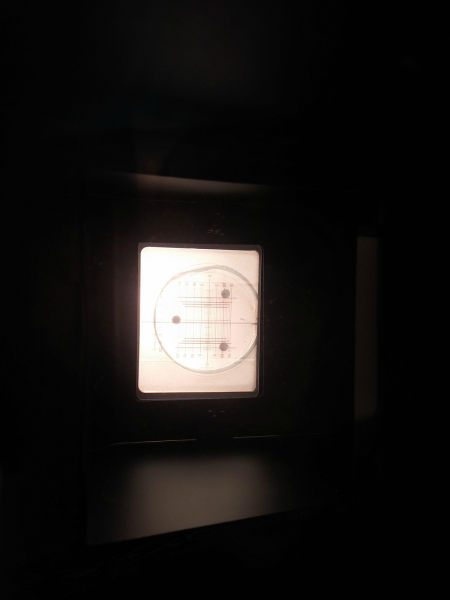
This is a view from inside the lens marker. We calculate the amount of drop or rise and inset required to line up the RX with the patients pupils.
Here is another view of the marker. :)
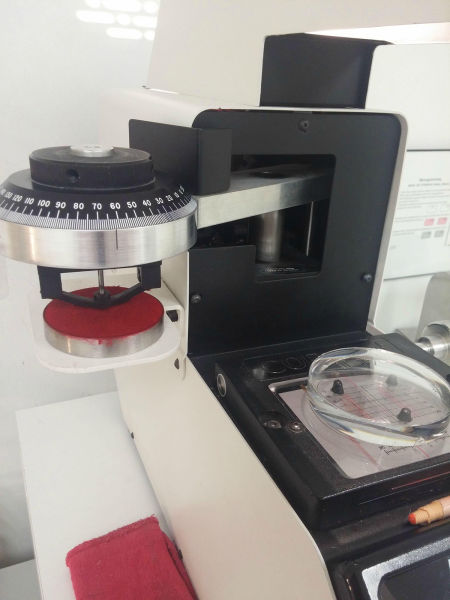
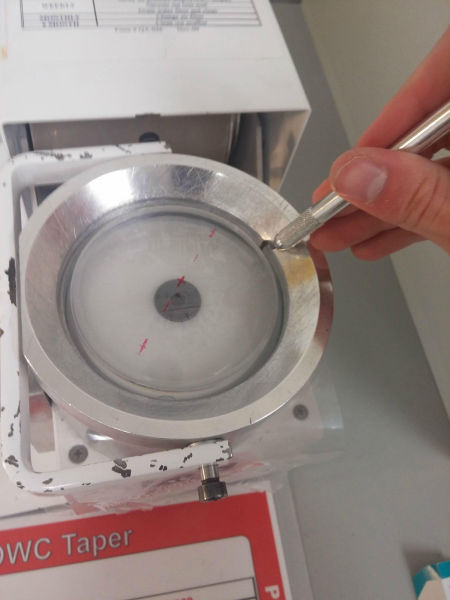
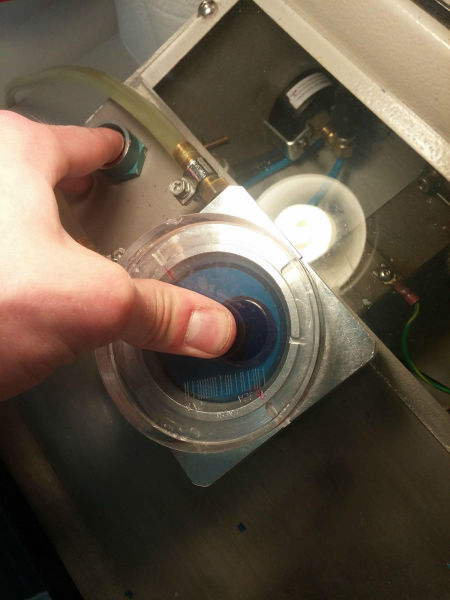
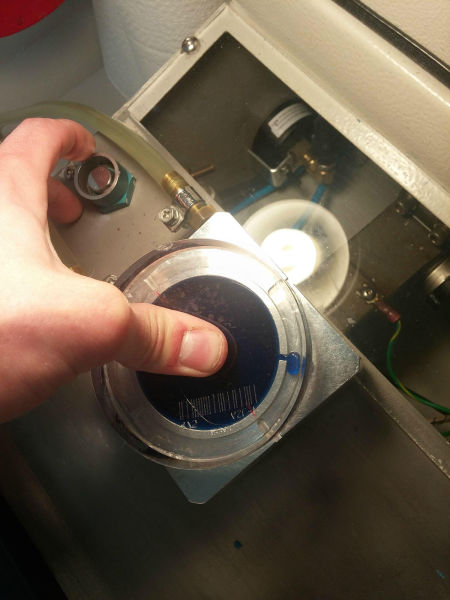
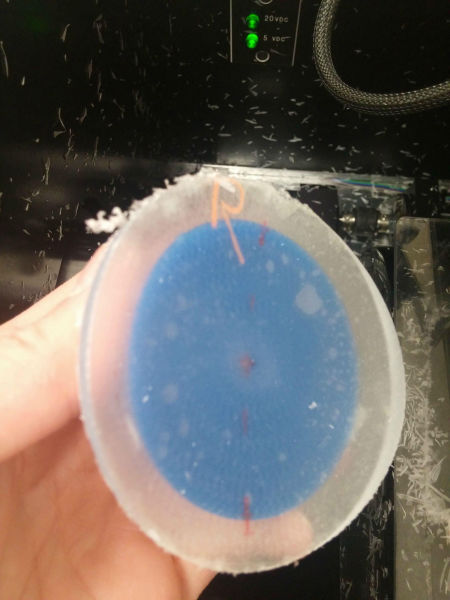
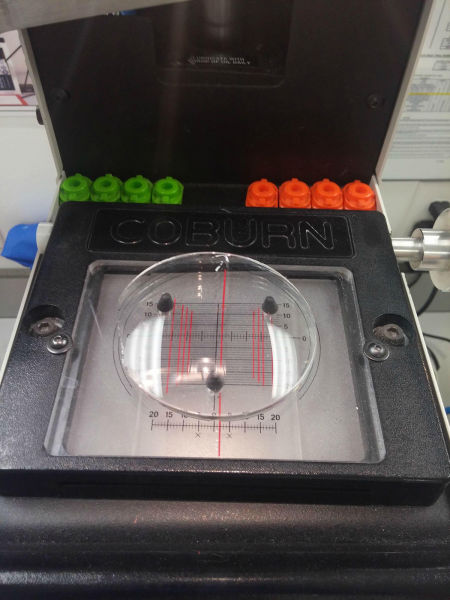
Once the lens is in the correct place, we use a device that has the correct AXIS that we saw on the RX for that eye and use red ink to mark.
After the ink mark
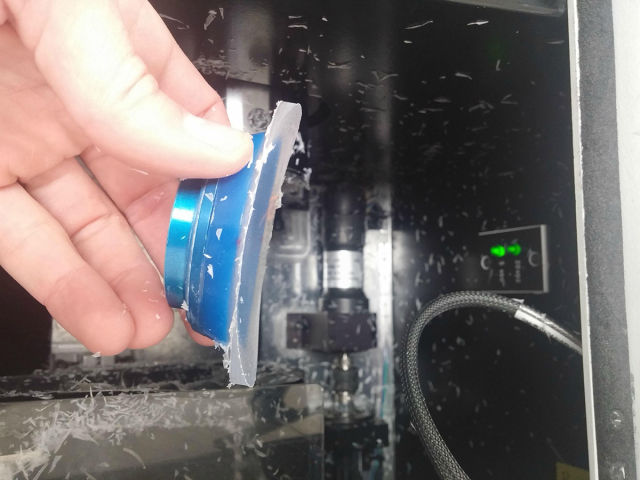
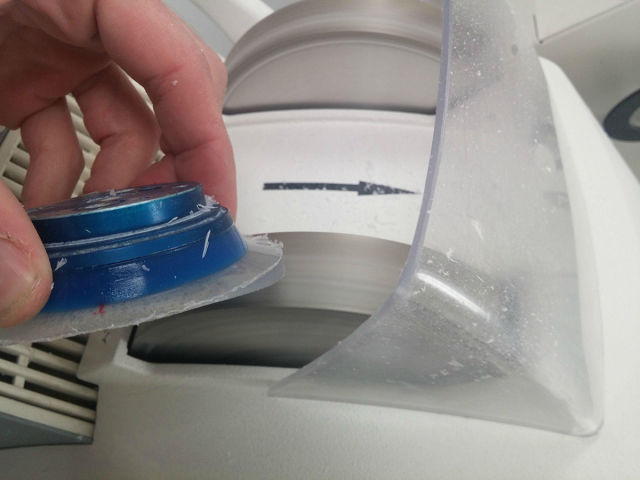
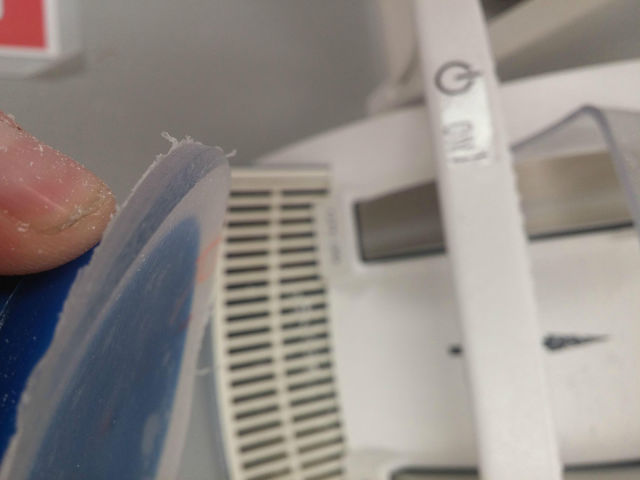
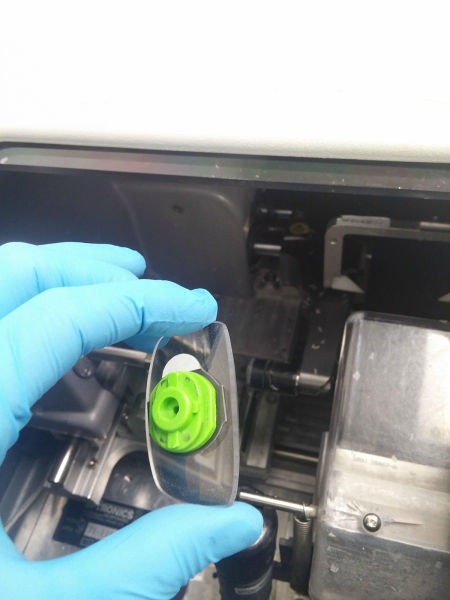
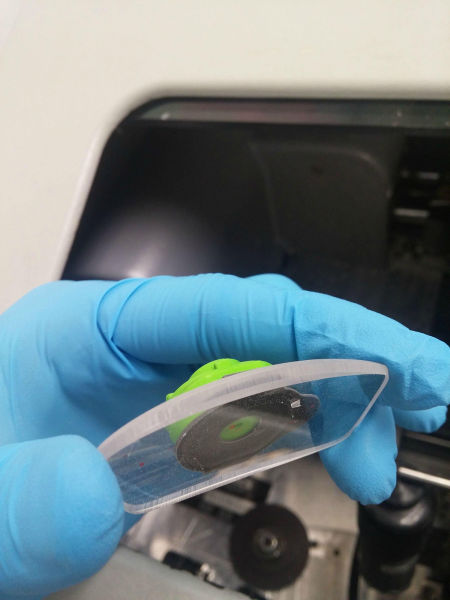
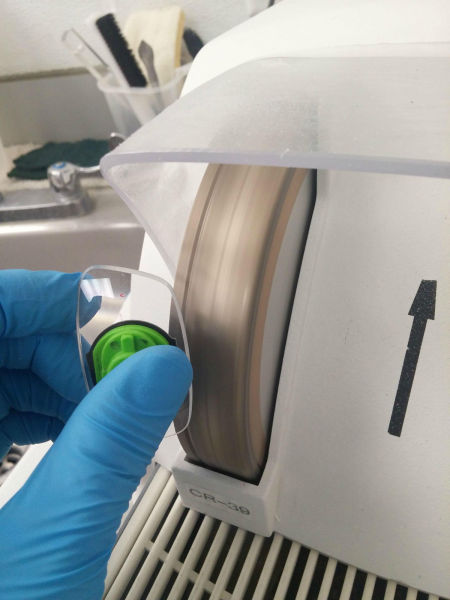
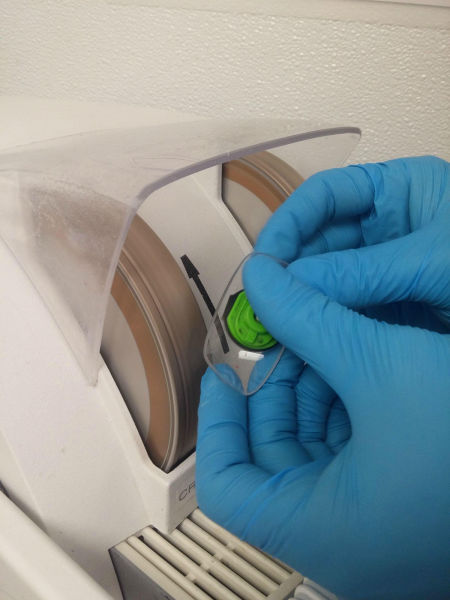
After the lens is marked we use a machine to stretch the lens through some "surface saver tape" its more like a screen protector for your smart phone. It protects the plus side of the lens while we are going through the next few steps.
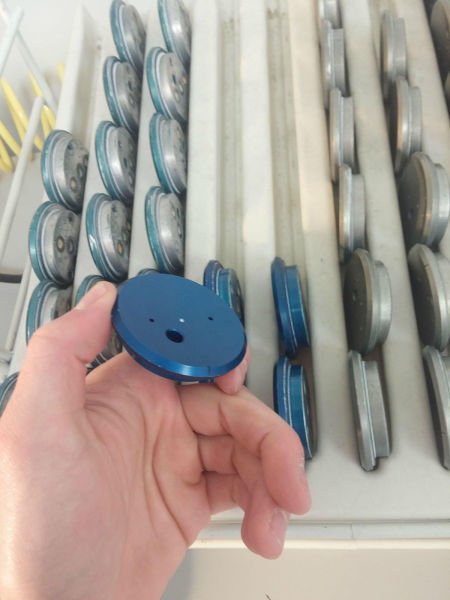
We select a specific curved "block" that corresponds with the lens curve we selected earlier.
The block is placed on a wax blocker machine that has melted wax in the cente. The silver square ring ish thing is full of antifreeze cycling through to chill the wax quickly after it is injected between the block and the lens
Lens in place ontop of the block and releasing the wax
Patience..
A little over flow on the side is fine there is a groove to allow spillage.
Whabamm! lens, wax and block!
Next we step up to the generator. This machine does all the math and calculates the patients RX, the base curve selected, and will automatically induces prism when needed to align up RX with pd measurements.
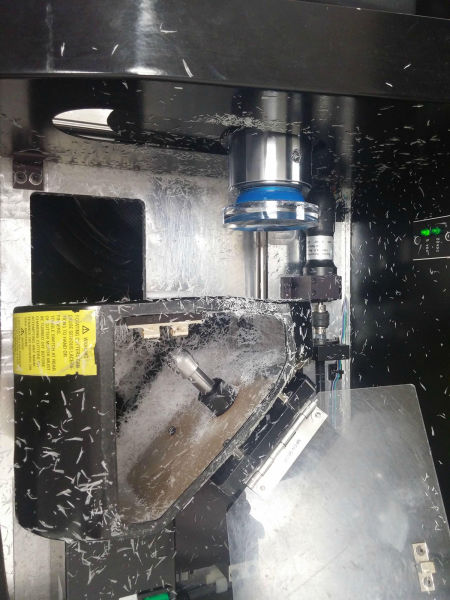
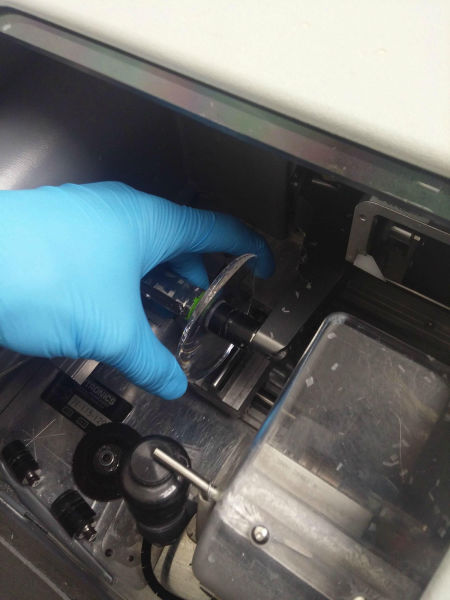
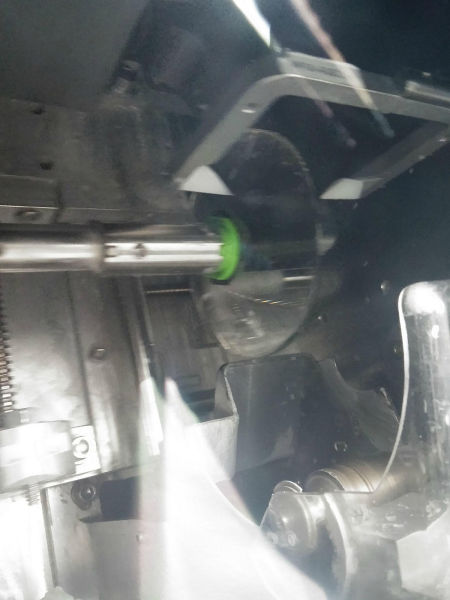
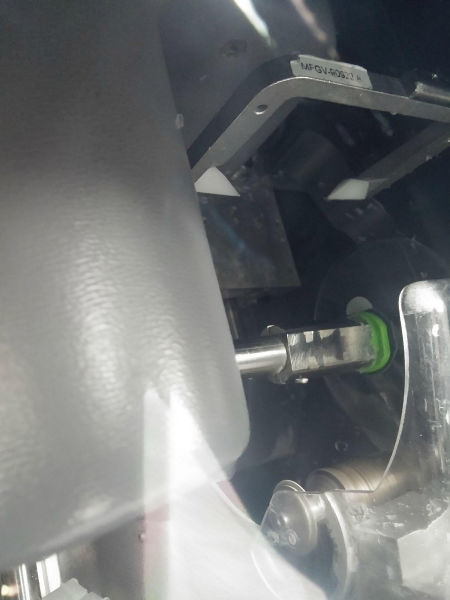
The lens is "CHUCKED" using the block we mounted to the lens to keep everything in place and on axis while the machine cuts. The box on the right has 4 diamond tipped blades that rotate extremely fast. (idk the exact rpms) There is also a vacuum underneath it that catches the extra poly carbonate( lens material) shavings. Also known as swarf.
While the lens is edging we select our LAP used for fining in our lens. There is math involved with selecting the correct x and y axis but it's over my head. The computer breaks it all down when you select the base curve of the lens at the beginning.
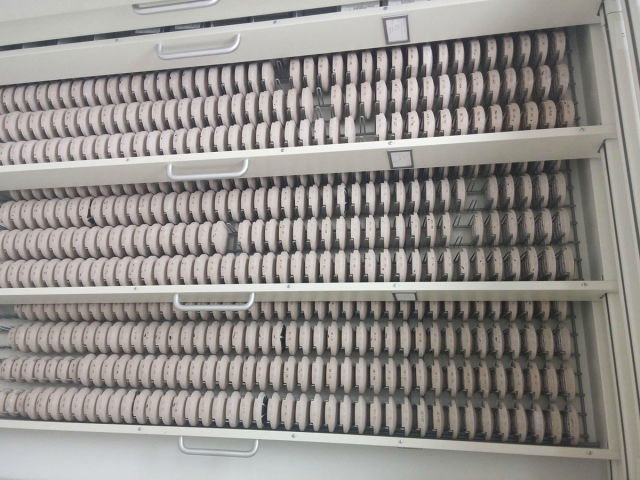
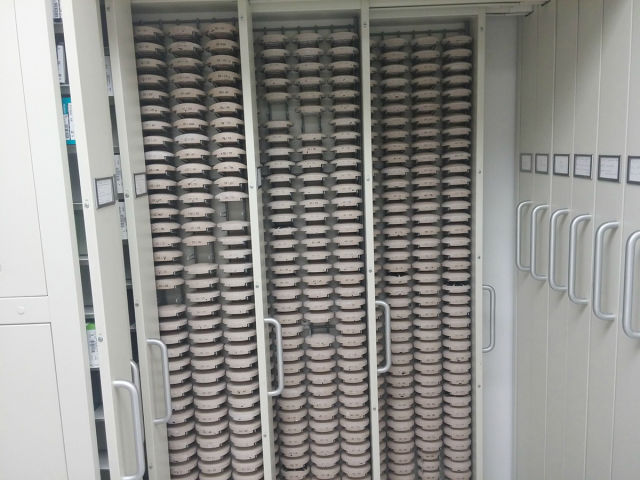
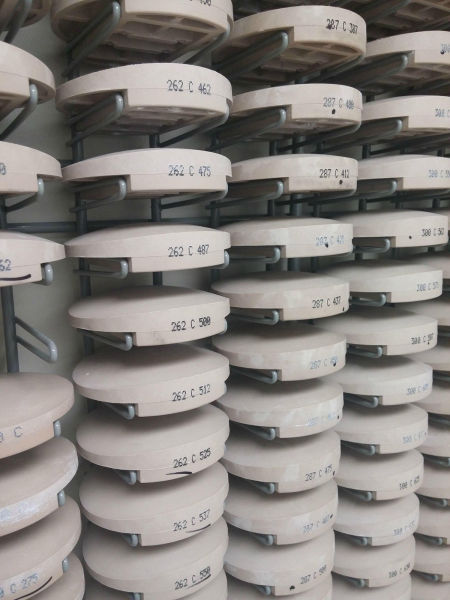
There are A LOT of lap options...
Close up with the values.
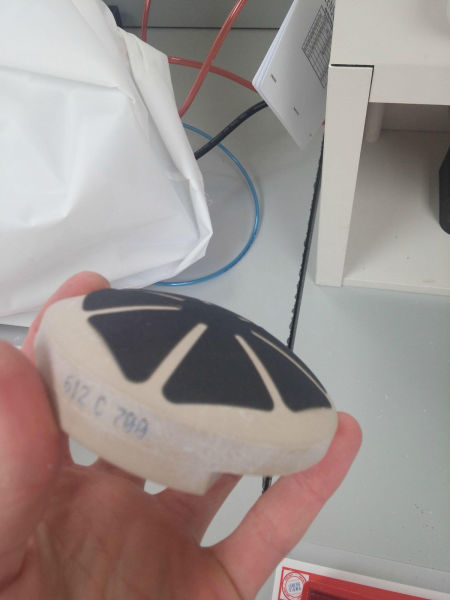
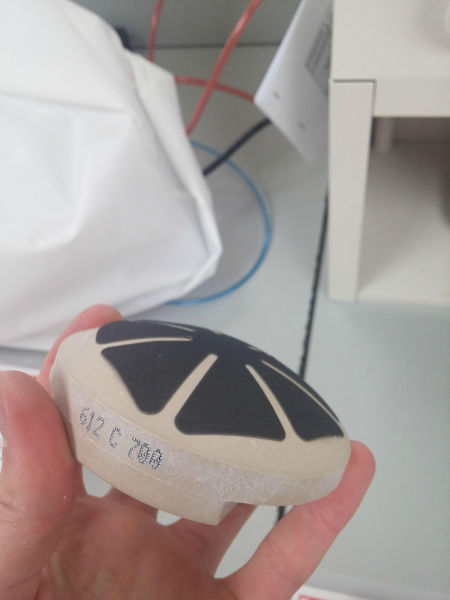
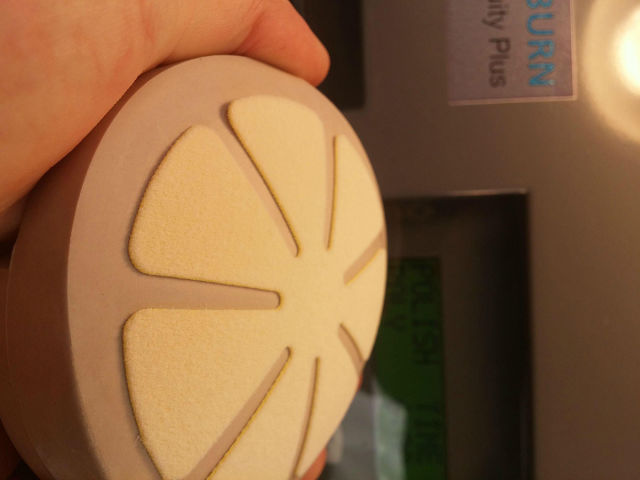
Once we find out LAP we apply a sand paper like sticker to it there are different grades depending on what material we use.
Another LAP pic
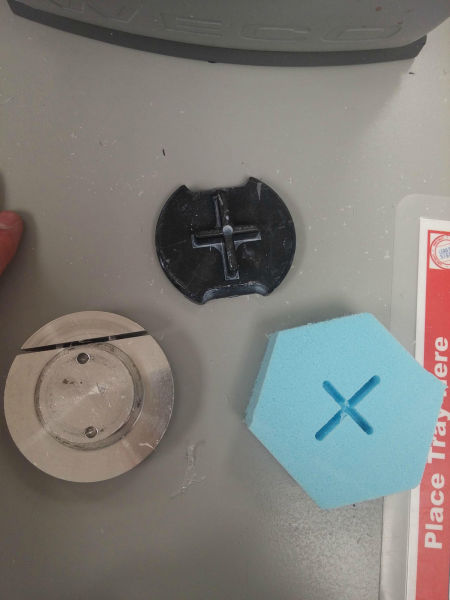
The generator can actually invert the curve used for the lens and we can cut our own LAP by using these tools. The material we are cutting is a thick foam.
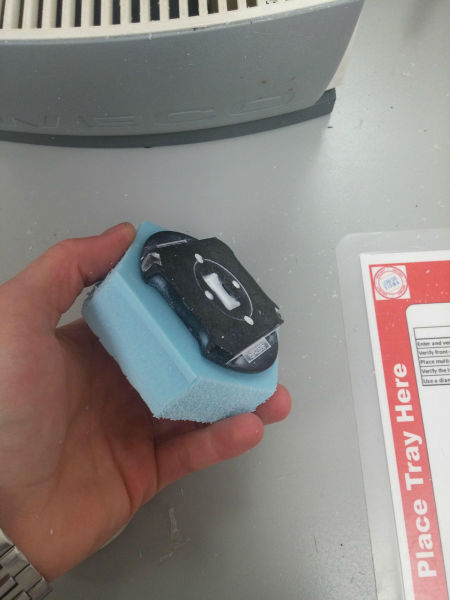
The black block with grooves is inserted into the foam.
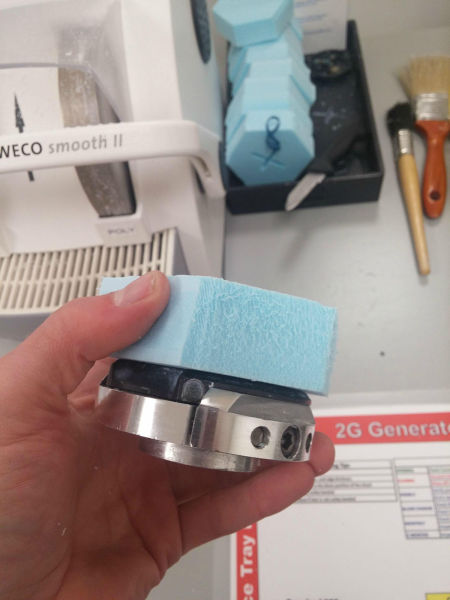
Mounting block attached to the groove.
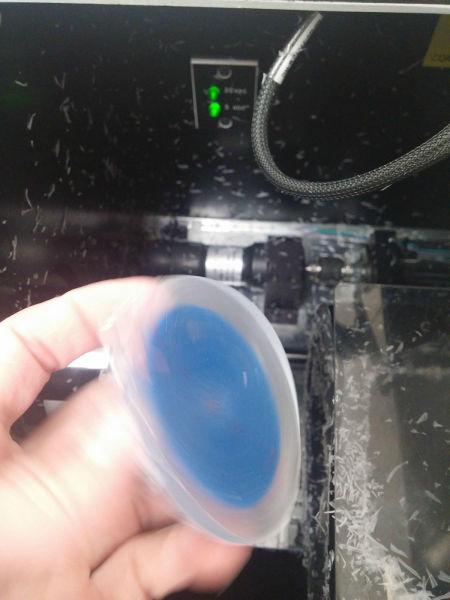
Here we have the lens once it is done cutting.
Another view.
This angle really shows the curve the generator has created.
We take the lens to a hand stone to shave off the edges. Especially with the high cylinder (astigmatism) we are going to take the edges way down to allow for an easier and more efficient fining process.
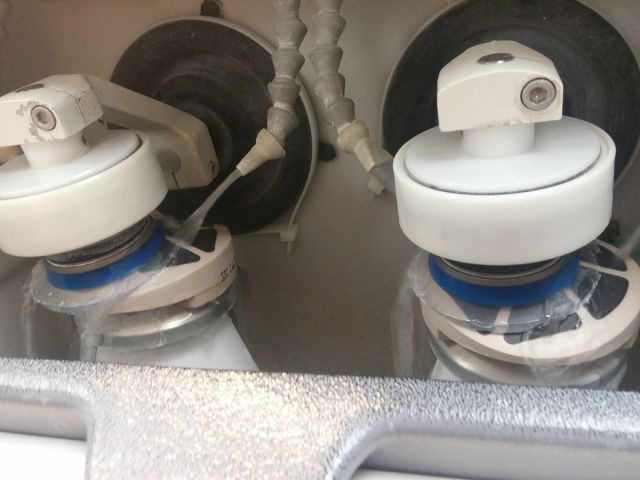
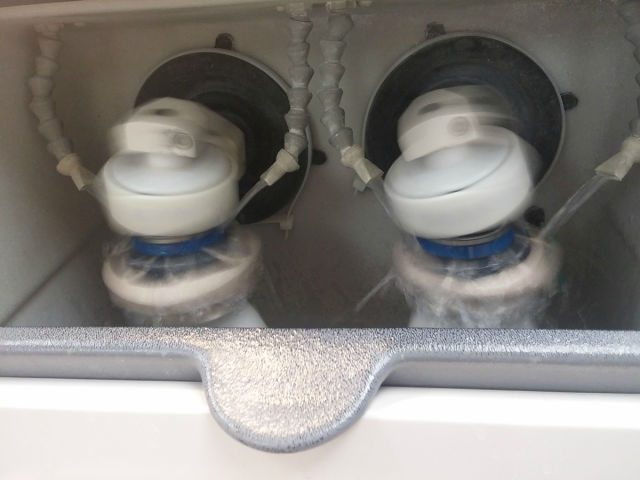
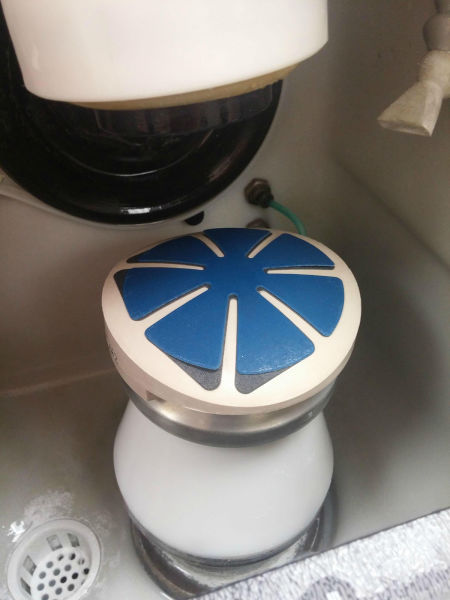
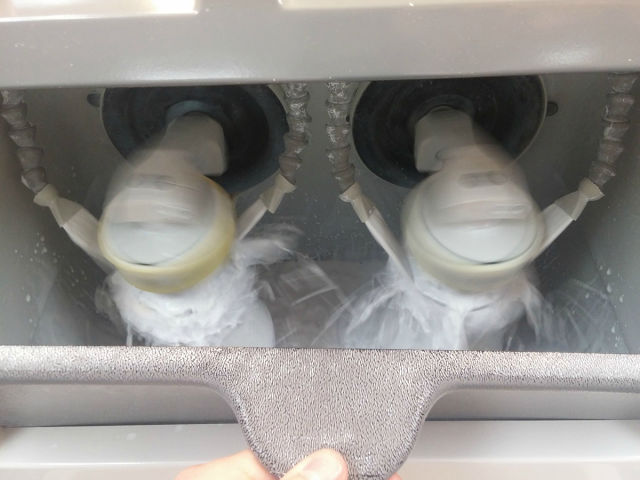
This is the finer. Two hydraulics keep a certain amount of pressure on the lenses which are locked in place using the blocks and moved in a pattern over the laps. The laps are then moved back and forth very quickly to fine the lenses.
Chilled water is flowed over the lenses to avoid aberration caused from heat.
Here you can see the movement of the lenses. Its pretty fast.
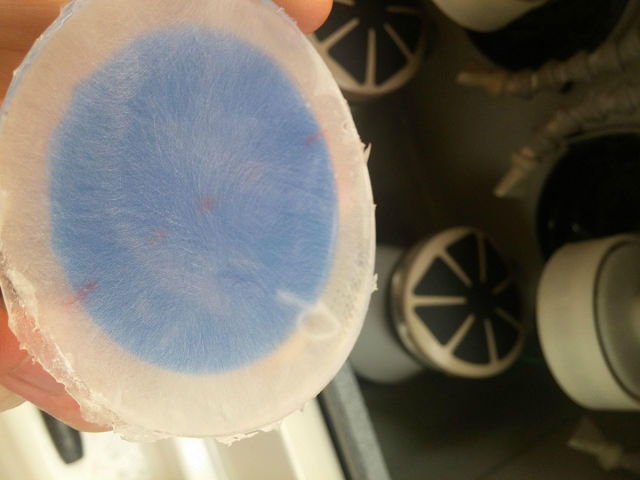
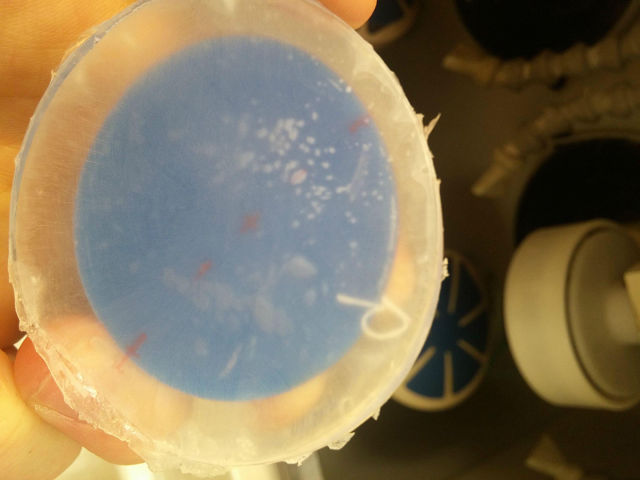
After the first fine we are left with a more clear lens but its not nearly where we want to be yet. This first fine is mostly to get all of the big generator marks out of the lens which we have accomplished.
Next we apply a finer grade pad on top of the black one and repeat the process.
Both pads are removed and a very soft felt polishing pad is used with polish as opposed to water for 6 minutes to shine up the lens.
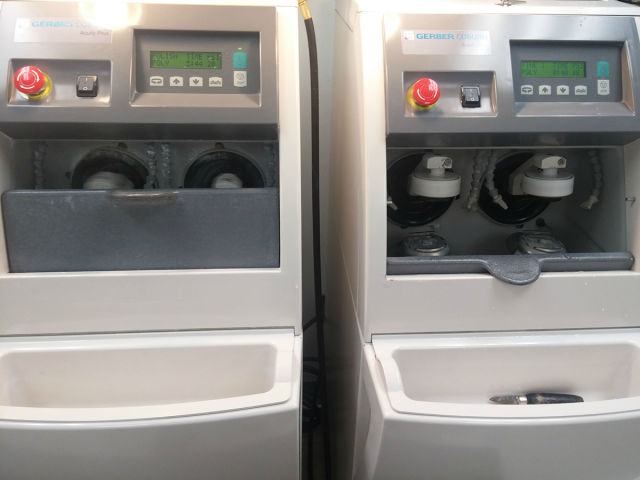
Here is a backed up picture of both machines as you can see they are identical and you can use either one for either job (polishing of fining) just depends on the time pressure and what kind of "slurry"(liquid) you are using.
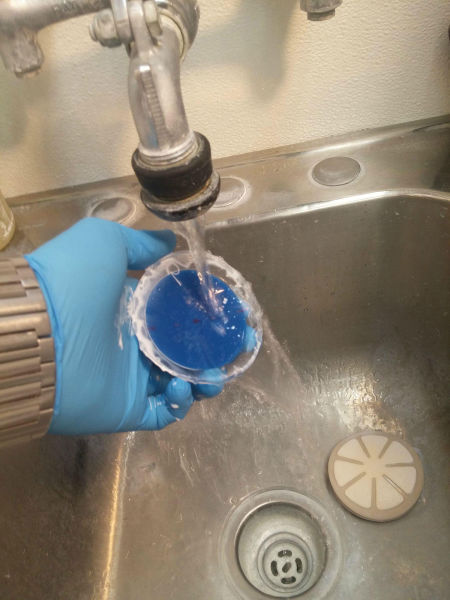
Rinse off all the polish in warm water which also loosens up the wax block.
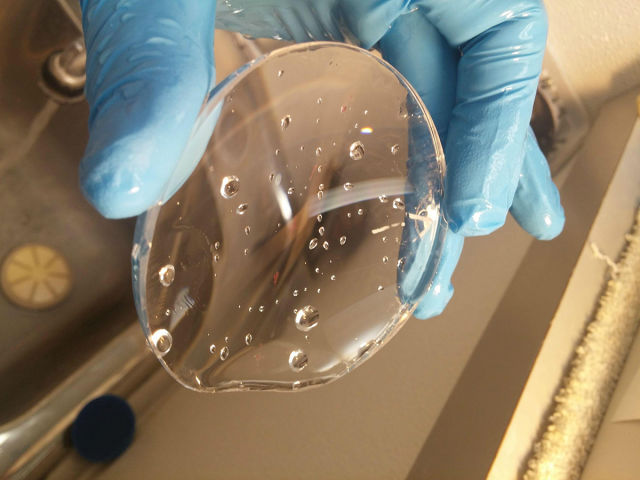
Pretty Pretty
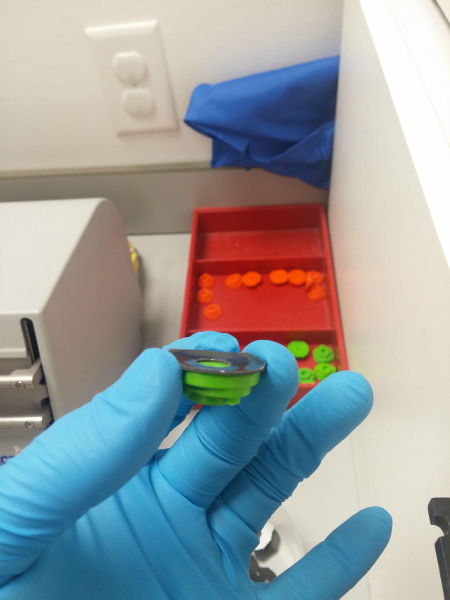
Next the lenses are set on to suction cups and a scratch coating is applied.
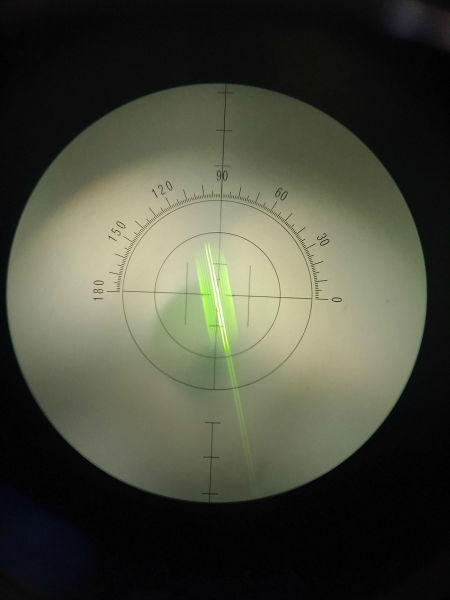
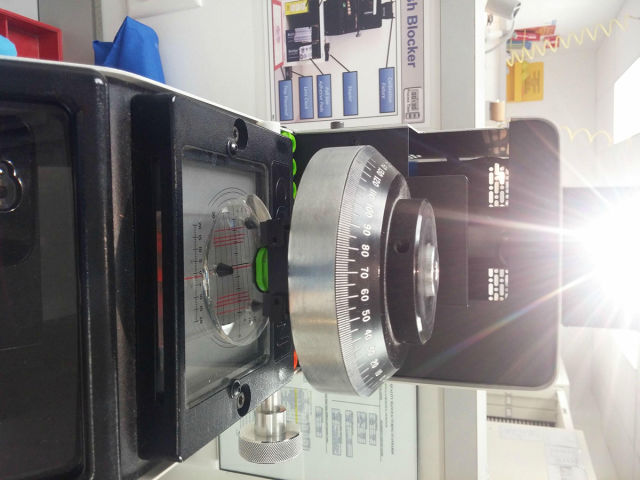
This is kinda hard to photograph so don't judge. In the lensometer (which is used to check RX's after the process) there are two sets of markings. sphere marks (the 2 long ones) and the cylinder. (3 fatter ones)
Cylinder power
The lensometer.
After the rx checks out we get a block with matching curves again and a sticky pad.
We set the lens on another type of blocking machine that looks a lot like the marker.
The view inside. once again calculating the in out and up and down.
The arm swings over, drops down and attaches the block to the lens in the correct spot.
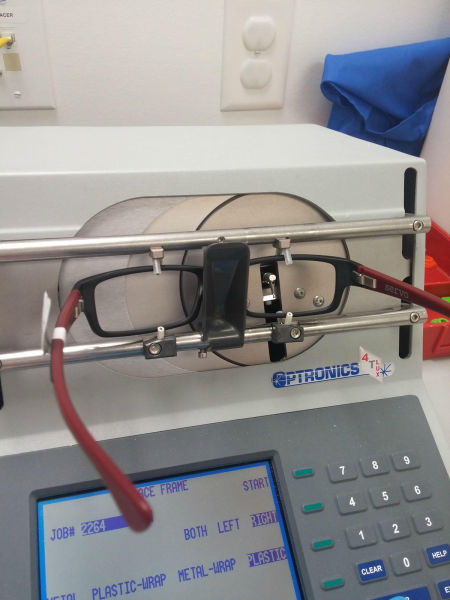
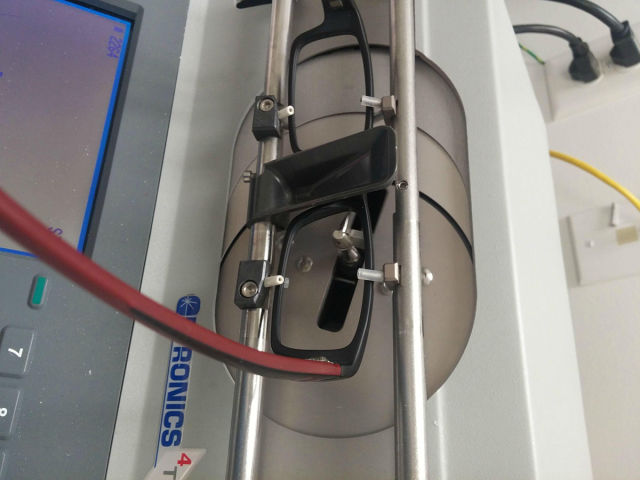
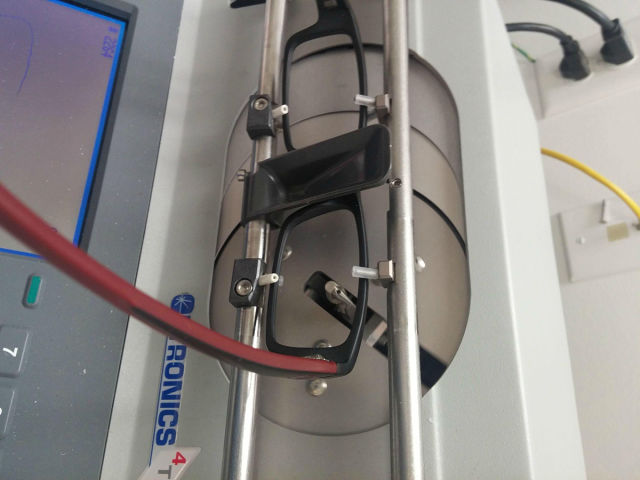
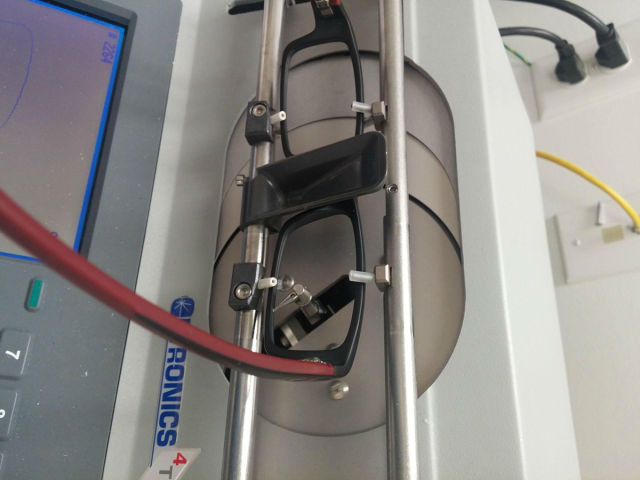
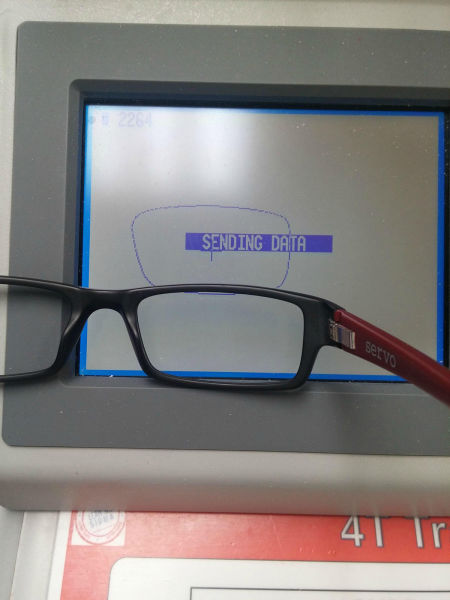
Next we trace the frame. We need to tell the edger what we want it to cut so the stylus rotates and traces the inline "bezel" of the frame.
Perfect trace.
Double checking
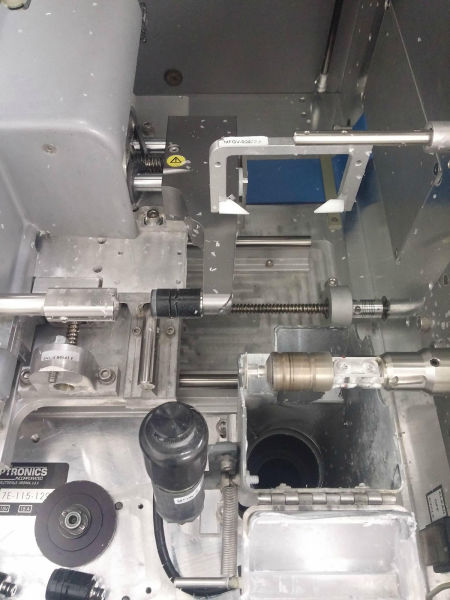
THIS is the edger. The pads on the left chuck the lens in place using the block that we just attached. The blade is on the right. The probes are made of very soft wax so as not to scratch the lens when checking thickness.
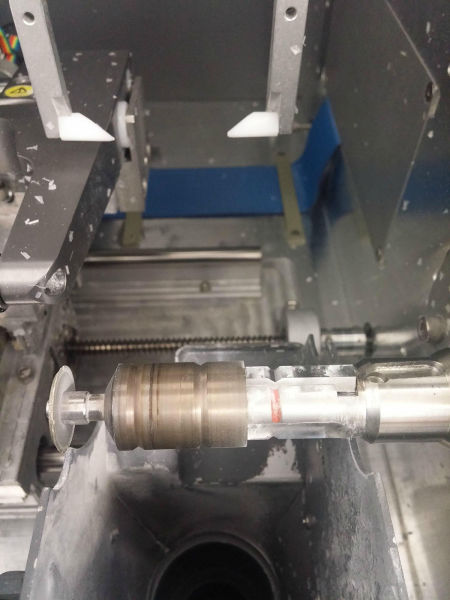
Close up on the blade. There is one main blade for basic edging, one for grooving rimless lenses, and a wheel for polishing.
Triple checking pattern before cutting
Checking if the lens will cut out which we do have enough room here,.
Chucking the lens in place.
Sorry for the bad angle. Here the probes are checking the thickness.
The lens is heading for the first pass of the blade.
And POW!! After about 3 minutes the lens is edged!
Another angle.
The diamond blades can get the edges of the lens paper thin and it is VERY easy to cut you're self when handling the lenses. We go back to the hand stone for a quick safety bevel all around the edge of the lens.
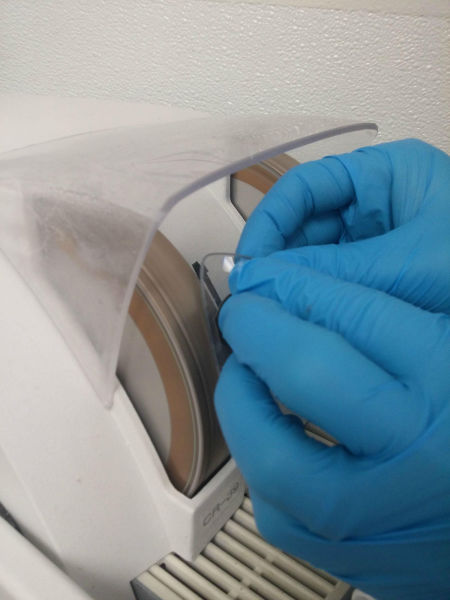
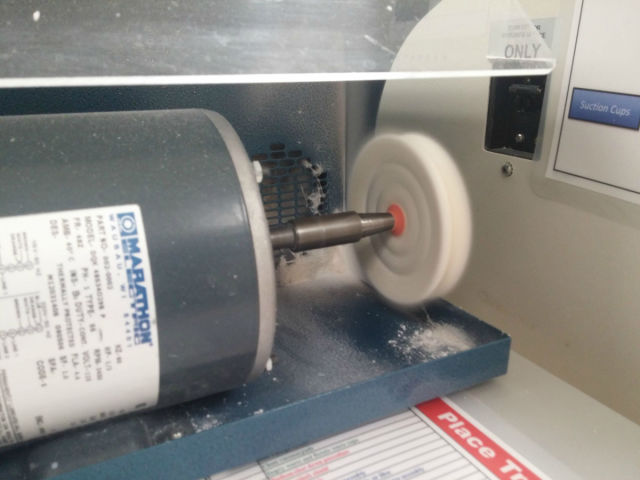
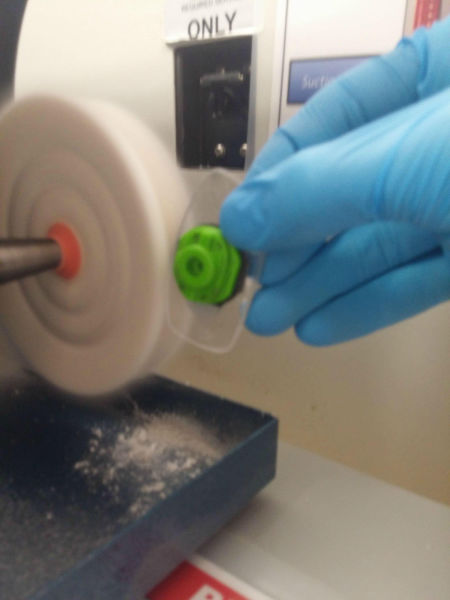
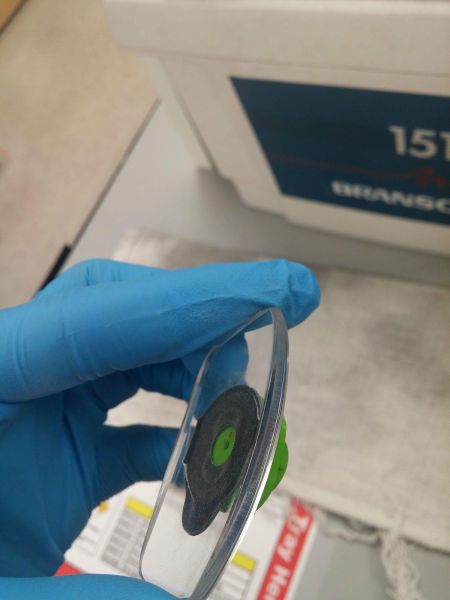
Now to the polisher. Pretty much a buffing wheel with a small amount of polish applied to the soft buffing pad.
This device has electric coils that heat up as a fan pushes air through them. The hot air then heats up the frame which is especially important on plastic frames. The frame expands and then the lens is popped in place and as the frame cools a better fit is accomplished..
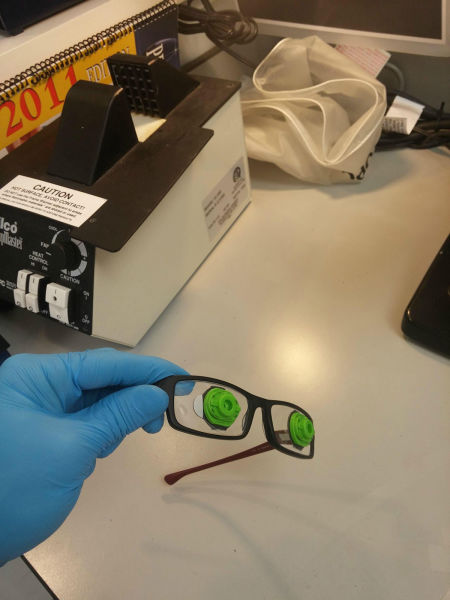
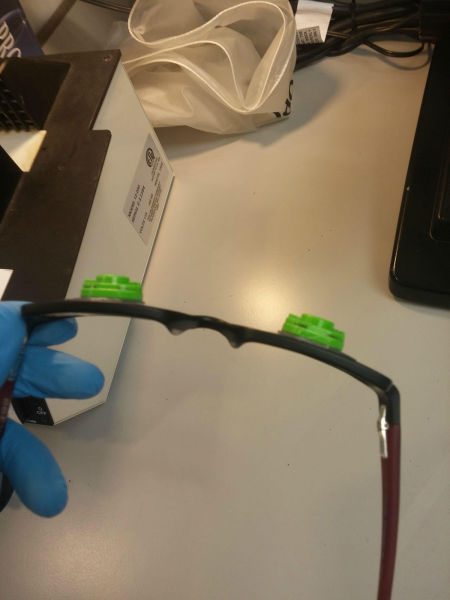
Here we see both lenses with the blocks still attached mounted in the frame.
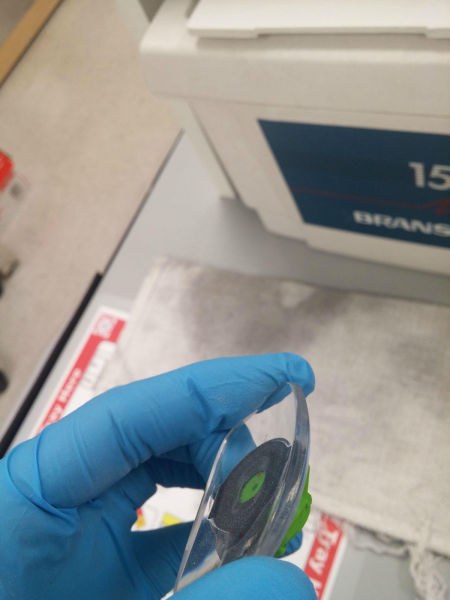
Here is a device used to grip the blocks as they are twisted off and removed from the lens. If you decide to remove the blocks before mounting in the frame THIS is where you cut yourself. Who ever said optics isn't dangerous was lying.
Block is removed and the sticky pad is all that remains.
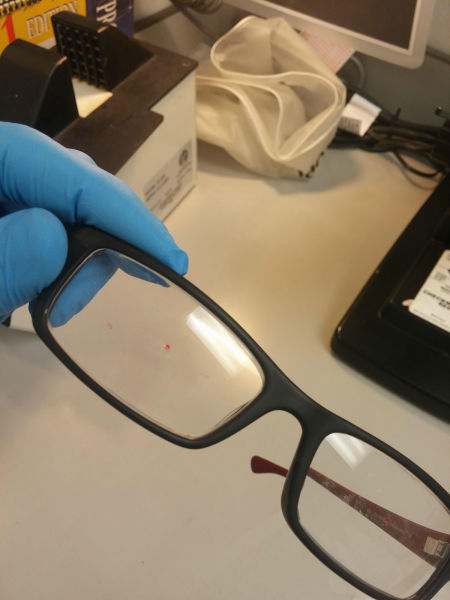
We remove the pad and clean off the residue left over with an acetone based cleaner.
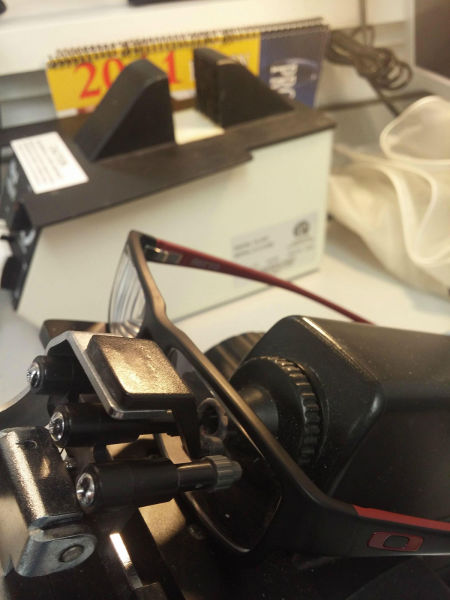
Back to the lensometer to make sure we did not have any rotation during the edging process. We also want to make sure the optical center is where it should be in the frame to match up with the customers eyes.
We mark up the optical centers of the RX in the frame with the lensometer.
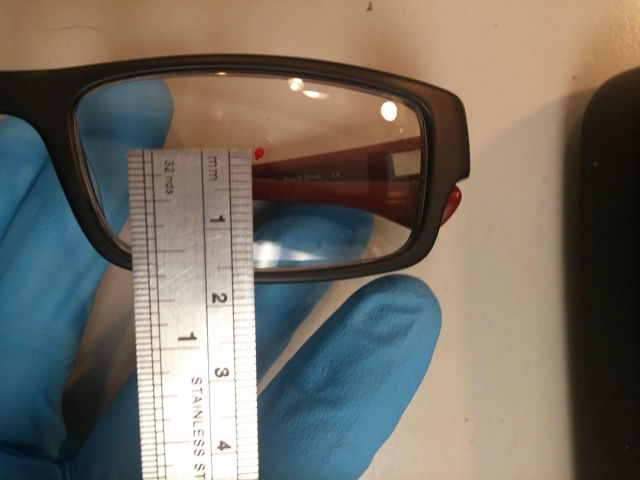
Measure up and down also known as the segment (seg) height in progressives and bifocals, or in this case the OC (optical center)
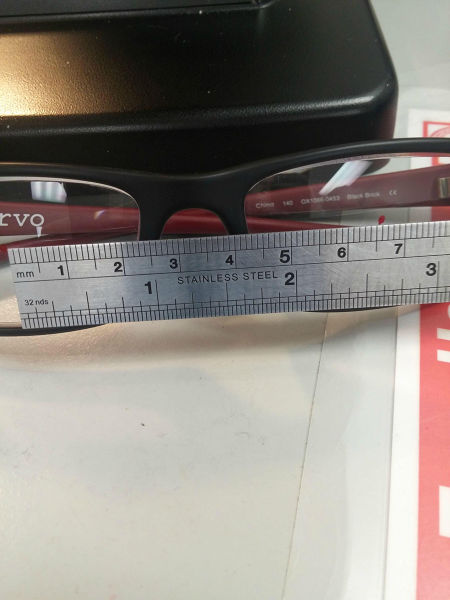
Now we check the pupil distance between the OC's to make sure its also where its supposed to be.
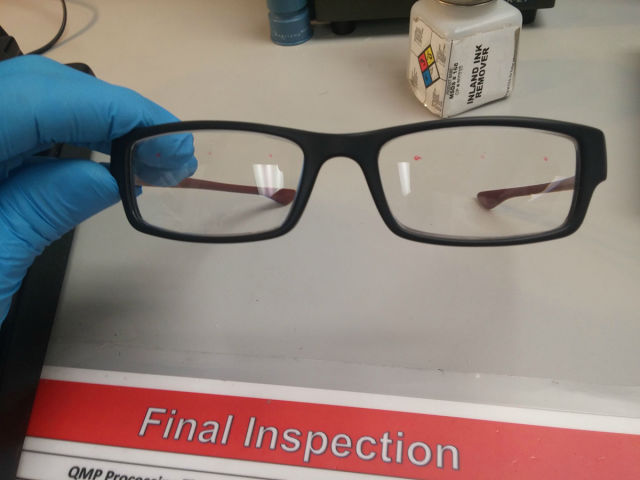
Looks great! And there you have it! clean them off and give them to the customer making sure they fit correctly! the whole process is done in about 1 HOUR!!! tho if you go fast and have no mistakes it can be done in 35-40 minutes.

