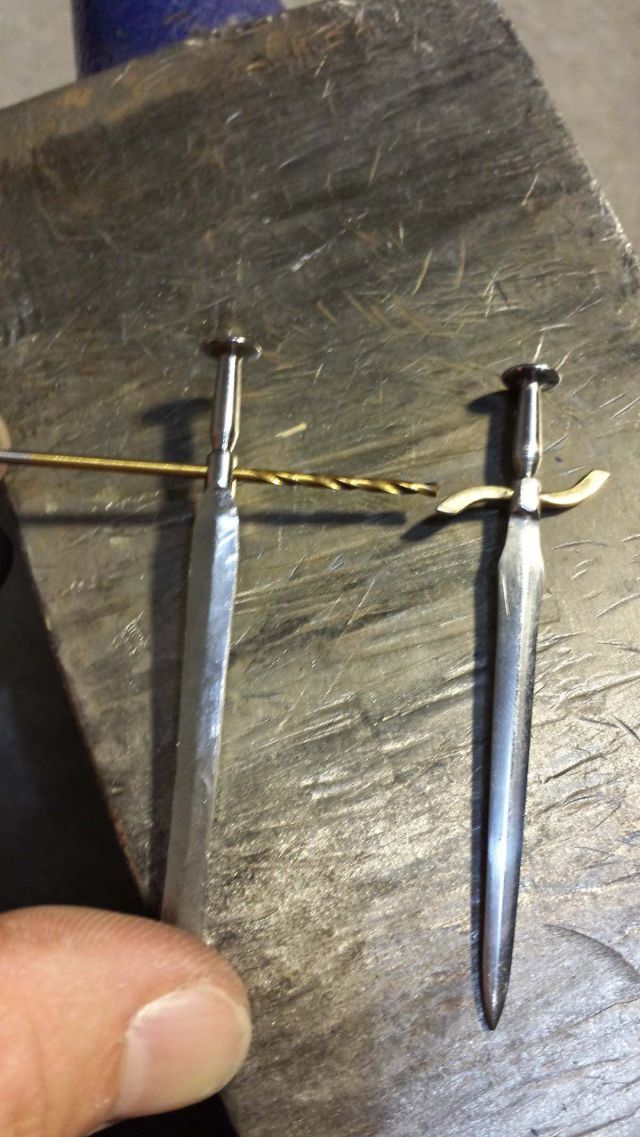
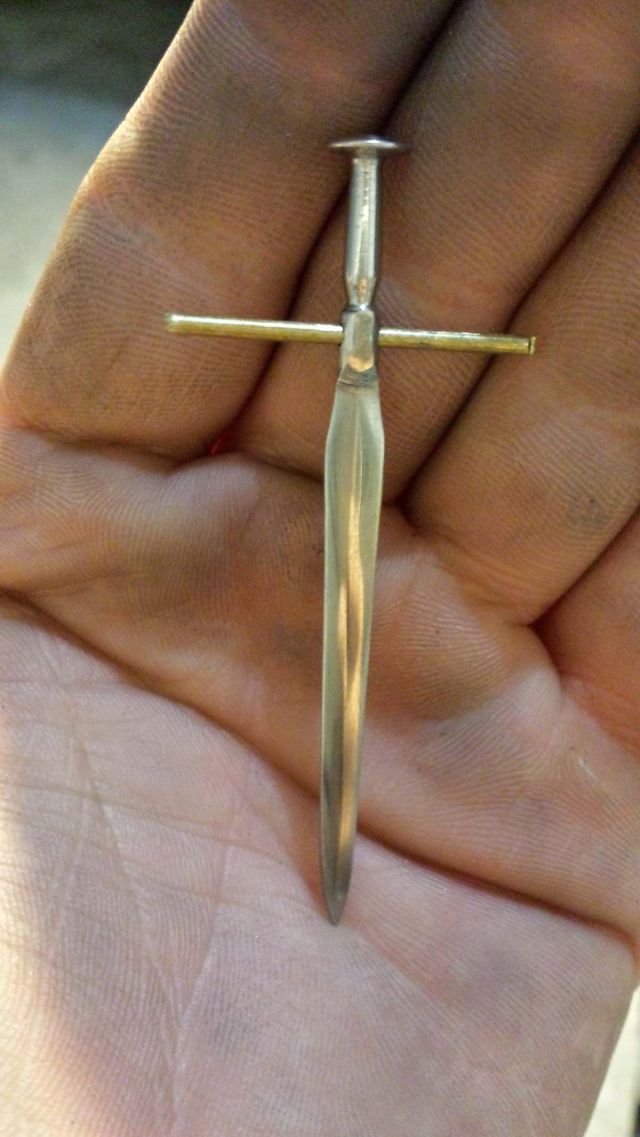
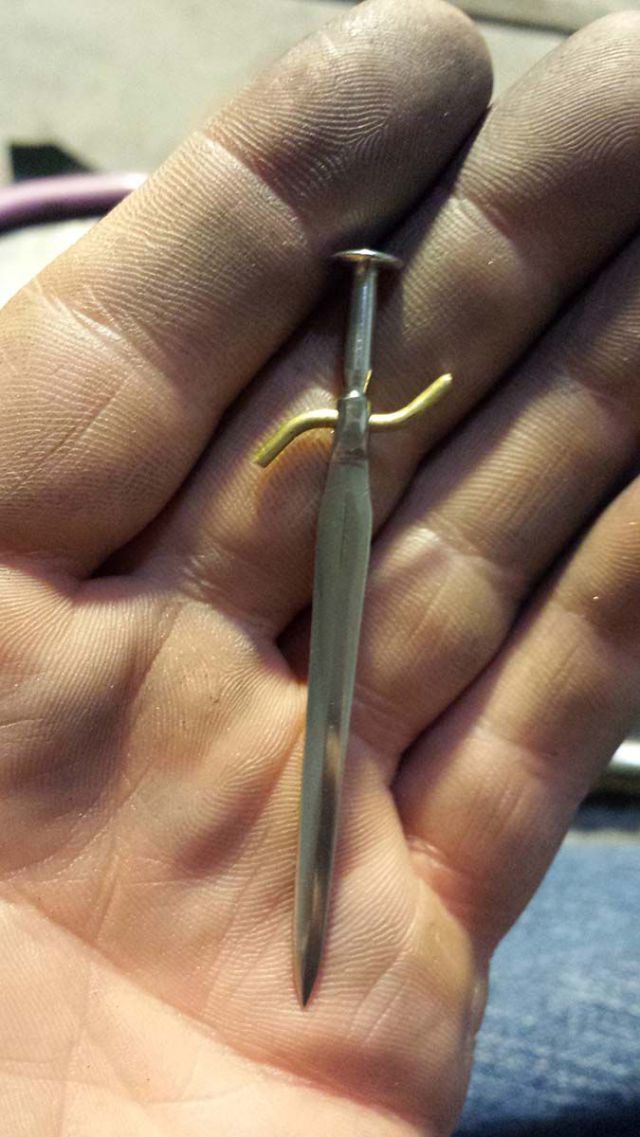
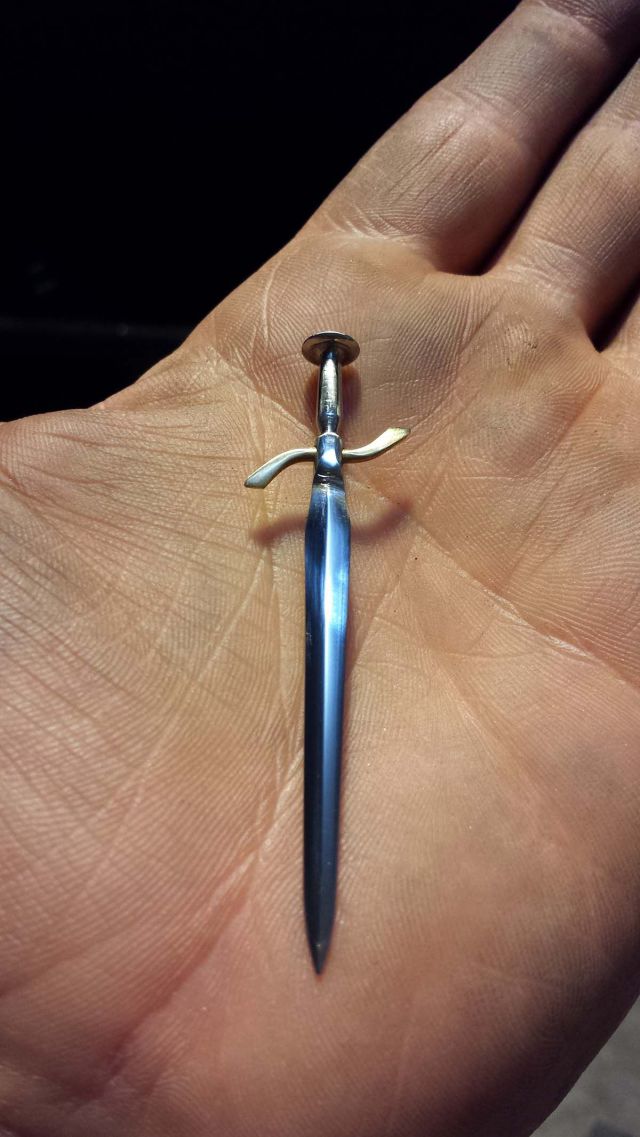
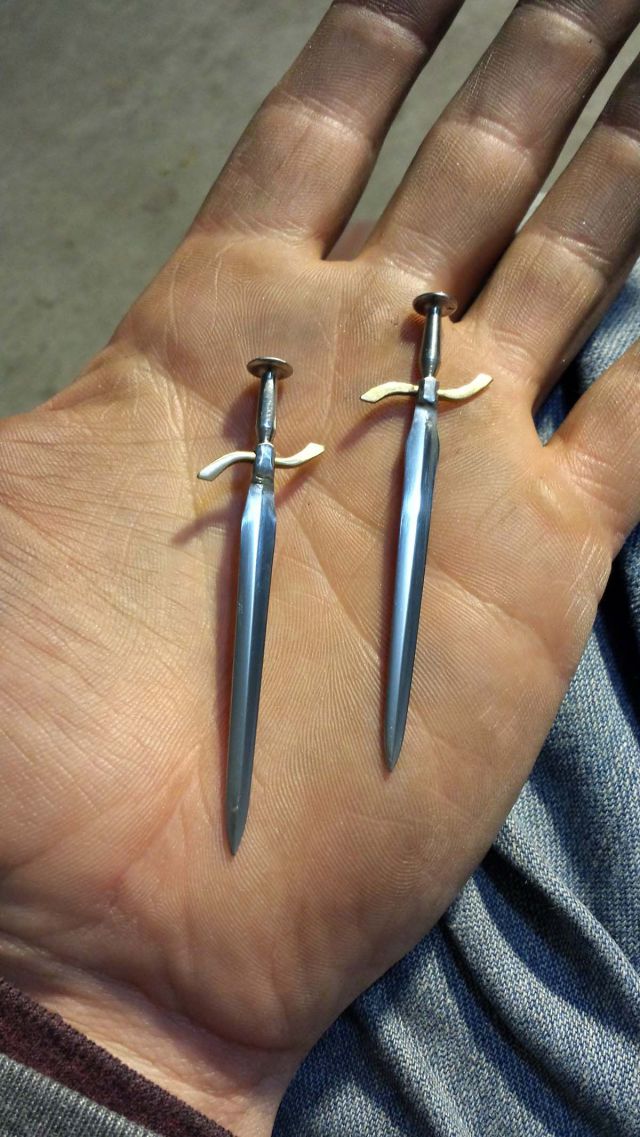
Now you can make your own dagger using a few tools and some clever craftsmanship.
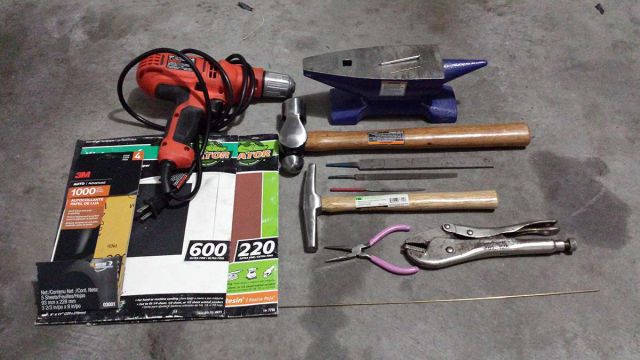
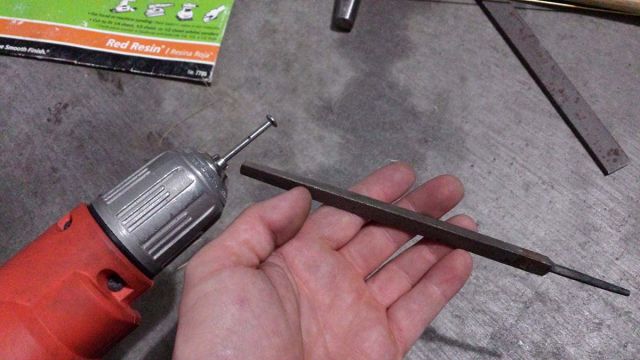
"Nail (i used 2-1/2, 8D nail here), drill and bit (1/16), large and small hammer, file assortment, vice grips, needle nose pliers, anvil or something solid to hammer on, 1/16 diameter brazing rod or other wire, sandpaper (220-1000 grit). Most of this can be purchased cheaply at stores like Harbour Freight. I get my Brazing rods from a local welding supply shop. AS WITH ANY CRAFT, WEAR APPROPRIATE PROTECTION. Proceed at your own risk."
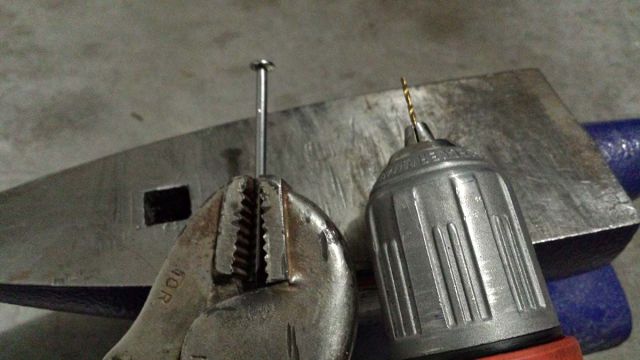
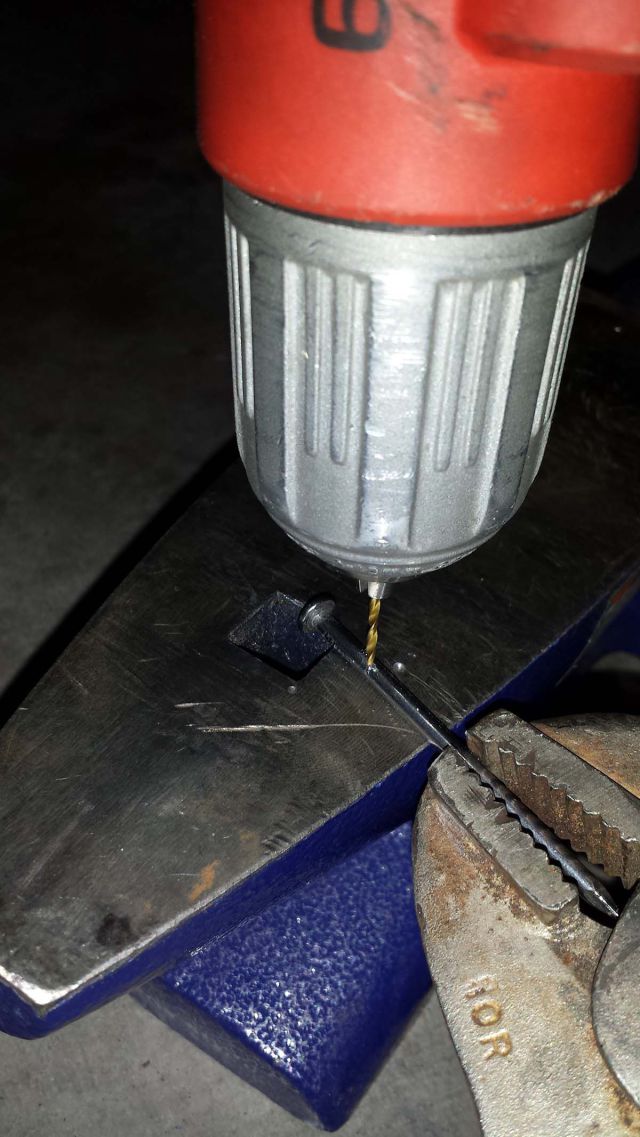
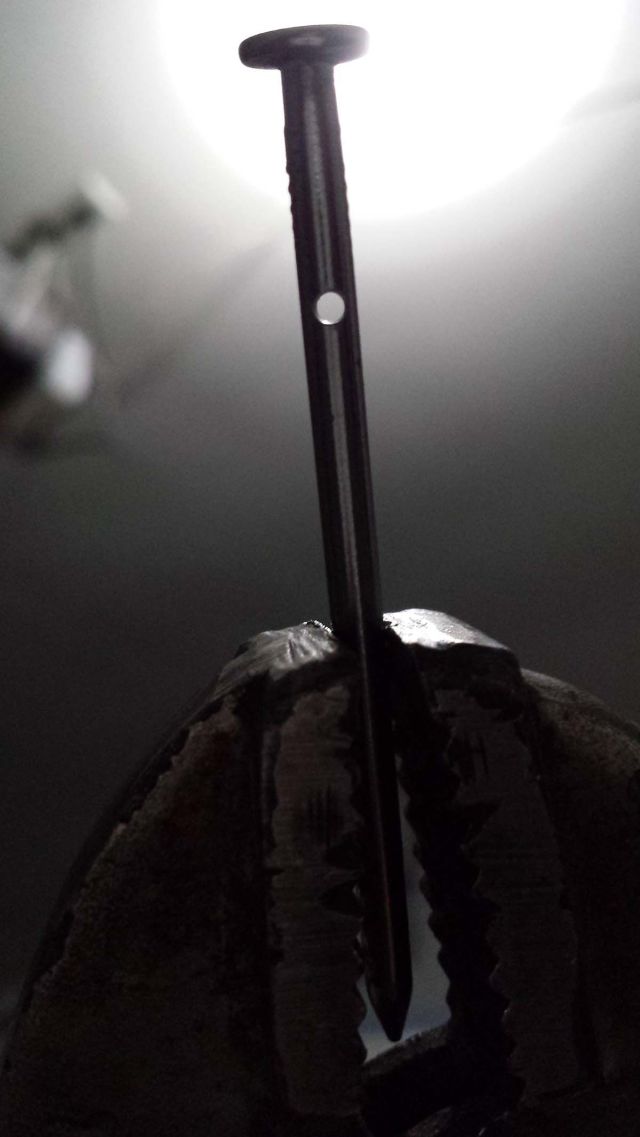
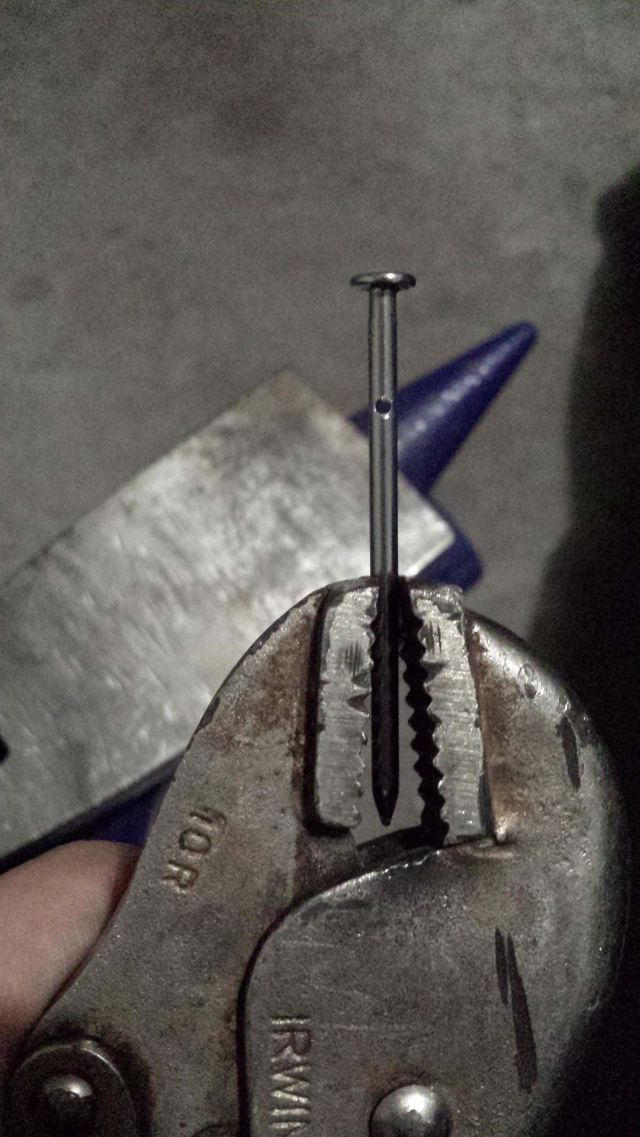
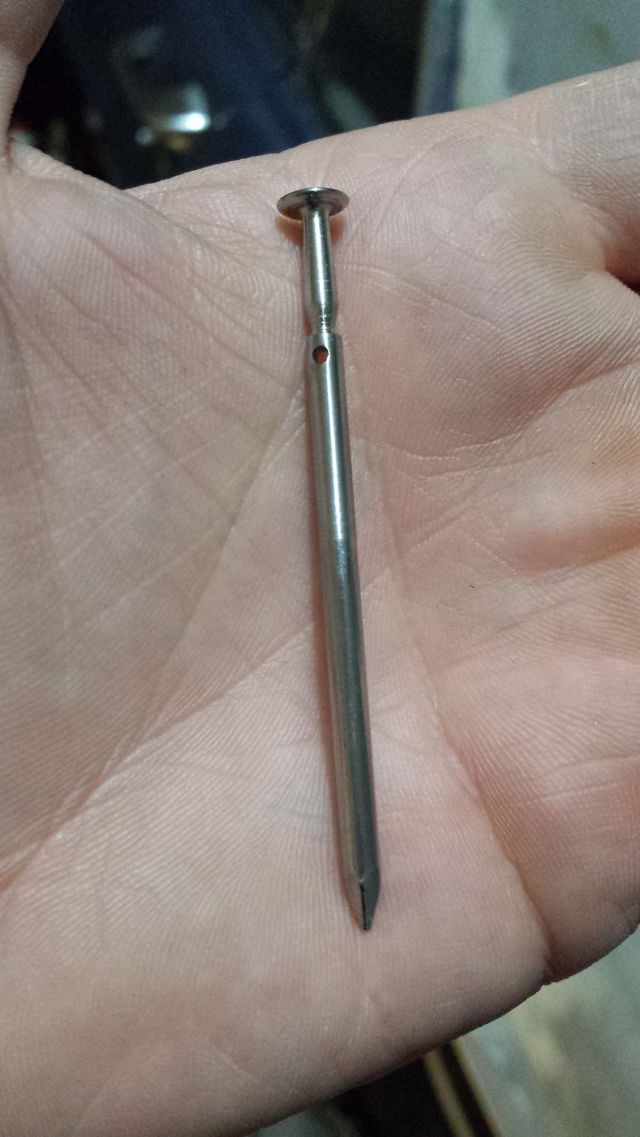
"The first step is drilling the hole for the hilt. If this gets off center, the nail will likely crack during the following steps. So if you drill the hole off center from the start, just toss it and start over. It's easier to start the hole by making a small file mark where you want the hilt to go through. This gives the drill bit somewhere to grab."
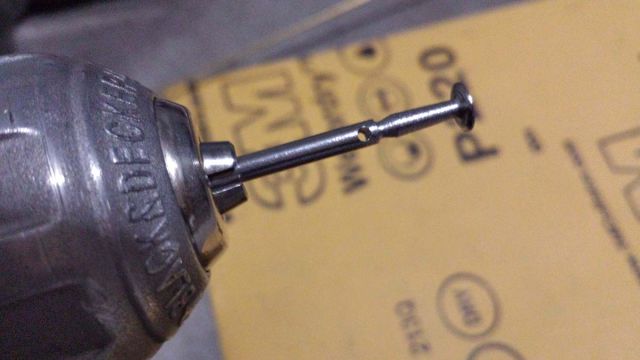
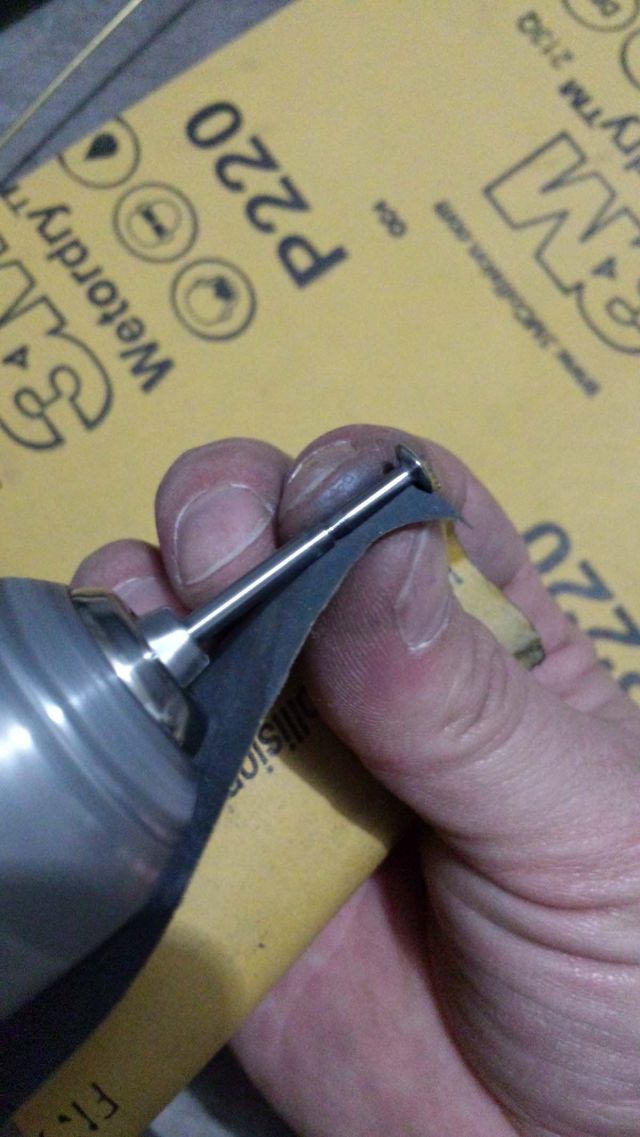
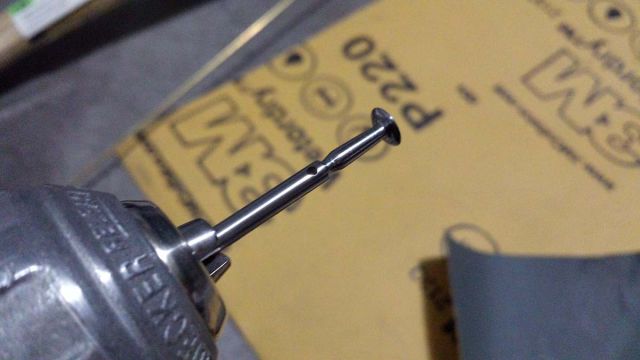
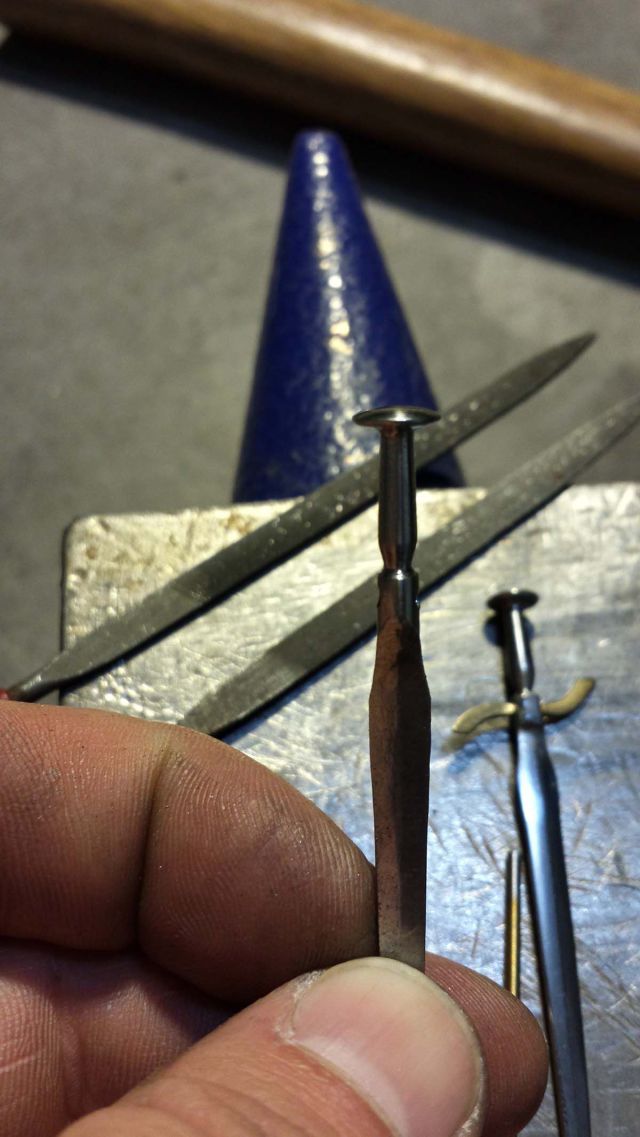
"Lathes are expensive, so I use the drill as my lathe here. With the drill locked on, and making sure no loose clothing or hair is able to get caught in turning drill, lightly file the shape of the handle. NOTE: Too much pressure can cause the drill to fail prematurely as it is not designed for lateral loading."
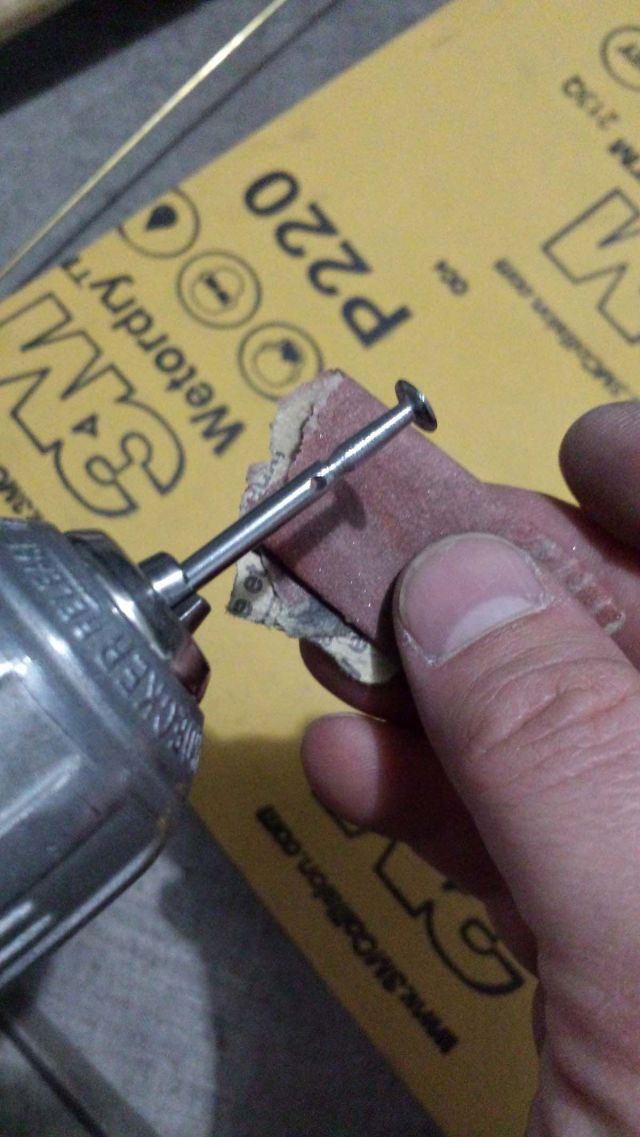
"The file marks will be rough and ugly, so next start with 220 grit paper and step up to 600, then 1000 (or even 2000). Again, if you attempt this, be extremely cautious of high speed drill. Serious injury can occur."
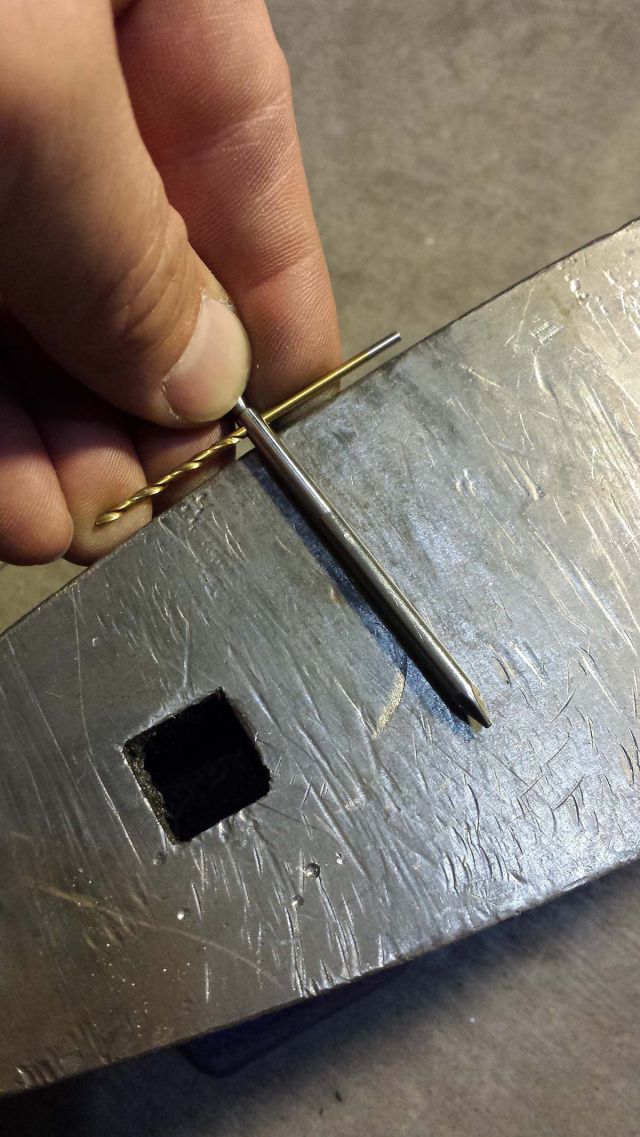
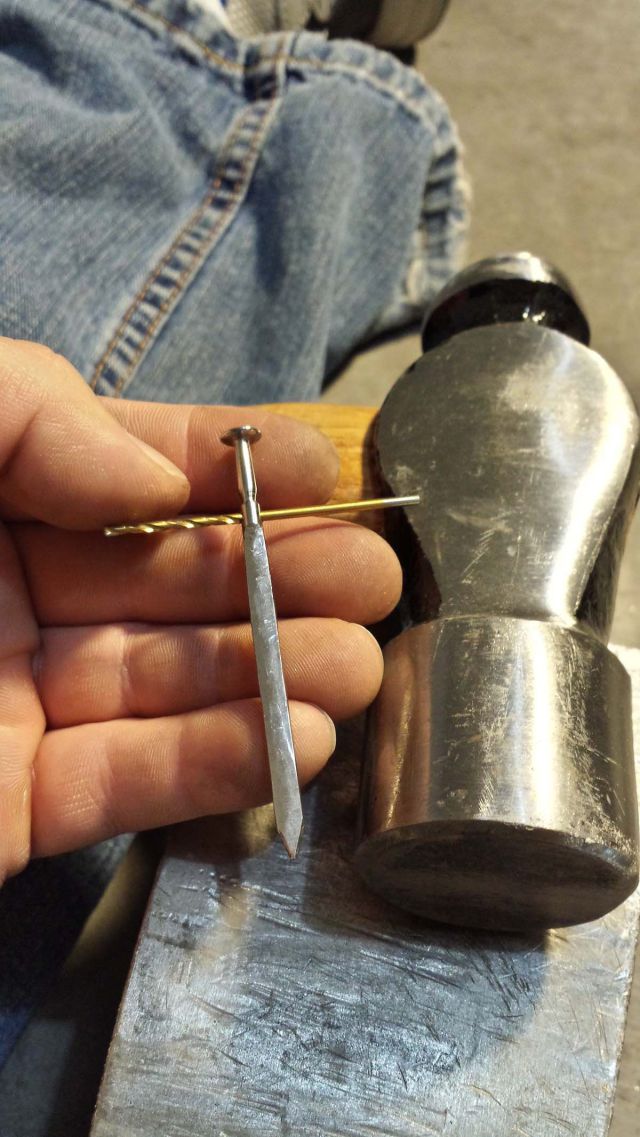
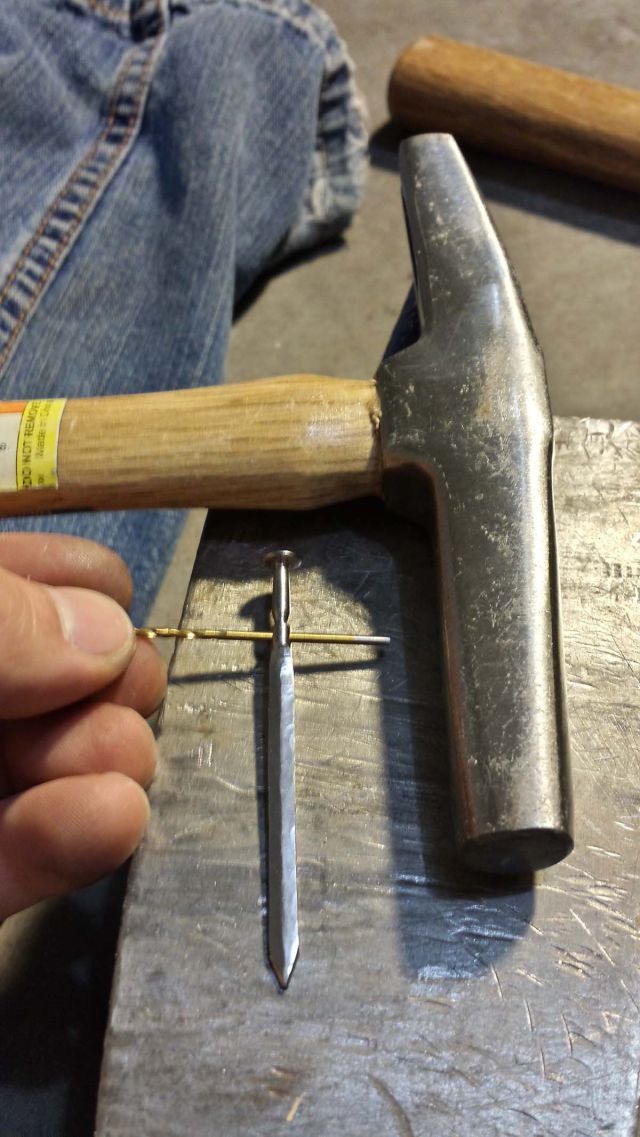
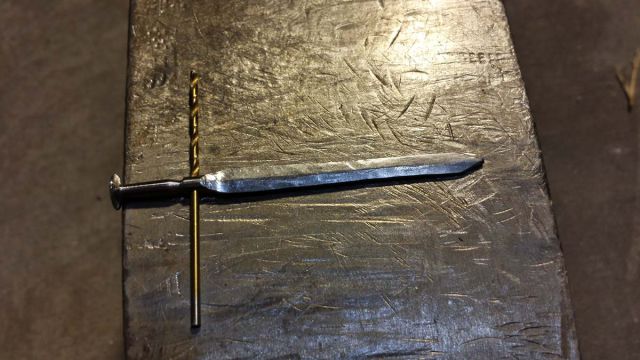
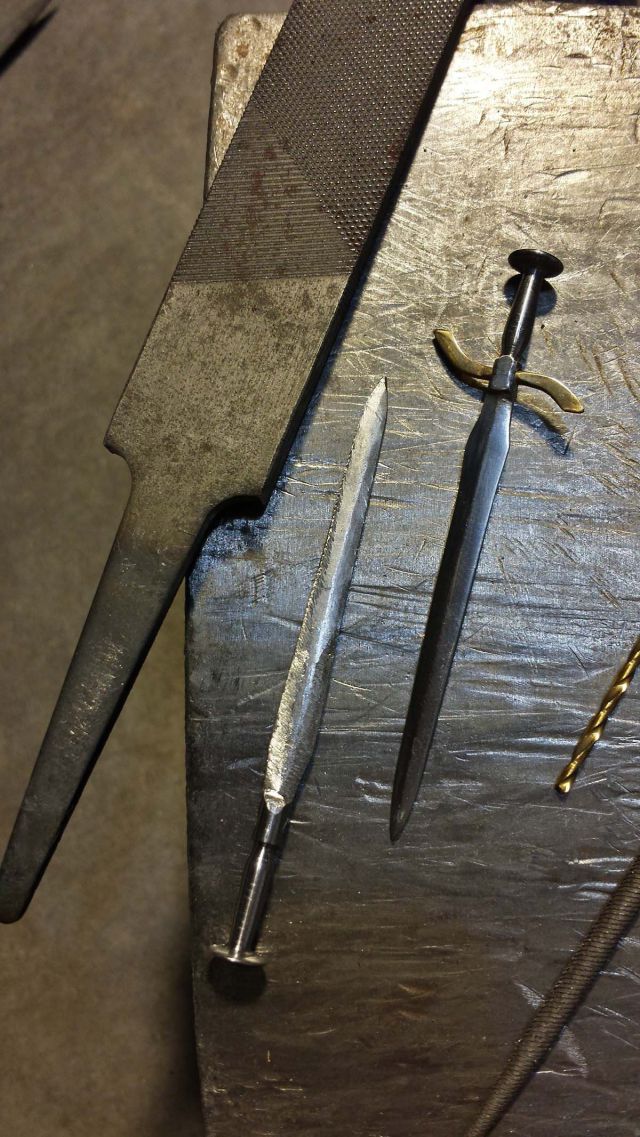
"Next i use the large hammer to flatten the blade. I put a drill bit through the hole for multiple reasons. 1. Aids in keeping blade oriented in the same plane. 2. Provides hard core in case I "slip" with the hammer. I don't want to be smashing the hole shut yet. It is important to strike evenly. Frequently turn nail over to work both sides simultaneously to prevent the blade from bending too much. Too much bending can cause cracking as well as being more difficult to control. Keep the part of the nail with the hole hanging over the edge while hammering."
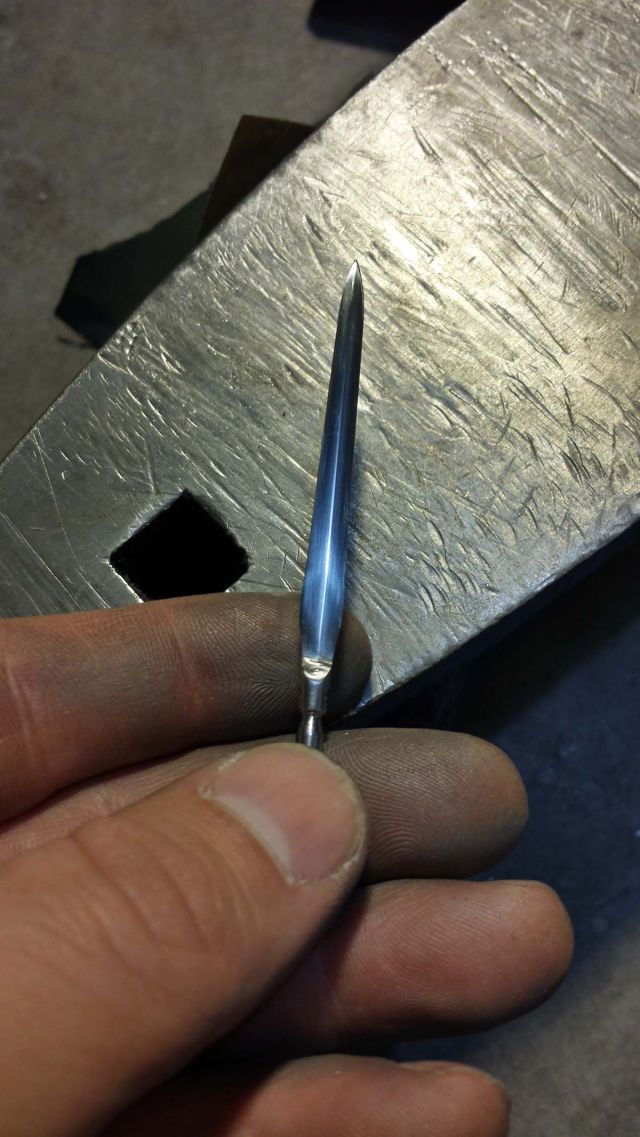
"After the blade is fairly flat, I flair the edges out and create the tapered edge using a small tack hammer. The nail is pretty soft, so slow and controlled strikes are sufficient. Remember to alternate sides and edges every few strikes to prevent curving."
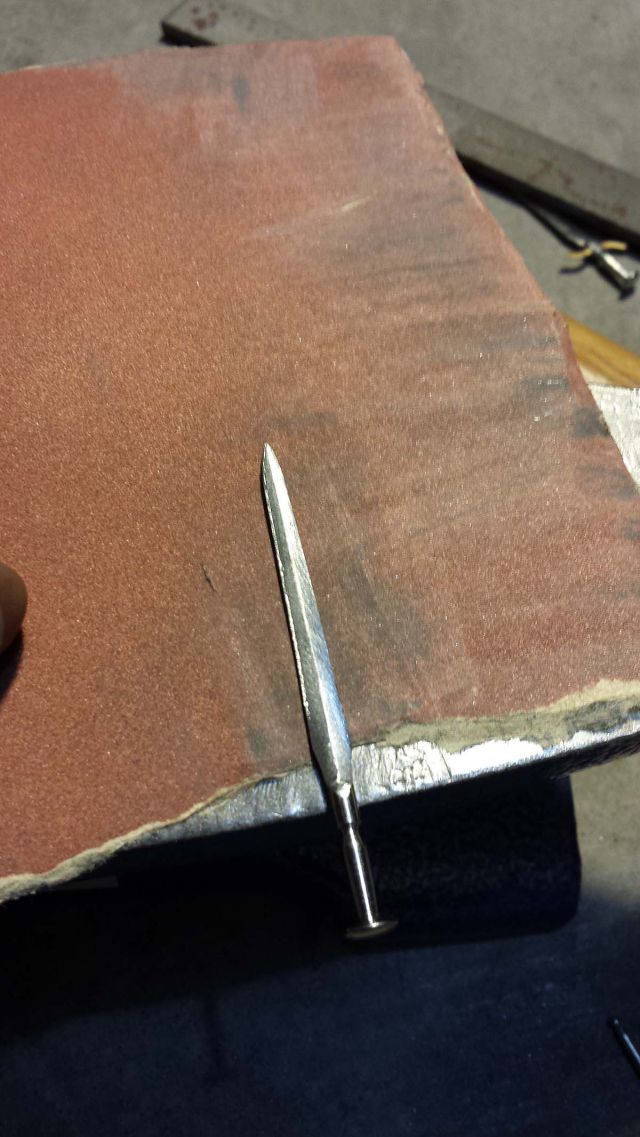
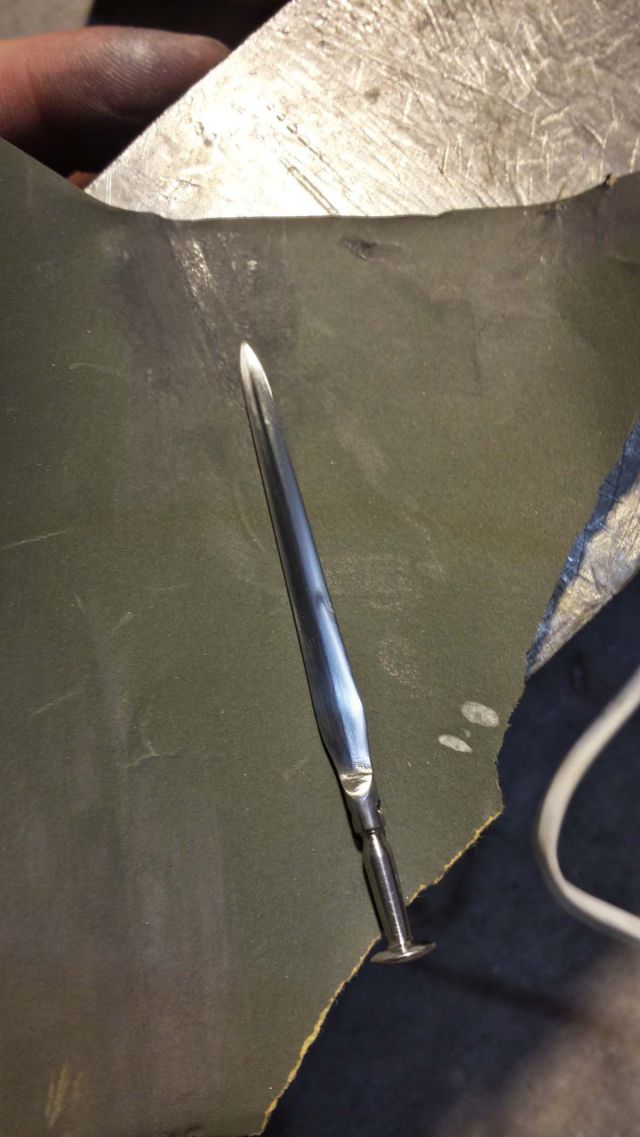
"Placing the sand paper on a hard surface yields better results. When going from one grit to the next, it's important to remove all the marks from the previous grit before proceeding, unless flaws on the blade are desired. After sanding a while, it's tempting to move on to the next step, but patience pays off (though I frequently run out of patience)."
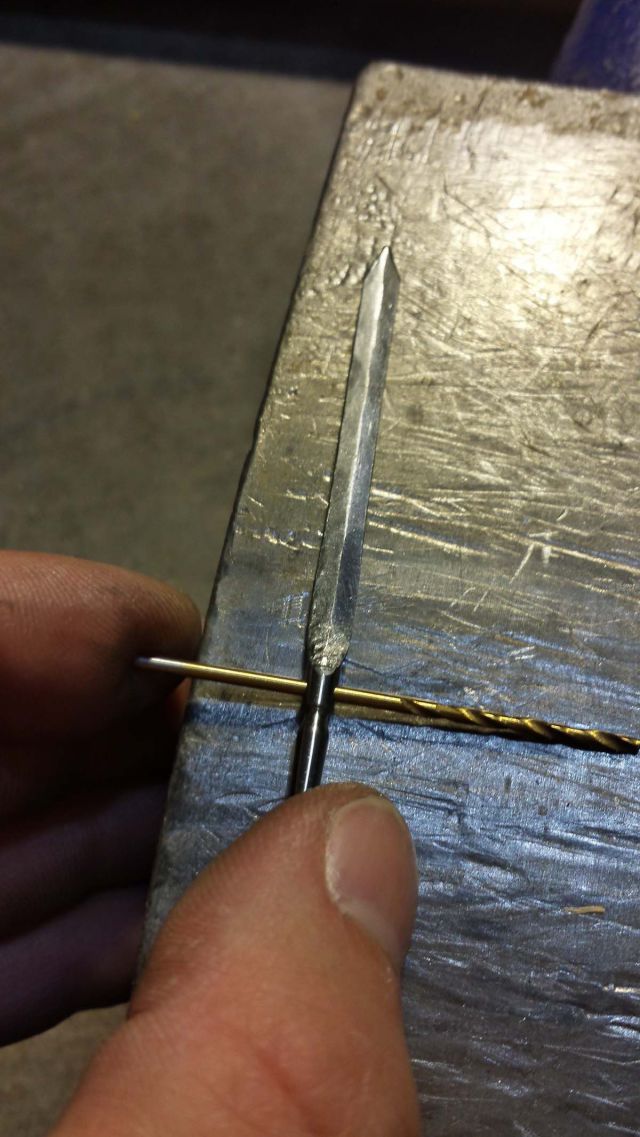
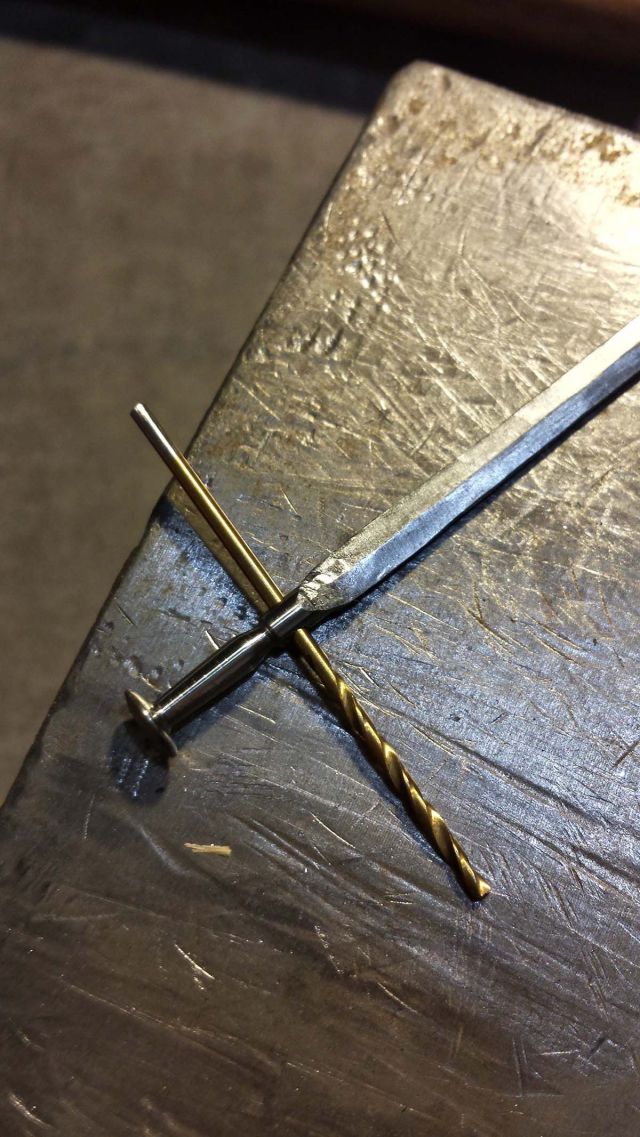
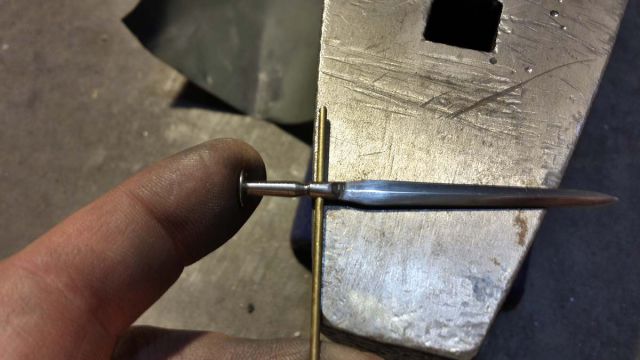
"Insert the hilt material through the hole and leave a little extra length. Position the sword so that contact surface is only at the hilt and not the handle, or the nail when bend when struck and possibly crack. Lightly hammer directly over the feed through, alternating sides to keep it straight. It may take several on each side to get it to start to firm up. When the wire cannot slide through anymore, strike each side a few more times to make sure it doesn't turn while shaping the hilt in the next step. If the handle gets bent out of line with the blade in these steps, gently bend back in place with vice grips, but be cautious of cracking at the hole."
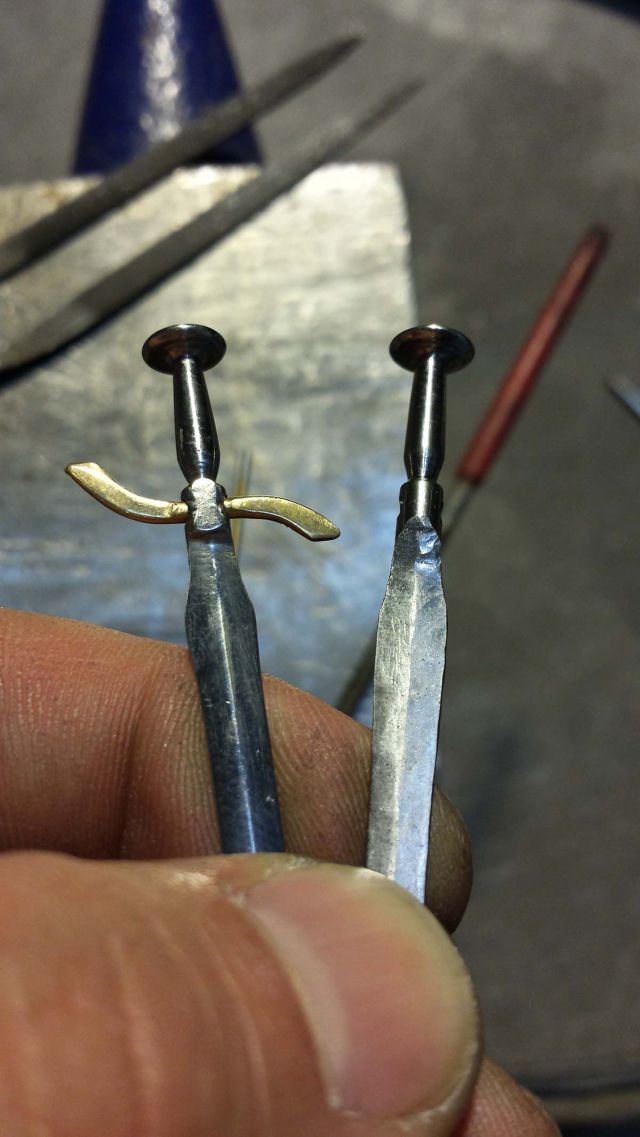
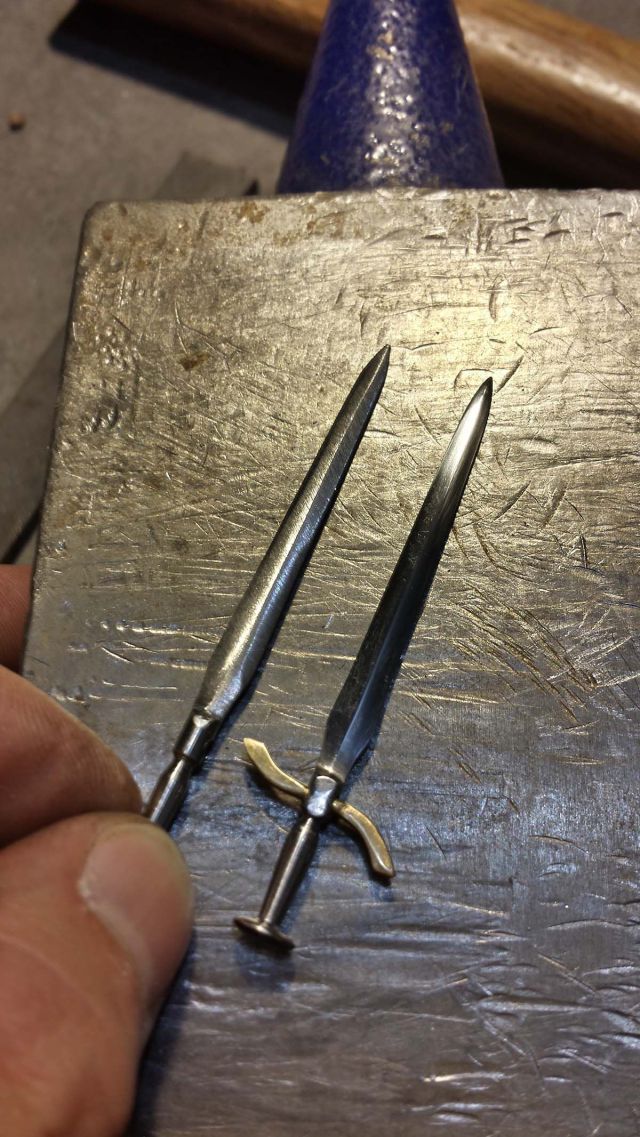
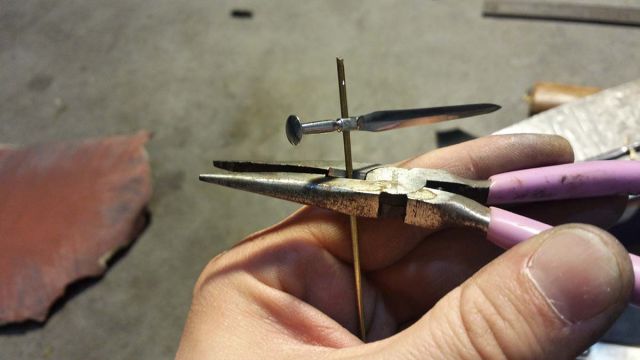
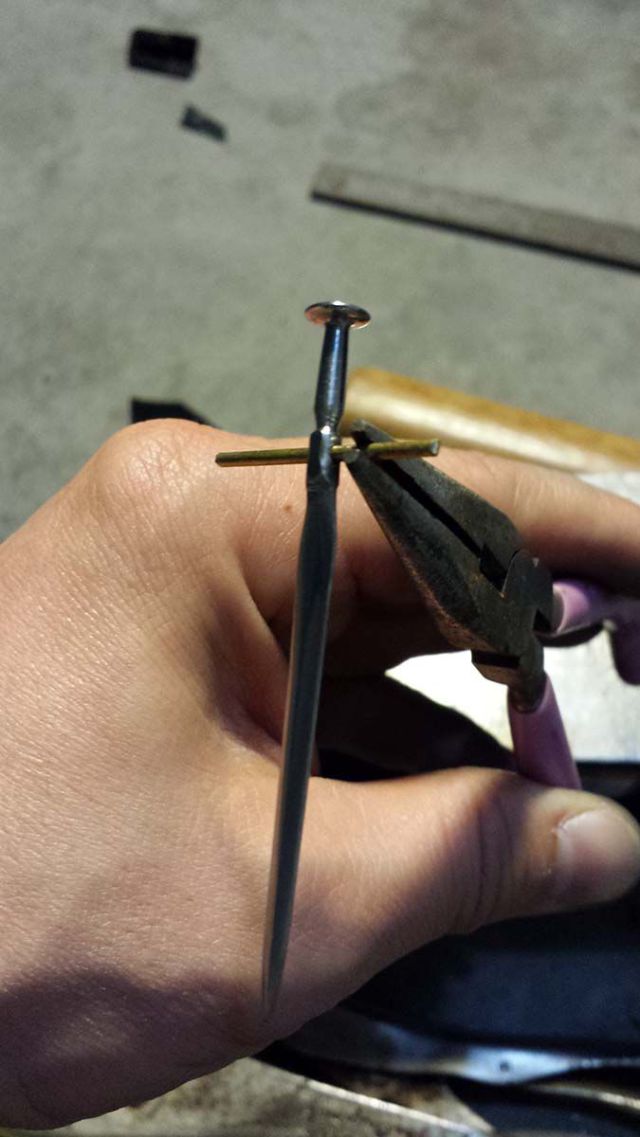
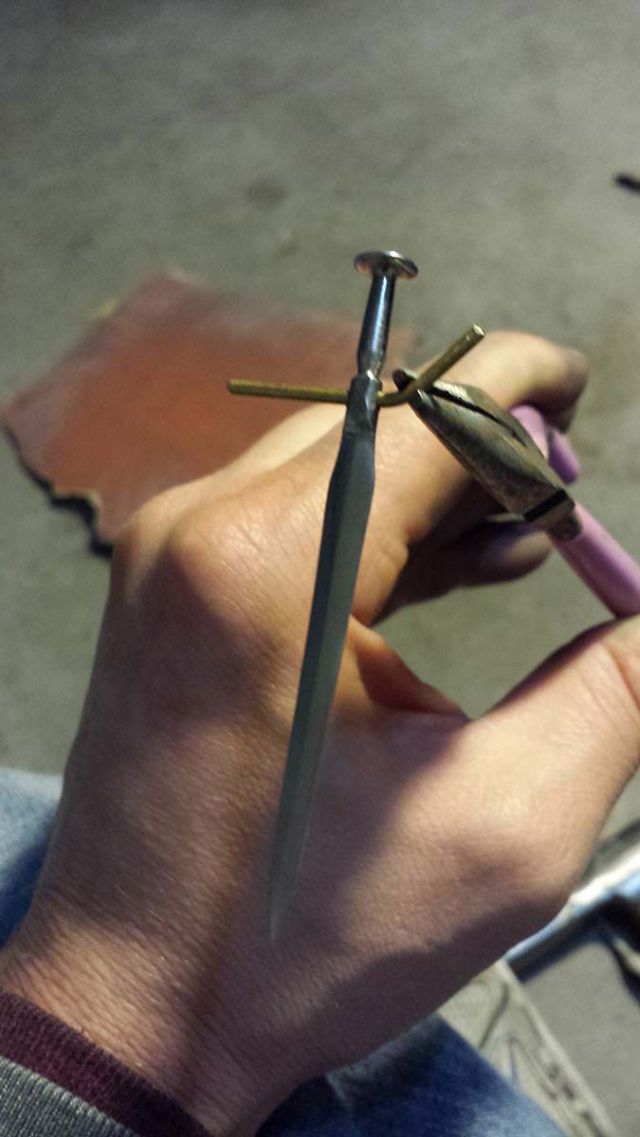
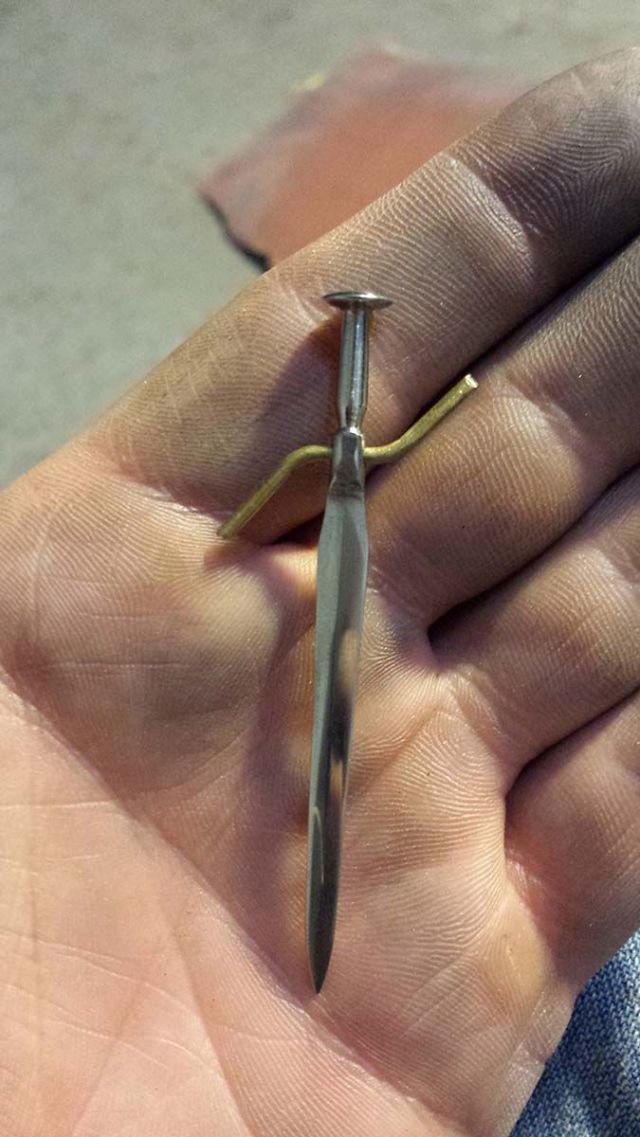
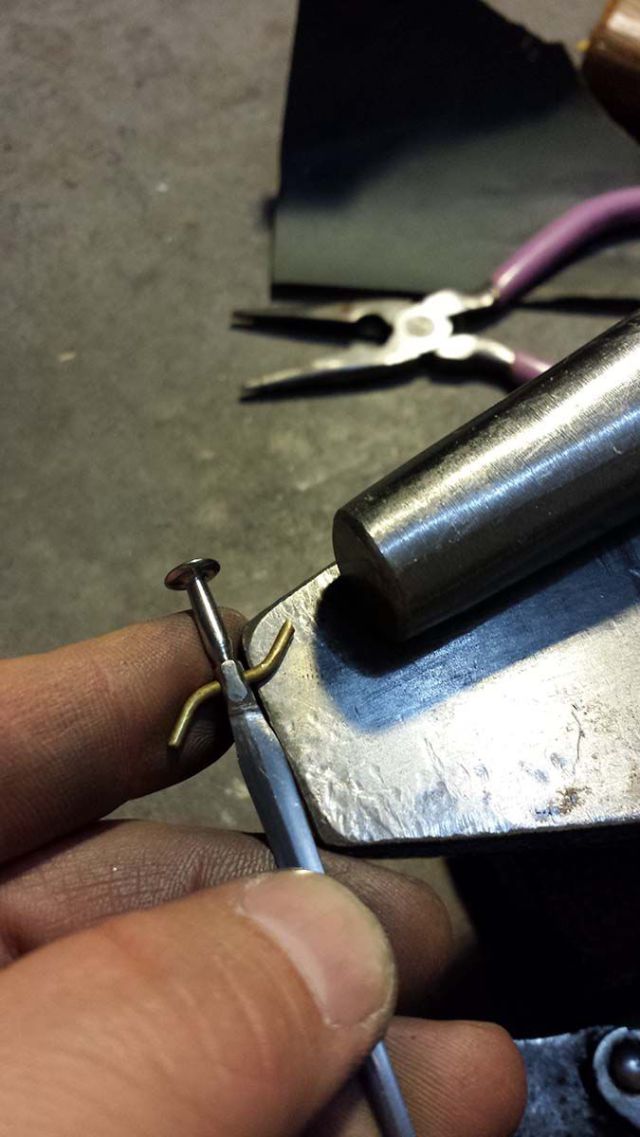
"Using needle nose pliers, bend the brass to the desired shape. Be careful not to apply too much force and bend the nail. Some may find the need to use 2 pair of pliers to control bending. Try to us the inboard jaw to make the bending moment rather than the nail itself."
"Notice the brass is not bent at the nail, but where the pliers were at. This was done by twisting around the inner jaw of the pliers, rather than just bending the wire up."
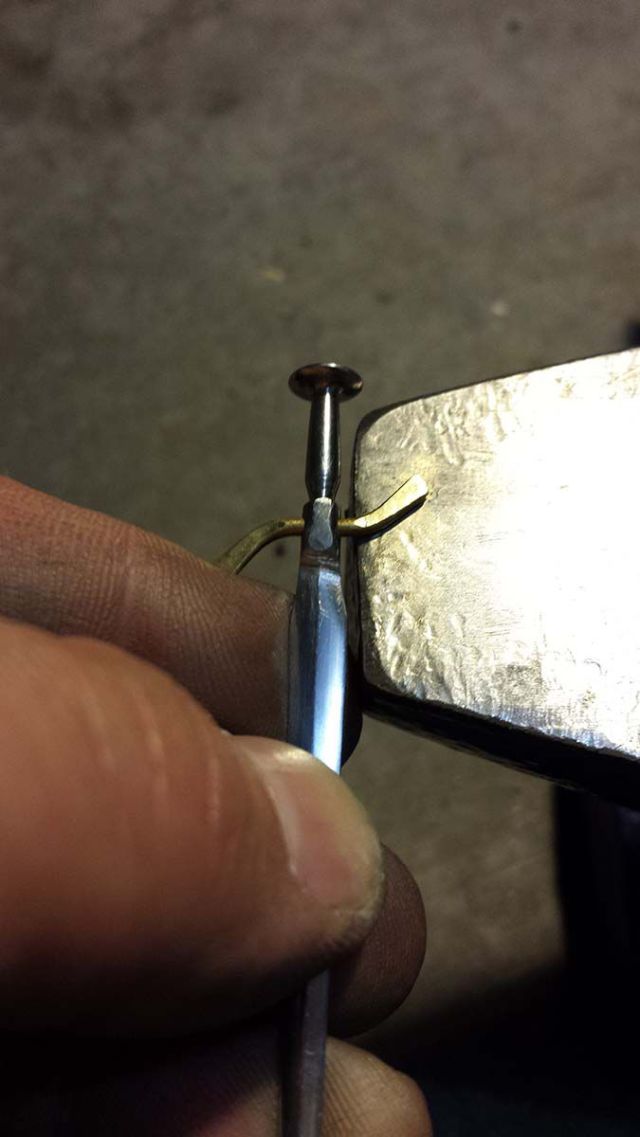
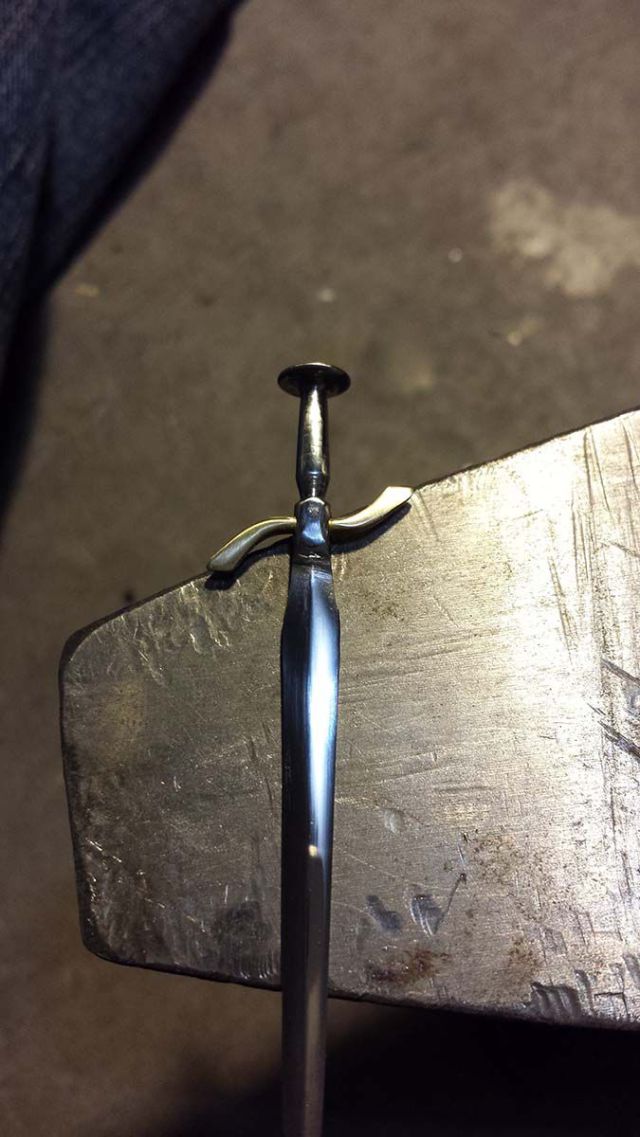
"Place the sword at the edge of the working surface and lightly flatten the brass, alternating sides to keep it even. Keep the sword straight so it doesn't twist in the hole. If the hilt turns loose, lightly hammer it closed tighter."
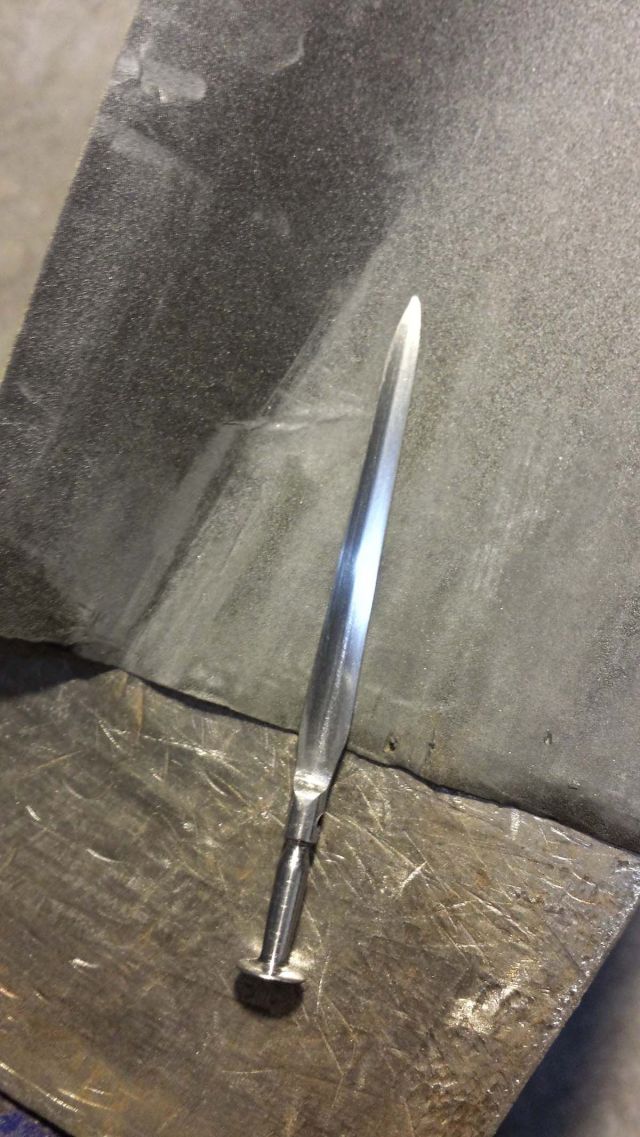
"After all the hammering is done, trim and sand the the brass. Touch up of the rest of the sword may be required if scratches were incurred during the last few steps."
"These are not stainless nails. They will rust if allowed to. It is best to wipe them off after handling as the oils/salts in the hands can cause rusting. Light oiling may be desired. If light rust does appear, a quick polish with some 2000 grit paper should clean it right up."

