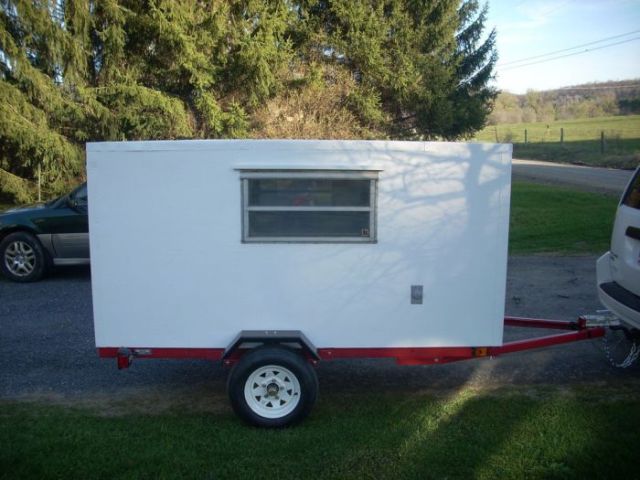
With a little time and elbow grease, you can also make your own version of this micro camper to take on the road.
Related posts:
A Fun Camper Restoration (37 pics)
An Awesome Truck Transformation (66 pics)
Step 1: The Frame
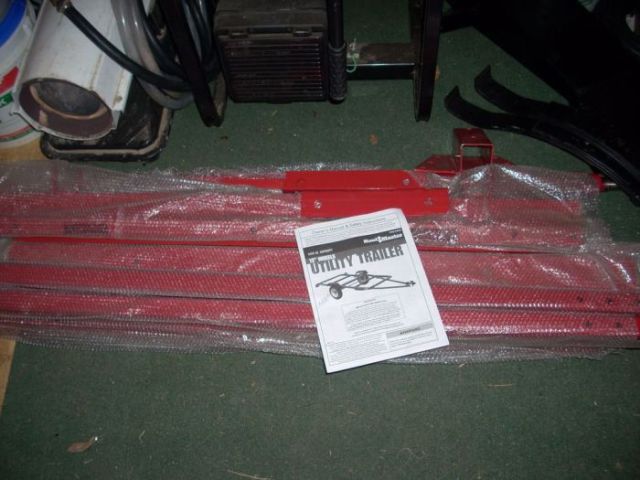
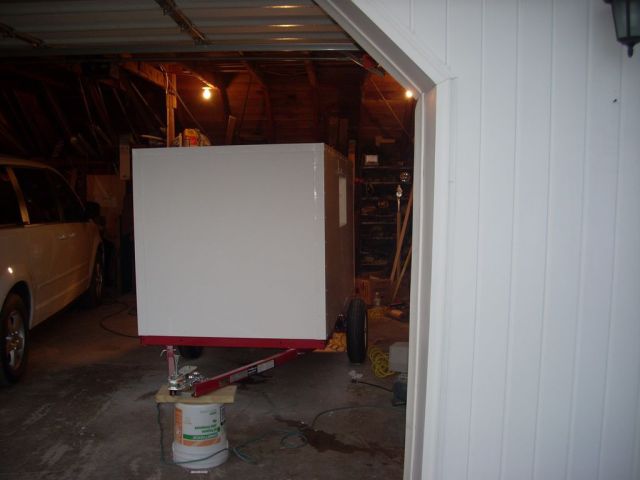
"This trailer is built on a 4 foot by 8 foot Harbor Freight trailer frame.
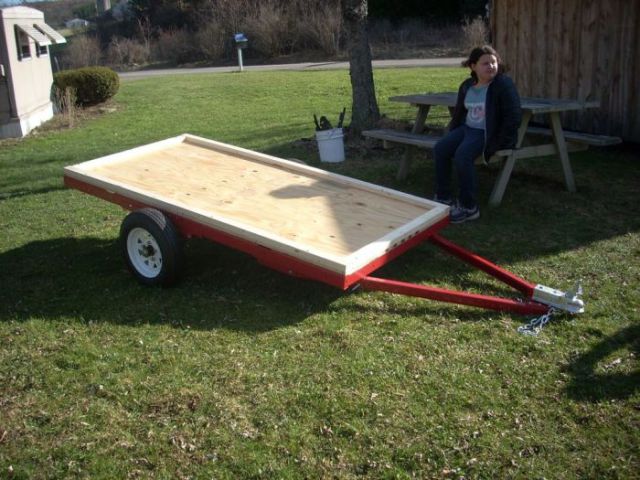
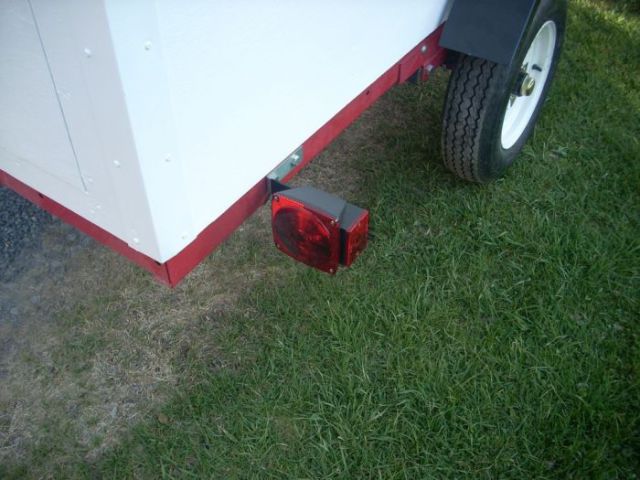
I assembled the frame right out of the box. I did not install the lights or fenders at this time because I did not want them in my way while I was building the box on the frame."
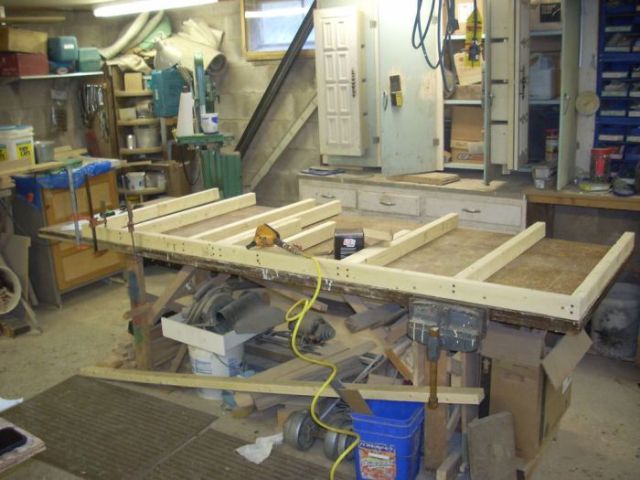
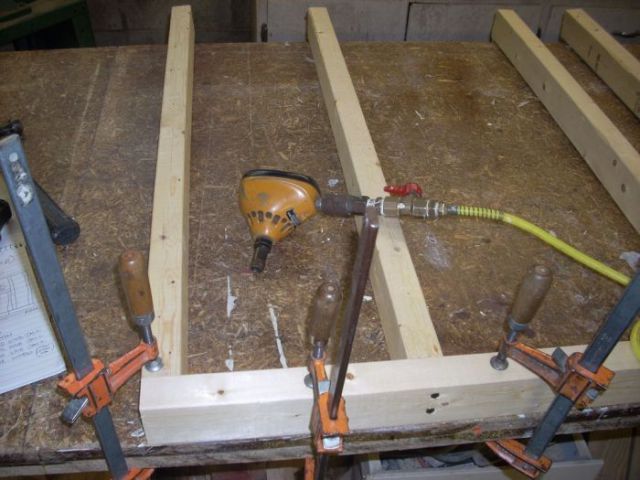
"To make the trailer extremely sturdy I laid 3/4" inch plywood on the frame, then laid a 2x3 stud around the outside edge of the floor. I then drilled through the 2x3, plywood, and frame and bolted them all together. This really stiffens up the frame, and it also gives me a good anchor point for the walls to the frame."
Step 2: Camper Materials
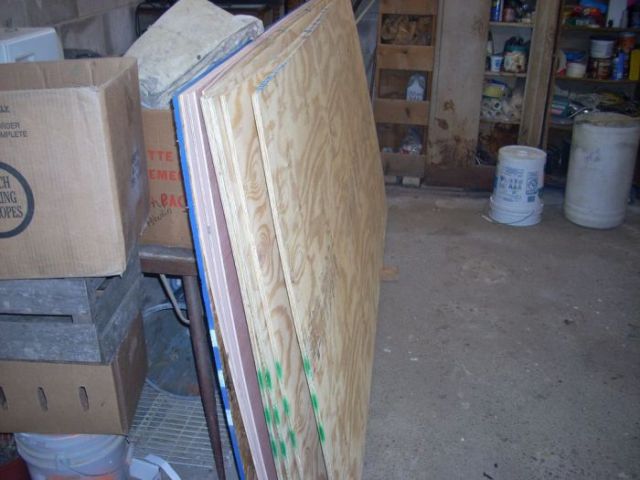
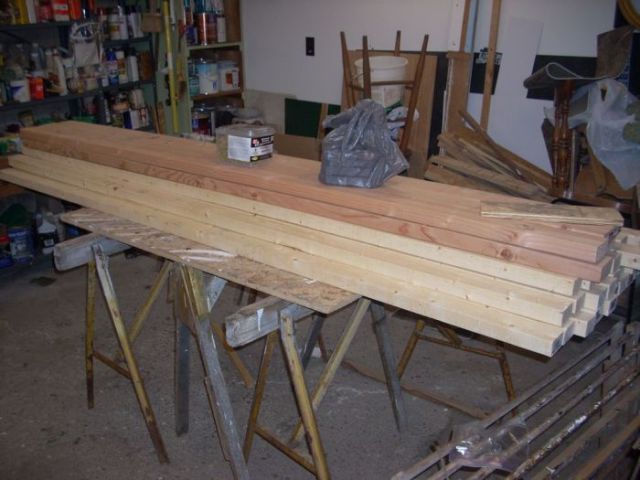
"The micro camper is built with 2x3 studded walls with 1/2 inch exterior plywood on the outside and 1/8 inch underlayment on the inside walls."
"The roof system is 2x4 rafters with 1/2 inch OSB on the outside and 1/8 inch underlayment on the ceiling."
Step 3: Framing The Walls
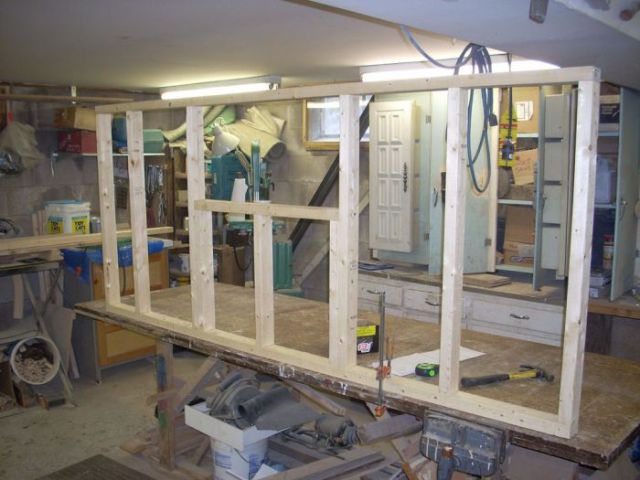
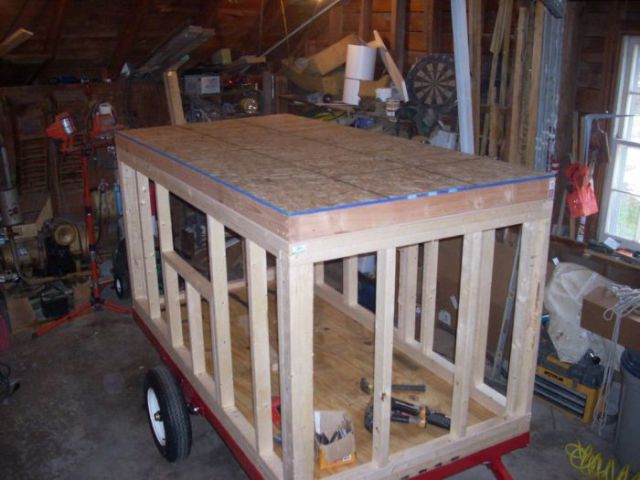
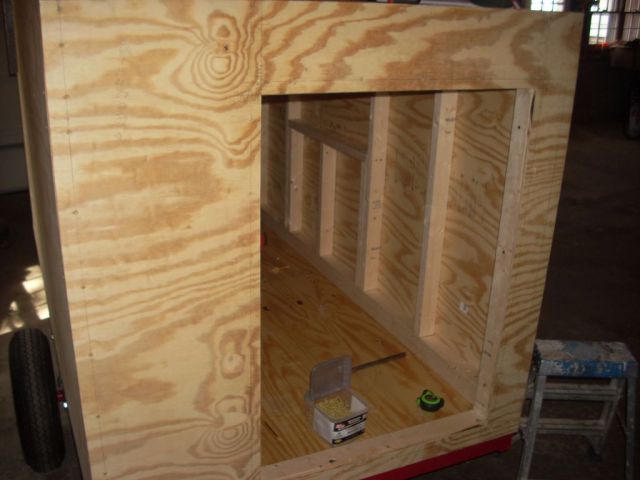
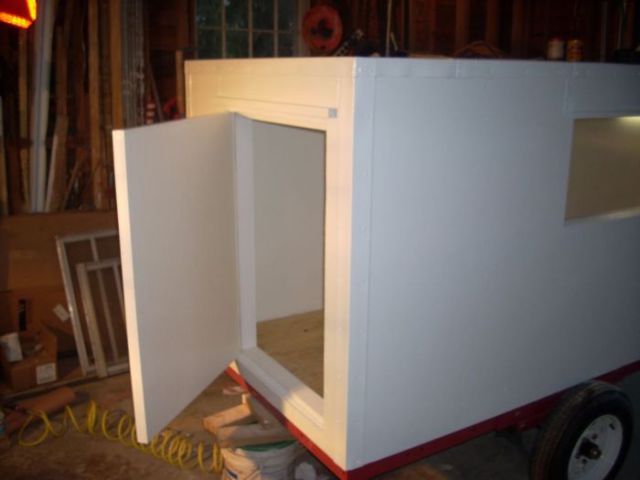
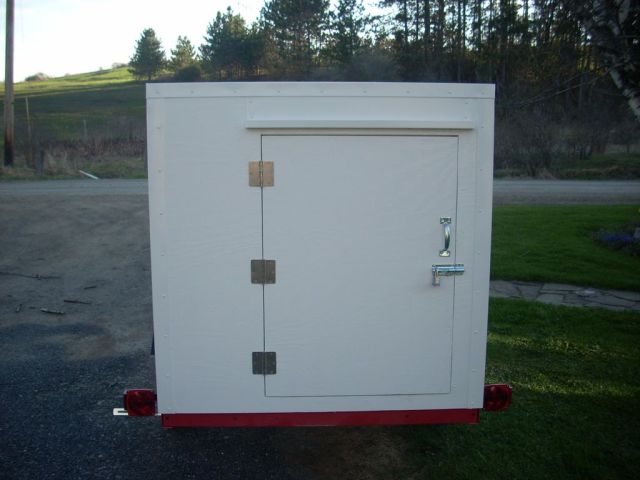
"I framed up the walls in the shop. The walls are framed 16 inches on center and laid out to have a window on each side and a door in the back."
Step 4: Installing The Walls
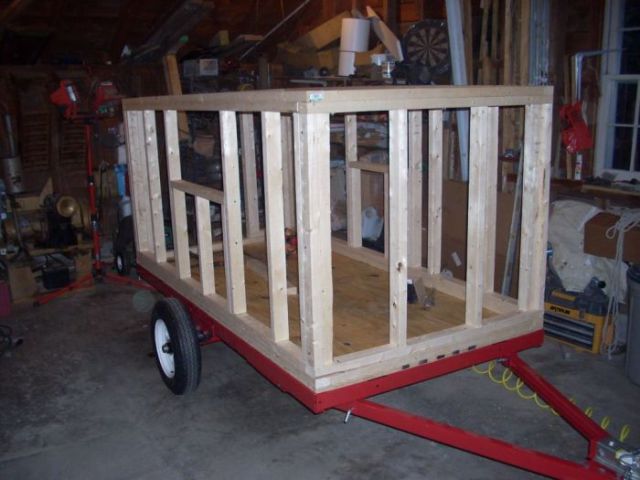
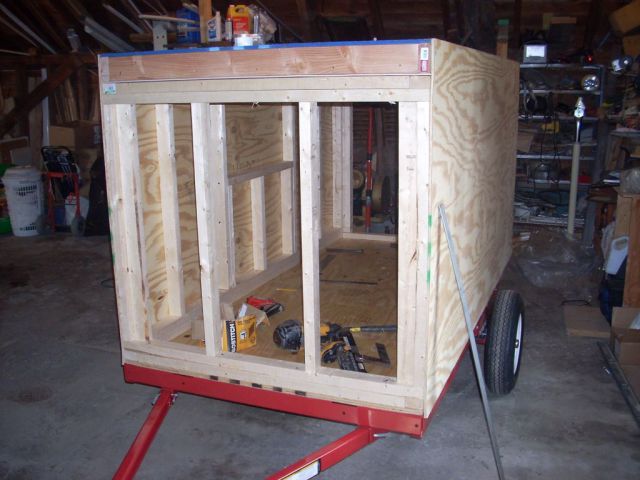
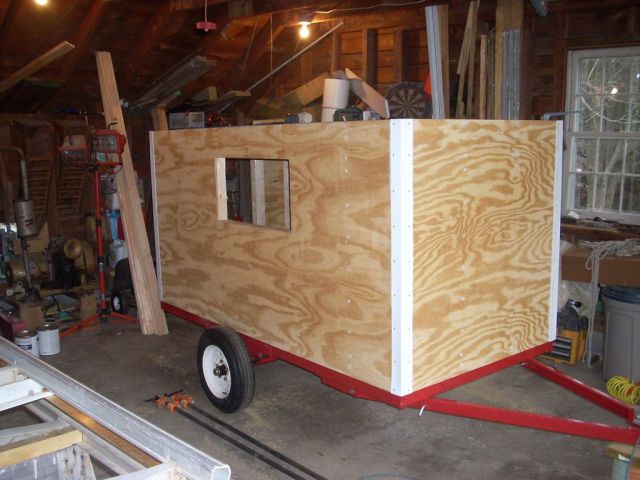
"I installed the walls on the trailer. The walls are nailed to the 2x3 that is bolted to the frame. When I install the outside sheeting it will be fastened to the rafter system, the walls, and the 2x3 that is bolted to the frame, making it a very sturdy box. Notice the top plate that goes around the walls tying them all together."
Step 5: Installing The Roof
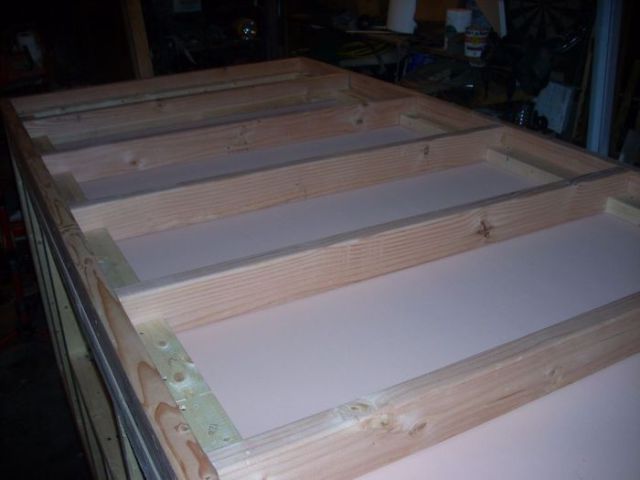
"To install the roof I first laid a piece of 1/8 inch underlayment on top of the walls."
"Then I framed the rafter system with 2x4 rafters 16 inches on center. I installed blocks in between the rafters to help tie everything together. The rafters are nailed into the top plate of the walls and into the blocks.
Finally I installed a 1/2 inch OSB piece to the top of the rafters. The camper is now framed up."
Step 6: Sheeting The Walls
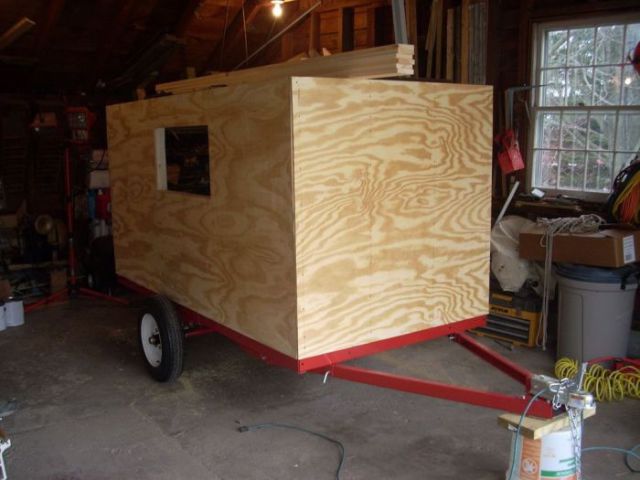
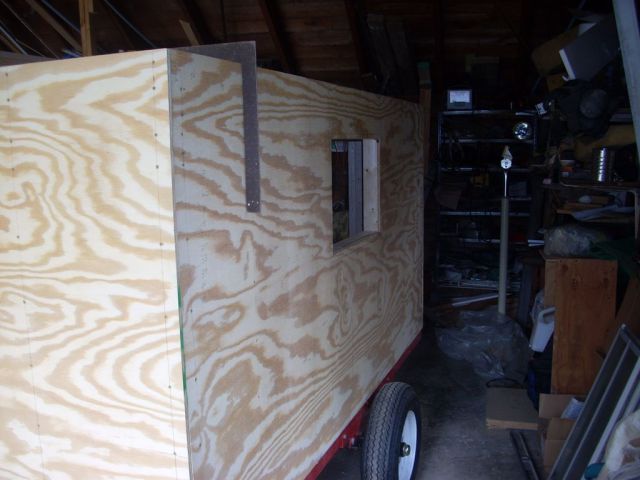
"Next up I installed the exterior sheeting. This is pretty straight forward. The walls are attached with 1.5 inch deck screws.
To cut out the windows and door I used a roto-zip. That makes the job go quickly and easily."
Step 7: Installing Aluminum Trim and Roof
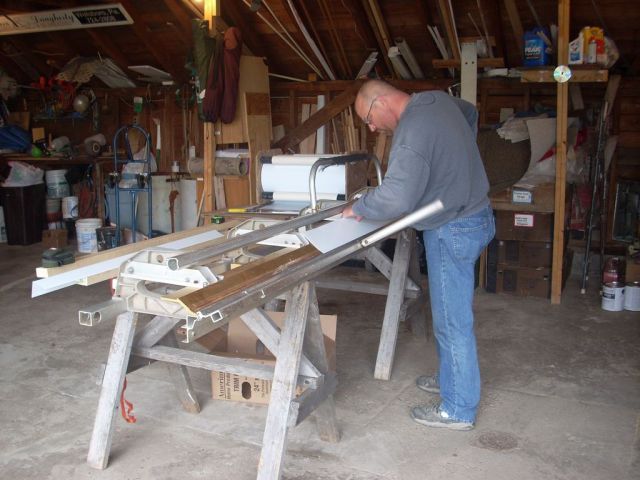
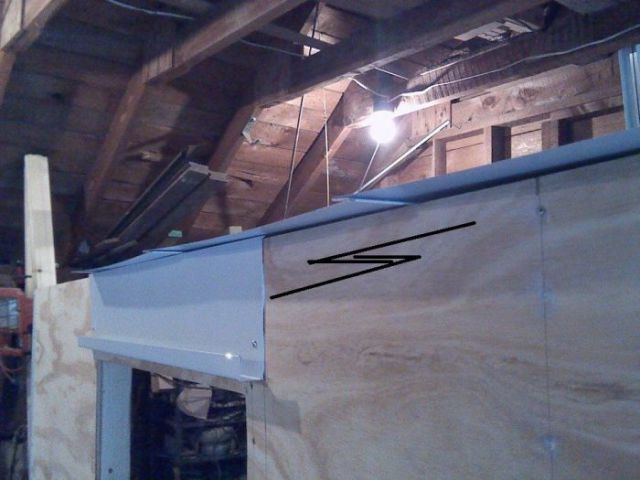
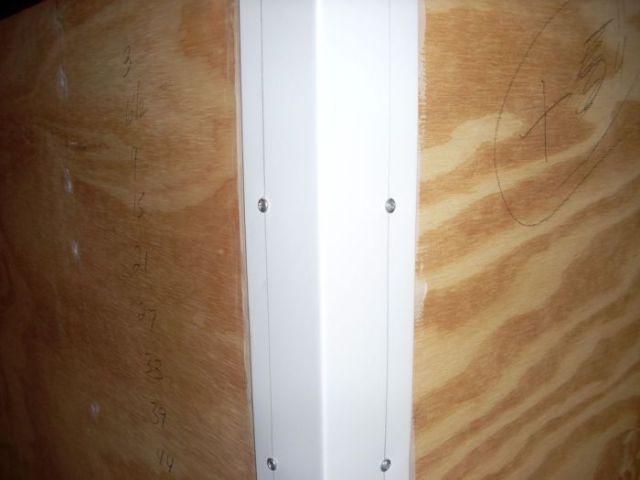
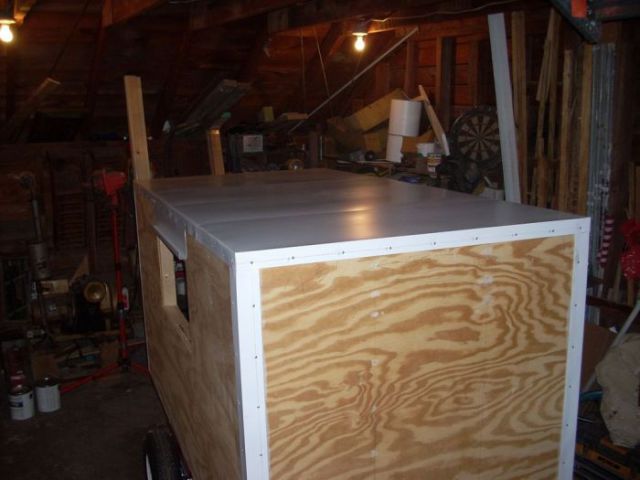
"After installing sheeting on the walls, the next step is to install aluminum trim and roofing. I used aluminum trim stock. It comes in a variety of sizes, and I used the 24 inch wide material. I installed aluminum on the corners to cover the exposed edges of the plywood sheeting. I also installed gutters over the windows and doors. Finally I installed aluminum sheeting on the roof with a double bend connection to make sure that it would be totally waterproof."
Step 8: Painting The Trailer
Step 9: Electrical
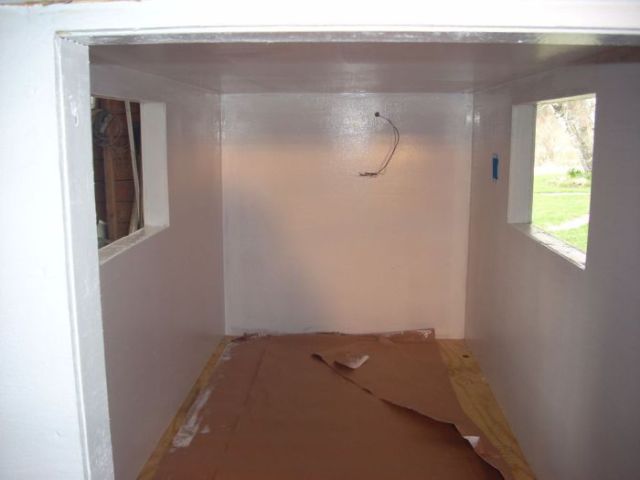
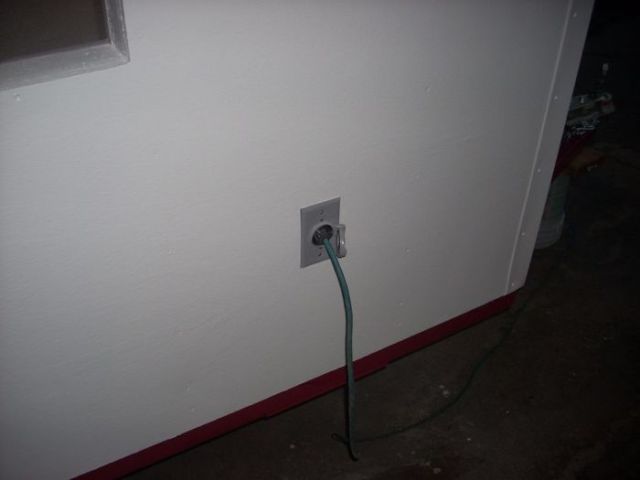
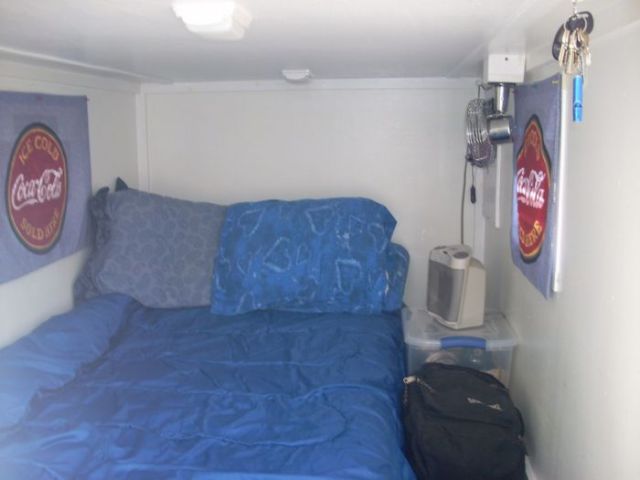
"Next I did all the final electrical work. I installed a 110 volt 15 amp inlet on the outside the powers an outlet and light on the inside."
Finishing Up..

Thumbs up for this!