Here’s how creator himself describes this project:
I decided I wanted to build a fire pit in the backyard a few months ago and decided to make it the most badass firepit I could. So I shopped around and came up with a vision in my mind.
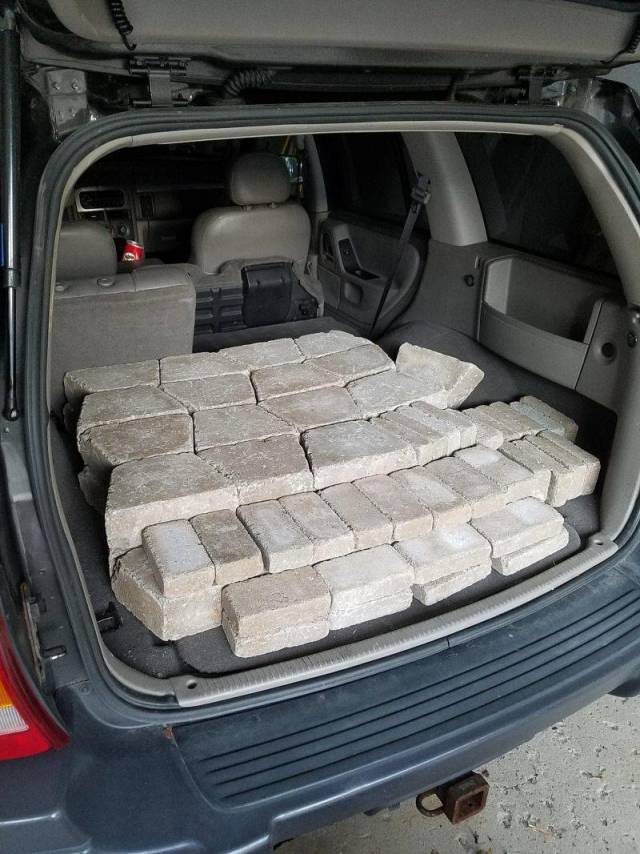
First I had to get the blocks for the ring and I really liked the look of the rumblestone pavers at Home Depot. They are tumbled for a weathered look. I underestimated the weight and seriously loaded down the rear suspension on my jeep. Woops!
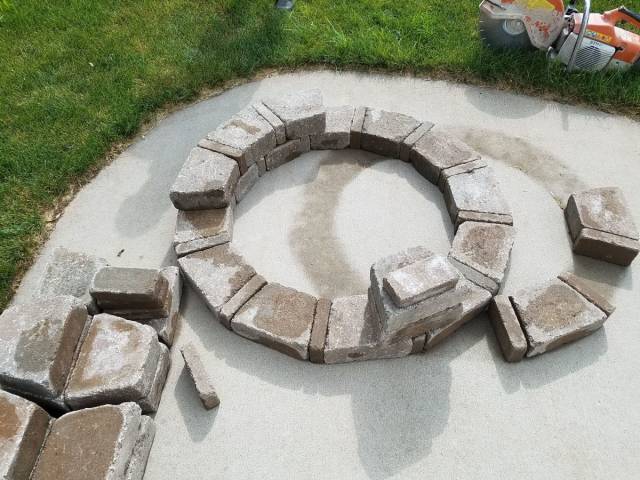
Next I started to layout the ring to determine the true inside diameter to determine the radius needed for the steel ring. Turned out to be about 31" inside, exactly what I had planned on!
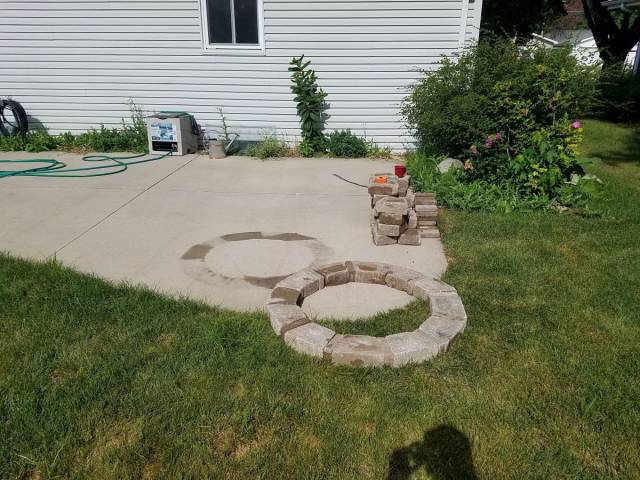
Moved to the desired location. I knew I wanted the custom look of being set into the concrete partially. The other benefits of this was not taking up too much yard space, reducing the amount of weed wacking I will need to do, and that people can choose to set their chairs on the concrete or kn the grass.
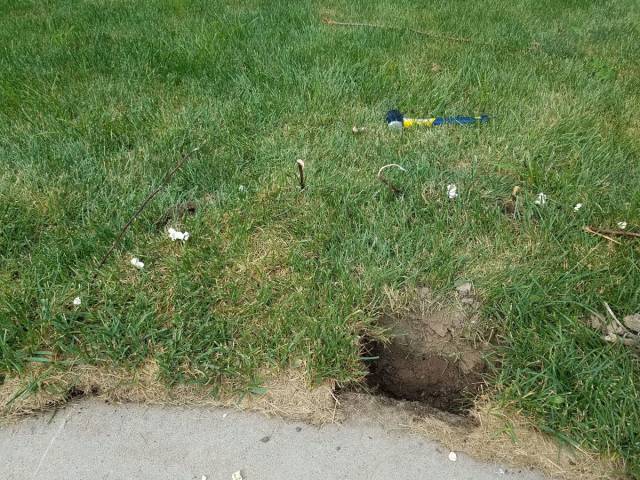
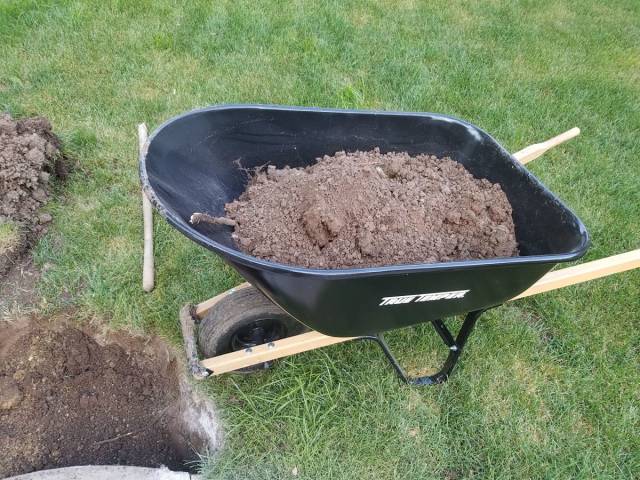
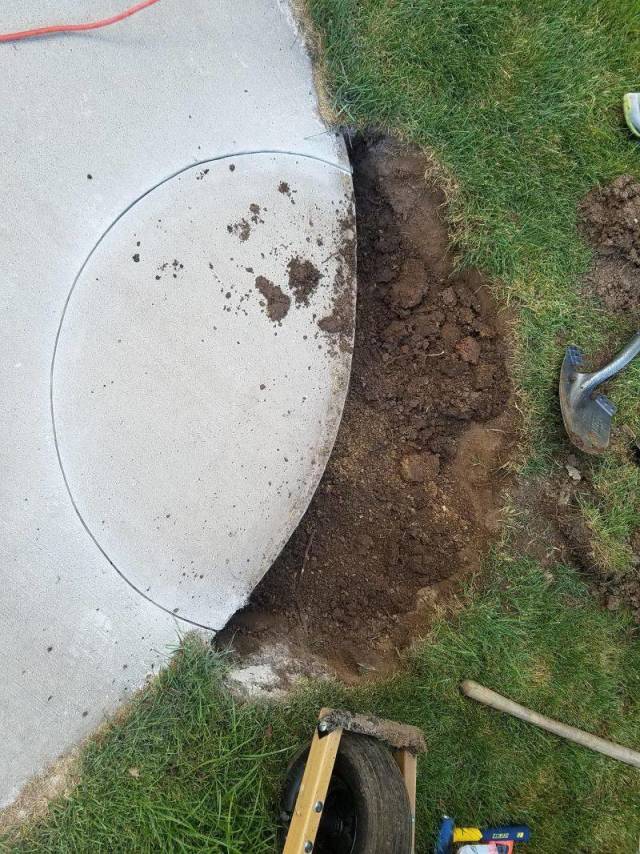
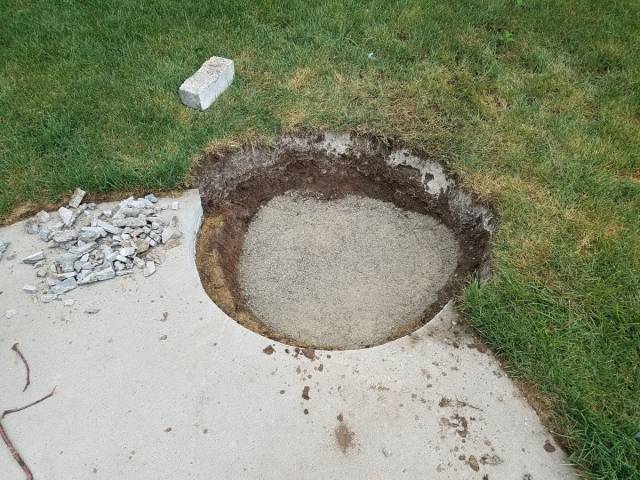
Starting to excavate the dirt to expose the edge of the concrete for cutting.
Excavation nearly complete.
I scored the radius with a 4" diamond blade on an angle grinder. I scored it about 2 inches tight to allow for some error in cutting the fire brick base without showing.
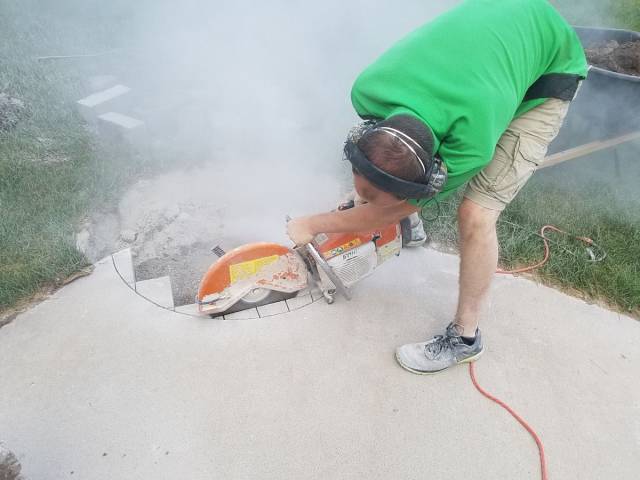
My buddy helping me with the demo. We used a stihl ts400 cutoff saw with a diamond blade for all the demo.
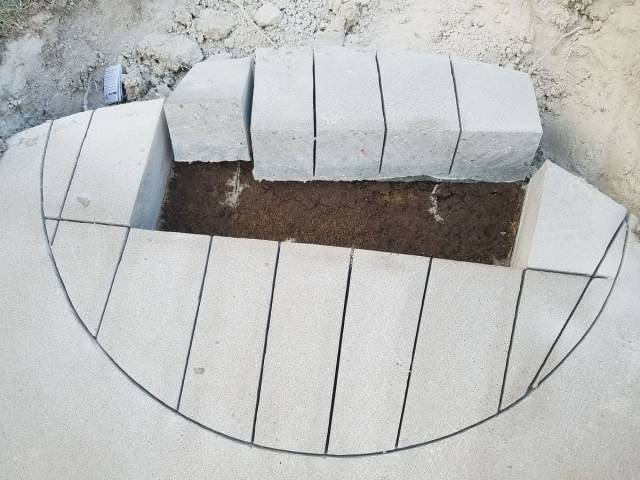
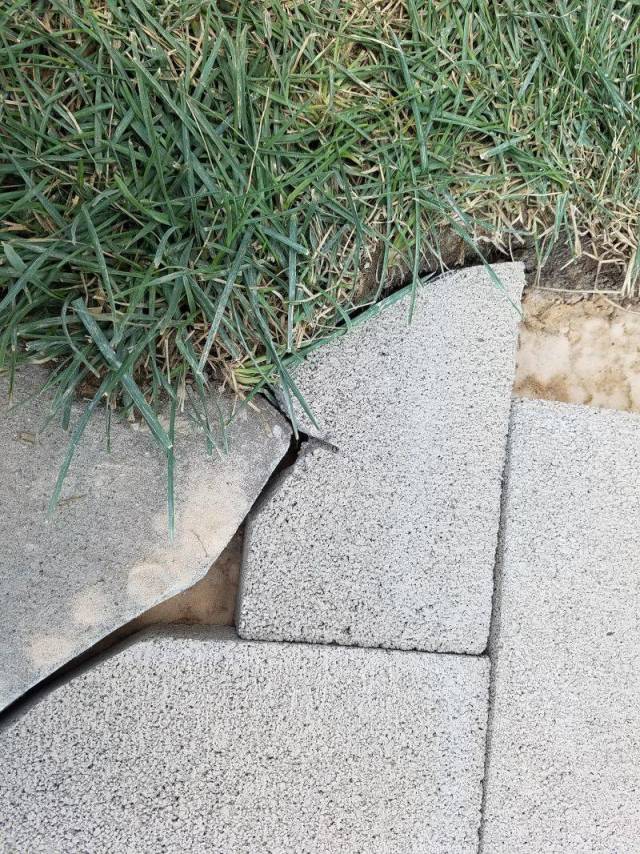
The chunks popped off fairly easy with a small hammer. The edges near the radius were the toughest and required lots of time with a hammer and chisel as well as the angle grinder.
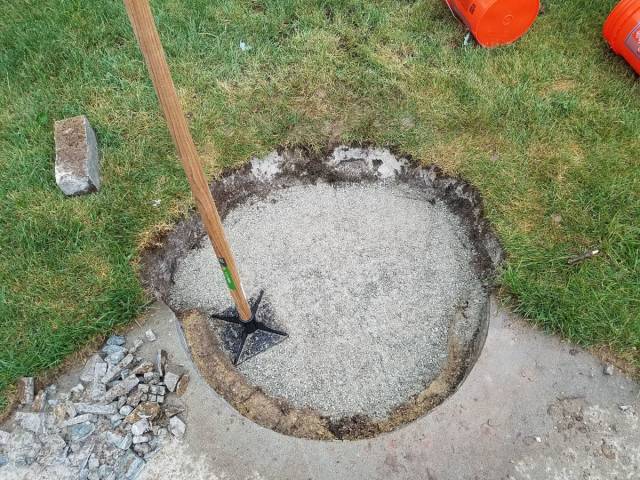
Finally demo is done and I started filling with stone screenings for drainage and to reduce any shifting over time.
Packed everything down on 2" layers with a tamper. In total there is about 12 to 14 inches of stone screenings. I wanted to make sure there was plenty of drainage.
This is where the painful part of the project was due to a mishap. I had transported the stone screenings in 5 gallon buckets (without lids.....) in my jeep from the lanscape supply yard. I made it all the way home just fine, but right as I pulled onto my street, the neighbors dog ran across the road and I was forced to slam on my breaks. I did not hit the dog, but instead i had 5 buckets of stone thrown into the front seat. It was everywhere! In the air vents, in my hair, under the seats, on the dash. It took me 2 hours to clean up with a shopvac, but the dog was fine! I was so pissed at the time that I didn't take a picture. Sorry guys!
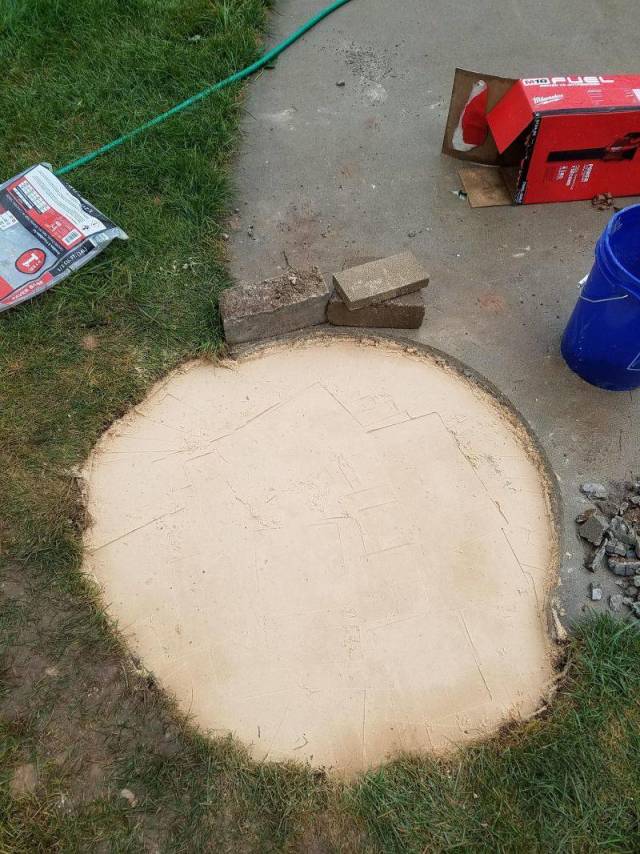
After the stone screenings, I leveled it with an inch of sand.
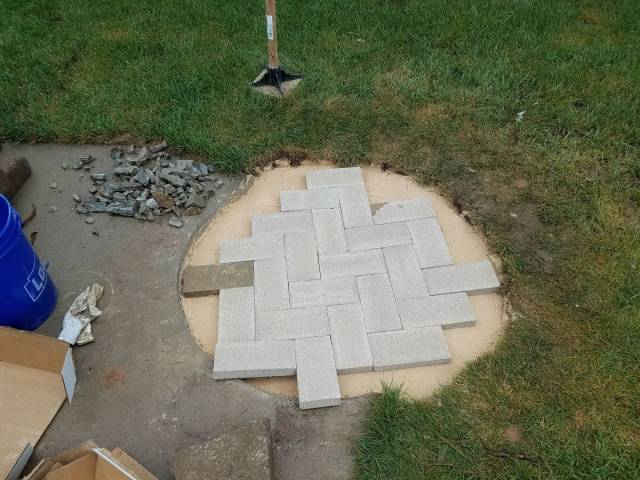
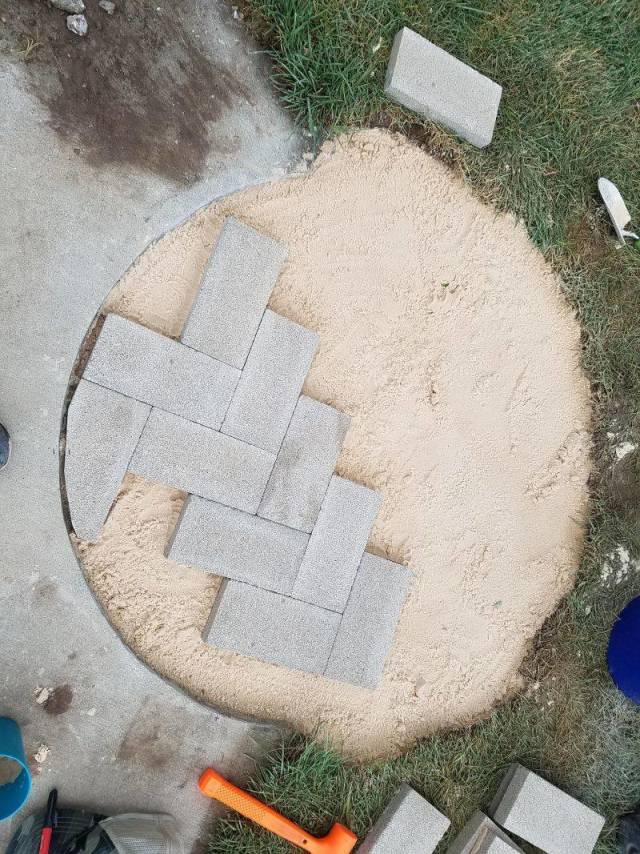
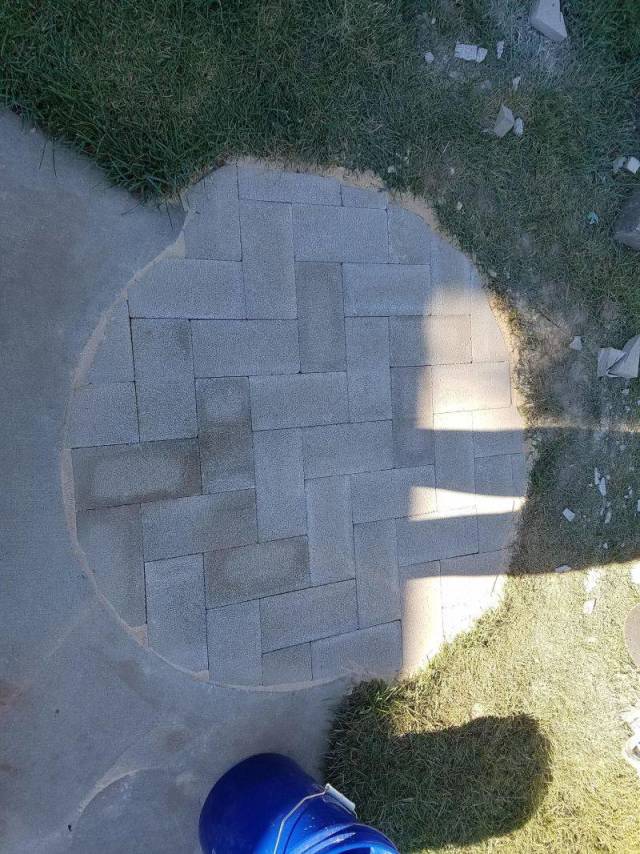
Next I started to place my fire brick in a herring bone pattern to see if I had enough. Spoiler, I didnt. So I had to run to the store again.
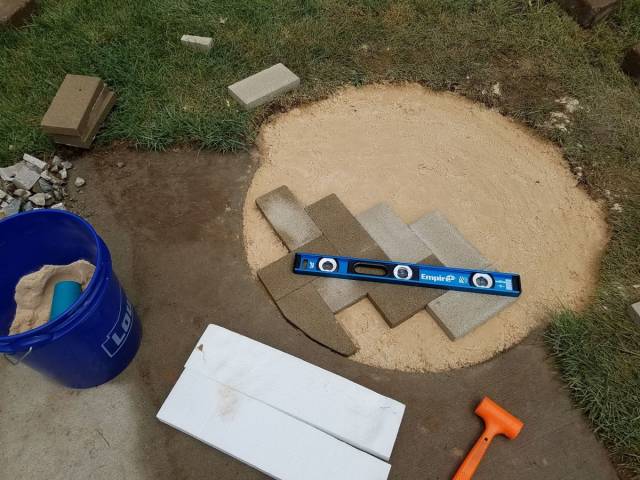
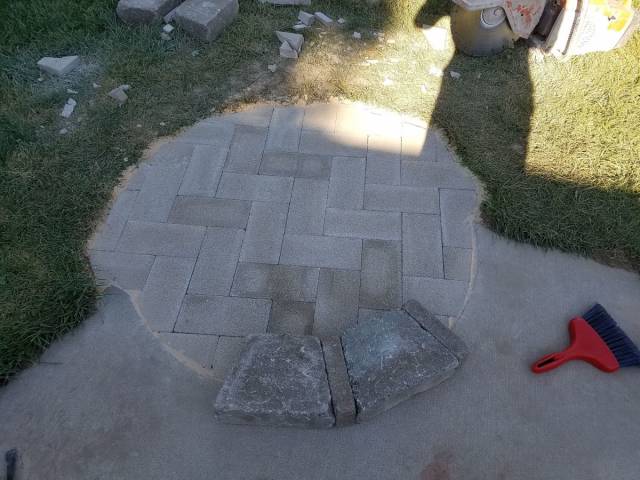
Here I started to make cuts and truly level the bricks to ensure they would be a solid level foundation and burn surface. I did so with a 2' level, rubber mallet, and by sprinkling bits of sand below low spots.
More leveling.
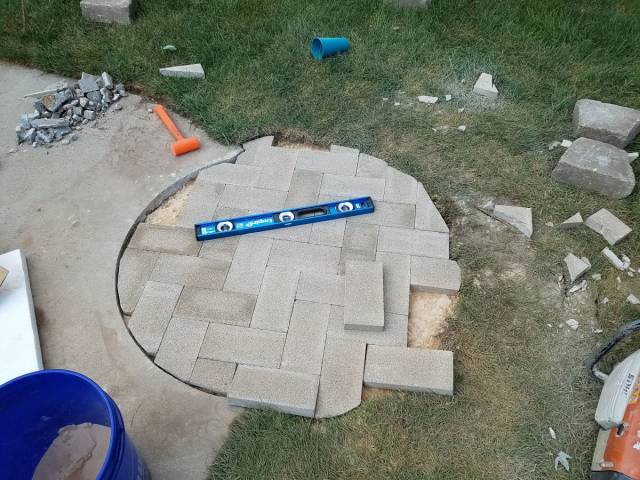
Almost done. A few more cuts to go. This was the hardest and the most time consuming part.
I used a milwaukee inkzall marker to mark the cuts.
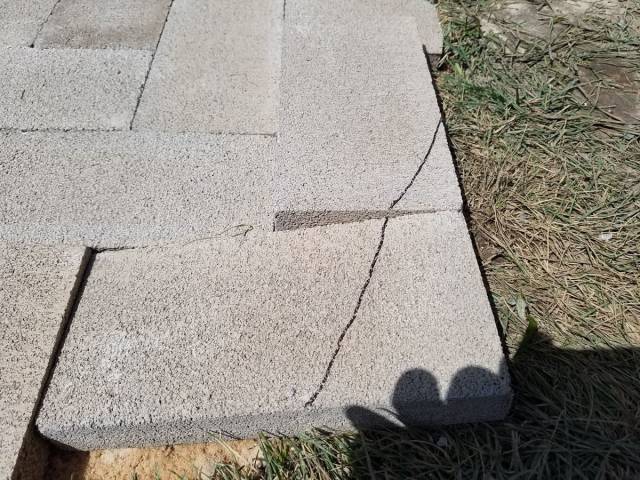
This was a tricky cut to make, but it turned out great.
Packed sand around the edge to reduce any movement. I did not pack sand in the joints though. I wanted them as tight as possible and wanted water to be able to drain through the gaps when it rains.
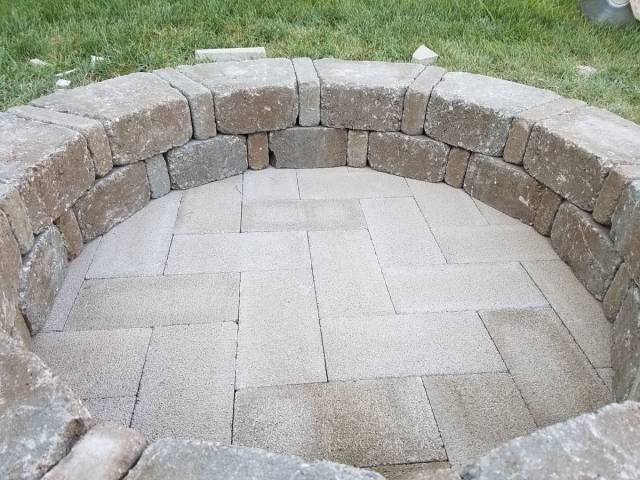
Next I had to start positioning the blocks in the ring.
First and second courses laid.
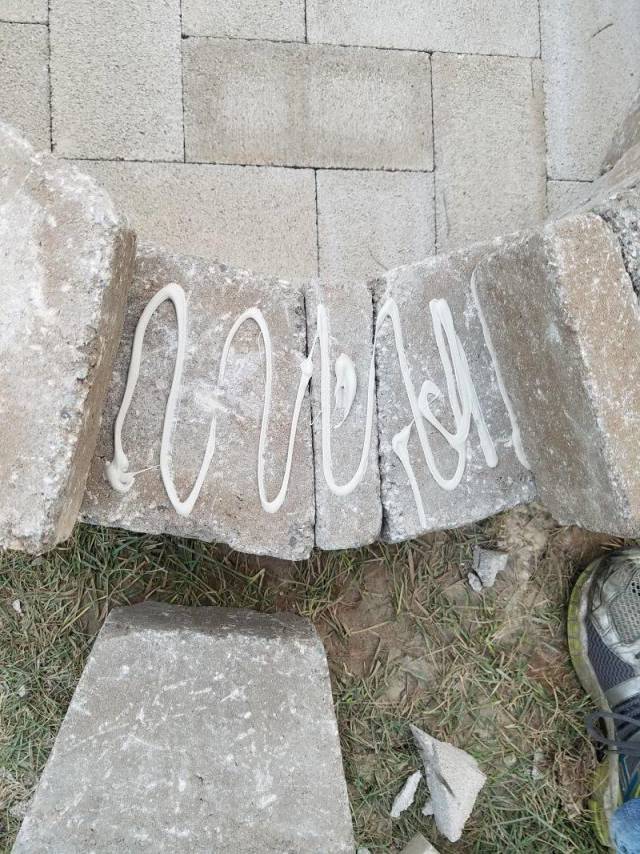
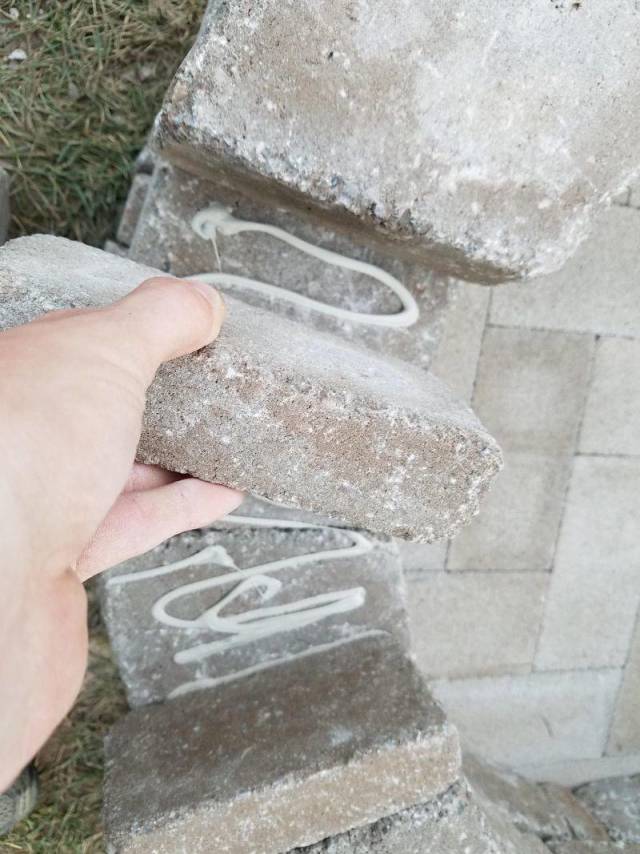
Piece by piece I removed the second course and secured it to the first using PL500 landscape adhesive.
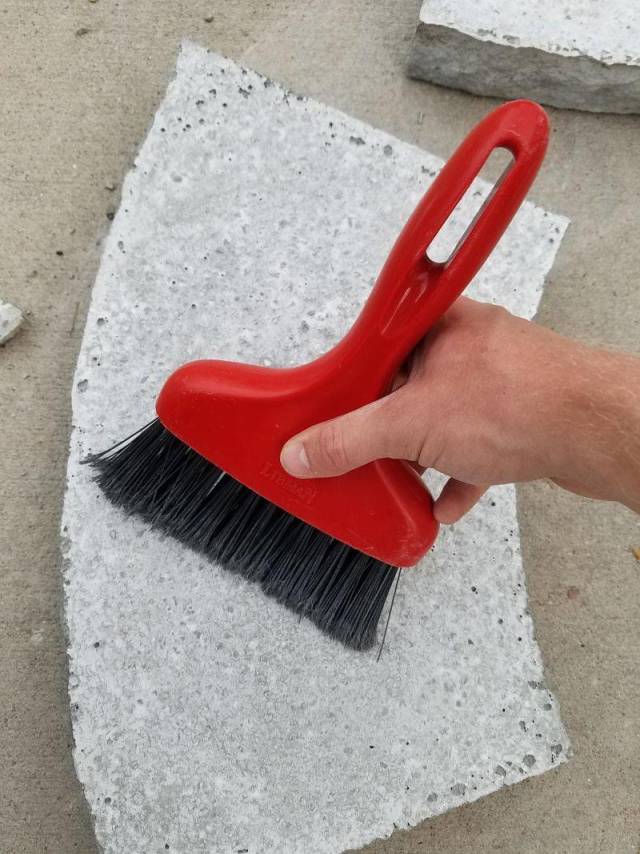
I made sure to sweep any dust or small rocks off my blocks to ensure they would sit level and pack closely together.
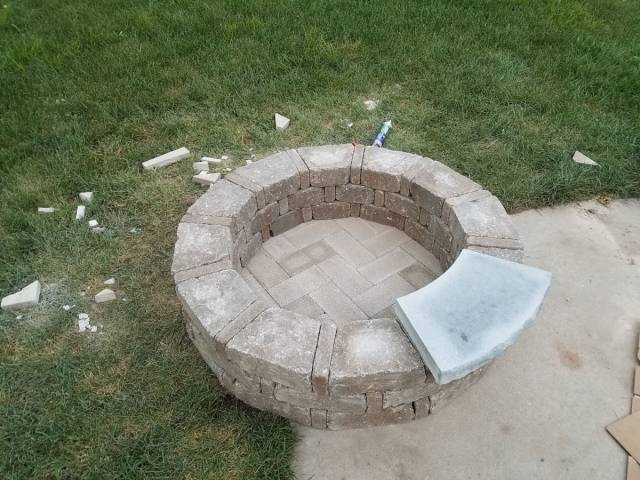
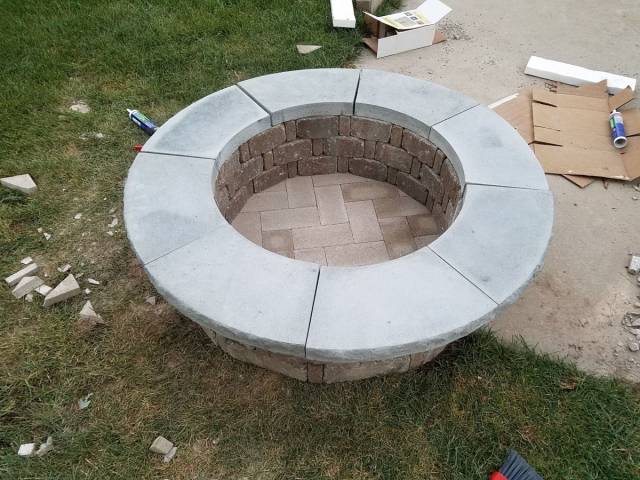
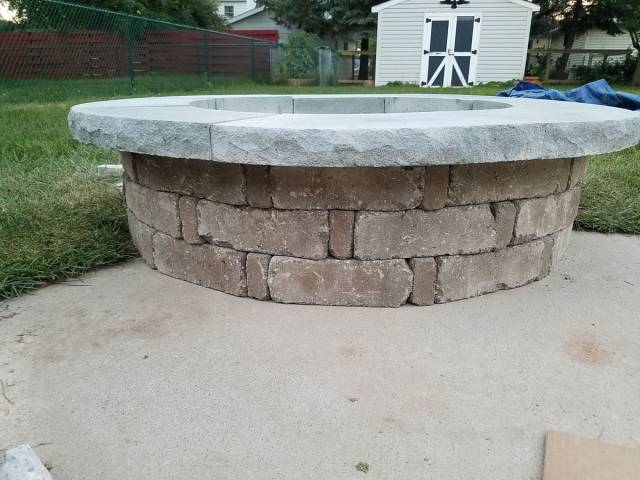
After doing the same with the third course, I started to position the capstone. The capstone was very expensive cast and polished concrete. It really tops it all off (ba dum tiss).
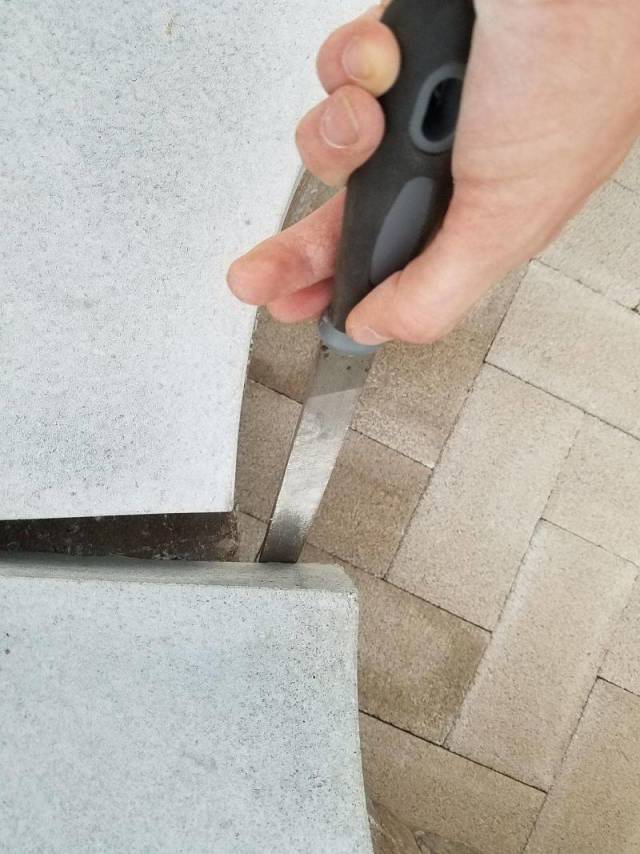
The capstone pieces had a small burr on one edge, so I had to file them down to get them to fit closely together.
Capstone complete and secured with more adhesive.
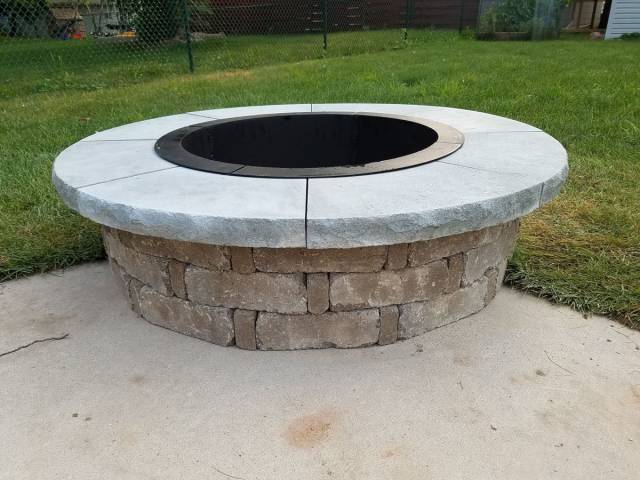
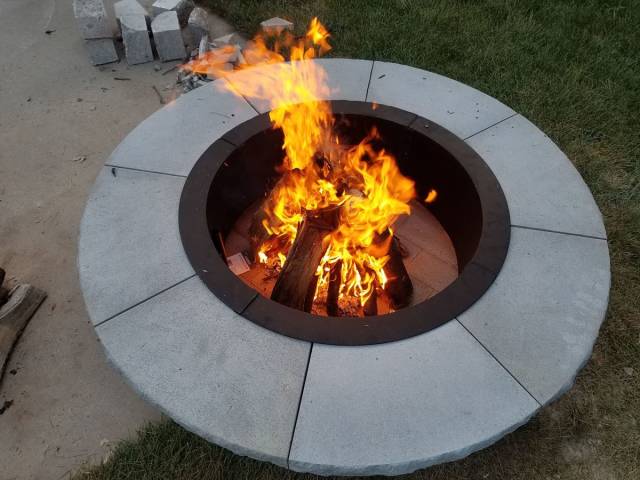
Steel fire ring added to make the transition from blocks to capstone seamless and to protect the inside of the blocks from impacts with logs.
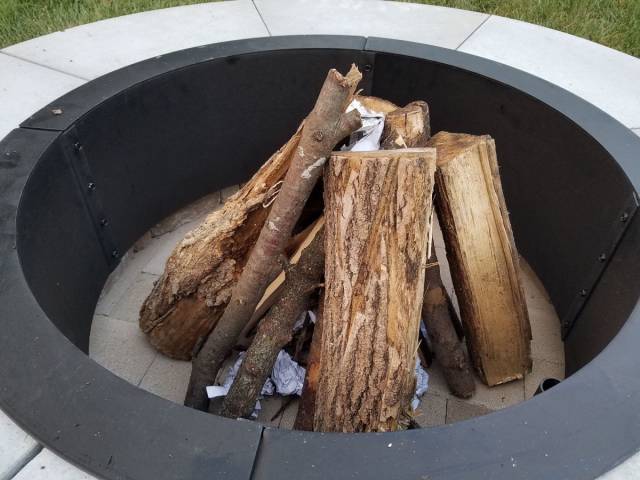
Finally building the first teepee.
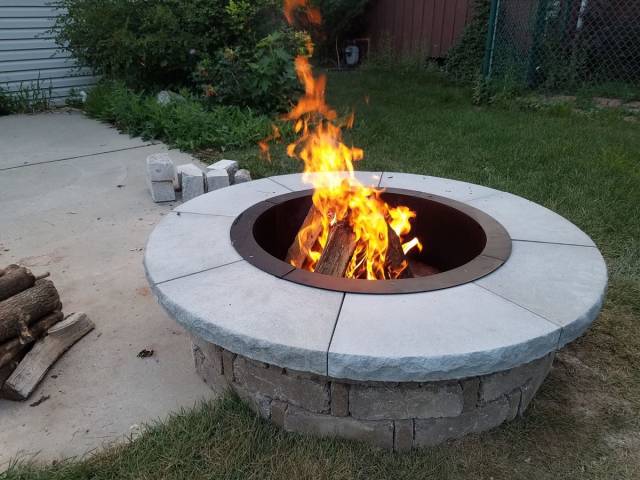
Fire!
All in all it cost me about $800 to $900 and took a weekend of work. I couldn't be more happy with the result.
Tldr: Guy wants fire. Guy builds fire pit for lots of money. Guy starts logs on fire.

