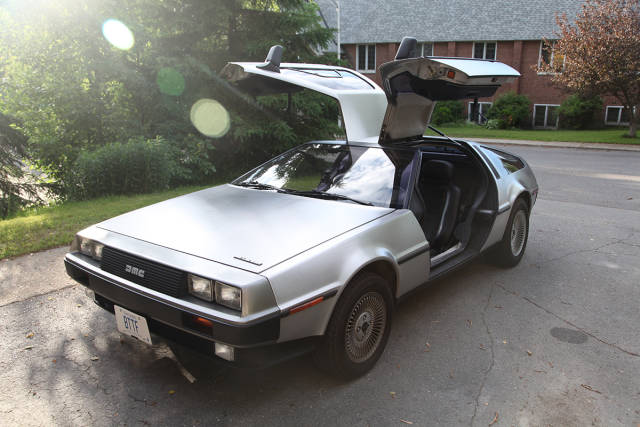
Imgur user, TheKingOfDub, walked through his awesome DIY setup for his iPad controlled 1982 DeLorean DMC-12.
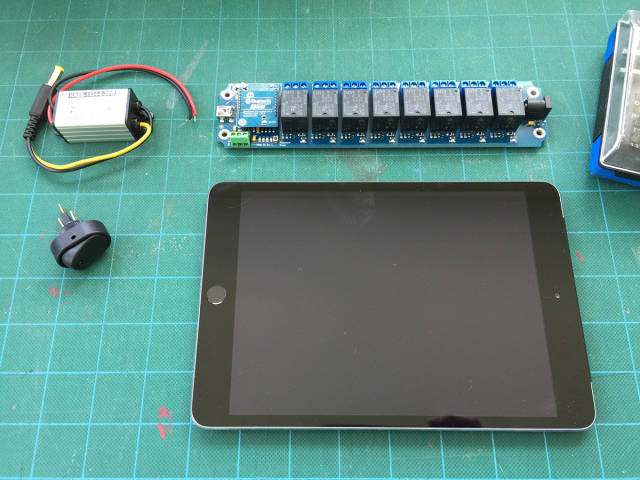
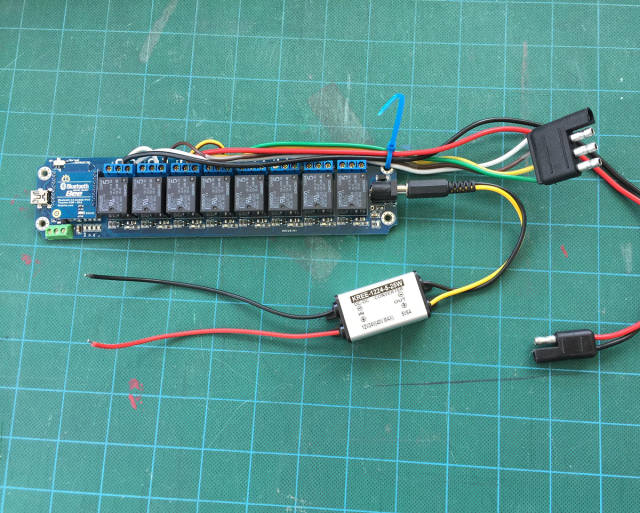
Ok, so here are the main components before installation. Really quite simple. Relay strip from TinySine with Bluetooth Bee (installed on left side of board), 12V -> 5V converter for the relay strip (upper left), and a switch for disabling the system in case of malfunction or emergency. Oh, and an iPad Mini. You kind of need one of those.
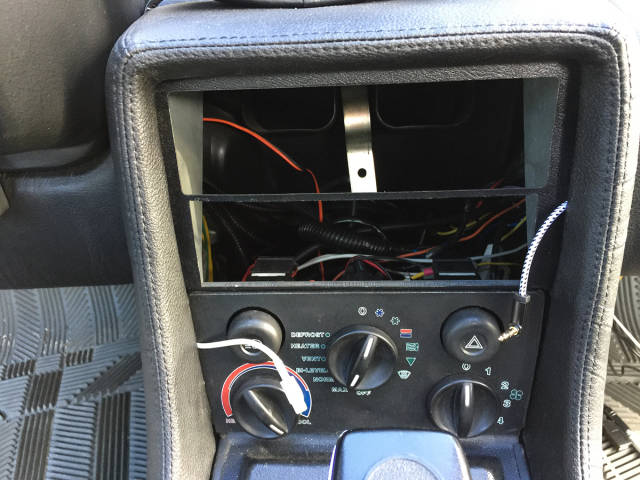
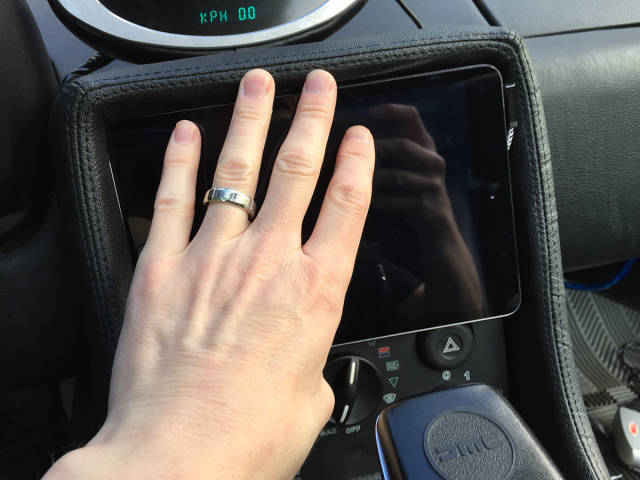
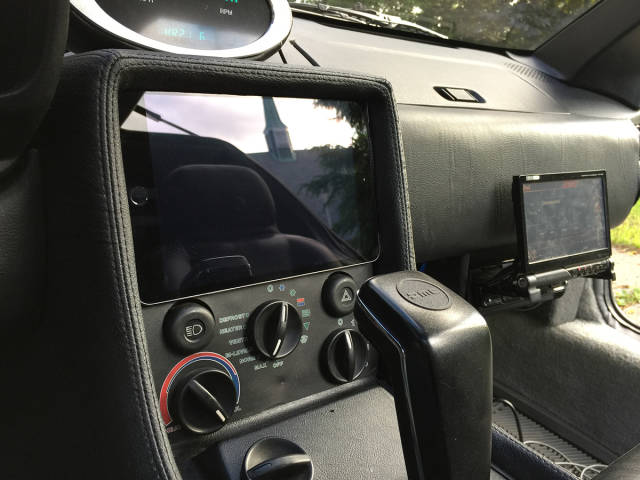
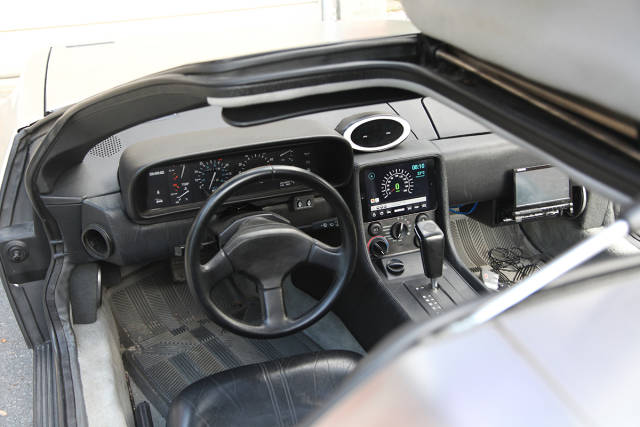
Stereo deck and vents removed. EXACTLY the size of an iPad Mini. Even the thickness between the metal and fabric is the right width to grip the iPad. The vents can be rerouted with flexible tubing. Lightning and TRRS are fairly easily routed to here from the deck that has now been moved to a new location...
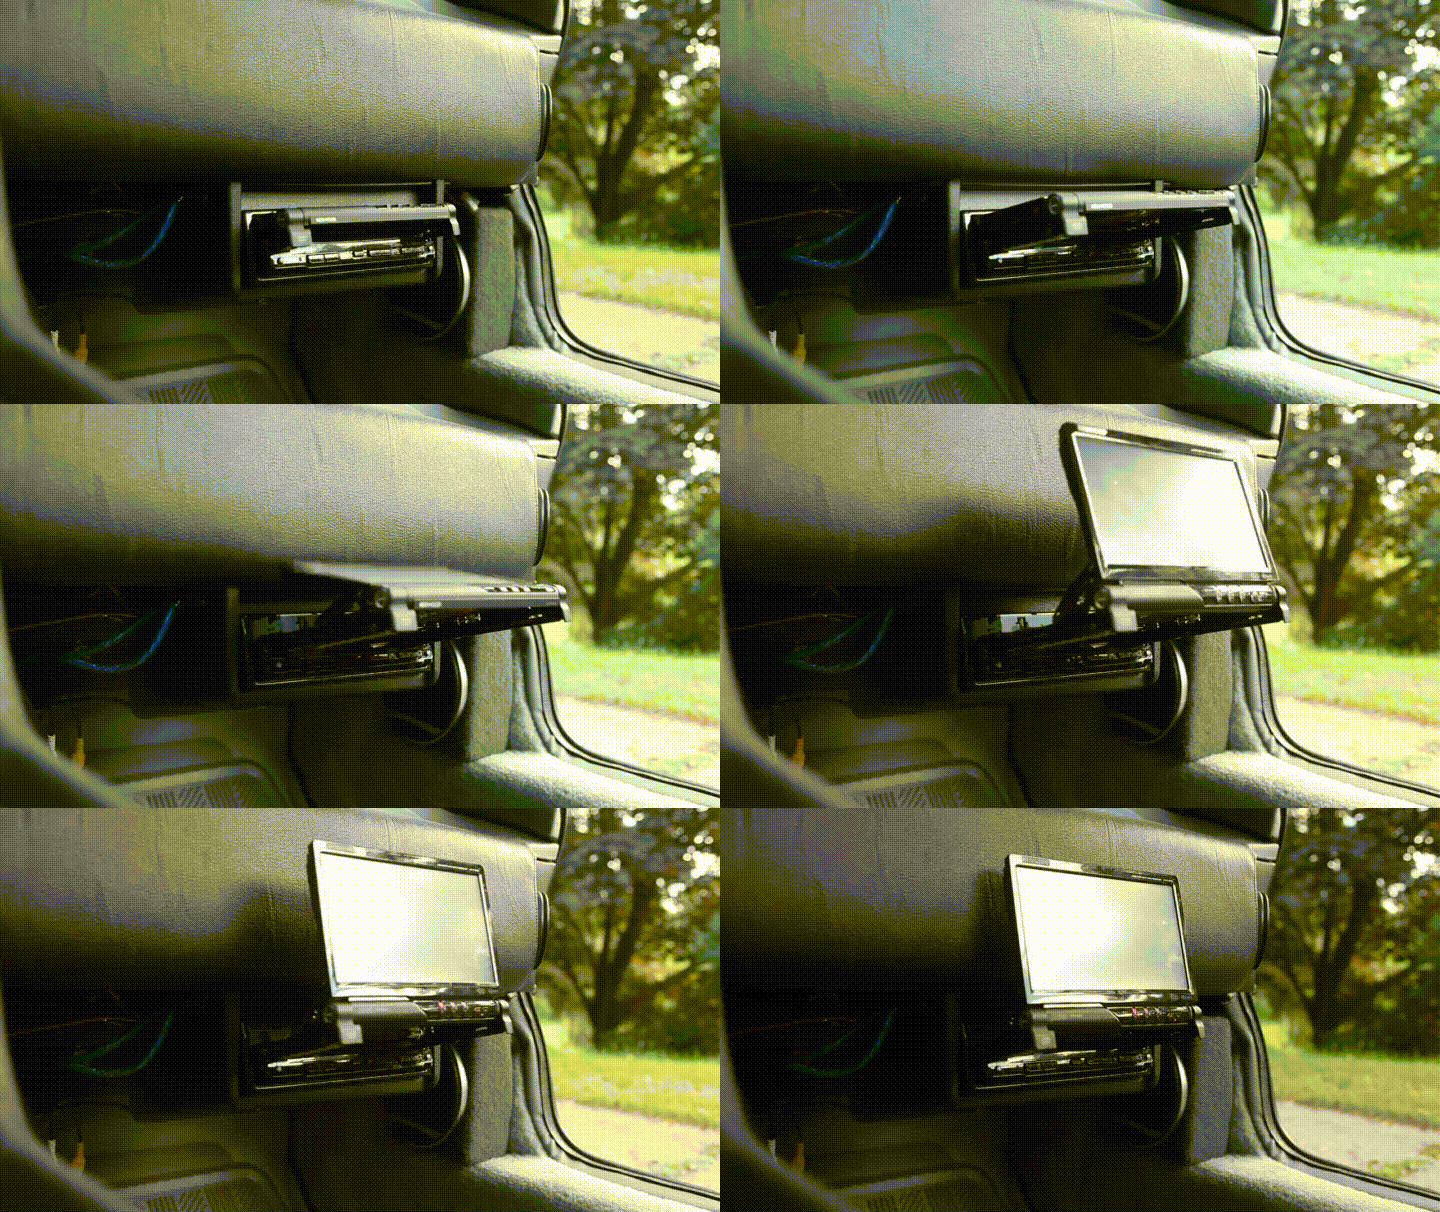
Previous deck moved to below the passenger knee-pad – installed into a marine radio enclosure, available at most audio shops. This flip-up unit not only insures that we retain radio and disc functionality, it also displays videos from the iPad, so a passenger can watch movies on long road trips. I was ecstatic to find that the person who installed this unit left enough slack that I was able to move it to its new location without any rewiring at all. Look at those messy wires still hanging down, though. Bad boy.Previous deck moved to below the passenger knee-pad – installed into a marine radio enclosure, available at most audio shops. This flip-up unit not only insures that we retain radio and disc functionality, it also displays videos from the iPad, so a passenger can watch movies on long road trips. I was ecstatic to find that the person who installed this unit left enough slack that I was able to move it to its new location without any rewiring at all. Look at those messy wires still hanging down, though. Bad boy.
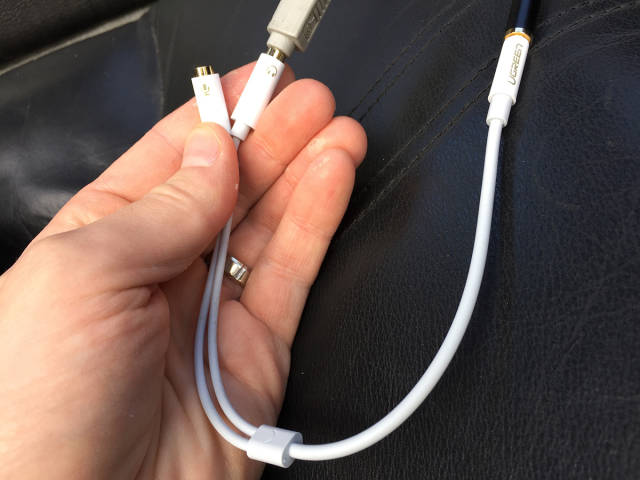
A TRRS extension from the iPad is split into mic and audio out (cheap splitter from Amazon). Bonus points for using a vintage Apple audio cable (top middle). Mic for Siri and handsfree calling plugs in here. I used an audio cable rather than rely only on the USB connection to the deck, because there is no software volume control for the Lightning connector – it outputs at a set volume that can't be modified. I didn't want to have to reach over to the deck to adjust audio volume!
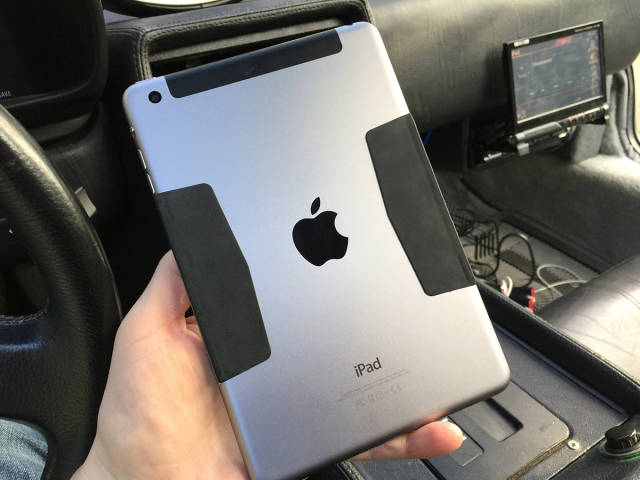
Super slim magnetic mounts from MagBak installed on iPad (thanks to DMCPat for the tip). More than anything, the rubber texture on these provides a snug fit and also protects both the iPad and console from scratching. These things are great. Turns out I didn't need to install the corresponding magnetic MagBak strips on the dash itself.
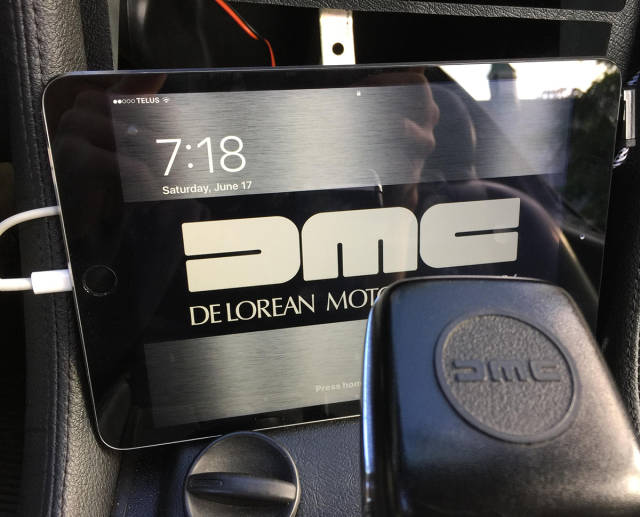
Lightning cable and right angle TRRS audio extension cable connected. Ready to slip the iPad into place.
Lightning cable slips in easily. Sliding the iPad a bit more to the left allows the audio cable on the right to set back into place without much trouble.
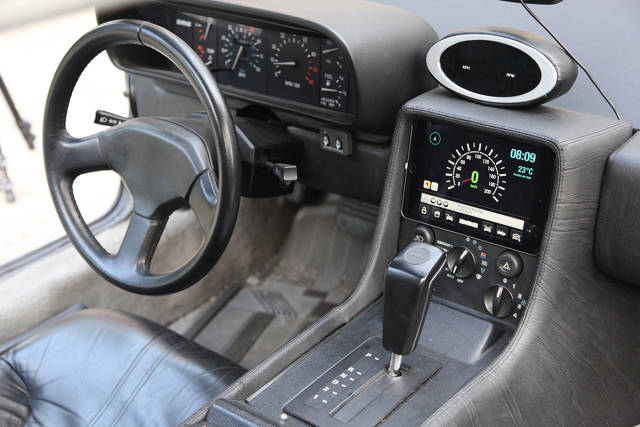
Fully installed. No glue, screws, or anything invasive... MagBak strips and tension only. Good enough fit to stay put, but easy to remove for any updates or modifications.
Beginning of wiring of the Bluetooth relays to connect to the vehicle. Using standard towing wiring harnesses for simplicity and to keep things modular. Pretty basic wiring here. Just send the "normally open" terminals from the relays to the plugs! 12V -> 5V power converter connected.
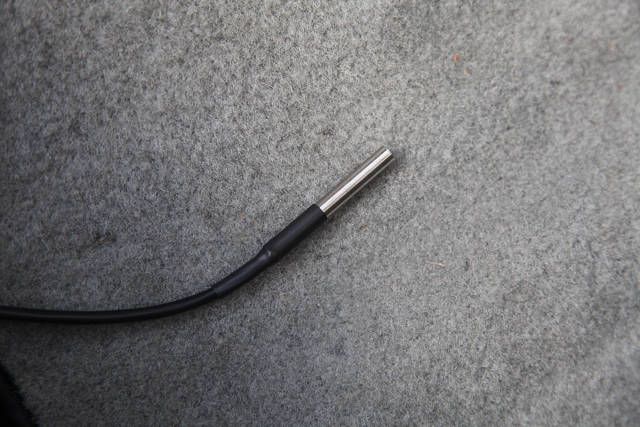
Probe for outdoor temperature. This connects to the green block of terminals on the Bluetooth relay strip, so it provides its data wirelessly to the iPad. This gets mounted on the exterior of the car away from any parts of the vehicle that might influence temperature readings.
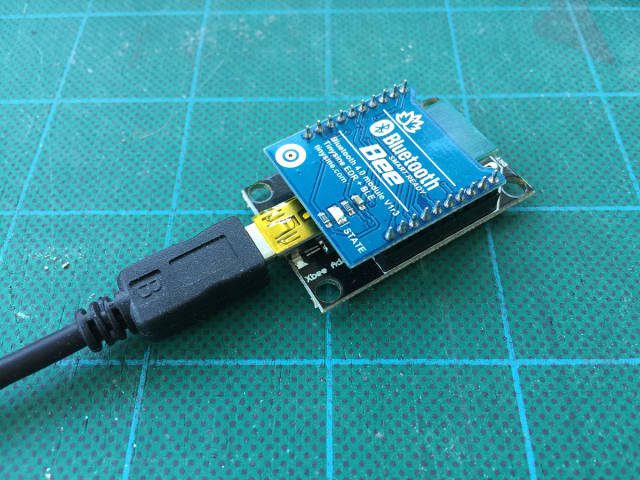
Time to program the Bluetooth Bee with a custom ID (in this case "DeLor11633" as in "DeLorean VIN# 11633") so that it doesn't show up as simply "BT-BEE" when scanning for Bluetooth devices. This version of the BTBee supports adding a password. This way, nobody can use Bluetooth to break into my D! This is the USB adaptor also from TinySine, which is connected to a PC, using their utility to program the Bee. Quick and easy.
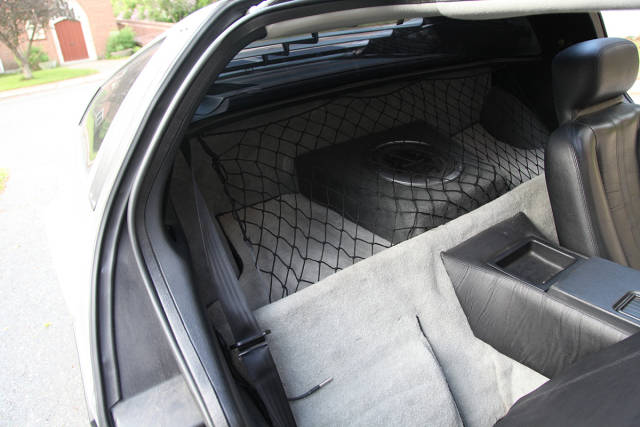
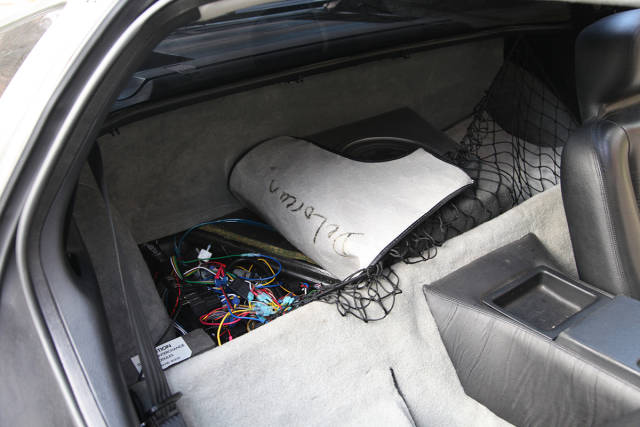
Behind the passenger seat is the battery compartment (lower flap) and the fuse and relay compartment (upper, behind the cargo net). We're going up top (after disconnecting the battery below, of course!).
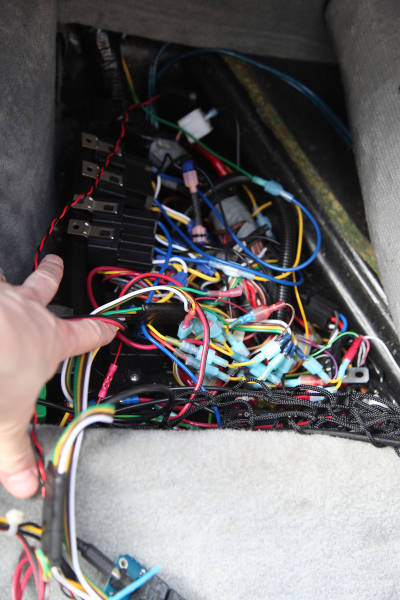
Fuse and relay compartment exposed – a Wings-A-Loft (remote doors/locks) system has been installed in here. This is what we tap into with our relay strip.
Relays at the top are the Wings-A-Loft relays for triggering door poppers, etc. The spaghetti junction of wires seemed neat and tidy when I started, but got out of hand pretty quick. Will need to clean this up a bit. Details for installing the Wings-A-Loft system come with their kits. All we are doing here now is attaching a wire from each each channel of the Wings-A-Loft system to connectors that will go to the relay strip.
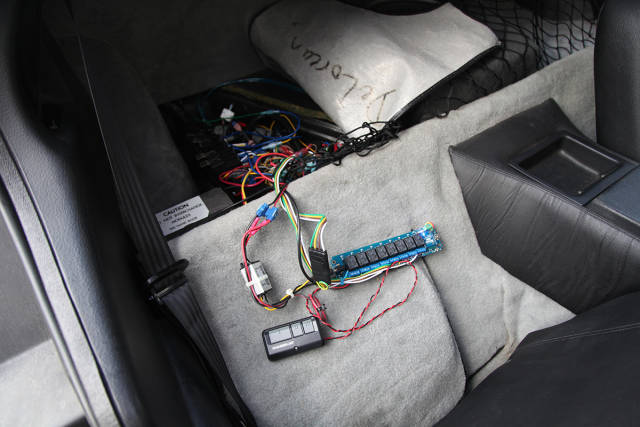
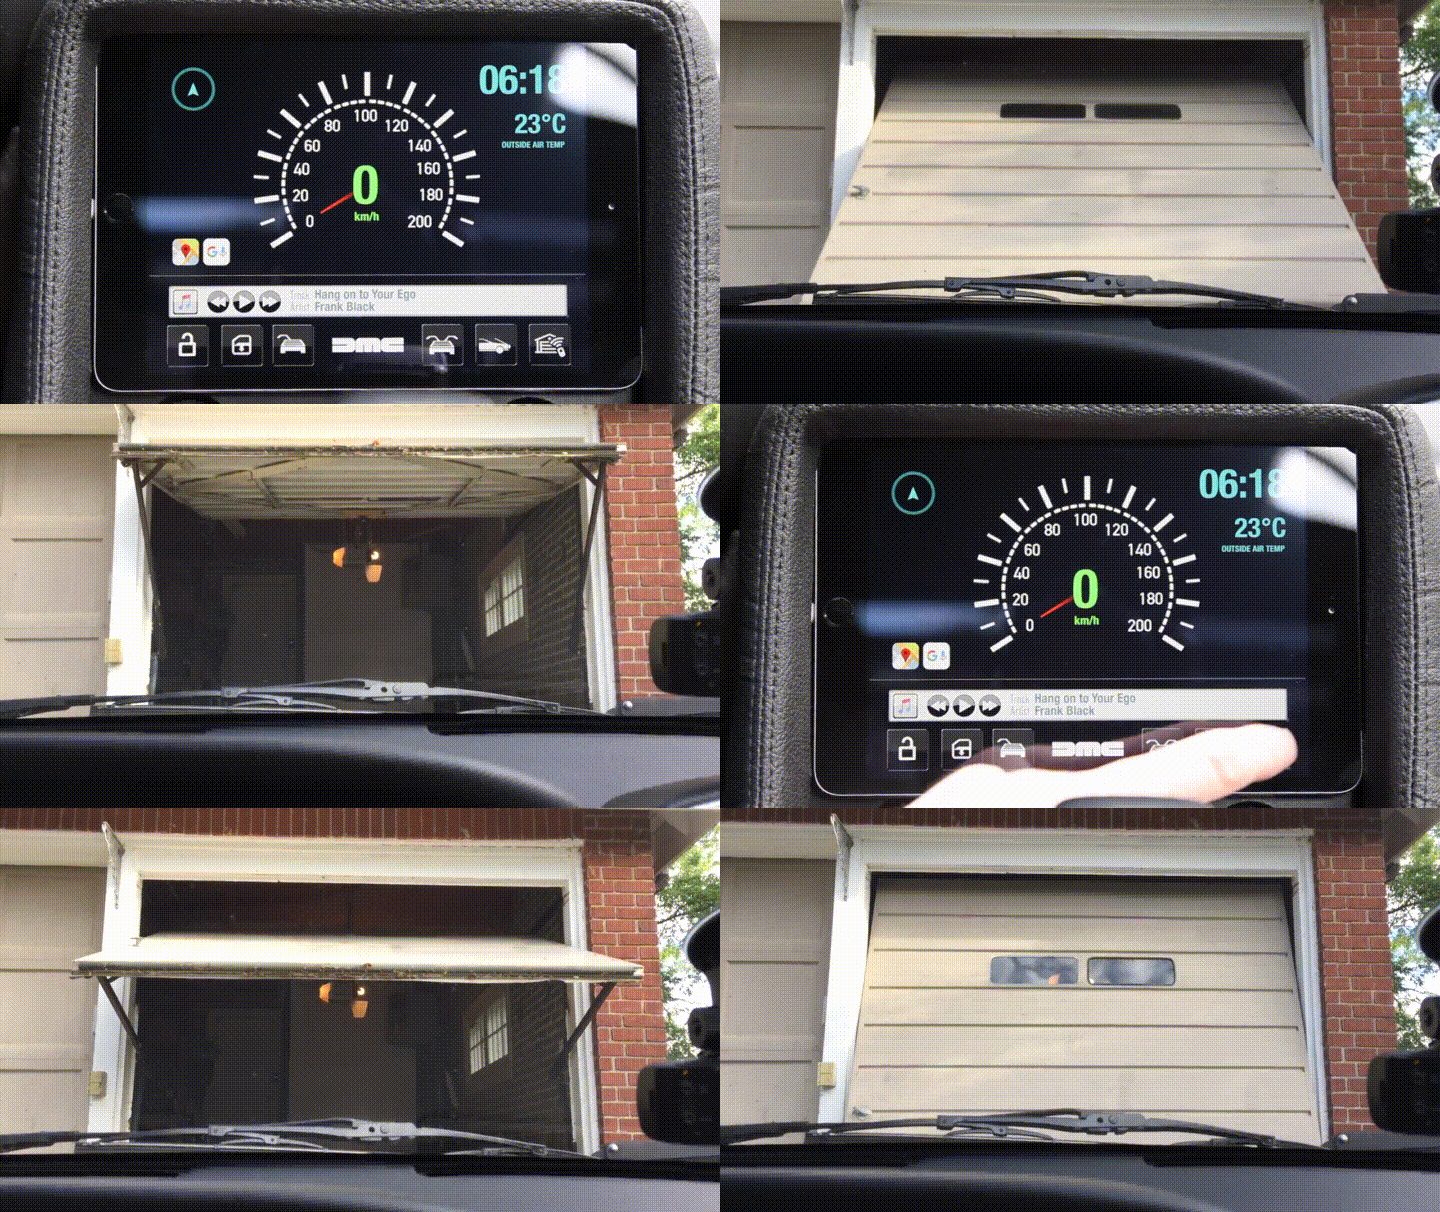
Bluetooth relay strip and its 12V -> 5V power adaptor (which is attached to 12V via a small accessory fuse panel not seen here). This all fits snugly to the left of the main relays. Garage door functionality is added in the easiest possible way. A garage door opener from Home Depot has one of its buttons wired to one of the relays on the strip. The range on this is MUCH greater than adding Bluetooth to the garage door system itself.
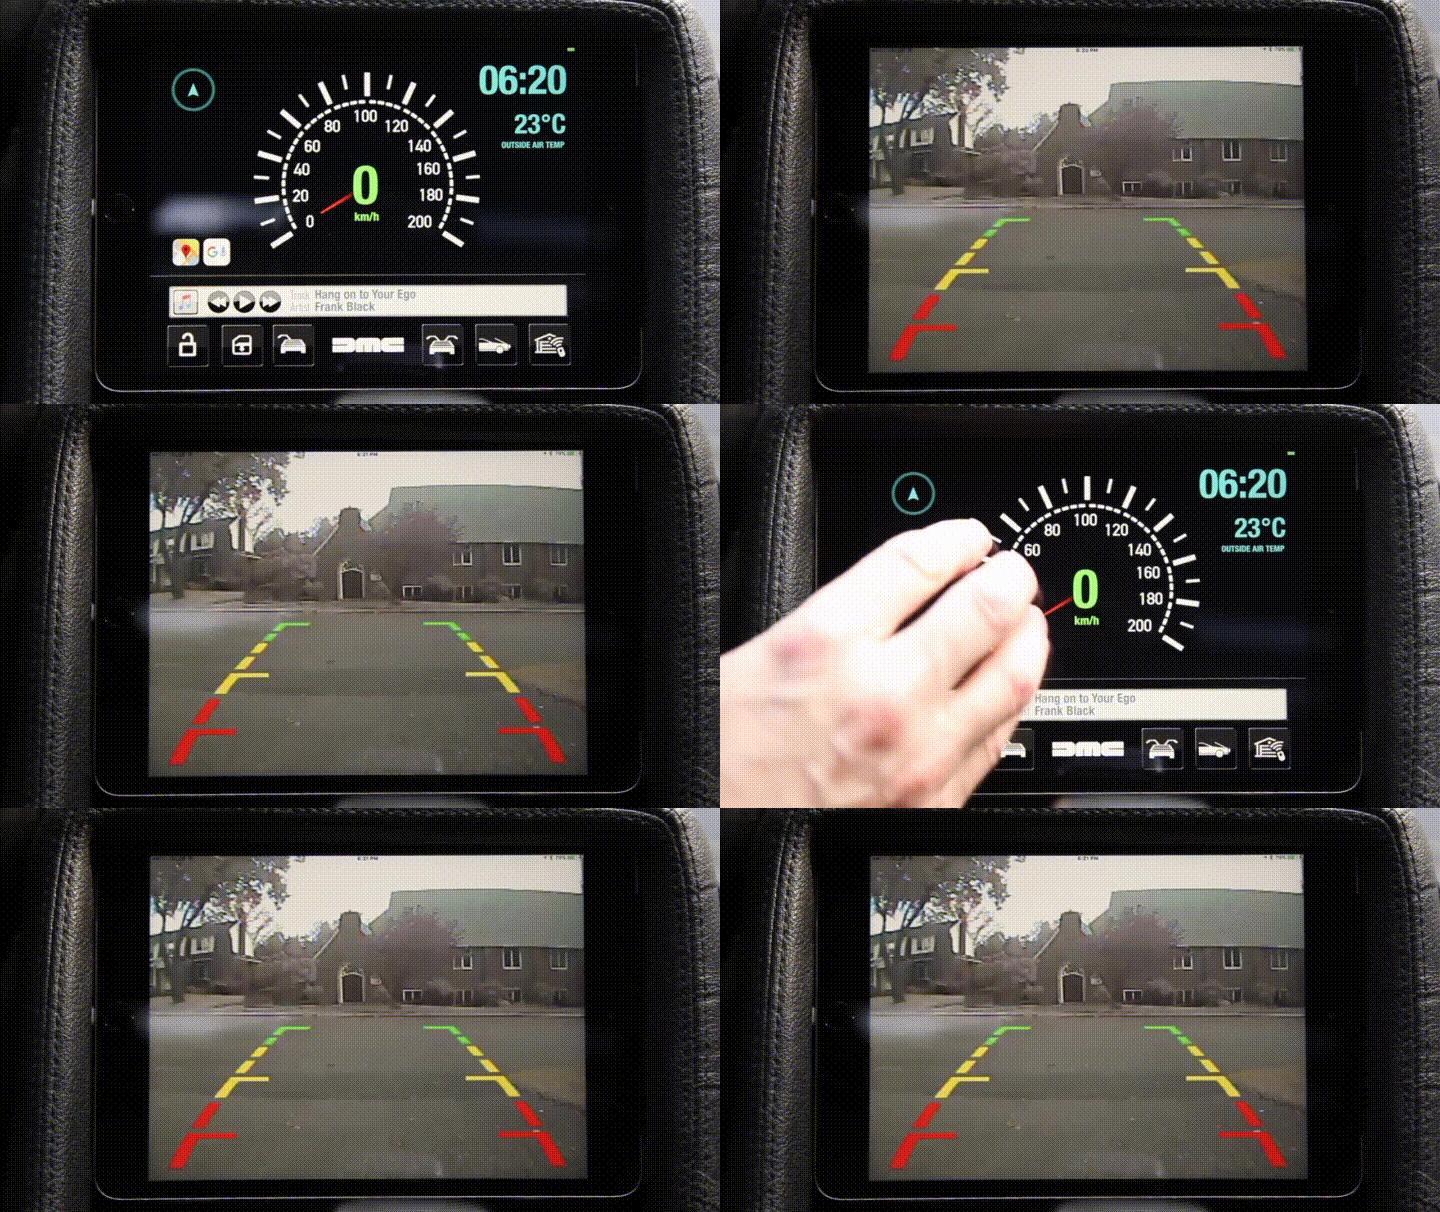
Wireless backup camera from "dnt" in Germany installed. Will find a less obtrusive way to mount this later on. This creates its own Wifi network and is always on when the ignition is on – not just when in reverse – so you can use it when driving to get a good view of what's going on behind you. The DMC's rear visibility is sometimes lacking otherwise – especially with my tinted windows.
Software time! Finished the app's splash screen. Very simple. It's important to note that I am in no way affiliated with the DeLorean Motor Company. But this car IS a DeLorean, so I'm going to use the appropriate logo inside the vehicle!
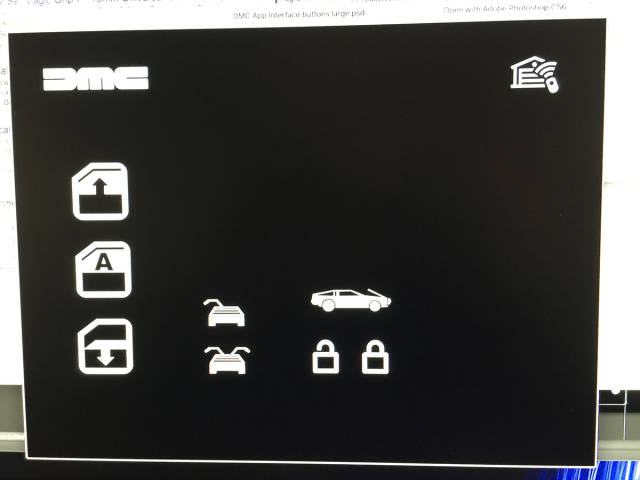
Working on icons to match the style of the DeLorean's existing icons and warning lights.
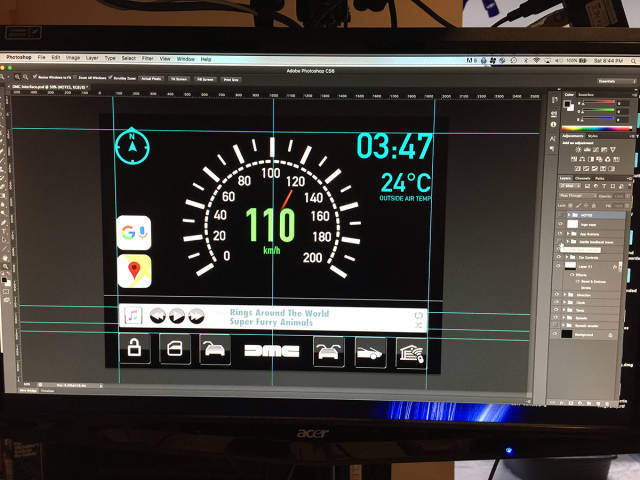
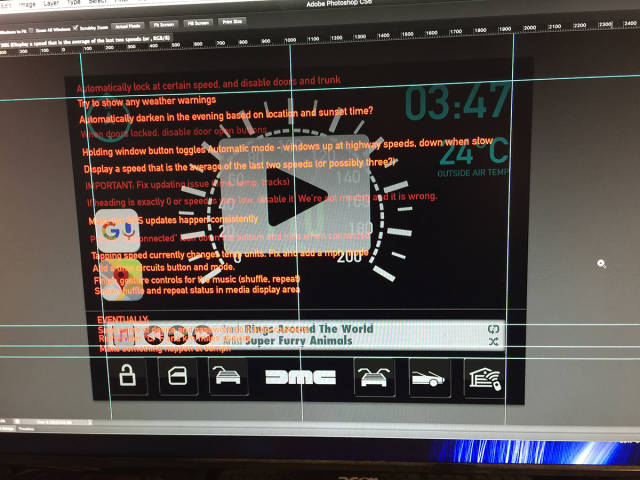
Interface coming together in Photoshop. First attempt had lots of brushed stainless, and then I realized that the car's exterior texture would not be appropriate for the interior. Decided to keep it very simple in order to match the look of the existing gauges and warning lights, and so as not to clash or compete with the rest of the interior of the vehicle. Keeping a black background also means not getting overpowered by it at night. Google and nav buttons got scaled down considerably later. At this stage, I was throwing ideas onto the screen not knowing how I was going to actually make any of it work.
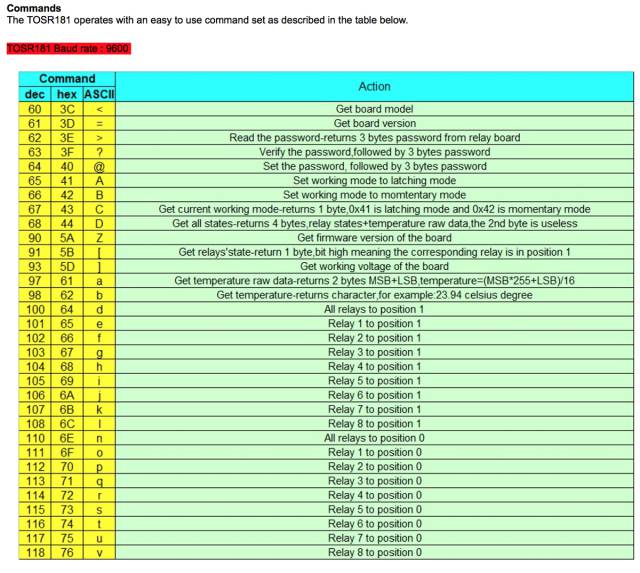
App coding was of course done in Xcode (Objective C). Communication with the Bluetooth relay strip was done by sending ASCII characters (column three above) in 9600 baud (8/n/1) and listening for responses. For example, sending "B" sets all of the relays to momentary, so that sending further characters such as "e" will trigger a relay (in this case, relay 1 – doors unlock) for one second. Sending "b" returns the current temperature value (in Celcius) from the temperature probe.
A To Do list... in Photoshop?! It works. One big To Do item is: iPhone version!
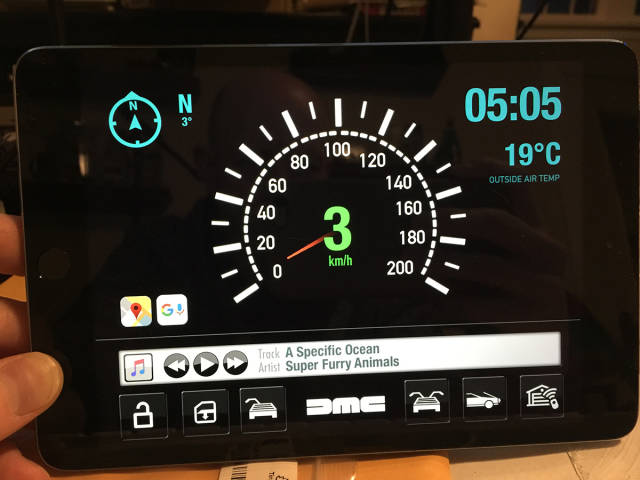
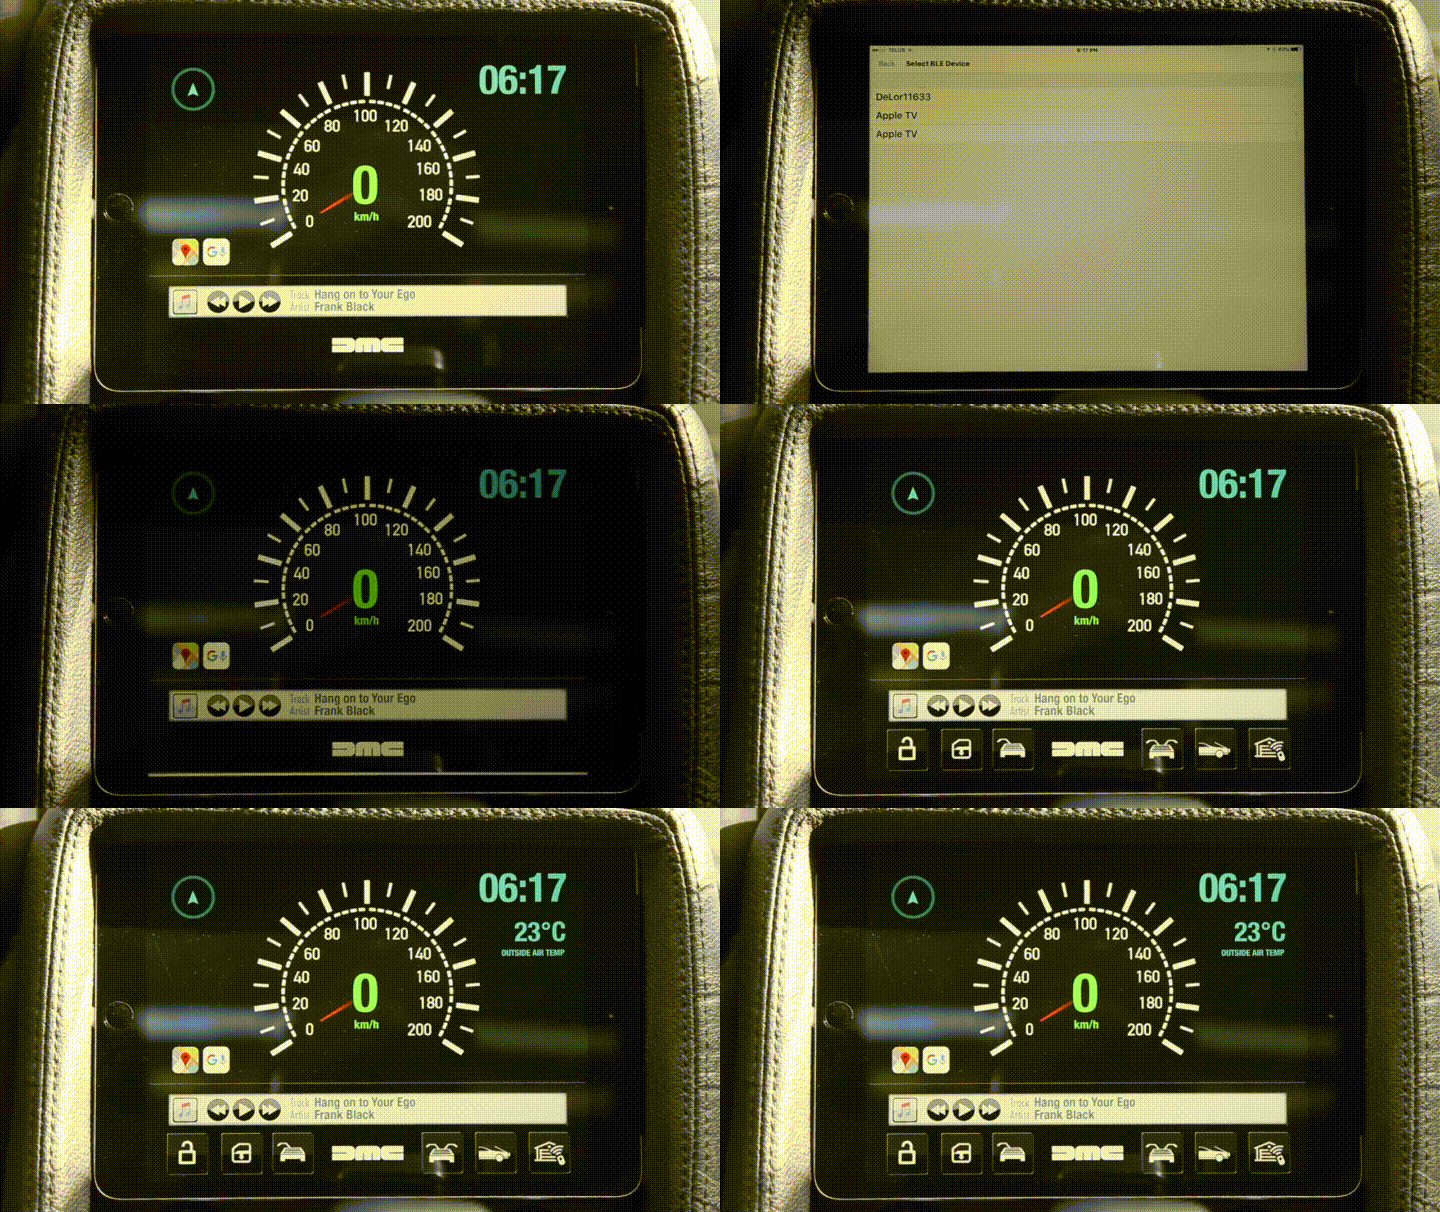
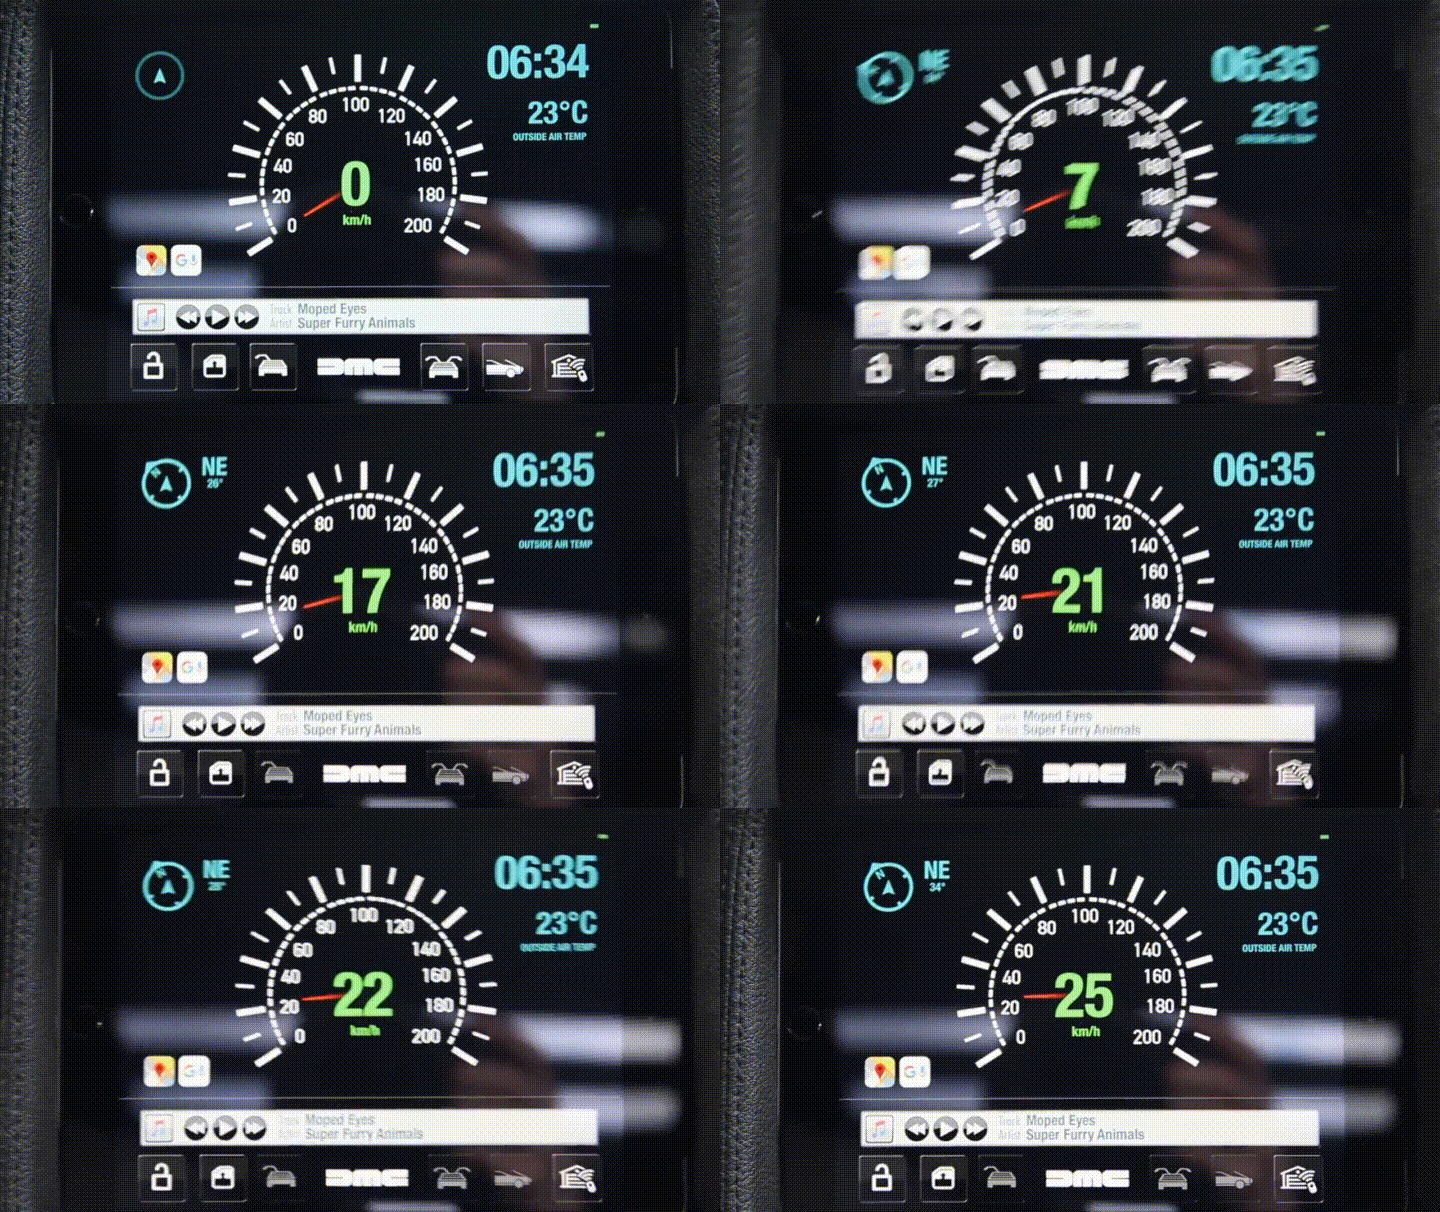
Fully functioning build! The heading and speedometer use GPS location only (all other Location Services data turned off) for their calculations (thank you, StackOverflow!) otherwise it can return very inaccurate results. I have to say that when I took the iPad out into our other car in the middle of winter in my pyjamas at 2AM to test it by driving around the block, I yelled and hooted and probably woke some neighbours when it worked the very first time. Usually my code takes a few stabs in the dark before working. I'm not 100% happy with the look of the speedometer, so I'll probably tweak that a bit to look more like the original DMC speedo. Not super happy with the round media buttons either.
Connecting via Bluetooth to the DeLorean. Buttons and outside air temperature appear. Will eventually filter out anything that isn't a DeLorean (e.g. Apple TVs!). The name "DeLor11633" is an abbreviation of "DeLorean VIN# 11633".
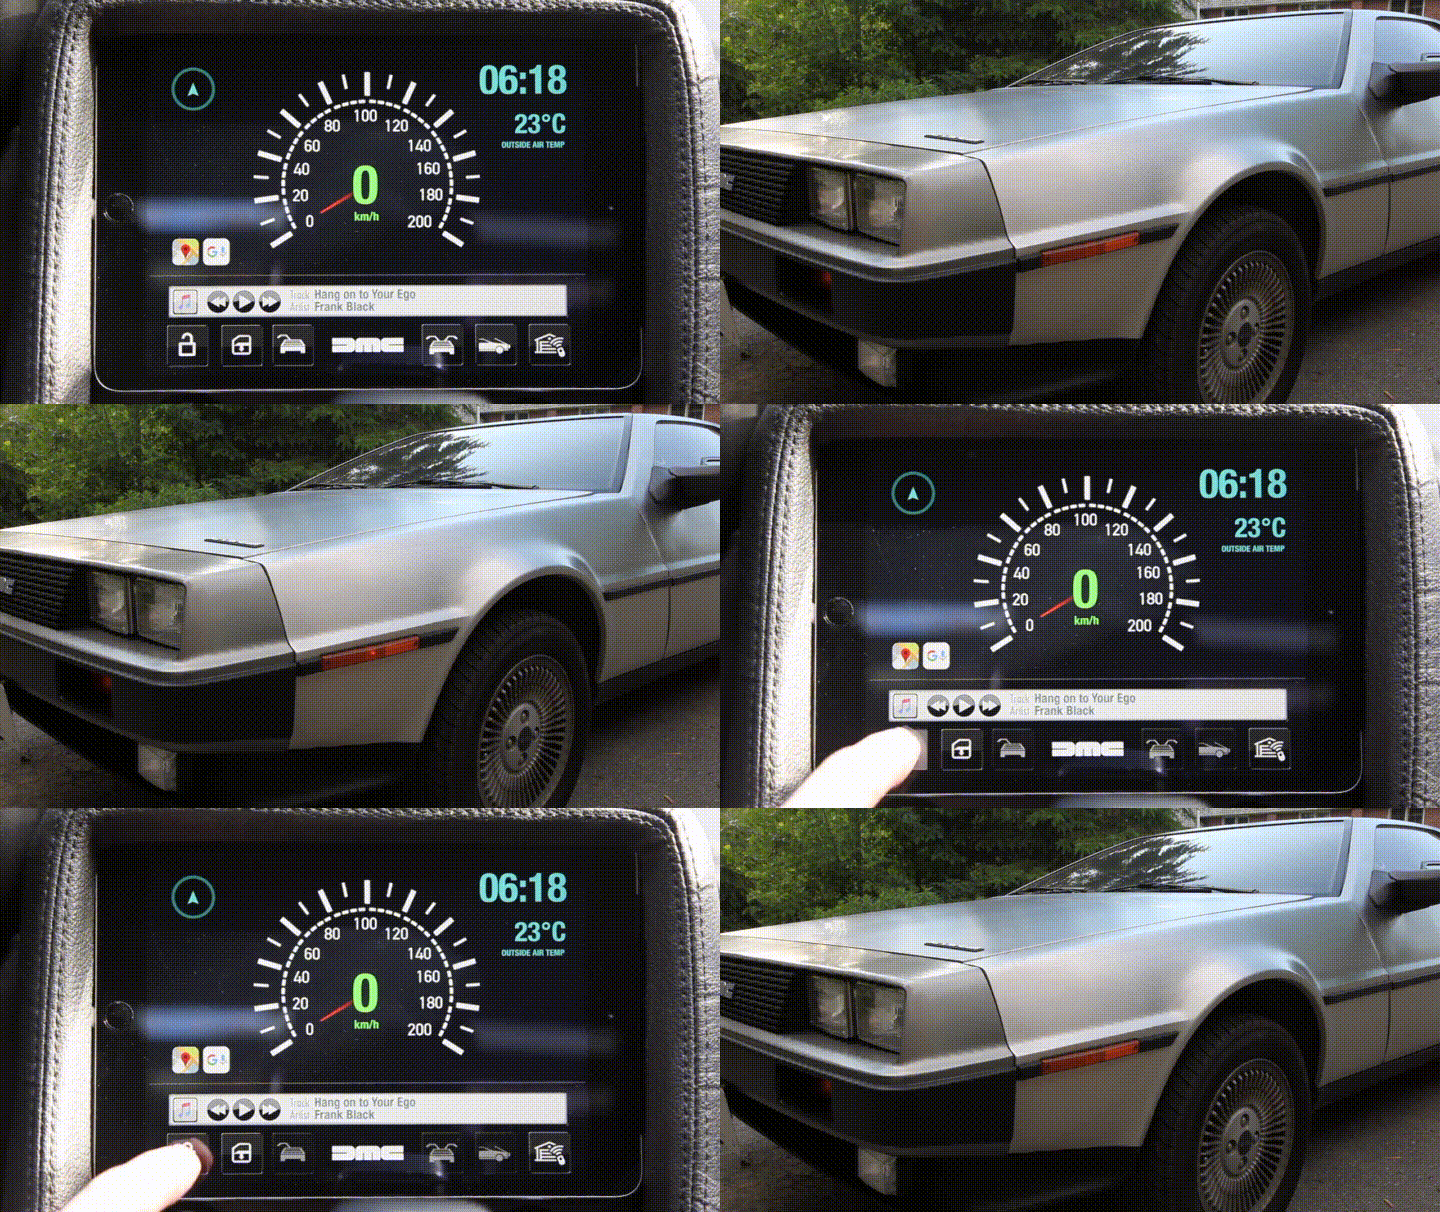
Lock/unlock. Doors and trunk buttons grey out and disable when locked. Future feature will lock doors automatically when GPS-based speedometer determines that you are in motion. Really easy to do – just haven't done it yet. For now, the door and trunk buttons are disabled when in motion.
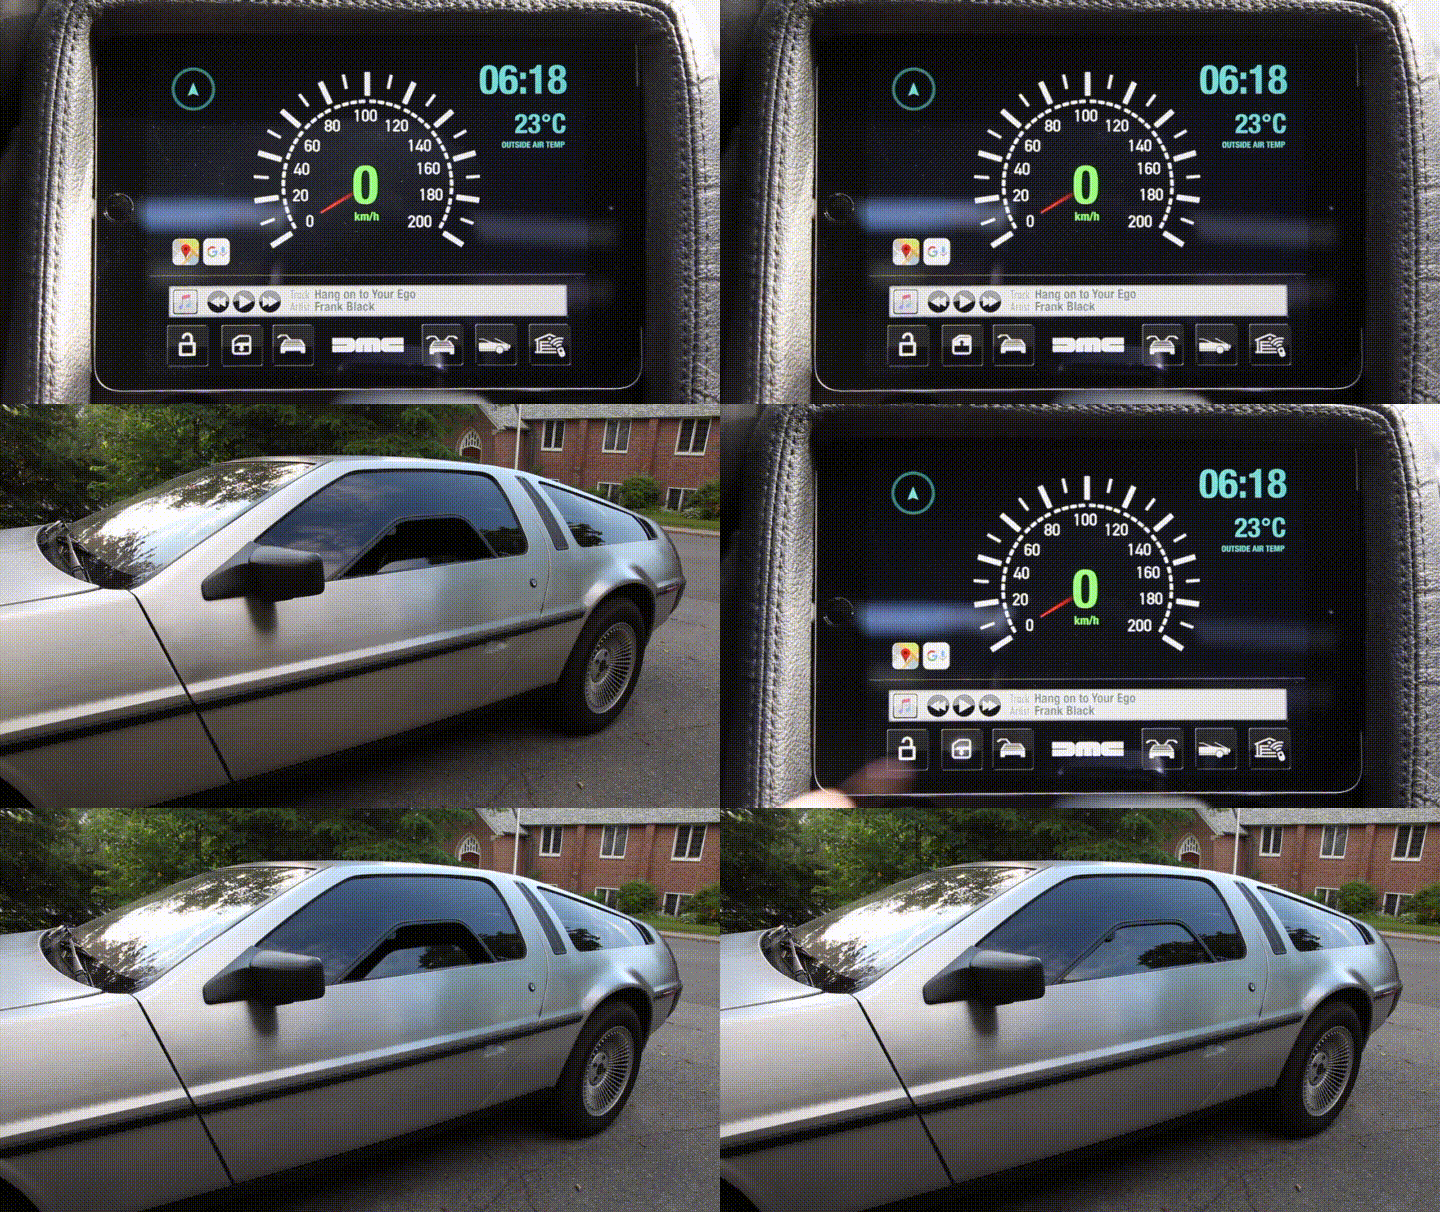
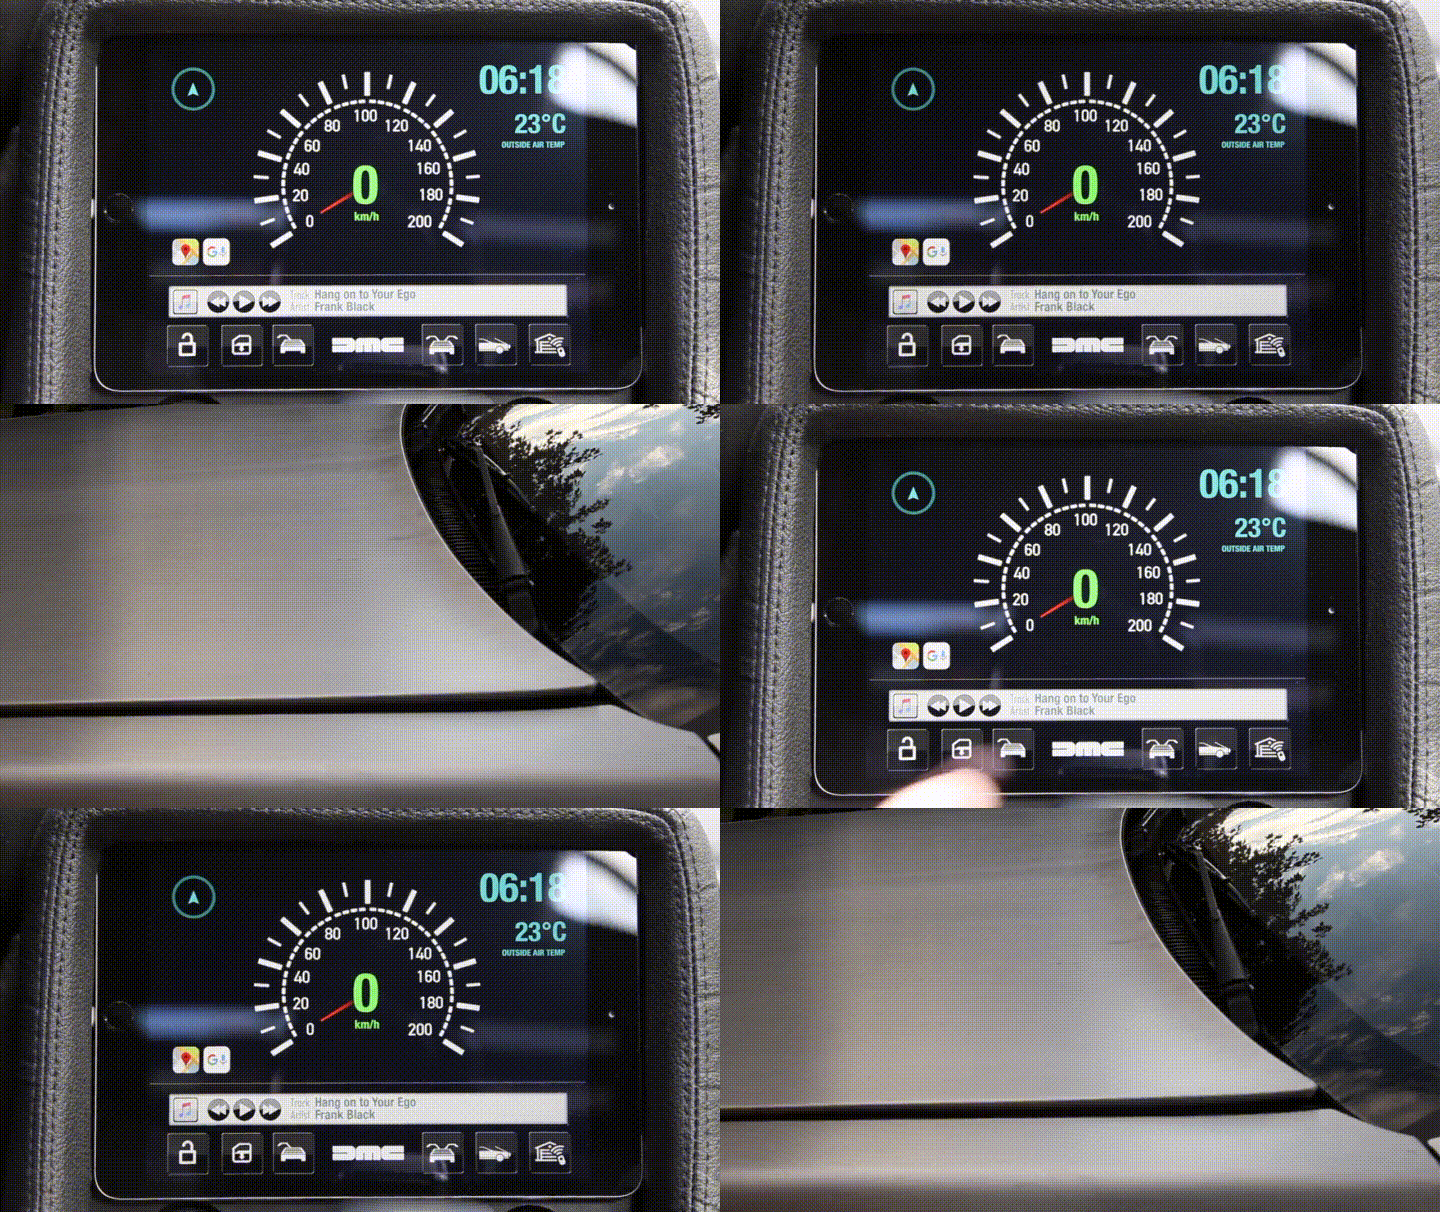
Windows up/down (one touch control). Future "automatic" mode (long-press window button to toggle) will put windows up at highway speeds and down for city speeds. Contemplating making the windows close and the garage door open when pulling into the driveway, by using a saved GPS location as "Home".
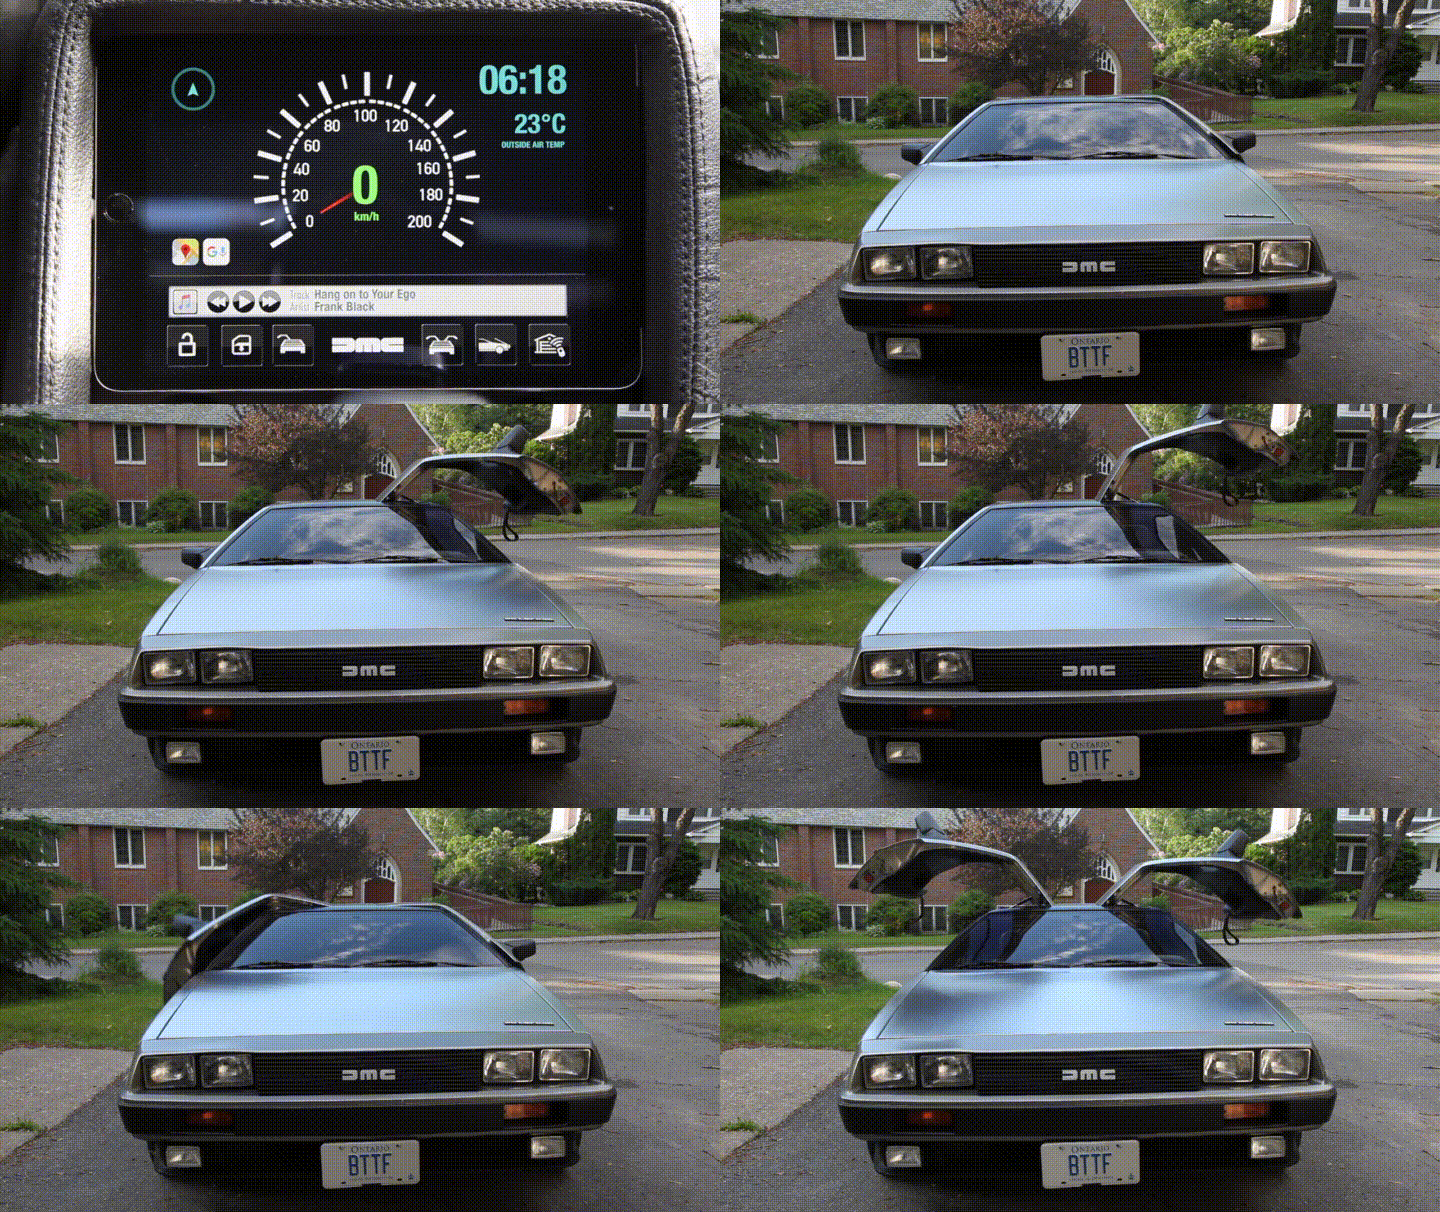
Door buttons! First button opens driver side door. Second button opens both doors. These buttons are greyed out and disabled if the vehicle is locked or if the GPS-based speedometer determines that the vehicle is going over 10 km/h. Door popper solenoids themselves are from Wings-A-Loft.
Trunk popper. This button is disabled when the doors are locked or the GPS-based speedometer determines that the vehicle is in motion. Yes, the DeLorean's trunk is in the front!
Garage door open/close. More on how this works later on... Spoiler: It's dead simple.
Wireless backup camera. Look behind you!
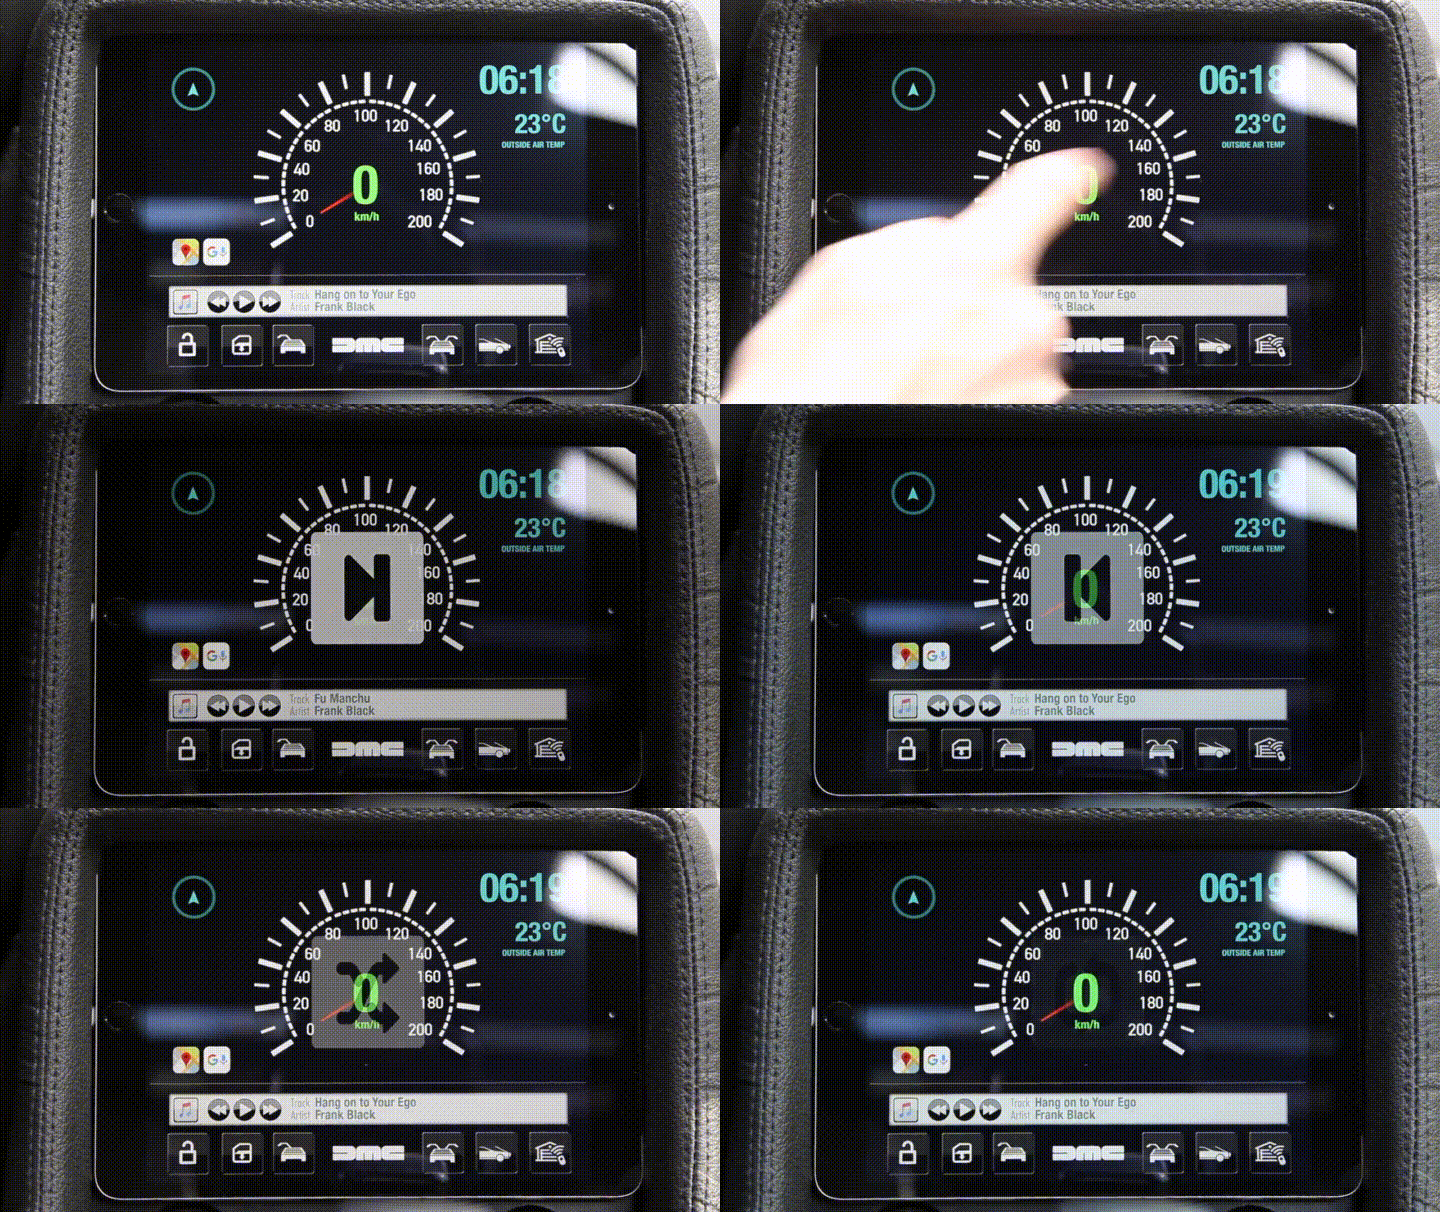
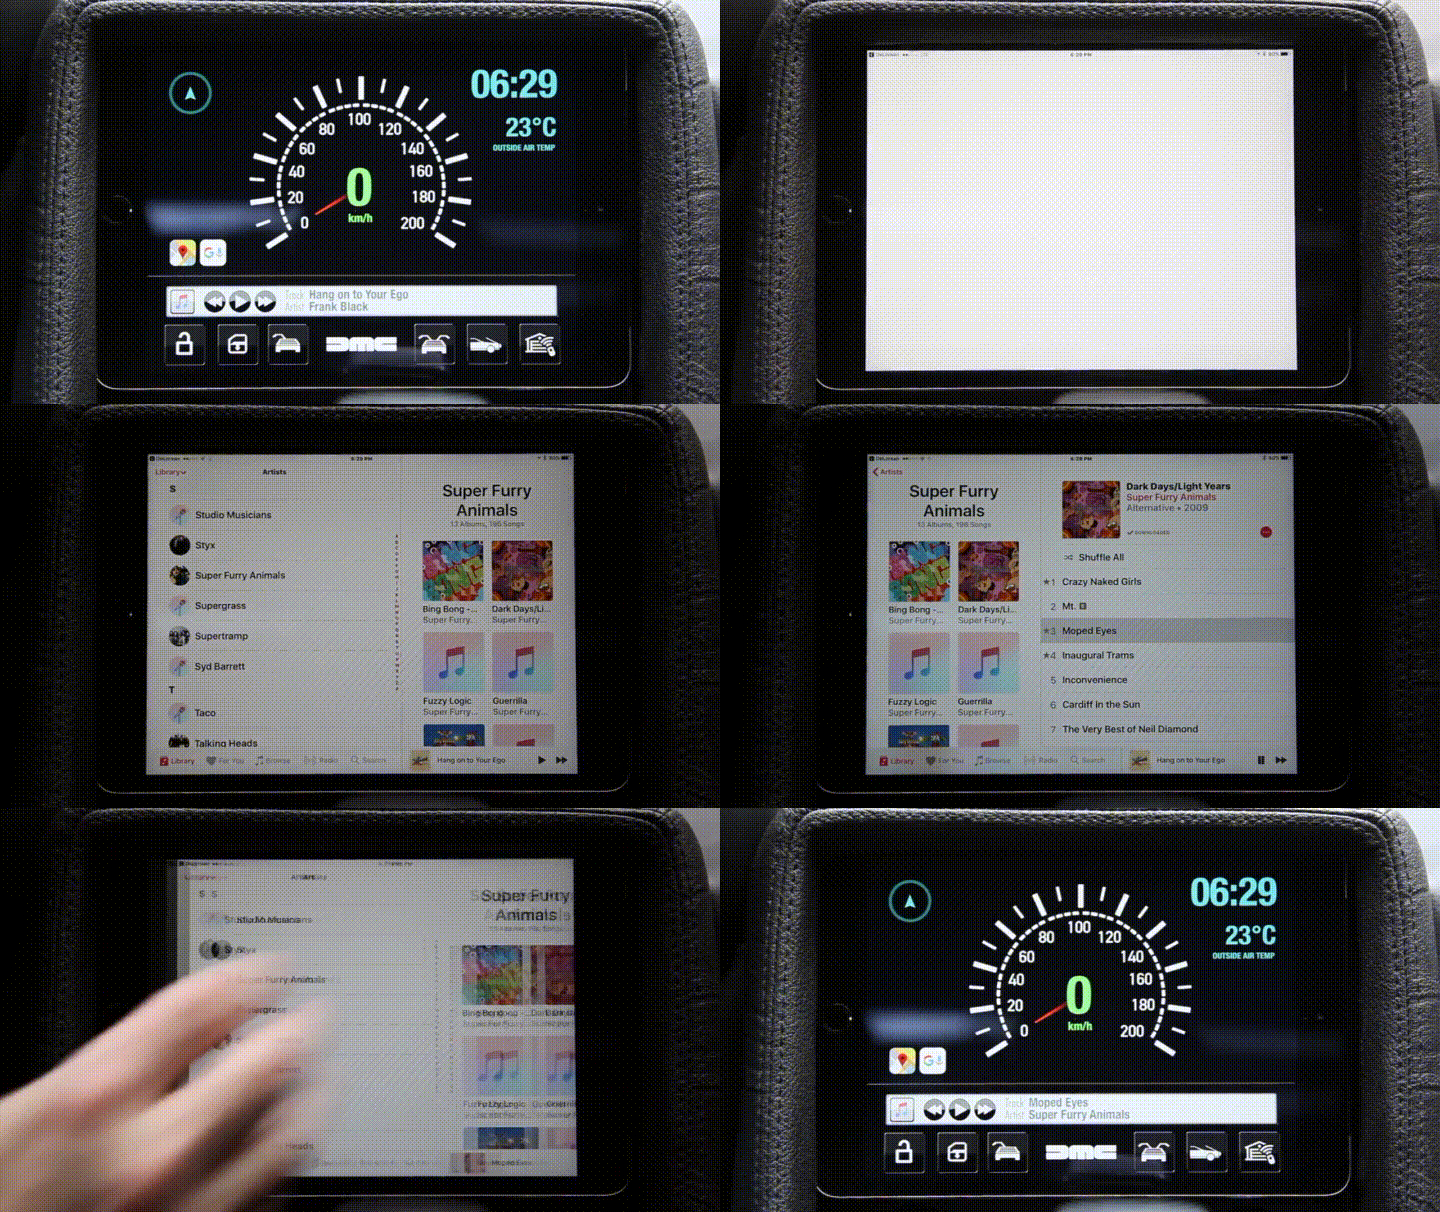
Media control gestures. With gestures, there is no need to look at the screen while driving to find non-tangible buttons. Distraction = crashy ouch. I'm not adding media browsing because you can just ask Siri to play something for you, or failing that, use the iTunes button (left side of media bar) and then swipe to return to the app.
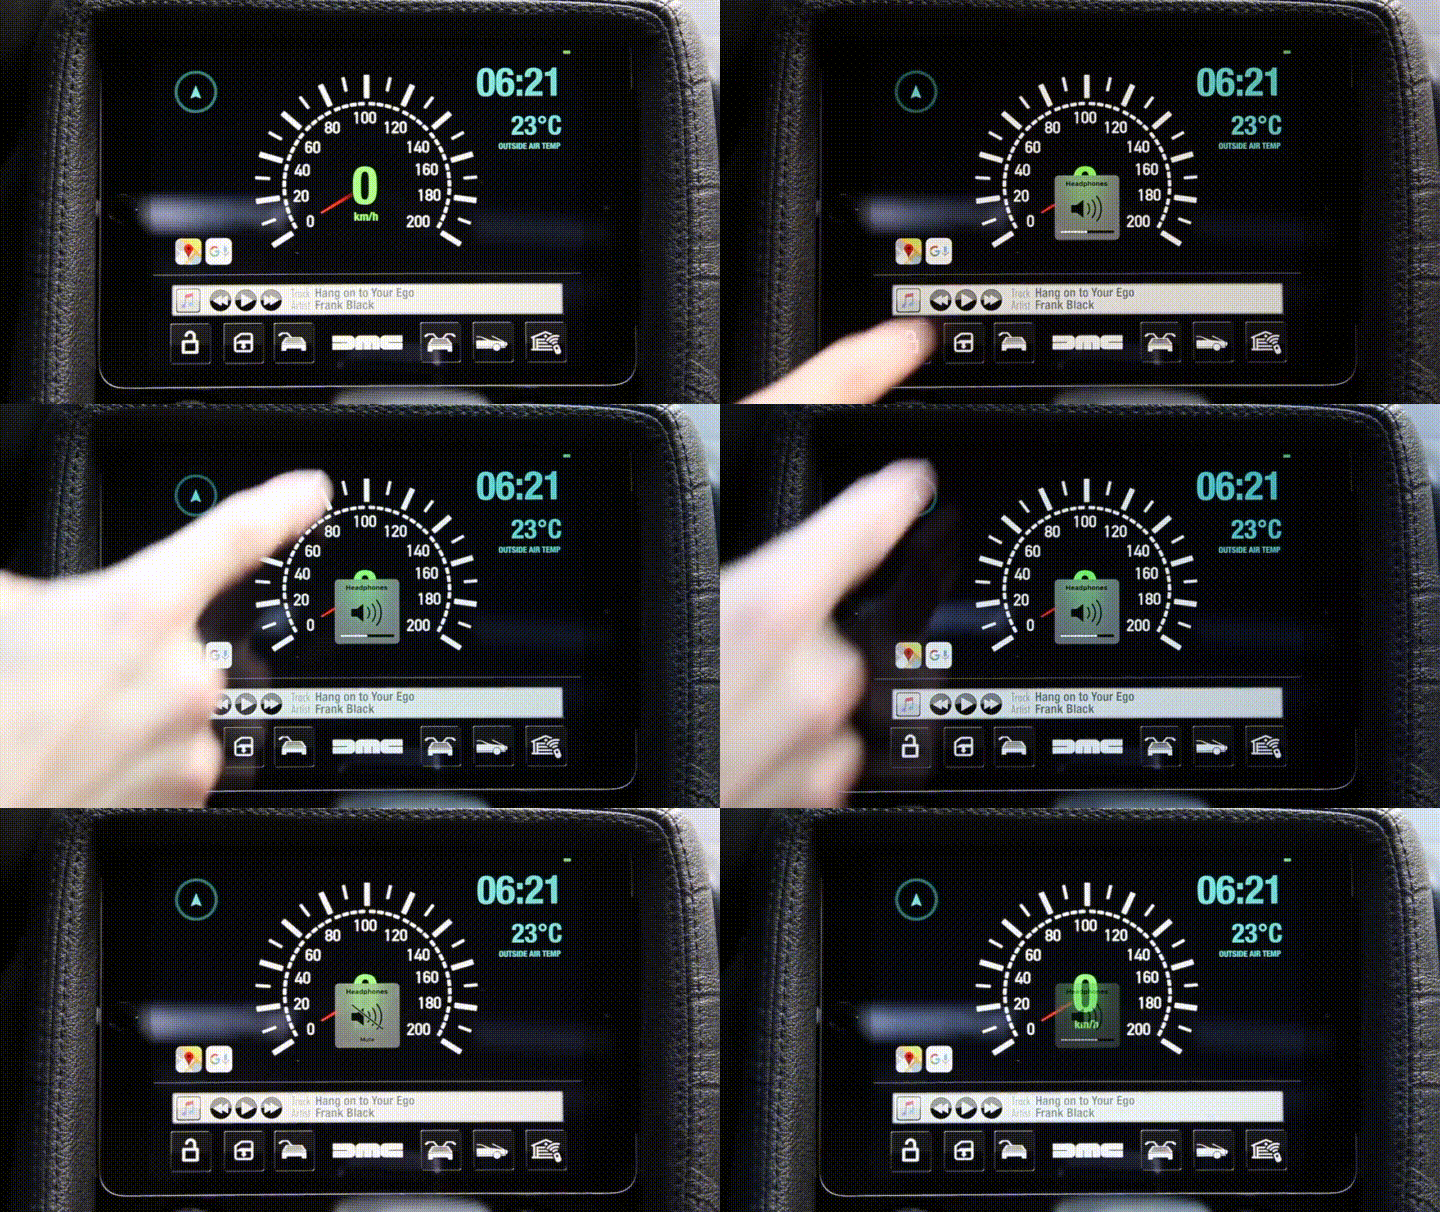
Volume control gestures. One finger for volume up/down. Two fingers for mute.
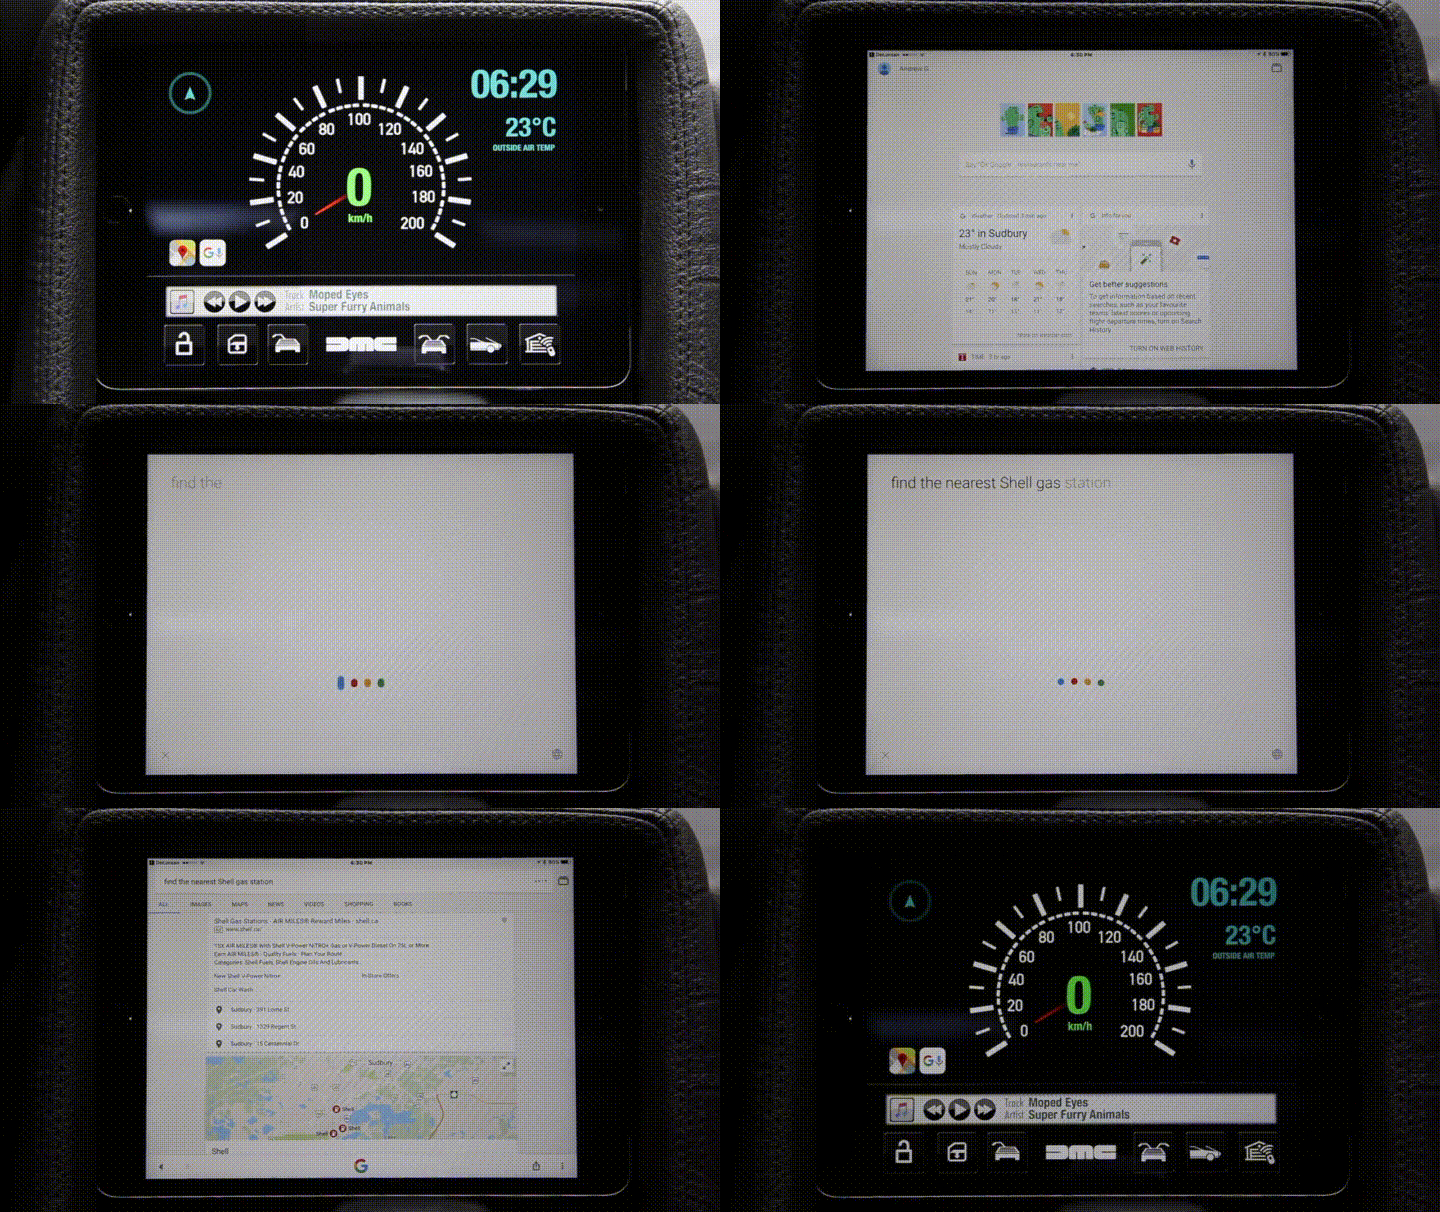
Direct access to Google searches via the app, including voice recognition by saying, "Ok, Google...". The URL scheme for this button is simply "google://"
Rather than replicate media browsing, I used the "music://" URL scheme to launch iTunes directly from the app. When you're done, four finger swipe back to the app. When driving, I prefer to just hold the button and ask Siri to play something.
While driving, the vehicle's changing GPS location is used to calculate speed and heading. When the vehicle goes above 10km/h, just in case the doors aren't locked, the door and trunk buttons are disabled. Popping the doors open on the highway when you're only trying to turn up the volume wouldn't be much fun. Ok, it would be a lot of fun, but it's not a great idea. "10/10 for style, but minus several million for good thinking."

